Developing film at home can feel intimidating at first, but many photographers will tell you the same thing: once you understand the basic workflow, it becomes one of the most rewarding parts of shooting analog. If you are searching for how to start developing film at home, best film developing kit for beginners, or film developing troubleshooting tips, this guide brings together practical advice on equipment, technique, and common mistakes so you can get started with confidence.
At Unique Photo, photographers regularly look for reliable darkroom essentials, beginner-friendly kits, and replacement supplies that make home processing easier. Whether you want to develop black and white film in a bathroom, laundry room, or dedicated darkroom, the right setup matters more than a complicated one.
What equipment do you need to start developing film at home?
The most common advice from experienced film photographers is simple: start with a basic, dependable setup. You do not need a professional lab to process your first rolls. For black and white film, the essentials usually include:
- Developing tank and reels
- Changing bag or completely dark room for loading film
- Graduates or measuring containers
- Thermometer
- Timer
- Chemicals for developer, stop bath, and fixer
- Clips or hangers for drying negatives
- Storage bottles for mixed chemistry
Many first-time users prefer an all-in-one solution because it reduces guesswork. A complete starter option like the Photographic Darkroom Film and Paper Developing Kit is useful if you want a broader darkroom setup, while the Unique Black and White Film Developing Kit is especially appealing for photographers focused on getting started with black and white film processing at home.
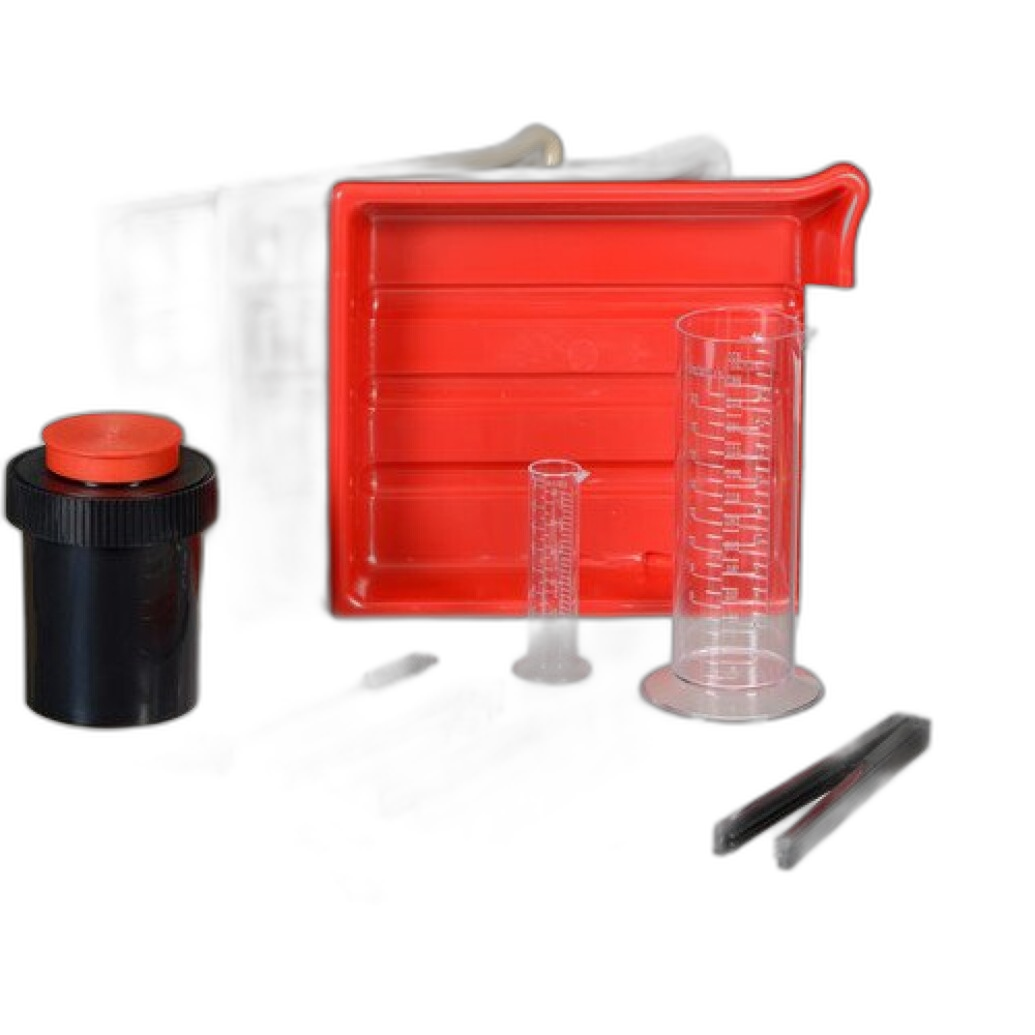
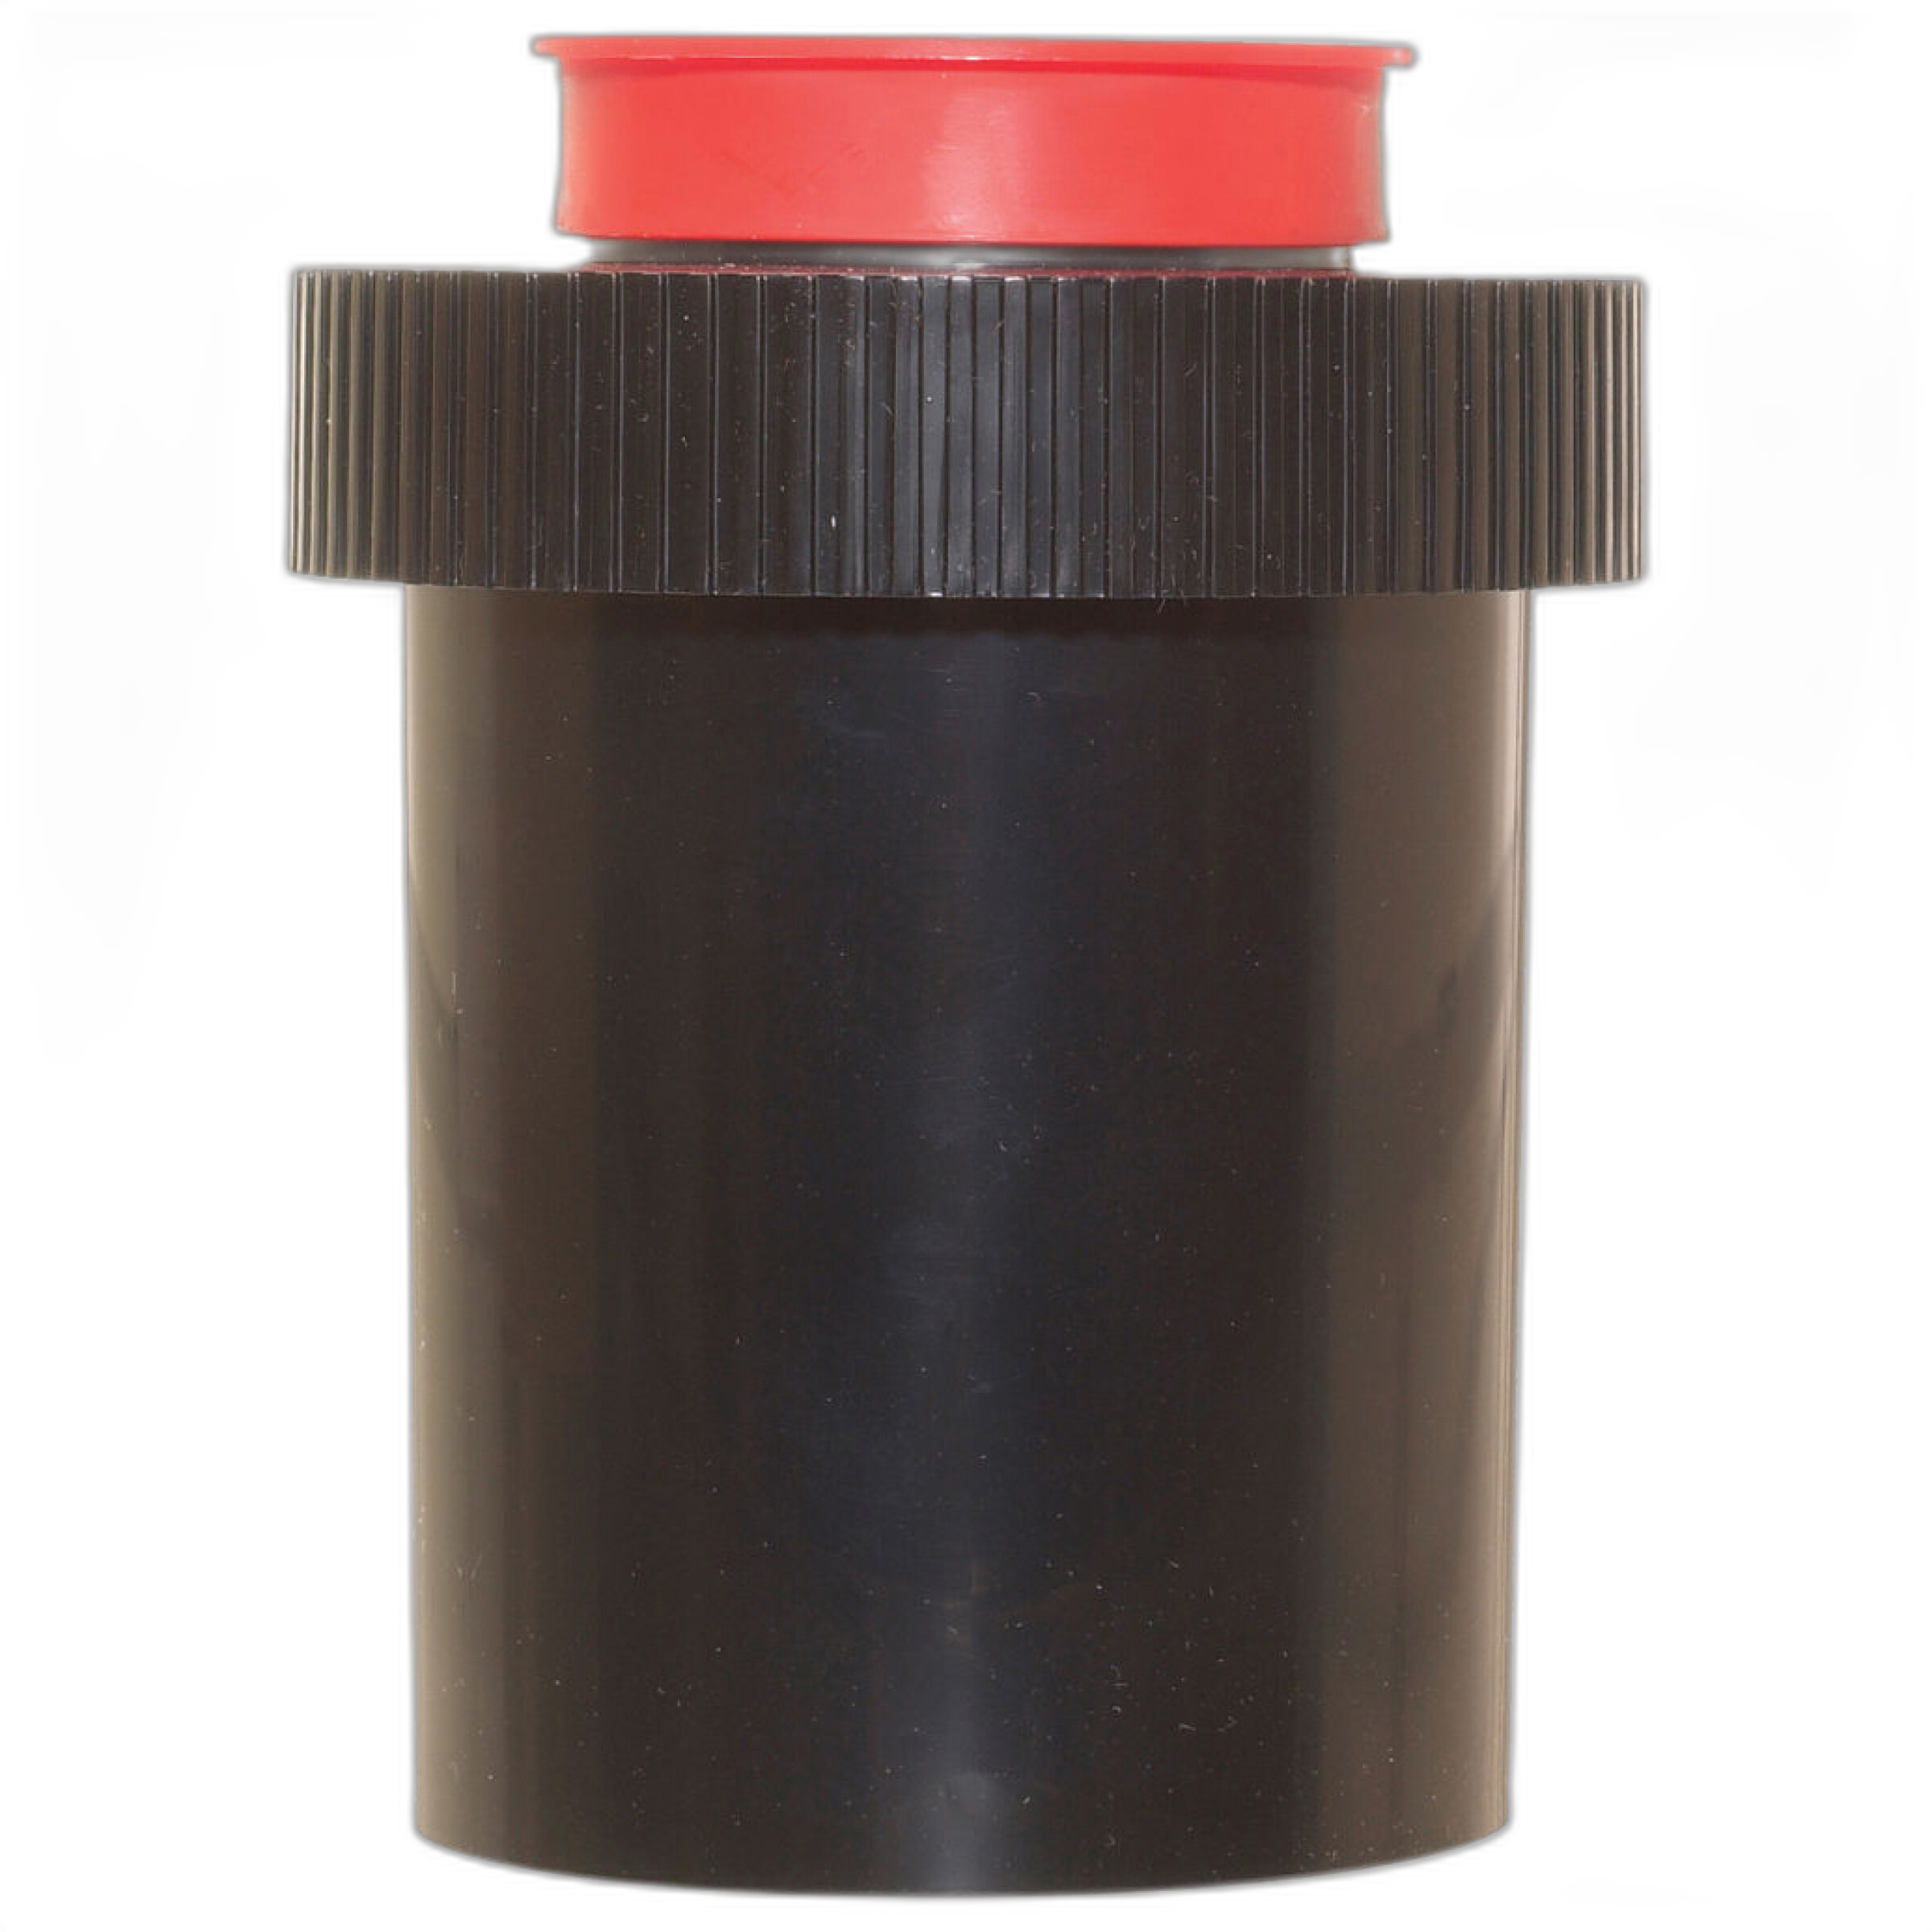
Another frequently recommended beginner item is a straightforward plastic tank. The Samigon Universal Plastic Developing Tank with 2 Reels gives first-time users a practical way to process multiple rolls while learning the loading and agitation routine.
Best film developing kit for beginners
If you are researching the best film developing kit for beginners, photographers often recommend choosing a kit that minimizes variables. Your first goal is not mastering every film stock or chemistry combination. Your first goal is consistency.
A beginner-friendly kit should help you:
- Measure chemicals accurately
- Load film into reels reliably
- Maintain repeatable development times
- Rinse and dry negatives cleanly
The Unique Black and White Film Developing Kit is a natural fit for photographers who want a simpler entry point into black and white home processing. Because it comes from Unique Photo, it also makes it easier to keep your supplies aligned with the kinds of beginner workflows many analog photographers use most often.
For those building out a larger darkroom workflow over time, a more comprehensive setup can also make sense. The key is choosing gear that supports your current skill level rather than overcomplicating the process.
How to develop black and white film at home step by step
Photographers new to home processing are usually encouraged to start with black and white film because it is generally more forgiving than color chemistry. A basic workflow looks like this:
- Load the film onto reels in complete darkness. This is often the hardest part for beginners, so practice with a sacrificial roll in daylight first.
- Place the reels into the tank and seal it. Once the tank is closed, the rest of the process can happen in normal light.
- Mix chemistry to the correct dilution and temperature. Consistency is critical here.
- Pour in developer and begin timing immediately. Agitate according to your chosen method and film/developer combination.
- Use stop bath or a water stop. This halts development.
- Pour in fixer. Fixing makes the image permanent and light-safe.
- Wash the film thoroughly. Insufficient washing can lead to residue or long-term degradation.
- Use a wetting agent if desired and hang to dry. Dry in a dust-free area whenever possible.
One of the most common pieces of photographer advice is to write everything down. Keep notes on film stock, developer dilution, temperature, development time, agitation pattern, and final results. This makes troubleshooting dramatically easier later.
Tips for loading film onto reels without frustration
Ask any analog photographer about beginner mistakes and you will hear the same answer often: loading film onto the reel is where many people struggle first. Here are the most repeated tips:
- Practice with a ruined roll first. Muscle memory helps more than reading instructions repeatedly.
- Make sure your hands are dry. Damp fingers can cause film to stick.
- Trim the film leader cleanly. A neat edge helps the film feed properly.
- Do not rush. Slow, steady loading prevents kinks and overlap.
- Keep reels clean and dry. Residue or moisture can make plastic reels difficult to use.
Plastic tanks remain popular with beginners because they are approachable and widely available. For many home users shopping at Unique Photo, a starter tank is one of the most important investments because it directly affects whether the process feels manageable from day one.
Film developing techniques beginners should focus on first
Experienced photographers often warn beginners against trying too many advanced techniques at once. If you want cleaner negatives and fewer ruined rolls, focus on these fundamentals:
- Temperature control: Small temperature swings can change contrast and density.
- Consistent agitation: Uneven agitation can cause streaking or density issues.
- Accurate timing: Start and stop each step precisely.
- Correct chemical dilution: Measure carefully every time.
- Clean workspace habits: Dust, residue, and contaminated chemistry cause preventable problems.
A good rule of thumb is to change only one variable at a time. If your negatives look too thin or too dense, you will want to know whether the issue came from exposure, chemistry, time, or agitation. Keeping your process stable helps you learn faster.
Common film developing problems and how to troubleshoot them
Searches for why are my negatives blank, film came out purple, or streaks on developed film are common among first-time home processors. Here are some of the most frequent problems photographers report and the likely causes.
Blank or nearly clear negatives
This often points to one of a few issues:
- No image was exposed in camera
- Developer was exhausted or mixed incorrectly
- The wrong chemical was used first
- Development time was far too short
If edge markings are visible but frame images are not, the camera or exposure may be the issue. If edge markings are also missing, look closely at your chemical workflow.
Very dark negatives
Possible causes include:
- Overexposure in camera
- Overdevelopment
- Developer too warm
- Agitation too aggressive
Review your exposure settings and compare them to your notes from the development session.
Streaks, uneven density, or surge marks
These are commonly caused by:
- Inconsistent agitation
- Developer not poured in quickly enough
- Insufficient chemical volume
- Tank handling issues during development
Many photographers recommend gentle but regular agitation rather than vigorous shaking.
Water spots or drying marks
If your negatives dry with spots, streaks, or residue:
- Use cleaner wash water if possible
- Consider a wetting agent in the final rinse
- Dry film in a low-dust area
- Avoid touching the emulsion when wet
Purple tint after washing
Some films retain a slight color cast, but a strong residual tint can indicate under-fixing or incomplete washing. Extending fix time within recommended limits and improving wash technique can help.
Should beginners develop color film at home?
Photographers are divided on this question, but the general advice is: start with black and white, then move to color. Color negative film can absolutely be developed at home, but it is less forgiving because chemistry temperature and timing are more critical.
If your main goal is learning the mechanics of loading film, agitating properly, and handling negatives, black and white is the better first step. Once you have a repeatable process, color home developing becomes much more approachable. Unique Photo also carries specialized chemistry options for more advanced workflows, including color chemistry for photographers and lab users building beyond beginner black and white processing.
How to set up a small home darkroom or bathroom workflow
One of the best pieces of advice from experienced film shooters is that your first home developing space does not need to be permanent. Many people begin in a bathroom, kitchen, or utility room with a simple routine.
Look for a space that offers:
- Access to water
- Reasonable temperature stability
- Enough counter space for chemicals and tank
- A dust-controlled area for drying
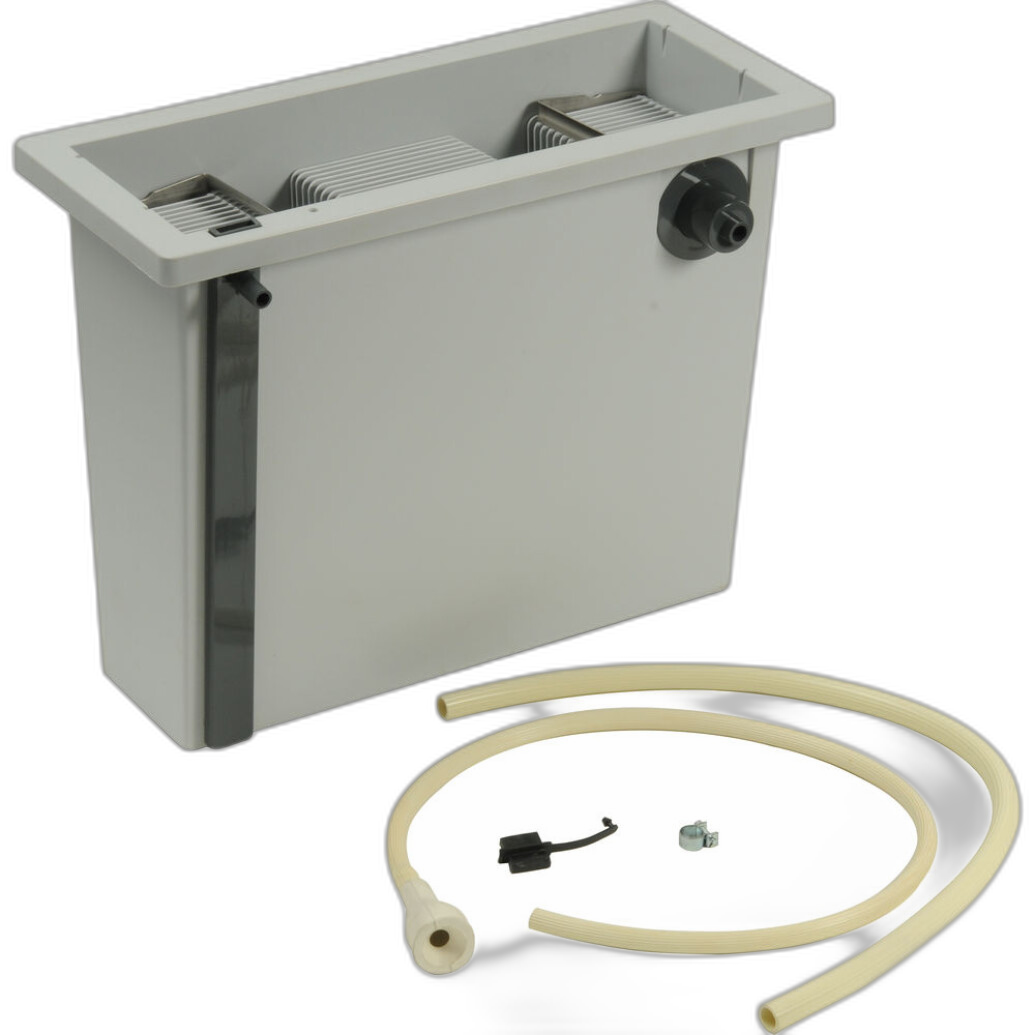
If you eventually expand into printing, accessories for washing and darkroom handling become more useful. For example, the Paterson Auto Print Washer Major 12x16 is more relevant for photographers growing into a fuller darkroom workflow that includes prints, but it shows how a home setup can scale over time.
What gear is worth upgrading after your first few rolls?
After developing several rolls successfully, photographers usually begin identifying which upgrades would make the biggest difference. Common next steps include:
- Additional reels or a larger tank for batch processing
- Better storage bottles for chemistry longevity
- A more precise thermometer
- Dedicated drying clips and dust control tools
- Scanning equipment or darkroom printing accessories
The smartest upgrades are the ones that solve actual workflow friction. If loading is the challenge, improve your tank and reel setup. If consistency is the challenge, improve your measurement and temperature tools. If your results are good but finishing is weak, focus on washing, drying, and scanning.
Photographers’ best advice for first-time home film development
When photographers share practical beginner advice, a few themes come up again and again:
- Start simple. Black and white film is the easiest place to learn.
- Use reliable gear. A dependable tank and kit matter more than a complicated setup.
- Follow one tested process. Avoid mixing advice from too many sources during your first rolls.
- Take notes. Good notes turn mistakes into progress.
- Expect a learning curve. Even experienced photographers sometimes make processing mistakes.
- Do not chase perfection immediately. Clean, usable negatives are the first milestone.
Many film shooters find that buying their starter supplies from a trusted retailer like Unique Photo removes some of the uncertainty. It is easier to begin when your kit, tanks, and darkroom essentials come from a source that already serves both beginners and longtime analog photographers.
Conclusion: Building confidence with home film developing
Starting to develop film at home for the first time is less about mastering darkroom theory and more about building a steady, repeatable routine. With the right starter equipment, careful timing, consistent temperature control, and a willingness to learn from a few mistakes, most photographers can process black and white film at home successfully much sooner than they expect.
Unique Photo is a great place to explore film developing kits, tanks, reels, chemistry, and darkroom supplies as your workflow grows. If you are planning your first setup, consider browsing internal resources and product pages around film developing kits, developing tanks and reels, darkroom chemicals, and film scanning equipment to continue building out your home process.
Once you develop your first good roll, the mystery disappears quickly. What replaces it is one of the best parts of analog photography: complete hands-on control from exposure to final negative.