Push and pull processing can feel intimidating at first, but in practice it is one of the most useful tools film photographers have for dealing with imperfect light, creative contrast, and the reality of shooting fast. Whether you are trying to save a dimly lit street scene, tame a bright midday setup, or build a more dramatic mood, understanding what actually happens when you push or pull film makes your results far more predictable. Below are practical tips based on real-world shooting situations so you can decide when the tradeoffs are worth it.
1. Know What Push and Pull Processing Really Change
Start with exposure first, development second
Pushing film means rating it at a higher ISO than the box speed and then extending development to compensate. Pulling means rating it at a lower ISO and reducing development. In the real world, this is not magic recovery. Pushing usually gives you more workable shutter speeds, but you often get stronger contrast, more visible grain, and less shadow detail. Pulling can soften contrast and protect highlights, but it may also flatten the scene if the light was already low-contrast.
A simple way to think about it: exposure determines what information gets onto the negative, while processing changes how that information is rendered. If the shadows never got enough light, pushing will not fully restore what was never captured.
2. Push for Speed When the Moment Matters More Than Perfection
Low light, action, and handheld shooting are common reasons to push
One-stop and two-stop pushes are common because they solve practical problems. If you are photographing movement indoors, at events, or on the street after sunset, pushing lets you keep a usable shutter speed without changing your whole approach. This is often better than getting a technically cleaner frame that is blurred beyond use.
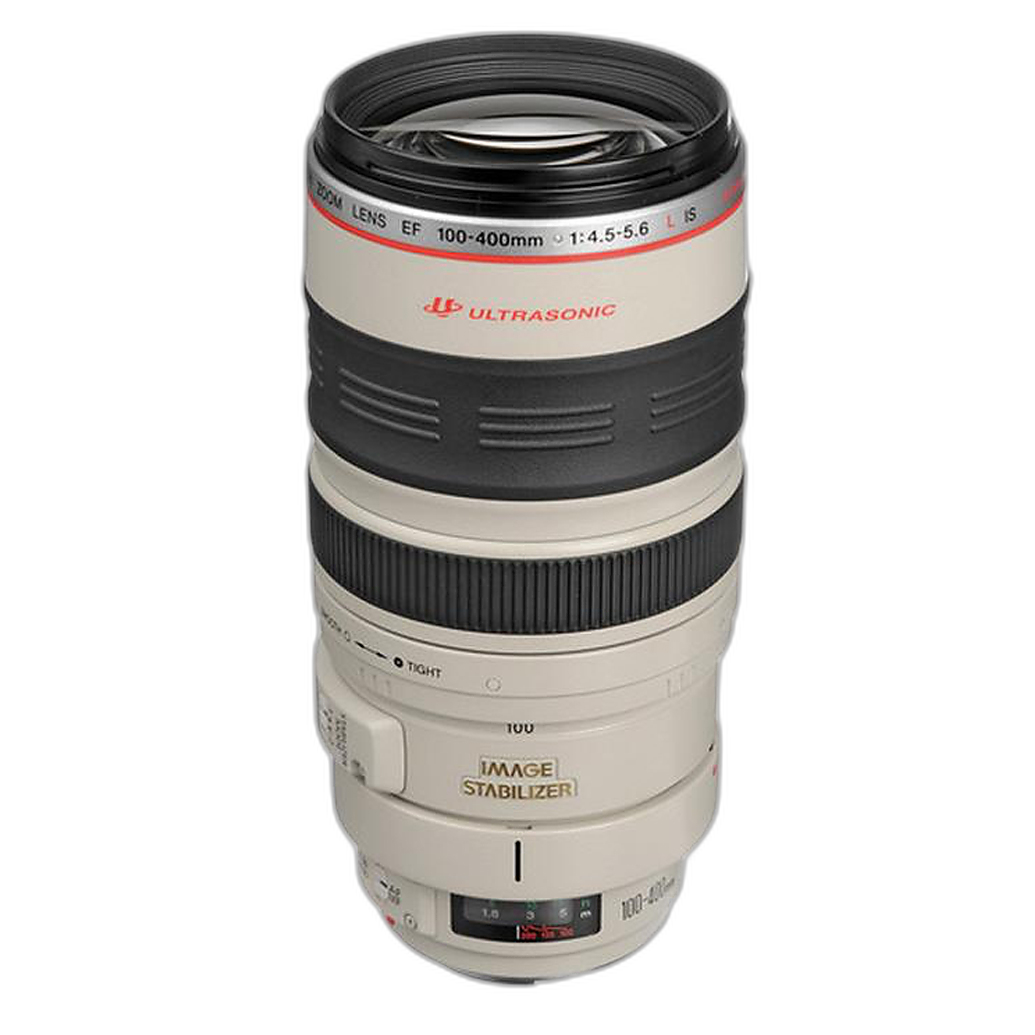
For example, if you are using a longer lens and need more speed to avoid camera shake, every stop matters. That idea applies whether you are thinking about film exposure or handling a lens like the Used Canon EF 100-400mm f/4.5-5.6 L USM Push/Pull - Fair, where fast handling and fast decision-making both matter in changing conditions.
- Push 1 stop when you need a modest speed boost and want manageable contrast.
- Push 2 stops when getting the shot matters more than smooth grain or open shadows.
- Be cautious beyond 2 stops unless you already know how your film stock behaves.
3. Pull When Bright Scenes Threaten Your Highlights
High-contrast daylight is where pulling can be especially useful
Pulling shines in situations where highlights are likely to run away from you. Think direct sun on pale skin, bright concrete, reflective storefronts, or fashion-style setups with lots of light surfaces. Rating your film lower and pulling in development can help hold highlight detail and produce a smoother tonal transition.
If you are working in a controlled tabletop or portrait environment, neutral surfaces can make it easier to judge these differences. A background tool like the V-Flat World 24x24in Duo-Board Background (Iced Concrete/ Midnight Cement) gives you repeatable tones, which is helpful when comparing normal development to pulled results from the same setup.
Pulling is often subtle, but that subtlety is the point. It can keep your negatives easier to print or scan when the scene itself is already contrasty.
4. Match the Technique to the Mood You Want
Push for grit and punch, pull for gentler tonality
Real-world film decisions are not always about technical rescue. Sometimes they are about the emotional feel of the image. Pushed black-and-white film can look raw, tense, and alive. Pulled film can feel calmer, cleaner, and more open in the highlights.
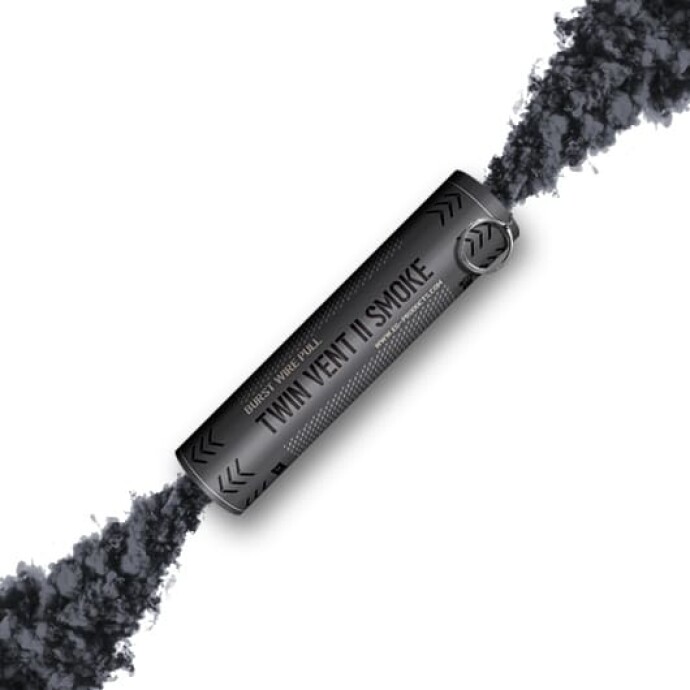
If you are building a stylized set, these choices become even more obvious. Add atmospheric elements like the Enola Gaye EG25 Wire Pull Micro Smoke Grenade (Purple) or the Enola Gaye Twin Vent 2 Wire Pull Smoke Grenade (Black), and the contrast behavior of your film becomes part of the storytelling. Pushed processing may make smoke look denser and moodier, while a pulled negative can preserve more separation in bright haze or backlit effects.

5. Test One Film Stock at a Time
Consistency teaches you more than constant experimentation
The fastest way to understand push and pull processing is to remove variables. Shoot one familiar stock in several predictable lighting scenarios and compare box speed, +1 push, +2 push, and -1 pull. Keep notes on metering, light direction, scan settings, and how much shadow detail you actually retained.
What you are looking for:
- How quickly shadows block up when pushed
- Whether highlights stay pleasant when pulled
- How grain changes at your preferred scan size
- How much contrast you can comfortably edit afterward
This is also where education can accelerate the process. Workshops and talks such as EXPO: Stories from the Road - Photography Across Worlds w. Matthew Borowick or NJCS: Worldbuilding Through Photography with Lindsey Ruth (Sigma) can help you connect technical choices to visual storytelling, which is ultimately the reason these processing choices matter.

6. Meter for Shadows When Pushing, Watch Highlights When Pulling
Your metering strategy should change with the process
Because pushing tends to sacrifice shadow detail, be intentional about what matters most in the frame. In many situations, it helps to meter so important shadows still receive enough exposure. With pulling, your attention often shifts toward bright tones and preserving texture in highlights.
Try these practical habits:
- When pushing: avoid underexposing just because the scene looks moody; give key subject areas enough light.
- When pulling: use the extra exposure deliberately, especially in harsh daylight where highlight roll-off matters.
- Bracket important shots: one frame at your intended rating and one slightly safer frame can reveal a lot.
7. Expect Scans to Influence Your Impression
Lab scans can hide or exaggerate what push/pull processing did
Many photographers judge push and pull results from scans alone, but scanner interpretation plays a major role. A lab can lift shadows, compress highlights, or add contrast in ways that make two negatives look more similar than they really are. If you want to evaluate your results accurately, compare scans with contact sheets, darkroom prints, or at least minimally corrected files.
This is especially important if you are deciding whether a certain stock still looks good at +2, or whether a pulled negative really gave you smoother highlights versus simply receiving a flatter scan.
8. Use Push and Pull as Problem-Solving Tools, Not Default Habits
The best choice depends on scene, film, and final use
Push and pull processing are most effective when they are intentional. Pushing every low-light roll by default can leave you with more contrast and less shadow information than you wanted. Pulling every bright-day roll can reduce the snap that made the scene exciting in the first place.
Ask yourself three quick questions before committing:
- Do I need the speed, or can I change my light or support my camera?
- Is highlight control the main issue, or am I trying to soften the overall look?
- Am I optimizing for scans, darkroom printing, or a specific final mood?
The more specific your answer, the better your processing choice will be.
Conclusion
Push and pull processing work best when you treat them as creative and technical tools rather than shortcuts. Push when you need speed or want added grit. Pull when the light is harsh and you want smoother highlights and gentler contrast. Most importantly, test your favorite film stocks and learn how they respond in the kinds of scenes you actually shoot. If you are ready to explore more film technique, creative tools, and photography education, Unique Photo is a great place to keep building your skills.