Push and pull processing sparks some of the most passionate conversations in the film community. Some photographers swear by a one-stop push for low-light street work, while others warn that every extra stop comes with contrast, grain, and color tradeoffs. The truth is that push/pull processing is less about "fixing" exposure mistakes and more about making informed creative and technical decisions. If you're comparing notes with other film shooters, testing your own workflow, or sending rolls to a trusted lab, these tips can help you get more consistent results.
Understand What Push and Pull Processing Really Changes
1. Pushing increases development to compensate for underexposure
When photographers say they "pushed" a roll one or two stops, they usually mean they exposed the film at a higher EI than box speed and then extended development to recover usable density. In community discussions, the most common real-world example is rating ISO 400 film at 800 or 1600 for concerts, events, or night street photography.
The important caveat: pushing does not magically create shadow detail that was never recorded. It tends to lift midtones and highlights more effectively than deep shadows, which is why pushed negatives often look punchier, grainier, and more contrasty.
2. Pulling reduces development for overexposed film or contrast control
Pulling is less commonly discussed, but it can be very effective when you intentionally overexpose negative film for smoother tonality and then reduce development to tame contrast. Landscape and daylight portrait shooters often debate this approach, especially in harsh sun where highlights can run away quickly.
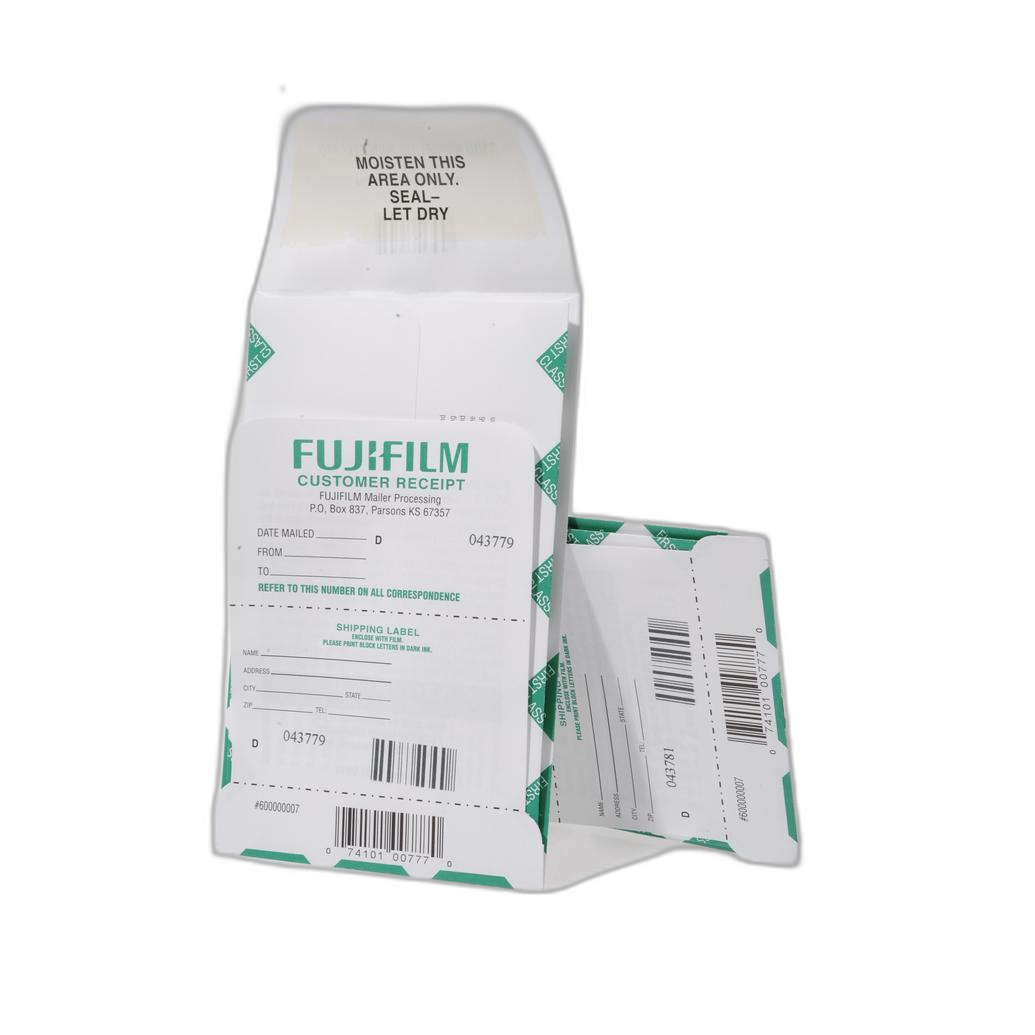
With slide film, tolerance is narrower, so precision matters even more. If you're mailing out E-6 rolls and want clear processing instructions, the Fujifilm Pre-Paid Processing Mailer 36 Exp(or 120) E-6/FujiChrome/Ektachrome is a convenient way to keep specialty processing organized.
Know the Practical Limits Before You Commit a Whole Roll
3. One stop is usually safe; two stops is common; three stops is a special case
A common consensus among experienced shooters is that a one-stop push is usually very manageable on many films, and two stops can still look excellent when the stock, metering, and lab technique all cooperate. Three stops is where community opinions really split. Some love the gritty, compressed-shadow look; others feel image quality falls off too much for critical work.
Real-world examples often look like this:
- ISO 400 at 800: modest contrast increase, manageable grain, strong everyday option.
- ISO 400 at 1600: popular for documentary and low-light use, but shadows get thinner.
- ISO 400 at 3200: creative look, often dramatic, but not ideal if you need clean scans and full tonal separation.
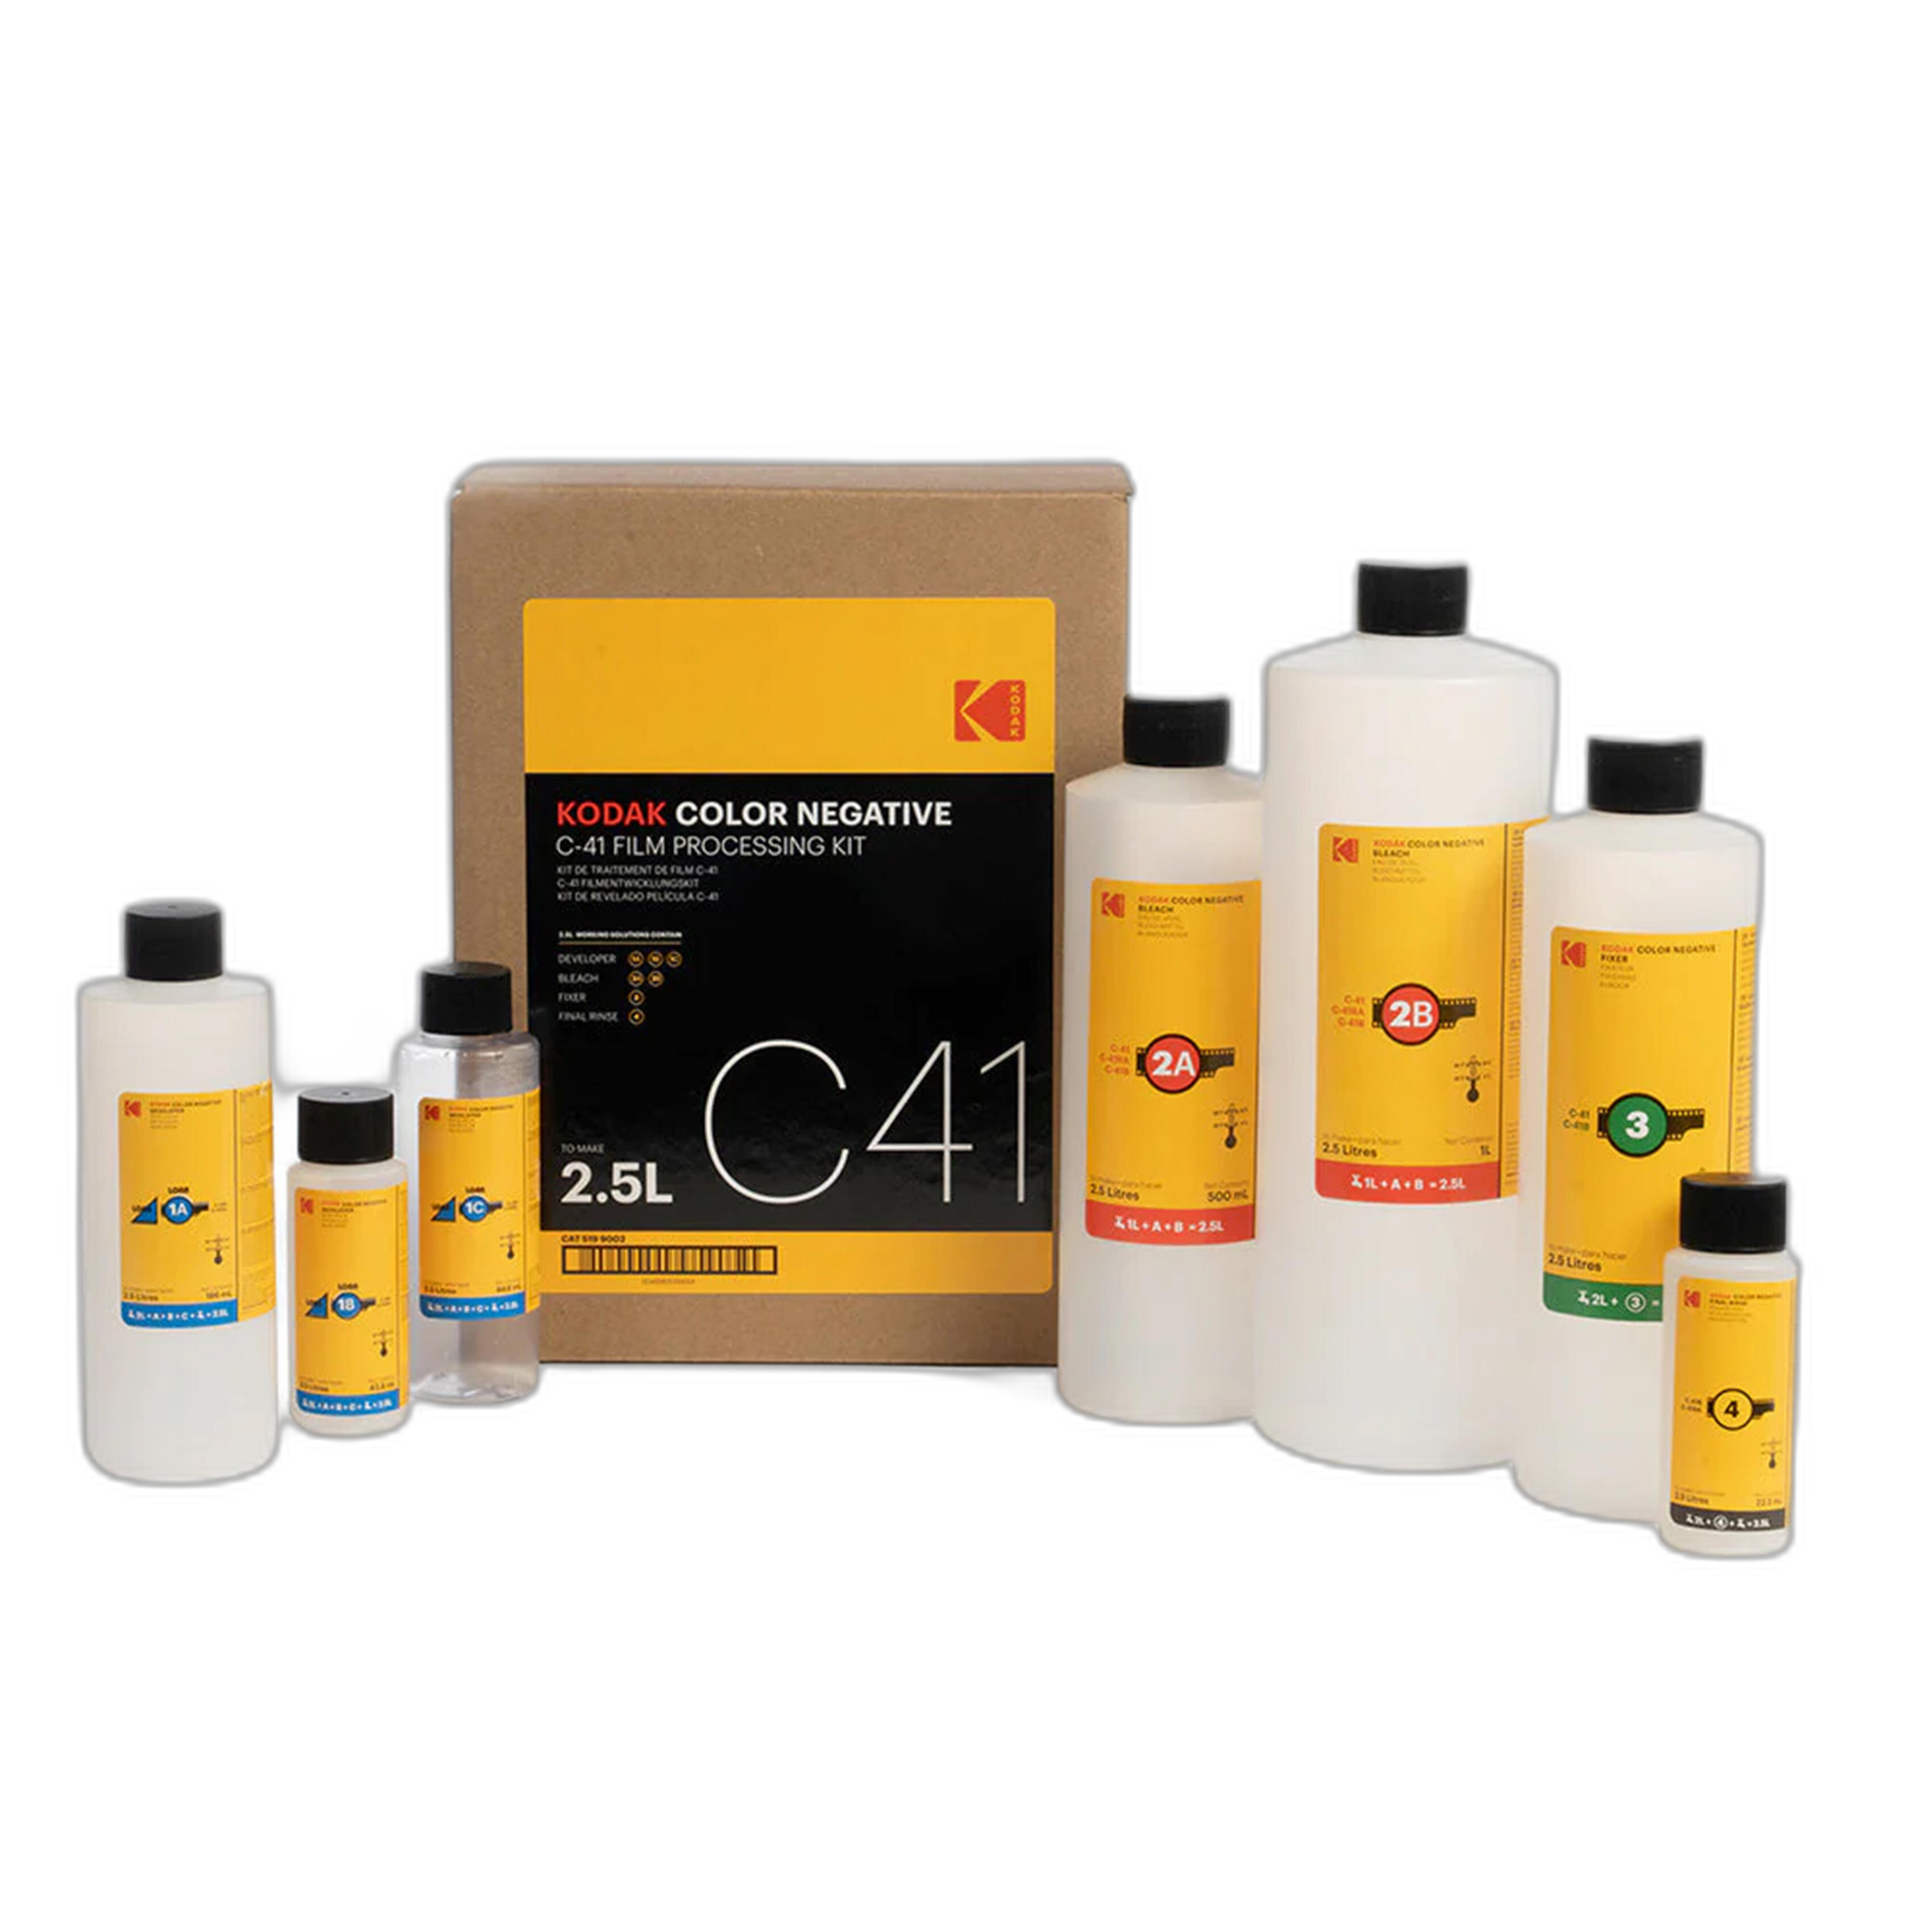
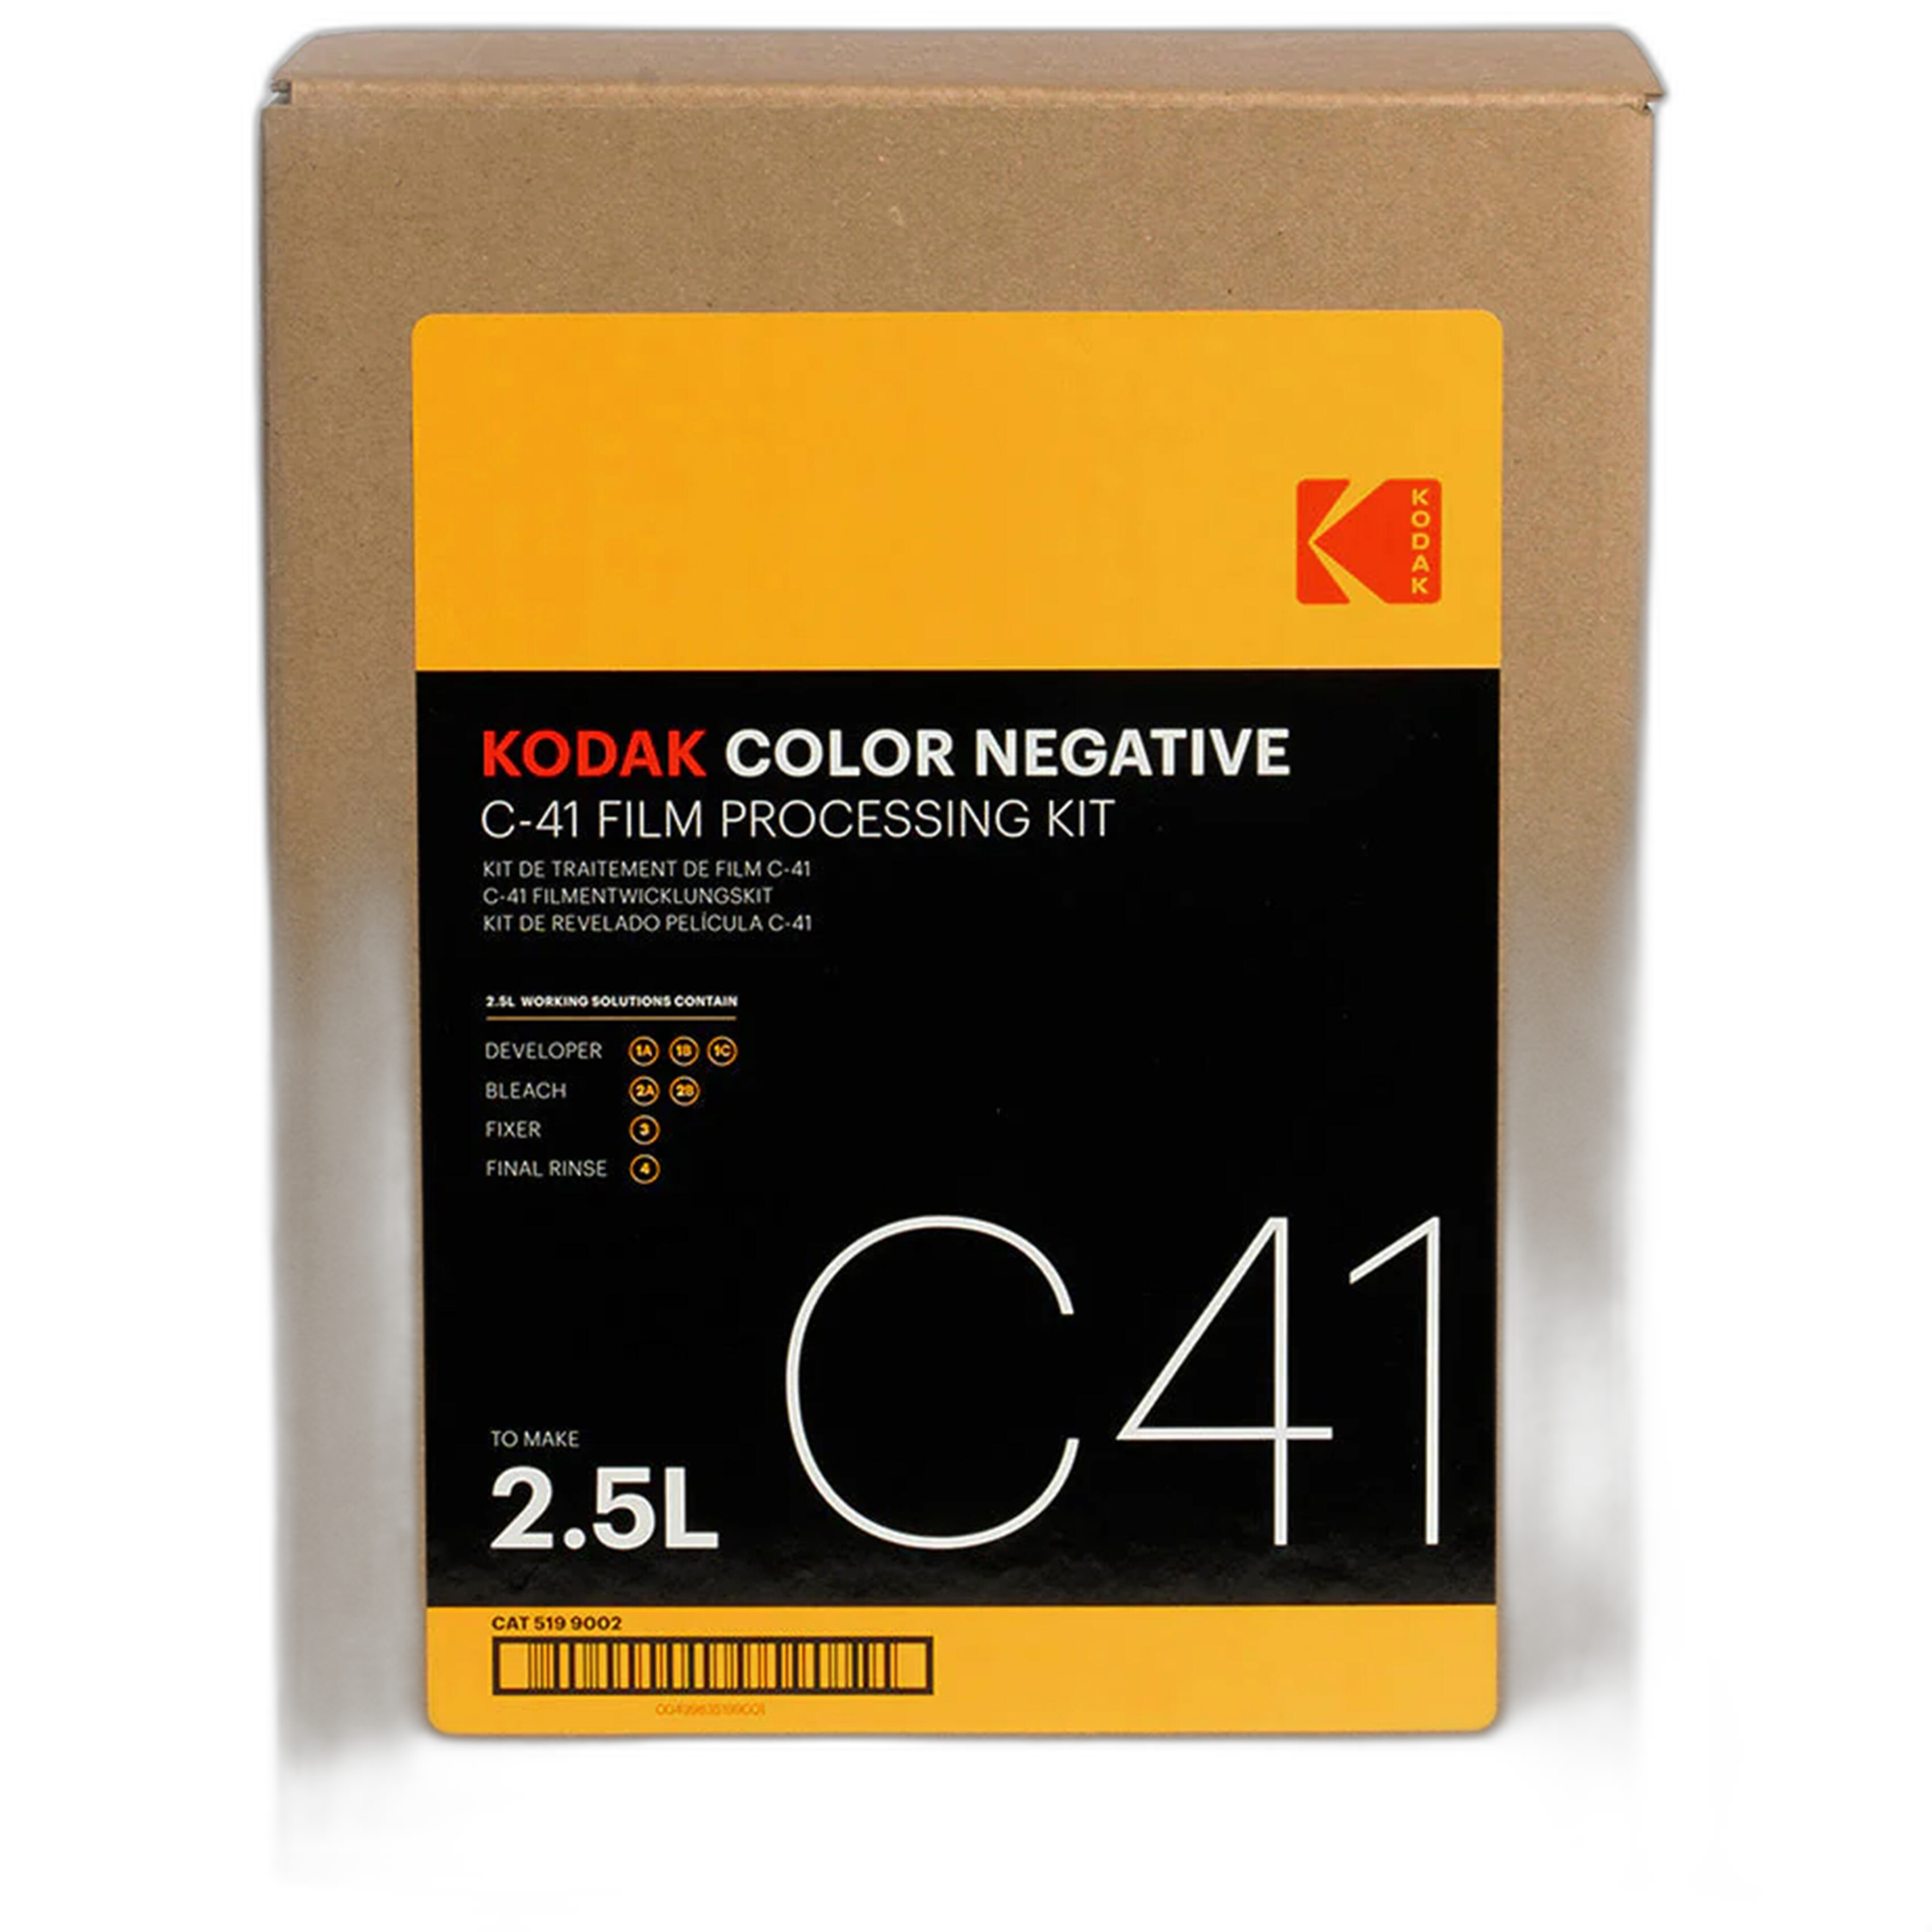
If you're developing color negative film at home, consistency becomes everything. A kit like the Kodak Color Negative C-41 Film Processing Kit - 2.5 Liters can help you control time and temperature more precisely when testing how far a film stock will tolerate a push.
4. Film stock matters more than internet mythology
One of the biggest lessons shared in real-world examples is that not all films react the same way. Some color negative films handle overexposure beautifully but become muddy when underexposed and pushed too far. Some black-and-white films thrive on push processing and gain a classic gritty character. Slide film is usually the least forgiving.
The best practice is simple: test your preferred stock under your own scanning or printing workflow instead of relying entirely on other people's sample images.
Metering and Exposure Discipline Matter More Than the Processing Adjustment
5. Push for the scene, not because the meter reading makes you nervous
A lot of failed push/pull experiments come from inconsistent exposure rather than the lab step itself. If you're rating a film at 1600, meter intentionally for that speed and understand what parts of the scene you're sacrificing. Many photographers in community threads discover that they weren't really pushing the film creatively; they were just underexposing unpredictably.
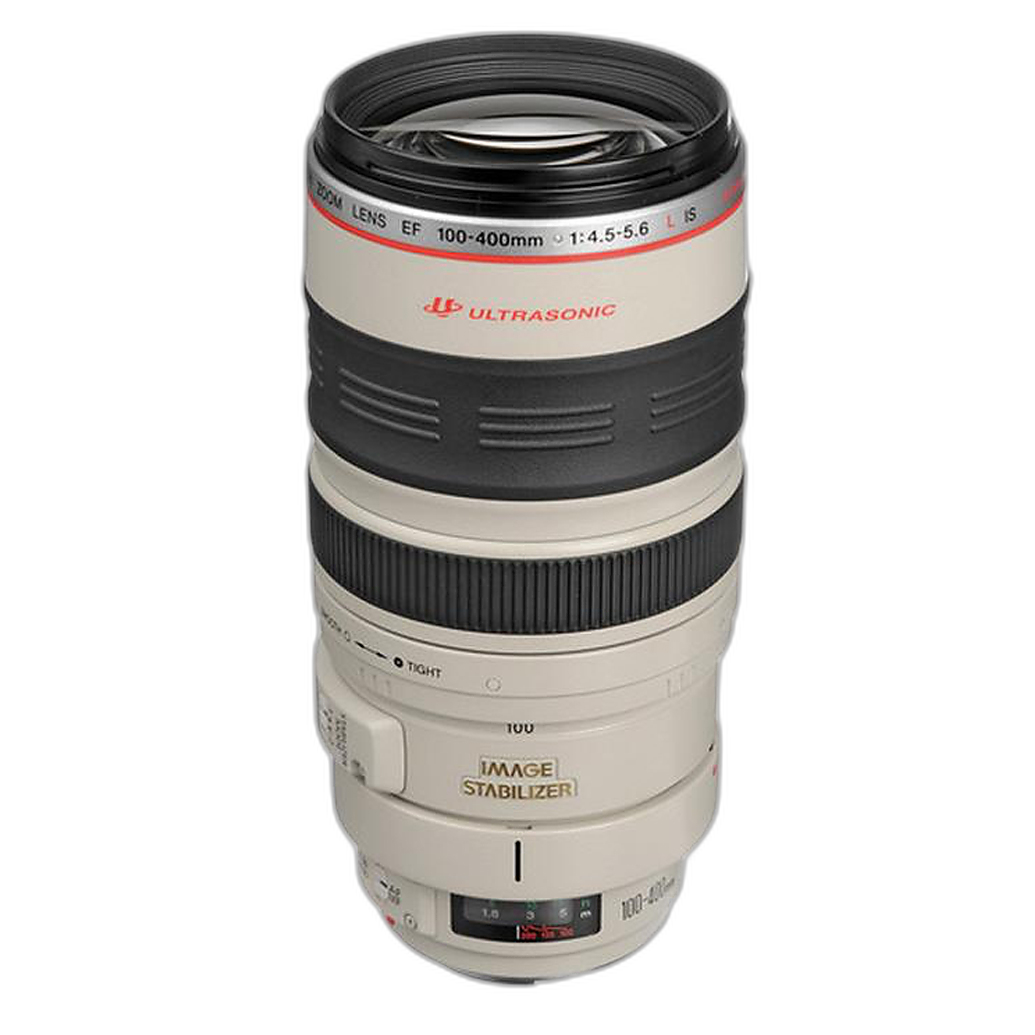
Low-light action and distant subjects are common reasons to push because they demand faster shutter speeds. A telephoto zoom can make that tradeoff even more obvious in practice. For example, using a classic zoom like the Used Canon EF 100-400mm f/4.5-5.6 L USM Push/Pull - Fair or the Used Nikon 70-210mm f/4-5.6 AF Nikkor Push/Pull - Good may encourage a film shooter to rate a roll faster to hold shutter speed when working handheld.
6. Protect shadows if they matter in the final image
This is probably the most repeated technical advice in push-processing debates: highlights may survive, but shadows disappear fast. If your composition depends on detail in dark clothing, hair, interior walls, or nighttime backgrounds, be cautious about aggressive pushing. Many sample images look great online because deep shadows are acceptable or even desirable in that style.
If you need richer shadow information, consider opening up exposure slightly and accepting a lower shutter speed, using support, or choosing a faster film instead of pushing beyond what the scene can realistically give you.
Lab Communication Is Crucial
7. Label rolls clearly and don’t mix instructions on the same roll
One of the easiest ways to avoid disappointment is to communicate processing instructions clearly. If a roll is shot entirely at +1 or +2, label it plainly. If it was exposed inconsistently, don't expect a single push setting to save every frame. Community veterans often remind newer film shooters that push/pull happens to the whole roll, not selectively frame by frame.
For specialty formats and lab workflows, make sure the lab knows exactly what you exposed and what result you want. If you're shooting 220, services like 220 NEGATIVE PROCESSING UNIQUE PHOTO LAB can help keep that process streamlined through a dedicated lab workflow.
8. Ask how your lab scans pushed or pulled film
This is overlooked all the time. Two labs can process the same pushed negative similarly but deliver very different scans. Contrast, color balance, and shadow rendering may vary dramatically depending on scanner settings and operator taste. When people compare sample images online, they're often comparing scanning decisions as much as development choices.
If you want more useful comparisons, ask for flatter scans when testing. That gives you a better read on what the negative actually contains.
Home Processing Requires Repeatability
9. Temperature and timing discipline matter more when you experiment
Push/pull processing conversations often get technical quickly because small inconsistencies become more visible when you depart from standard times. If you're processing C-41 at home, keep chemistry fresh, maintain accurate temperature control, and take detailed notes on every roll. The Kodak Color Negative C-41 Film Processing Kit - 2.5 Liters is especially useful for photographers who want to build a repeatable baseline before making creative adjustments.
10. Keep a notebook with scene type, meter method, and scan notes
The best real-world examples usually come from photographers who tracked their process carefully. Write down the film stock, rated speed, lighting conditions, metering approach, development changes, and how the scans were handled. After just a few test rolls, patterns become clear. You may find that your favorite black-and-white film loves +2, while your favorite color film only really shines at box speed or +1.
Use Community Feedback the Smart Way
11. Sample images are helpful, but only if you know the context
Film community debates are full of dramatic before-and-after claims, but sample images mean very little without context. Was the scene high contrast? Was the film actually underexposed or just metered differently? Was the scan heavily corrected? Was the look intentional? The most useful examples include exposure details, processing notes, and the photographer's goal.
If you want to learn from others in a more hands-on way, in-person events can be invaluable. Gatherings like the *FREE RSVP* Photo Community Social at Garage Passyunk (Philly) create opportunities to compare notes with photographers who have tested push/pull workflows in street, portrait, and event shooting.

12. Workshops and community classes can shorten your learning curve
Sometimes the fastest way to understand the limits of push/pull processing is to see how experienced photographers expose for their final intent. Educational opportunities such as PCS: Photographing Your Community with Brian W. Fraser can help you think more deliberately about available light, contrast, and storytelling before the film even reaches the lab.
And if your interest leans toward black-and-white experimentation, Film Lovers Event: Processing B and W Film at The Halide Project (Philly) is the kind of hands-on community experience that can make technical concepts far easier to apply consistently.
Final Thought: Test for Your Style, Not Someone Else’s
The limits of push/pull processing are not just chemical; they're aesthetic. One photographer's "too grainy" is another photographer's perfect mood. The best practice is to test methodically, communicate clearly with your lab, and judge results based on your own shooting goals. Whether you're mailing out E-6, processing C-41 at home, or swapping notes with other film shooters at a local event, every roll teaches you something.
For film processing supplies, community learning opportunities, and trusted lab services, Unique Photo is a great place to keep your experimentation moving forward.