
Who this guide is for
If you love sweeping vistas and tack-sharp detail from foreground pebbles to distant peaks, this guide is for you. We’ll cut through the common debates—aperture vs. diffraction, ISO vs. dynamic range, and hyperfocal vs. focus stacking—and give you practical, field‑tested advice. We’ve also included a few gear picks from Unique Photo to help you lock in sharp results consistently.
The settings that matter most for sharpness
Aperture: depth of field vs. diffraction
- Sweet spot: Most modern lenses are sharpest around two to three stops down from wide open (often f/5.6–f/8 on full frame). Start there when you don’t need extreme depth of field.
- When you need more DOF: Stop to f/11–f/13 for near‑to‑far sharpness on wide angles. Beyond that, diffraction softening increases—use only if absolutely necessary or use focus stacking instead.
- Ultra‑wide tip: On lenses 14–20mm, f/8–f/11 typically balances edge sharpness and depth of field well.
ISO and shutter speed: keep detail, avoid shake
- ISO: Use base ISO for maximum acuity and dynamic range. Raise ISO only to maintain a stabilization-safe shutter if wind or subject motion demands it.
- Shutter: On a tripod, you can let shutter go long. Use a remote release or 2s self‑timer to avoid vibrations. For handheld, keep 1/(2×focal length) as a starting point with stabilization on.
Stability and camera features
- Tripod + remote: Essential for critical sharpness, especially at base ISO.
- Turn off IBIS/OSS on a tripod: Many systems recommend disabling stabilization to prevent micro‑jitter (check your camera’s guidance).
- Use electronic front curtain shutter or full electronic shutter when it won’t cause rolling artifacts.
- Mirrorless manual focus assist: Use focus magnification and peaking for precise placement.
Focusing methods compared
Choose the method that matches your scene and print size goals. Here’s a quick comparison:
| Method | How it works | Best for | Pros | Trade‑offs |
|---|---|---|---|---|
| Single‑point AF ~1/3 into scene | Focus on a subject roughly a third into the frame at f/8–f/11 | Quick landscapes with moderate foreground | Fast, simple, reliable | Not optimal for extreme near‑to‑far scenes |
| Hyperfocal focusing | Set focus so far limit is at infinity and near limit is acceptable | Wide‑angle shots where everything must be acceptably sharp | Max depth in a single exposure | Requires charts/apps; slight near/far compromise |
| Focus stacking | Shoot multiple frames at different focus distances; blend in post | Critical detail and large prints; prominent foregrounds | Max sharpness front to back | More time in field/post; motion can complicate blends |
Technique checklist for tack‑sharp frames
- Compose and level the camera; secure tripod on firm ground (hang a bag for weight in wind).
- Set base ISO; choose f/8–f/11 (or stack if you need f/16+).
- Use manual focus with magnification; place focus either at the hyperfocal distance or bracket for stacking.
- Use a 2s timer/remote; disable stabilization on tripod.
- Enable exposure delay or EFCS to minimize shutter shock.
- Shoot RAW; bracket exposure if dynamic range is high.
- In post, apply capture sharpening first; if stacked, blend carefully to avoid halos.
Recommended gear to support sharp landscapes
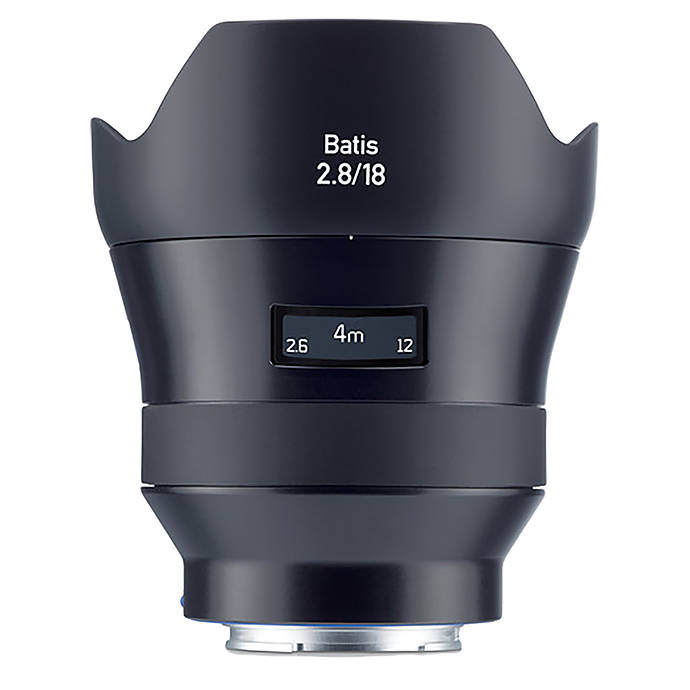
Zeiss Batis 18mm f/2.8 AF for Sony Full Frame E‑Mount (ZSL1005)
An ultra‑wide prime is a landscape staple, and this 18mm delivers excellent central and edge performance when stopped down—ideal for sweeping vistas and dramatic foregrounds. Fast, accurate AF makes it equally useful for quick‑moving light or handheld scouting frames.
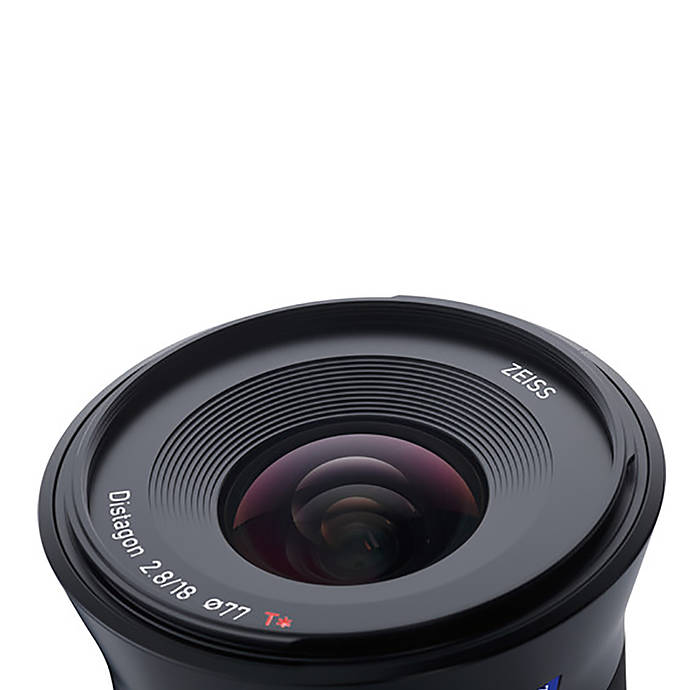
- Why it helps sharpness: Pairs beautifully with f/8–f/11 for edge‑to‑edge clarity; ultra‑wide field simplifies hyperfocal setups.
- Suggested starting point: ISO 100, f/8, focus ~1.2–1.5 m (depending on scene), 2s timer on tripod.
Nomatic Luma Camera Pack 18L – Stone (NOA1007)
Stability starts before you press the shutter. A comfortable, organized pack keeps your hands free for tripod work and protects lenses from knocks that can throw off fine tolerances. The 18L size is ideal for a day’s kit of body, wide prime, filters, and a compact tripod strapped externally.
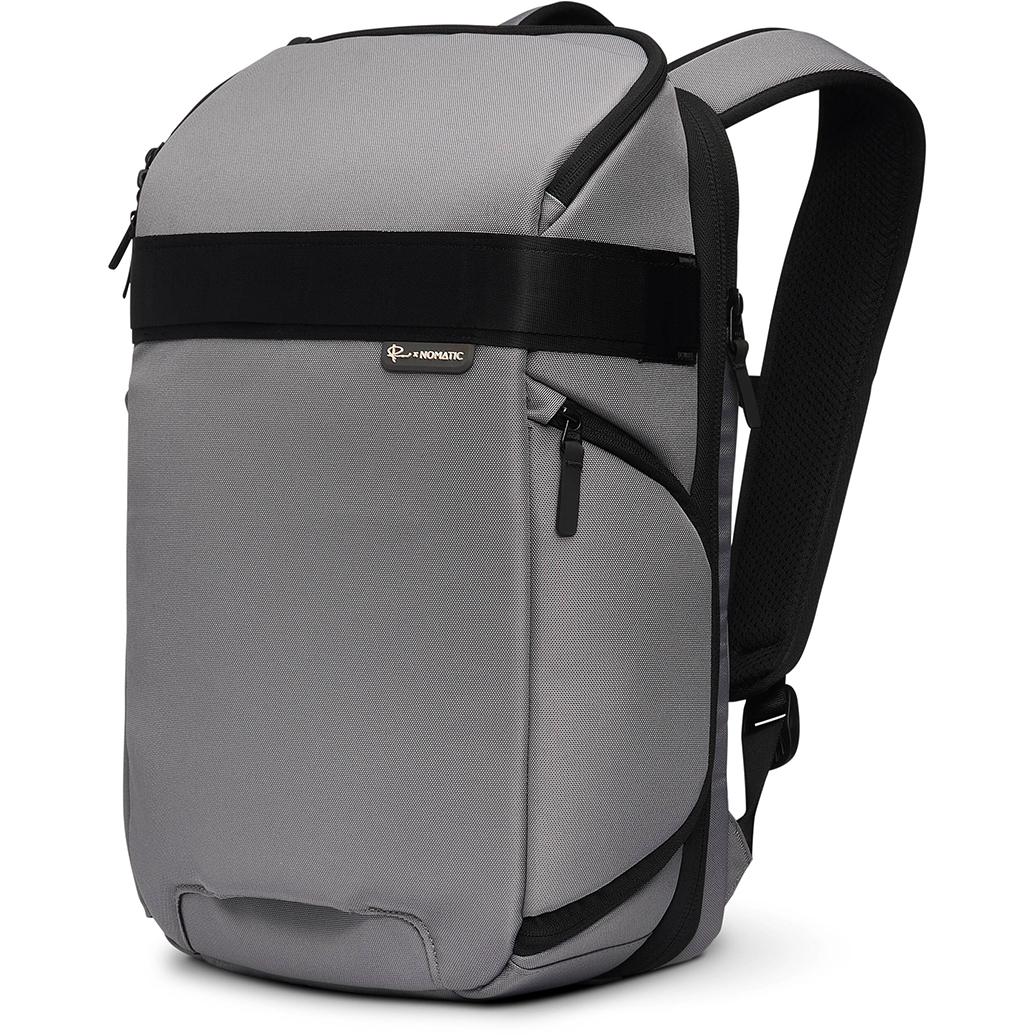
- Why it helps sharpness: Efficient access reduces lens swapping in wind and dust; secure carry minimizes accidental bumps.
- Pack tip: Keep heavier items centered and close to your back to maintain balance on uneven terrain.
PGYTECH Camera Strap Slim – Vintage Olive Green (PGY1249)
For moments when you’re off‑tripod, a slim, comfortable strap helps stabilize the camera against your body for steadier handheld shots—especially at dawn and dusk. A small accessory that pays dividends in real‑world sharpness.
- Why it helps sharpness: Adds one more contact point for stability; quick length adjustments support braced shooting.
Quick‑start recipes (use as a baseline)
| Scene | Aperture | ISO | Shutter | Focus method |
|---|---|---|---|---|
| Grand vista, mild foreground | f/8 | 100 | As needed on tripod | Single‑point ~1/3 into scene |
| Near foreground + distant mountain | f/11 | 100 | As needed on tripod | Hyperfocal (app/markings) or 3‑frame focus stack |
| Blue hour, light breeze | f/8 | 200–400 | Maintain 1–2s to avoid blur from foliage, or wait for lulls | Manual focus with magnification |
| Handheld scouting | f/5.6–f/8 | Auto ISO (cap at 1600) | 1/(2×focal length) minimum | Single‑point AF |
Conclusion: the sharpness game plan
To consistently maximize landscape sharpness, start at base ISO, work around f/8–f/11, lock the camera on a solid support, and choose the focusing method that suits your scene—hyperfocal for simplicity, stacking for ultimate detail. For Sony full‑frame shooters, our pick is the Zeiss Batis 18mm f/2.8 for its excellent edge performance when stopped down. Pair it with a thoughtful carry solution like the Nomatic Luma 18L and a simple stability aid like the PGYTECH Camera Strap Slim.
Ready to build a sharper landscape kit? Shop these picks and more at Unique Photo—online or in‑store—where our experts can help tailor settings and gear to your shooting style.