Get Pin‑Sharp Landscapes: A Guide for Photographers Who Want More Detail
If you love wide vistas, dramatic skies, and foreground textures—and you want them razor sharp—this guide is for you. Whether you’re just starting in landscapes or you’ve got miles of trails behind you, we’ll walk through the best camera settings and field techniques to maximize sharpness. We’ve also hand‑picked learning resources from Unique Photo to help you practice in the field and perfect sharpness in post.
The Core Camera Settings for Sharp Landscapes
- Aperture: For most scenes, set f/8–f/11 to hit your lens’s sweet spot and maintain depth of field. Avoid f/16–f/22 unless you need extra depth—diffraction can soften details.
- ISO: Use base ISO (64–100 on most systems) whenever possible. Raise ISO only to control subject motion (wind, water, people).
- Shutter speed: With a tripod, don’t fear long exposures for static scenes. To freeze foliage in a breeze, aim for 1/125–1/250 sec; for moderate wind, 1/250–1/500 sec. If you want water blur, keep ISO low and lengthen exposure with a tripod.
- File format: Shoot RAW for the most latitude in sharpening and noise reduction.
- White balance: Use a fixed WB (e.g., Daylight) to keep a consistent series; you can fine‑tune in RAW.
Focus Like a Pro: Hyperfocal and Focus Stacking
- Single‑point AF: Use AF‑S/One‑Shot with a single point placed where you want critical focus. For static scenes, consider manual focus.
- Live View + magnification: Zoom in 5–10× to confirm micro‑contrast on your focus target, especially on foreground textures.
- Hyperfocal made easy: With a 24mm lens on full‑frame at f/11, focus around 7 ft (≈2.1 m) to keep infinity sharp. On APS‑C, a 16mm at f/8 focuses around 6 ft (≈1.8 m). When in doubt, focus a little beyond your near subject—not at infinity.
- Focus stacking: For ultra‑close foregrounds, shoot 3–7 frames at f/8–f/9, shifting focus from foreground to distance, then blend in software for edge‑to‑edge sharpness.
Stabilization, Vibration Control, and Shutter Discipline
- Tripod technique: Use a sturdy tripod, tighten everything, and avoid touching the camera during exposure.
- Self‑timer or remote: Enable a 2–5s self‑timer, use a remote, or enable exposure delay to eliminate shake.
- IBIS/IS: Turn stabilization off when on a tripod (unless your system auto‑detects tripod use and recommends otherwise).
- Mirror lock‑up/EFCS: On DSLRs, use mirror lock‑up or exposure delay. On mirrorless, enable electronic front‑curtain shutter; full electronic shutter can help with static scenes.
- Wind mitigation: Lower your tripod, hang weight from the center column, and shield the camera from gusts with your body.
Exposure and File Settings That Preserve Detail
- Histogram and ETTR: Expose to the right without clipping highlights to maximize tonal data, then pull back in post.
- Long exposure NR: For multi‑frame stacks, turn off to avoid delays; for single very long exposures, consider enabling to reduce amp glow and hot pixels.
- Lens sweet spot: Most lenses peak around f/5.6–f/8; for landscapes, f/8–f/11 balances sharpness and depth.
Field Checklist for Sharp Results
- Tripod secure, IBIS/IS off, 2–5s timer or remote engaged.
- Aperture f/8–f/11; ISO at base; shutter set for motion control.
- Single‑point AF or MF with magnification; confirm critical focus.
- Check corners at 100% (magnify in live view); adjust if needed.
- Review histogram; avoid highlight clipping.
- Bracket focus or exposure if the scene is complex.
Recommended Classes and Resources
Macro and Landscape Photography at Duke Farms with Michael Downey

Hands‑on field coaching to sharpen your technique where it counts. Practice hyperfocal focusing, tripod workflow, and exposure discipline alongside an instructor—ideal for translating the settings in this guide into muscle memory.
- Best for: In‑field practice with live feedback
- Helps you master: Focus placement, vibration control, lens sweet spot
Editing and Enhancing Landscape and Nature Photography with Photoshop

Sharpness isn’t finished in camera. Learn capture, creative, and output sharpening; deconvolution; texture‑preserving noise reduction; and clean focus‑stack blending for edge‑to‑edge detail.
- Best for: Turning sharp captures into crisp, printable images
- Helps you master: Sharpening stages, detail masking, focus stacking
UUOnline: Photoshop Mentoring (Session 3)

One‑on‑one guidance tailored to your camera and lens. Bring problem files (wind, diffraction, soft corners) and get a custom sharpening and workflow plan.
- Best for: Personalized critique and workflow refinement
- Helps you master: Camera‑specific sharpening profiles, print prep
Seminar: How to Capture Great Festival and Event Photos with David Wells

While not landscape‑specific, this seminar excels at shutter speed and ISO decision‑making—skills that translate directly to handling wind and motion in outdoor scenes for sharper results.
- Best for: Motion management and decisive exposure skills
- Helps you master: Balancing shutter, aperture, and ISO under pressure
Quick Comparison of Our Top Learning Picks
| Program | Format | Key Sharpness Skills | Best For |
|---|---|---|---|
| Macro & Landscape at Duke Farms | In‑person, field | Hyperfocal focus, tripod technique, exposure discipline | Hands‑on learners |
| Editing & Enhancing Landscapes (Photoshop) | Classroom/online | Capture/creative/output sharpening, focus stacking | Post‑processing improvement |
| UUOnline: Photoshop Mentoring | 1‑on‑1 online | Custom sharpening workflow, print prep | Personalized coaching |
| Festival & Event Photos Seminar | Seminar | Shutter/ISO choices for motion control | Mixed shooting skills |
Our Pick
If you want immediate, repeatable gains in sharpness, nothing beats guided field practice. This class cements the core settings—f/8–f/11, base ISO, precise focus placement—while an instructor checks your technique in real time.
Print and Preserve Your Sharpest Shots
Evaluating prints is the ultimate sharpness test. These albums make it easy to review, sequence, and archive your best landscapes.
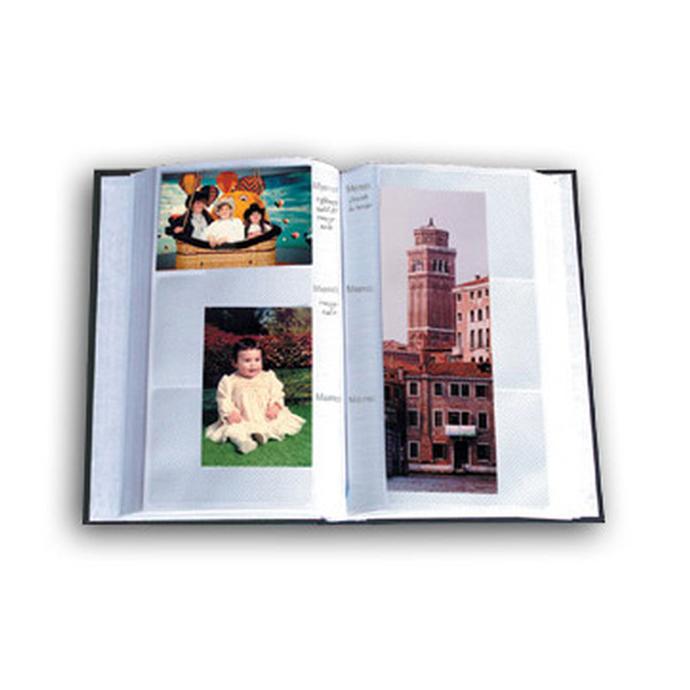
Pioneer 4 x 6 In. Bi‑Directional Memo Photo Album (200 Photos) - Black

Store 200 4×6 prints with notes about aperture, focus distance, and conditions. Great for building a sharpness reference library you can flip through.
Pioneer 4 x 6 In. Embossed Leather Frame Photo Album (200 Photos) - Brown
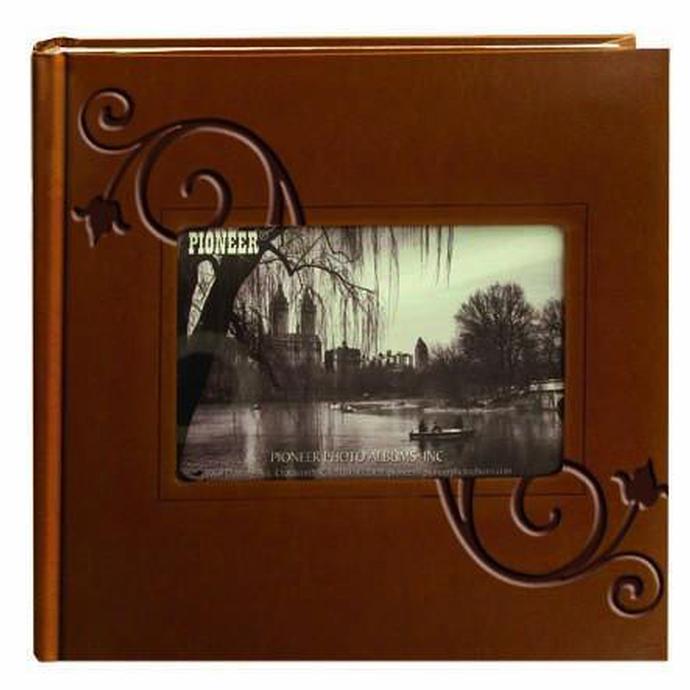
A handsome way to archive your best work. Reviewing physical prints helps you spot diffraction, motion blur, and sharpening halos more easily than on a backlit screen.
Pioneer Album Refill Pages for BP‑200 Album (30 Photos)
Expand your album as your landscape portfolio grows. Keep notes on settings with each image to build a reference for future shoots.
Conclusion: The Clear Path to Sharper Landscapes
Set f/8–f/11, keep ISO at base, stabilize the camera, place focus deliberately (or stack), and finish with thoughtful sharpening. Practice these steps consistently and your landscapes will look crisper, corner to corner. To accelerate your progress, join a hands‑on field class or refine your post‑processing with Unique Photo’s education options above—and celebrate your best work in print. Visit Unique Photo to learn, shoot, and preserve your sharpest landscapes.