Landscape Photography Setup: Buying Guide for Tripods and Filters
Sharp, compelling landscapes start with two essentials: a stable tripod and the right filters to control light. Whether you shoot mountains at blue hour or long-exposure seascapes at noon, dialing in this part of your kit unlocks consistency, creative control, and clean files. Use this guide to choose wisely and set up efficiently in the field.
Tripod Buying Guide
-
1) Choose a load capacity with headroom
Pick a tripod rated for at least 1.5–2x the total weight of your camera, heaviest lens, and head. Extra capacity helps resist wind and vibration, especially with long exposures. Don’t forget the head’s weight and rating are part of the equation.
-
2) Match material and height to your terrain
Carbon fiber dampens vibration and is lighter for hiking; aluminum is cost-effective and rugged. Aim for eye-level height without extending the center column, which compromises stability. Travel tripods pack small but may trade off height and stiffness; full-size legs excel in wind and water.
-
3) Pick leg locks and feet for real-world speed
Twist locks are low-profile and quick; flip locks are easy to see and operate with gloves. Interchangeable feet (rubber, spikes) keep you planted on sand, rock, or mud. A center column that inverts or a removable column helps you get low for foreground interest.
-
4) Select the right head for landscapes
A sturdy ball head with a panning base is compact and fast. Geared heads offer precise micro-adjustments for architecture and critical horizons. Arca-Swiss-style clamps and plates are the de facto standard; an L-bracket speeds vertical shots without cantilevering your setup.
-
5) Set up for maximum stability
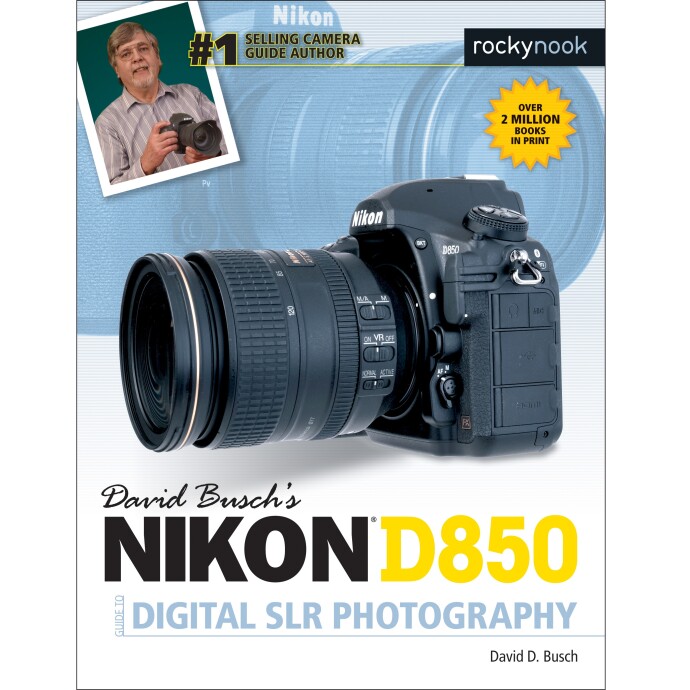
Keep the thickest leg sections down and extend the thinnest last. Point one leg into the wind, widen the stance, and avoid raising the center column. If your tripod has a hook, hang a weighted bag so it gently contacts the ground (no swinging). Use a remote or 2s timer; enable electronic front-curtain or exposure delay where available. For DSLR users, mirror lock-up helps during long exposures. Camera-specific guides, like Nikon D850 resources, are invaluable for mastering these features.
Filter Buying Guide
-
6) Circular Polarizer (CPL): cut glare, deepen skies
A CPL removes reflections from water and foliage, boosts saturation, and adds definition to clouds. Buy the correct size for your lens thread (or use step-up rings), choose a slim mount to reduce vignetting on wide angles, and go for multi-coated glass. Rotate while viewing through the finder to fine-tune. With ultra-wide lenses, watch for uneven polarization across the sky.
-
7) Solid ND filters: control time for creative blur
Neutral density filters (3-, 6-, and 10-stop) enable silky water, cloud streaks, and people-free cityscapes. Screw-in NDs are compact and quick; square systems accommodate stronger densities and stacking. Expect longer shutter speeds—shield the viewfinder or use long-exposure modes to prevent light leaks, and check for color cast. A focus and compose-first workflow before mounting strong NDs keeps things fast.
-
8) Graduated NDs: balance bright skies and dark land
Hard-edge grads suit clean horizons; soft-edge grads handle mountains and trees; reverse grads tame glowing horizons at sunrise/sunset. A 100mm holder system is a versatile starting point for most lenses. Alternatively, bracket exposures and blend in post for maximum flexibility—perfect when the horizon is complex.

-
9) Sizes, step-up rings, and holders
Buy filters for your largest lens diameter (commonly 77mm or 82mm) and use step-up rings for smaller lenses—it’s economical and avoids buying duplicates. Magnetic CPL/ND systems speed changes in variable light. If you shoot an ultra-wide with a bulbous front element, look for a dedicated 100/150mm holder instead of screw-in filters.
-
10) Care and weather readiness
Store filters in padded cases; carry a microfiber cloth and blower. In spray or rain, use a hood or rain cover and wipe from center outward. Avoid stacking too many filters, which can vignette; check for cross-polarization when combining a CPL with other filters.
Field Workflow and Practice
-
11) Compose, level, then lock
Rough in your framing, level the horizon via a built-in level or a leveling base, then lock the head and fine-tune. This avoids chasing a crooked horizon after you’ve dialed exposure and focus.
-
12) Eliminate vibration
Use a cable release or 2s delay, and stand away from the tripod during exposure. In strong wind, lower the profile, reduce sail area (don’t extend the center column), and shield the setup with your body or a jacket.
-
13) Exposure strategy: bracket, blend, and stack
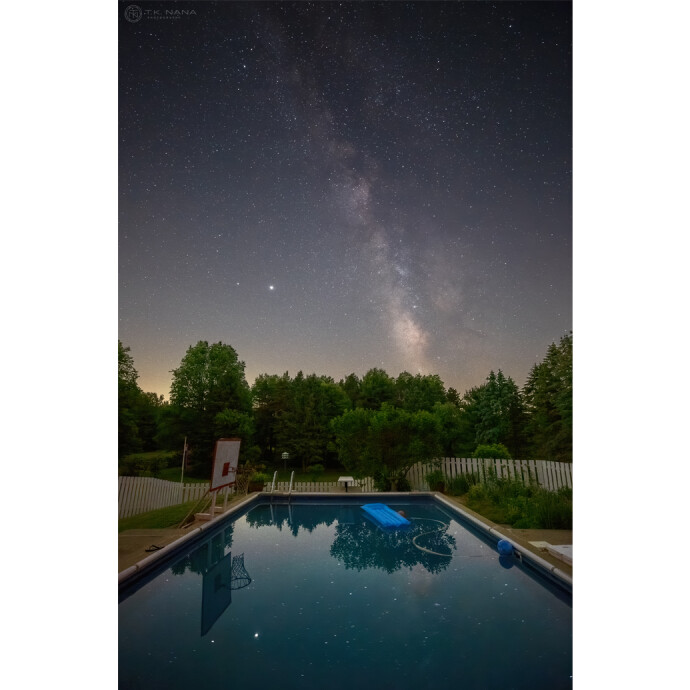
Bracket for dynamic range when the sky is hot, focus stack for front-to-back sharpness at close foreground distances, and keep a consistent white balance when using strong NDs. For nightscapes, a truly rigid tripod and careful technique are non-negotiable—great practice for Milky Way season.
Keep Learning with Unique Photo
Hone your fieldcraft and post-production to make the most of your tripod and filters. On-location workshops like Macro and Landscape at Duke Farms help you refine composition and tripod technique in real conditions, while post-processing classes such as Editing and Enhancing Landscape and Nature Photography with Photoshop teach subtle blends and color control that complement GNDs and CPLs. Camera-specific references (like a Nikon D850 guide) deepen your mastery of features that improve stability and image quality. For night landscapes, an astrophotography series is a perfect way to stress-test your support system and long-exposure workflow.
Ready to build your kit? Visit Unique Photo online or in-store for expert guidance on tripods, heads, filters, and the education to use them well. See you out on the trail.