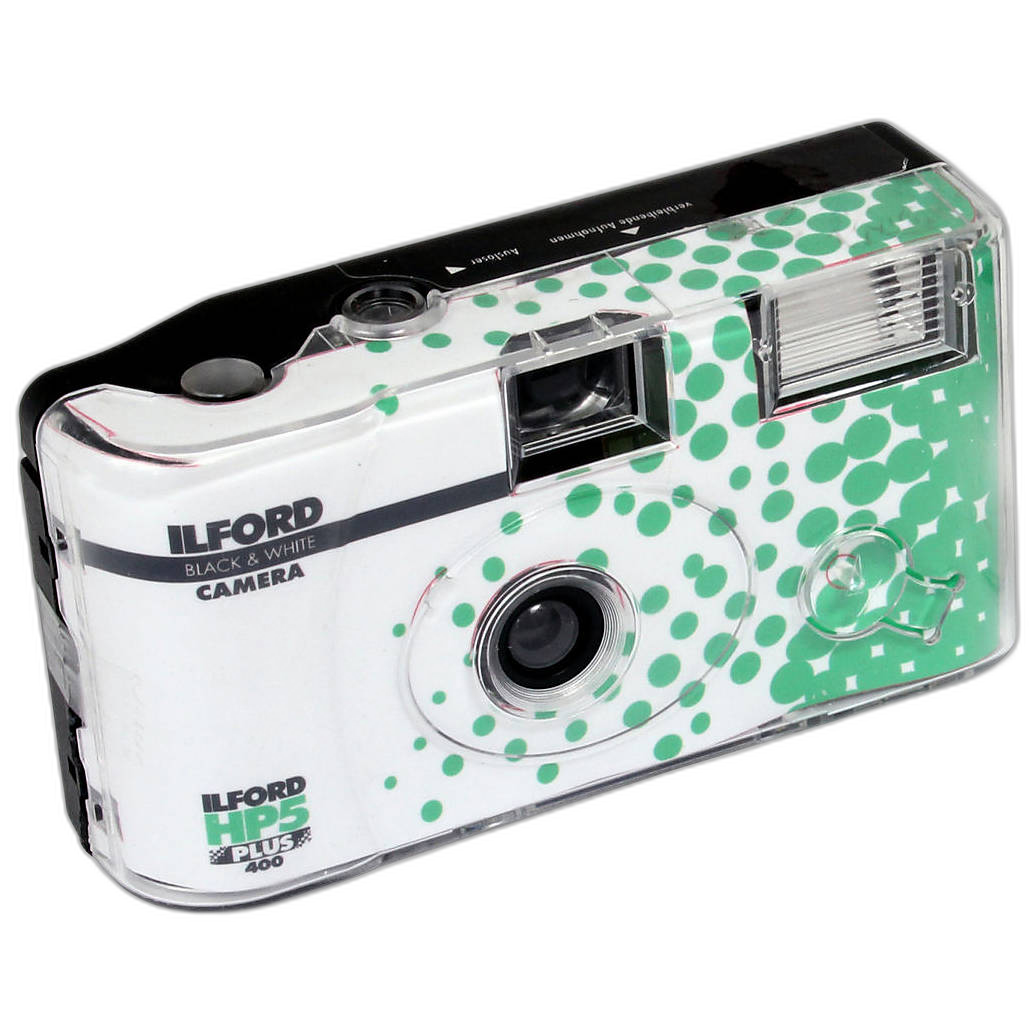
Developing black & white film at home remains one of photography’s most satisfying hands-on skills, and in the mid-2020s it continues to attract both first-time film shooters and long-time darkroom users returning to the craft. Few films are better suited to learning the process than Ilford HP5 Plus and Ilford FP4 Plus. Both are established classics, widely trusted, forgiving in the tank, and capable of beautiful results whether you are printing traditionally or scanning for a digital workflow.
This guide walks through the home-development process step by step, with practical attention to the essentials: loading a tank, using developer, stop bath, and fixer, pushing HP5 Plus, drying negatives, and scanning. While every darkroom worker eventually develops personal preferences, the basic sequence is straightforward. With care, consistency, and patience, you can produce clean, usable negatives from your kitchen, bathroom, laundry room, or dedicated workspace.
Why HP5 Plus and FP4 Plus Are Ideal for Home Development
Ilford’s black & white films have earned their reputation over decades of practical use, and HP5 Plus and FP4 Plus represent two especially approachable options for home processors.
HP5 Plus is known for flexibility. It is a natural choice for changing light, handheld shooting, and photographers who may want to rate the film differently from box speed. It is also one of the best-known films for pushing, making it especially relevant for anyone exploring lower light or a more contrasty, gritty look.
FP4 Plus, by contrast, is often favored when you want a bit more deliberation: daylight work, tripod shooting, portraits, landscapes, architecture, and scenes where fine tonality matters. It is still forgiving, but many photographers choose it for its classic rendering and controlled look.
For beginners, either film offers a valuable lesson: good black & white processing depends less on mystery than on discipline. Accurate temperature, clean chemistry, proper agitation, and careful drying matter more than elaborate equipment.
What You Need to Develop Black & White Film at Home
Before you start, gather everything you need so the process feels calm rather than rushed. A basic setup includes:
- A developing tank and reel sized for your film format
- A changing bag or a completely dark room for loading the film
- Developer
- Stop bath or clean water if using a simplified workflow
- Fixer
- Measuring graduates or containers for mixing chemistry
- A thermometer
- A timer
- Film clips or clothespins for drying
- Optional wetting agent for the final rinse
- Optional sleeves, a light box, and a scanner for digitizing negatives
Always follow the current chemical manufacturer instructions for mixing, dilution, capacity, and disposal. Development times vary by film, developer, dilution, and the speed at which you exposed the film.
Step 1: Loading the Film Into the Tank
For many beginners, this is the hardest part—but only because it is unfamiliar. Once learned, it becomes routine.
Prepare Before the Lights Go Out
Set out your tank, reel, scissors if needed, and the exposed roll of film. Make sure the reel is completely dry. A damp reel can make loading much more difficult, especially with roll film.
Load in Total Darkness
Place the film, reel, and tank inside a changing bag or enter a room that can be made completely dark. Open the film cartridge or backing, trim the leader if necessary, and feed the film onto the reel. Advance it carefully until the full roll is loaded, then place the reel into the tank and close the lid securely.
Once the tank is sealed, the rest of the process can be done in normal light.
Tip: Practice with a sacrificed roll in daylight before your first real attempt. Building muscle memory makes a dramatic difference.
Step 2: Mix and Prepare Your Chemistry
The classic black & white sequence is simple:
- Developer converts the exposed latent image into visible metallic silver.
- Stop bath halts development.
- Fixer removes unexposed silver halides so the image becomes stable in light.
Bring your chemistry to the recommended working temperature and mix only what you need for the tank. Consistency is the key to repeatable negatives. Even if your chosen developer is highly forgiving, uneven temperatures or inaccurate measurement can lead to inconsistent density or contrast.
Step 3: Develop the Film
Pour the developer into the tank and start your timer immediately. Agitation method depends on your tank and chemistry, but the important thing is to be consistent. Most home developers use an initial period of agitation followed by brief agitation at regular intervals.
Tap the tank gently after agitation to dislodge air bubbles. Continue until the full development time has elapsed, then pour out the developer.
Developing HP5 Plus
HP5 Plus is especially popular because it tolerates real-world exposure and processing variation well. In practical terms, that means many photographers find it a comfortable film on which to learn timing, agitation, and scanning. It can deliver classic black & white tonality when processed normally, but it also responds well when exposed for lower light and developed longer.
Developing FP4 Plus
FP4 Plus rewards careful exposure and controlled development. If HP5 Plus is the all-rounder many photographers keep loaded for changing conditions, FP4 Plus often feels more deliberate. Home processors frequently appreciate how clearly it teaches the relationship between exposure, development, and tonal separation.
Step 4: Stop Bath and Fixer
Stop Bath
After development, fill the tank with stop bath and agitate as directed. This arrests development quickly and helps preserve the effectiveness of your fixer. Some photographers use water in place of stop bath, but a proper stop solution remains a standard and efficient choice.
Fixer
Next, pour in the fixer and agitate according to instructions. Fixing is what makes the film safe to view in normal light. Once the film is fixed for the recommended time, you can open the tank and inspect the negatives.
If the image looks milky or under-fixed, it may need more time in fresh fixer. As with development, do not guess when documentation is available—follow the fixer manufacturer’s guidance.
Step 5: Washing and Drying
After fixing, wash the film thoroughly to remove residual chemistry. Many home users rely on an efficient fill-and-invert wash method, while others use running water. A final rinse with a wetting agent can help reduce drying marks.
Remove the film carefully from the reel and hang it in a clean, dust-minimized space. Attach a clip at the bottom to help the strip hang straight. Let the film dry completely before cutting or sleeving.
Drying Tips That Matter
- Avoid dusty rooms and strong airflow.
- Do not touch the emulsion side while wet.
- Be patient—handling negatives too soon is one of the easiest ways to damage them.
A bathroom that has recently been steamed can sometimes work well because the moisture helps settle airborne dust, but cleanliness matters more than ritual.
Step 6: Pushing HP5 Plus
One reason HP5 Plus remains so widely used is its reputation for being push-friendly. In practical use, pushing means rating the film at a higher effective speed than box speed, then extending development to compensate.
Why do this? Usually because available light is low and you need a faster shutter speed or smaller aperture than normal exposure would allow. The visual result often includes increased contrast, stronger grain, and a more urgent documentary character.
When pushing HP5 Plus, remember that development does not magically recover everything lost through underexposure. Shadows may become leaner, and the look is part of the trade-off. Still, HP5 Plus has long been favored precisely because it can produce compelling results under these conditions.
The key is to meter and label carefully. If you expose a roll intending to push it, process the entire roll accordingly. Mixed-speed frames on one roll complicate development and usually compromise consistency.
Step 7: Cut, Sleeve, and Scan
Once the negatives are fully dry, cut them into strips and place them in archival sleeves. At this stage, you can make darkroom prints or move to a digital workflow.
Scanning Black & White Negatives
Scanning has become the bridge that brings traditional film into contemporary practice. Whether you use a dedicated film scanner or a camera-scanning setup, the essentials are the same:
- Keep negatives clean using a blower or anti-static method
- Scan at a resolution appropriate to your final use
- Preserve highlight and shadow detail rather than over-correcting too early
- Adjust contrast with restraint, especially if you plan to archive master files
HP5 Plus scans well for photographers seeking expressive grain and tonal flexibility, while FP4 Plus often appeals to those who want a crisp, classic monochrome file with elegant gradation. Neither film needs to be forced into a modern look to feel relevant; part of their continued appeal is that they already carry a distinct visual identity.
Common Beginner Mistakes to Avoid
- Rushing the loading process: most errors happen before chemistry is even poured.
- Using wet reels: dry equipment makes loading far easier.
- Inconsistent agitation: establish a repeatable routine.
- Ignoring temperature: small deviations can affect results.
- Poor drying conditions: dust and fingerprints are preventable.
- Scanning too aggressively: let the negative speak before over-editing.
The Enduring Appeal of Home Black & White Processing
There is a reason home development has endured from the twentieth century into the present resurgence of film photography: it offers control, economy, and direct involvement in the image-making process. With HP5 Plus and FP4 Plus, that process feels connected to a long tradition while remaining entirely practical for contemporary photographers.
The first roll may feel technical. By the third or fourth, the sequence begins to click. By the tenth, you start recognizing how exposure choices, development habits, and scanning decisions shape your own signature look. That is where home processing stops being merely instructional and becomes part of photographic authorship.
If you are ready to build a black & white workflow around trusted materials, Unique Photo is a great place to buy film, chemistry, tanks, scanners, and accessories, or simply to learn more about the enduring craft of film photography.