Home Film Developing FAQ: Must-Have Gear and Beginner Mistakes
Developing film at home is one of the most rewarding ways to take control of your photographic process. Whether you are just getting started with black & white or planning to branch into color, having the right tools and a consistent workflow will help you get cleaner negatives and more predictable results.
At Unique Photo, we help photographers build practical darkroom setups that fit their space, budget, and experience level. Below are answers to the most common questions about essential gear, troubleshooting, and when it makes sense to invest in more controlled processing tools.
What are the essential tools for developing black & white film at home?
For most photographers, a solid home developing setup starts with the basics: a light-tight developing tank and reels, accurate measuring containers, chemistry storage bottles, a thermometer, a timer, film clips for drying, and a clean dust-free area to hang negatives. You will also want trays for organizing chemistry or handling prints and other darkroom tasks. A reliable tray can make your workspace cleaner and easier to manage, especially if you later expand into prints or sheet film work.
The Paterson Developing Tray 12x16 White is a useful darkroom accessory for organizing wet workflow steps and maintaining a tidy station.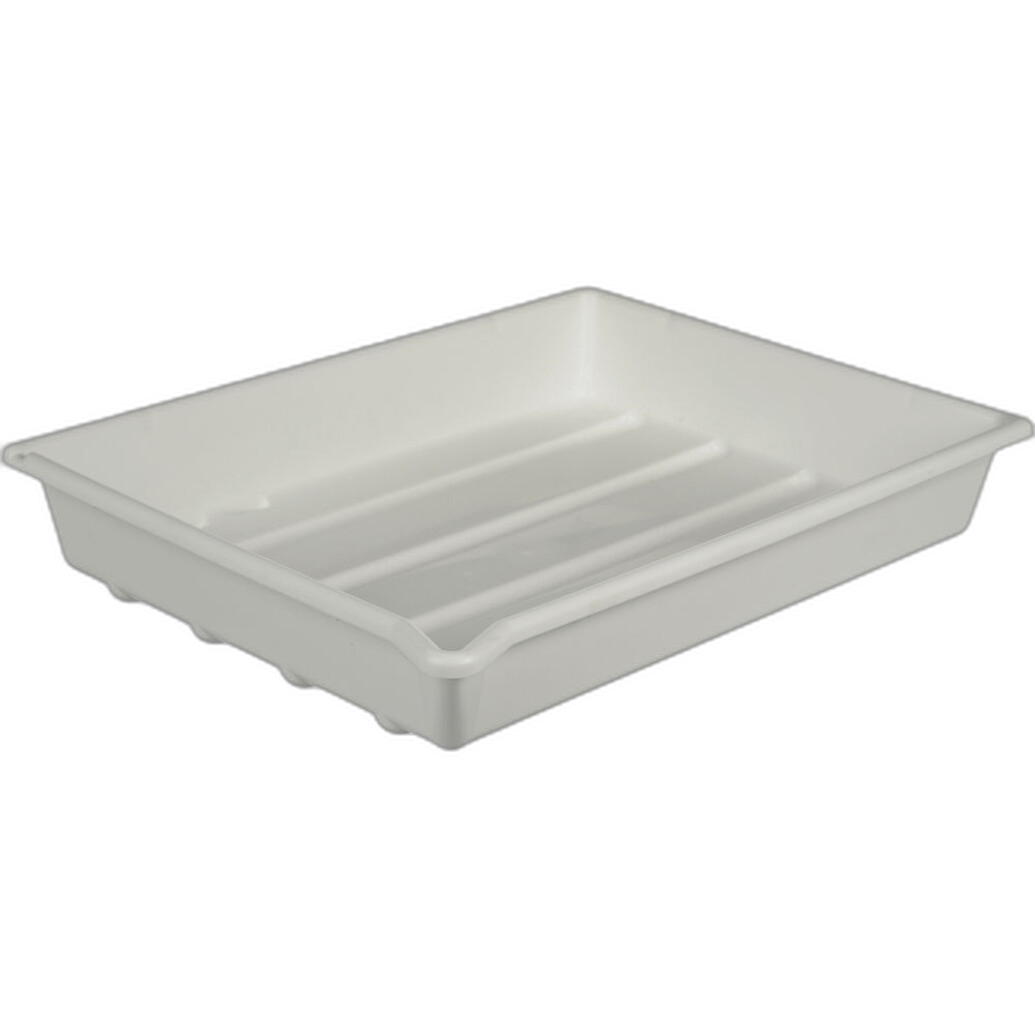
For black & white, consistency matters more than complexity. You do not need an elaborate lab to get started, but you do need accurate measuring, repeatable timing, and careful handling from loading through final rinse.
Do I need different gear for black & white, C-41 color, and E-6 slide film?
The core equipment is very similar across film types: tank, reels, graduates, thermometer, timer, and drying space. The biggest difference is chemistry and temperature tolerance. Black & white film is generally the most forgiving, which is why many photographers begin there. Color negative and slide film require tighter temperature control and more precise timing.
If you want to process color negative film at home, the Arista C-41 Liquid Color Negative Developing Kit is a practical option for building a home color workflow.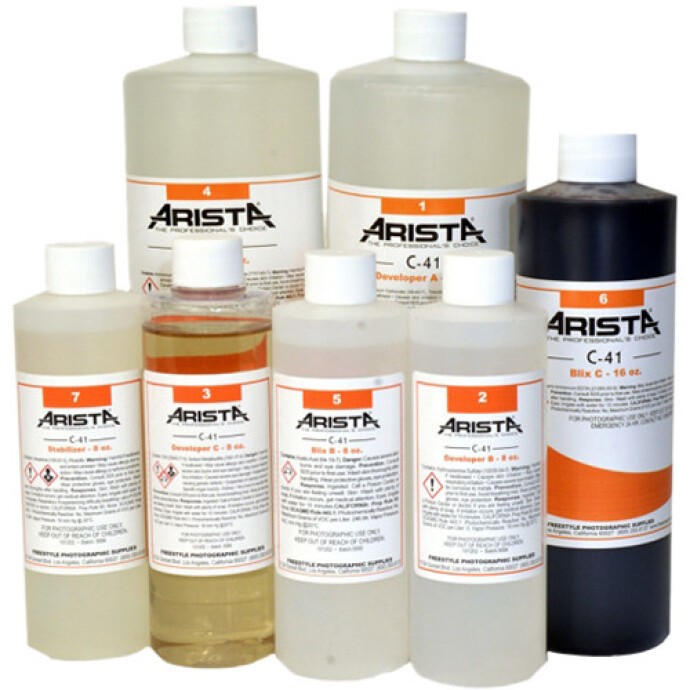
For slide film shooters, the Arista Rapid E-6 Slide Developing Kit - 1 Gallon gives home users a path into E-6 processing, though it demands even more discipline with temperature and timing.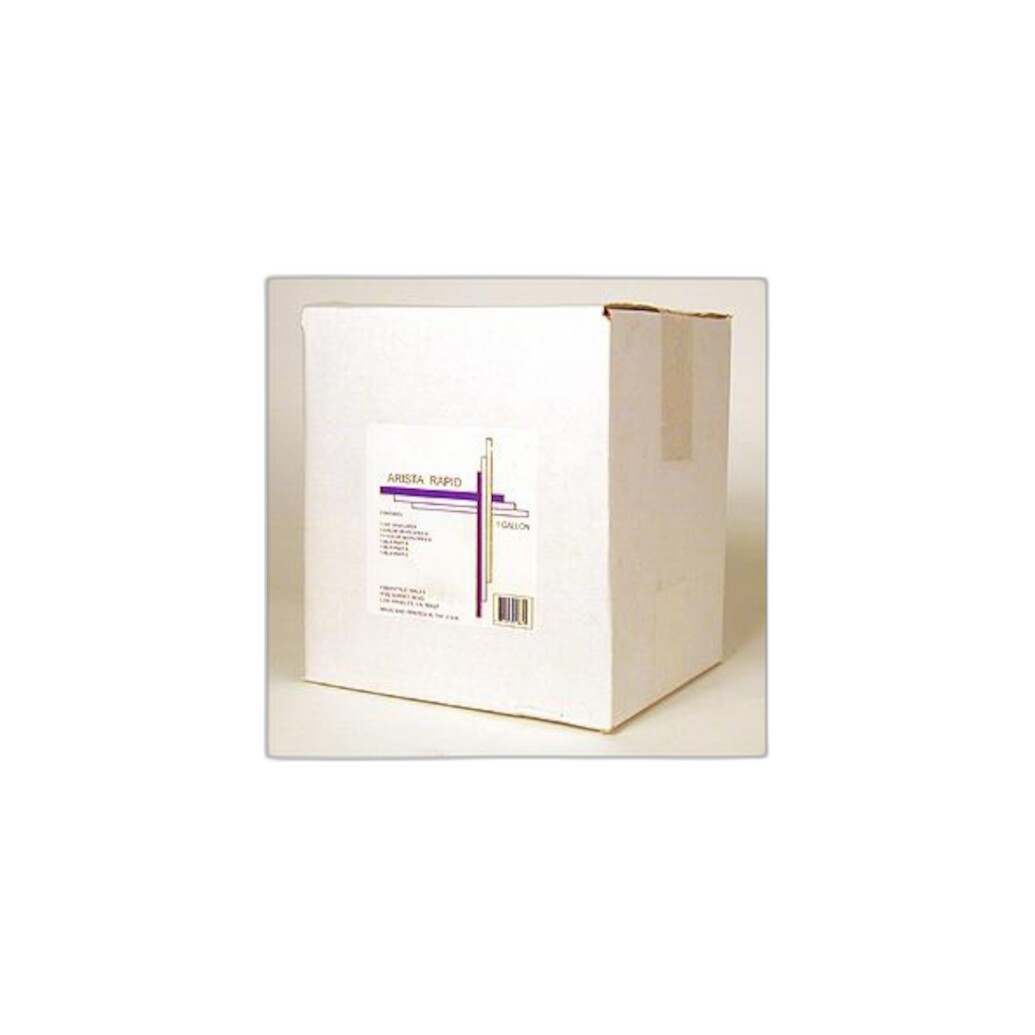
If your main goal is to learn process fundamentals, start with black & white. Once your loading, agitation, and washing routine is consistent, color becomes much easier to approach with confidence.
What causes streaks, surge marks, or uneven development?
Uneven negatives usually come from inconsistencies in agitation, chemistry coverage, loading, or temperature. If developer does not move evenly across the film surface, you can get density irregularities or streaking. Overly aggressive agitation can also create surge marks, especially near sprocket holes on 35mm film.
To avoid these problems, make sure the tank is filled fully and promptly, use the same agitation pattern every time, tap the tank gently after pouring in chemistry to dislodge bubbles, and do not let chemistry sit too long before each step. Be sure reels are clean and dry before loading film, since damp reels can make film bind or load unevenly.
Another often overlooked issue is worn or damaged tank parts. If your tank system needs maintenance, replacement parts such as the Samigon Plastic Stem for ESA321 Plastic Developing Tank can help keep an older setup functioning properly.
How important is temperature control for home developing?
Temperature control is always important, but the level of precision depends on the process. For black & white film, being close to your target temperature is usually sufficient, and small adjustments can often be compensated for with development time. For C-41 and especially E-6, tight control is much more important because chemistry is designed to work within a narrower range.
This is why many home processors use a water bath, even a simple one, to stabilize chemistry bottles and the developing tank before processing. A controlled water bath reduces swings that can affect color balance, contrast, and overall consistency. If you process color film regularly, a temperature-managed workflow is usually worth the effort because it reduces guesswork and wasted rolls.
Is it worth investing in a temperature-controlled water bath?
For occasional black & white processing, not necessarily. Many photographers do very good work with a dependable thermometer and a sink or container of tempered water. However, if you process color negative or slide film with any regularity, a temperature-controlled bath can be one of the smartest upgrades you make.
The main benefit is repeatability. When chemistry and tank temperature stay stable, your negatives are easier to scan or print consistently. It also makes your workflow less stressful, since you are not constantly correcting for drops or spikes in temperature mid-process. If you are processing several rolls in a session, the time savings and reliability become even more noticeable.
What are the most common beginner mistakes in home developing?
The biggest mistakes are usually simple: mixing chemistry incorrectly, using the wrong dilution, developing too long or too short, inconsistent agitation, poor temperature monitoring, and inadequate washing or drying. Another common problem is rushing setup. If your timer is not ready, your bottles are unlabeled, or your rinse plan is unclear, mistakes multiply quickly once the film is wet.
A good habit is to lay out every step before loading the tank: developer, stop, fixer, rinse, wetting agent, and drying space. Keep notes on film stock, dilution, time, and temperature for each roll. That record becomes invaluable when troubleshooting. Precision is more important than speed, especially while you are learning.
How can I make my home developing workflow more consistent?
Build a repeatable routine and resist changing too many variables at once. Use the same thermometer, agitation method, and timing sequence each session. Label bottles clearly, mix chemistry with care, and keep your workspace organized so that each step flows naturally into the next. If you are testing a new developer or a new film stock, keep everything else the same so you can evaluate the result accurately.
Many photographers also benefit from keeping a printed checklist in the darkroom. If you want a simple way to print notes, contact sheets, or process references for your workspace, the Canon MAXIFY MB2120 Wireless Home Office All-in-One Inkjet Printer can be a handy studio-side tool for documentation and organization.
When should I move from black & white to home color processing?
You should consider home color developing once you are consistently getting clean, evenly developed black & white negatives and you are comfortable controlling time, temperature, and agitation. Color processing is not necessarily difficult, but it is less forgiving. If you already have a methodical approach, the transition is very manageable.
The Arista C-41 Liquid Color Negative Developing Kit is a strong next step for photographers ready to process color negative film at home, while the Arista Rapid E-6 Slide Developing Kit is better suited to users who already understand disciplined temperature control.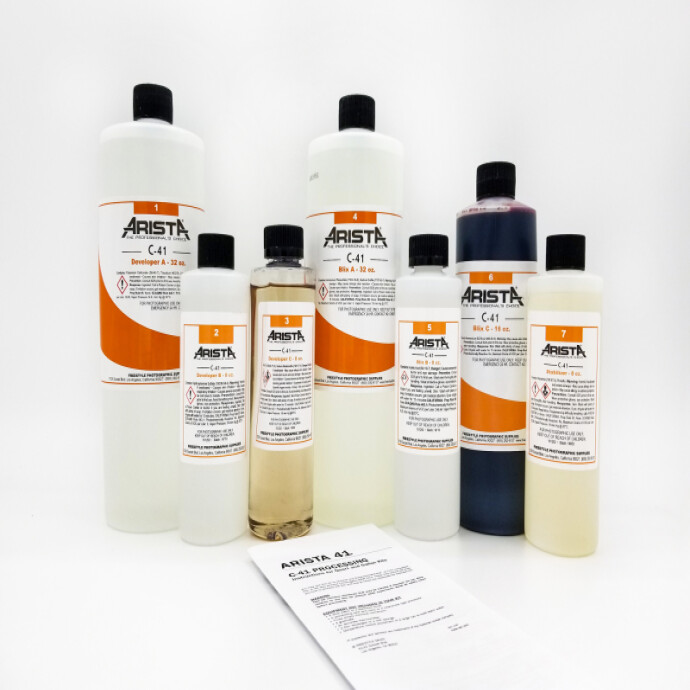
Start small, process a few test rolls, and evaluate your consistency before committing important work to a new chemistry process.
What if I want to improve my images before they even get to the developing stage?
Better negatives begin with better shooting habits. Exposure discipline, composition, and understanding how your film responds to light all influence the final result in the tank. If you want to strengthen the creative side of your process along with the technical side, workshops and classes can be a smart investment.
For photographers looking to sharpen their eye, NJCS: Common Sense Composition with Blake Rudis offers useful instruction that can help you make stronger photographs before development even begins.
Home developing is most rewarding when strong capture technique and careful processing work together.
Building a home developing setup does not have to be complicated, but it does need to be consistent. From trays and chemistry to replacement tank parts and educational resources, Unique Photo carries the tools photographers need to develop with confidence. Explore our darkroom selection and classes to build a workflow that delivers cleaner negatives and better results roll after roll.