Home film developing is one of the most rewarding ways to take control of your photographic process. For beginners, it can seem intimidating at first: chemicals, tanks, reels, timing, temperature, and the fear of ruining a roll you worked hard to shoot. The good news is that with the right setup and a few smart habits, home developing is approachable, affordable, and highly repeatable.
At Unique Photo, many film photographers start with a simple black-and-white workflow before expanding into color negative or even darkroom printing. Whether you want to process your first roll of 35mm film or build out a more complete home darkroom, this guide covers the essential equipment and the most common mistakes to avoid.
What equipment do beginners need for home film developing?
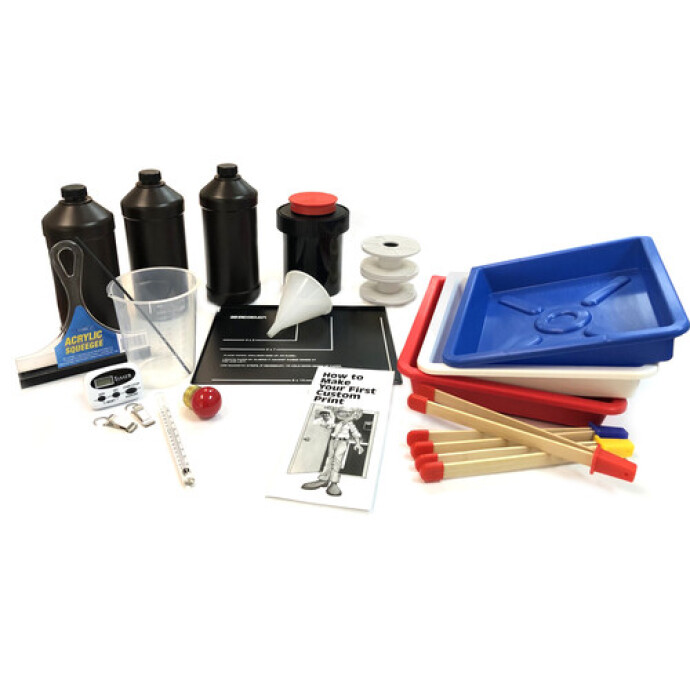
If you are just getting started, you do not need a fully built darkroom to develop film at home. Most beginners can begin with a compact film developing kit and a few simple accessories. The core items usually include:
- A developing tank with reels
- Developer, stop bath, and fixer
- A thermometer
- Graduates or measuring containers
- A timer
- Storage bottles for mixed chemicals
- A changing bag or a completely dark room for loading film
- Clips for hanging film to dry
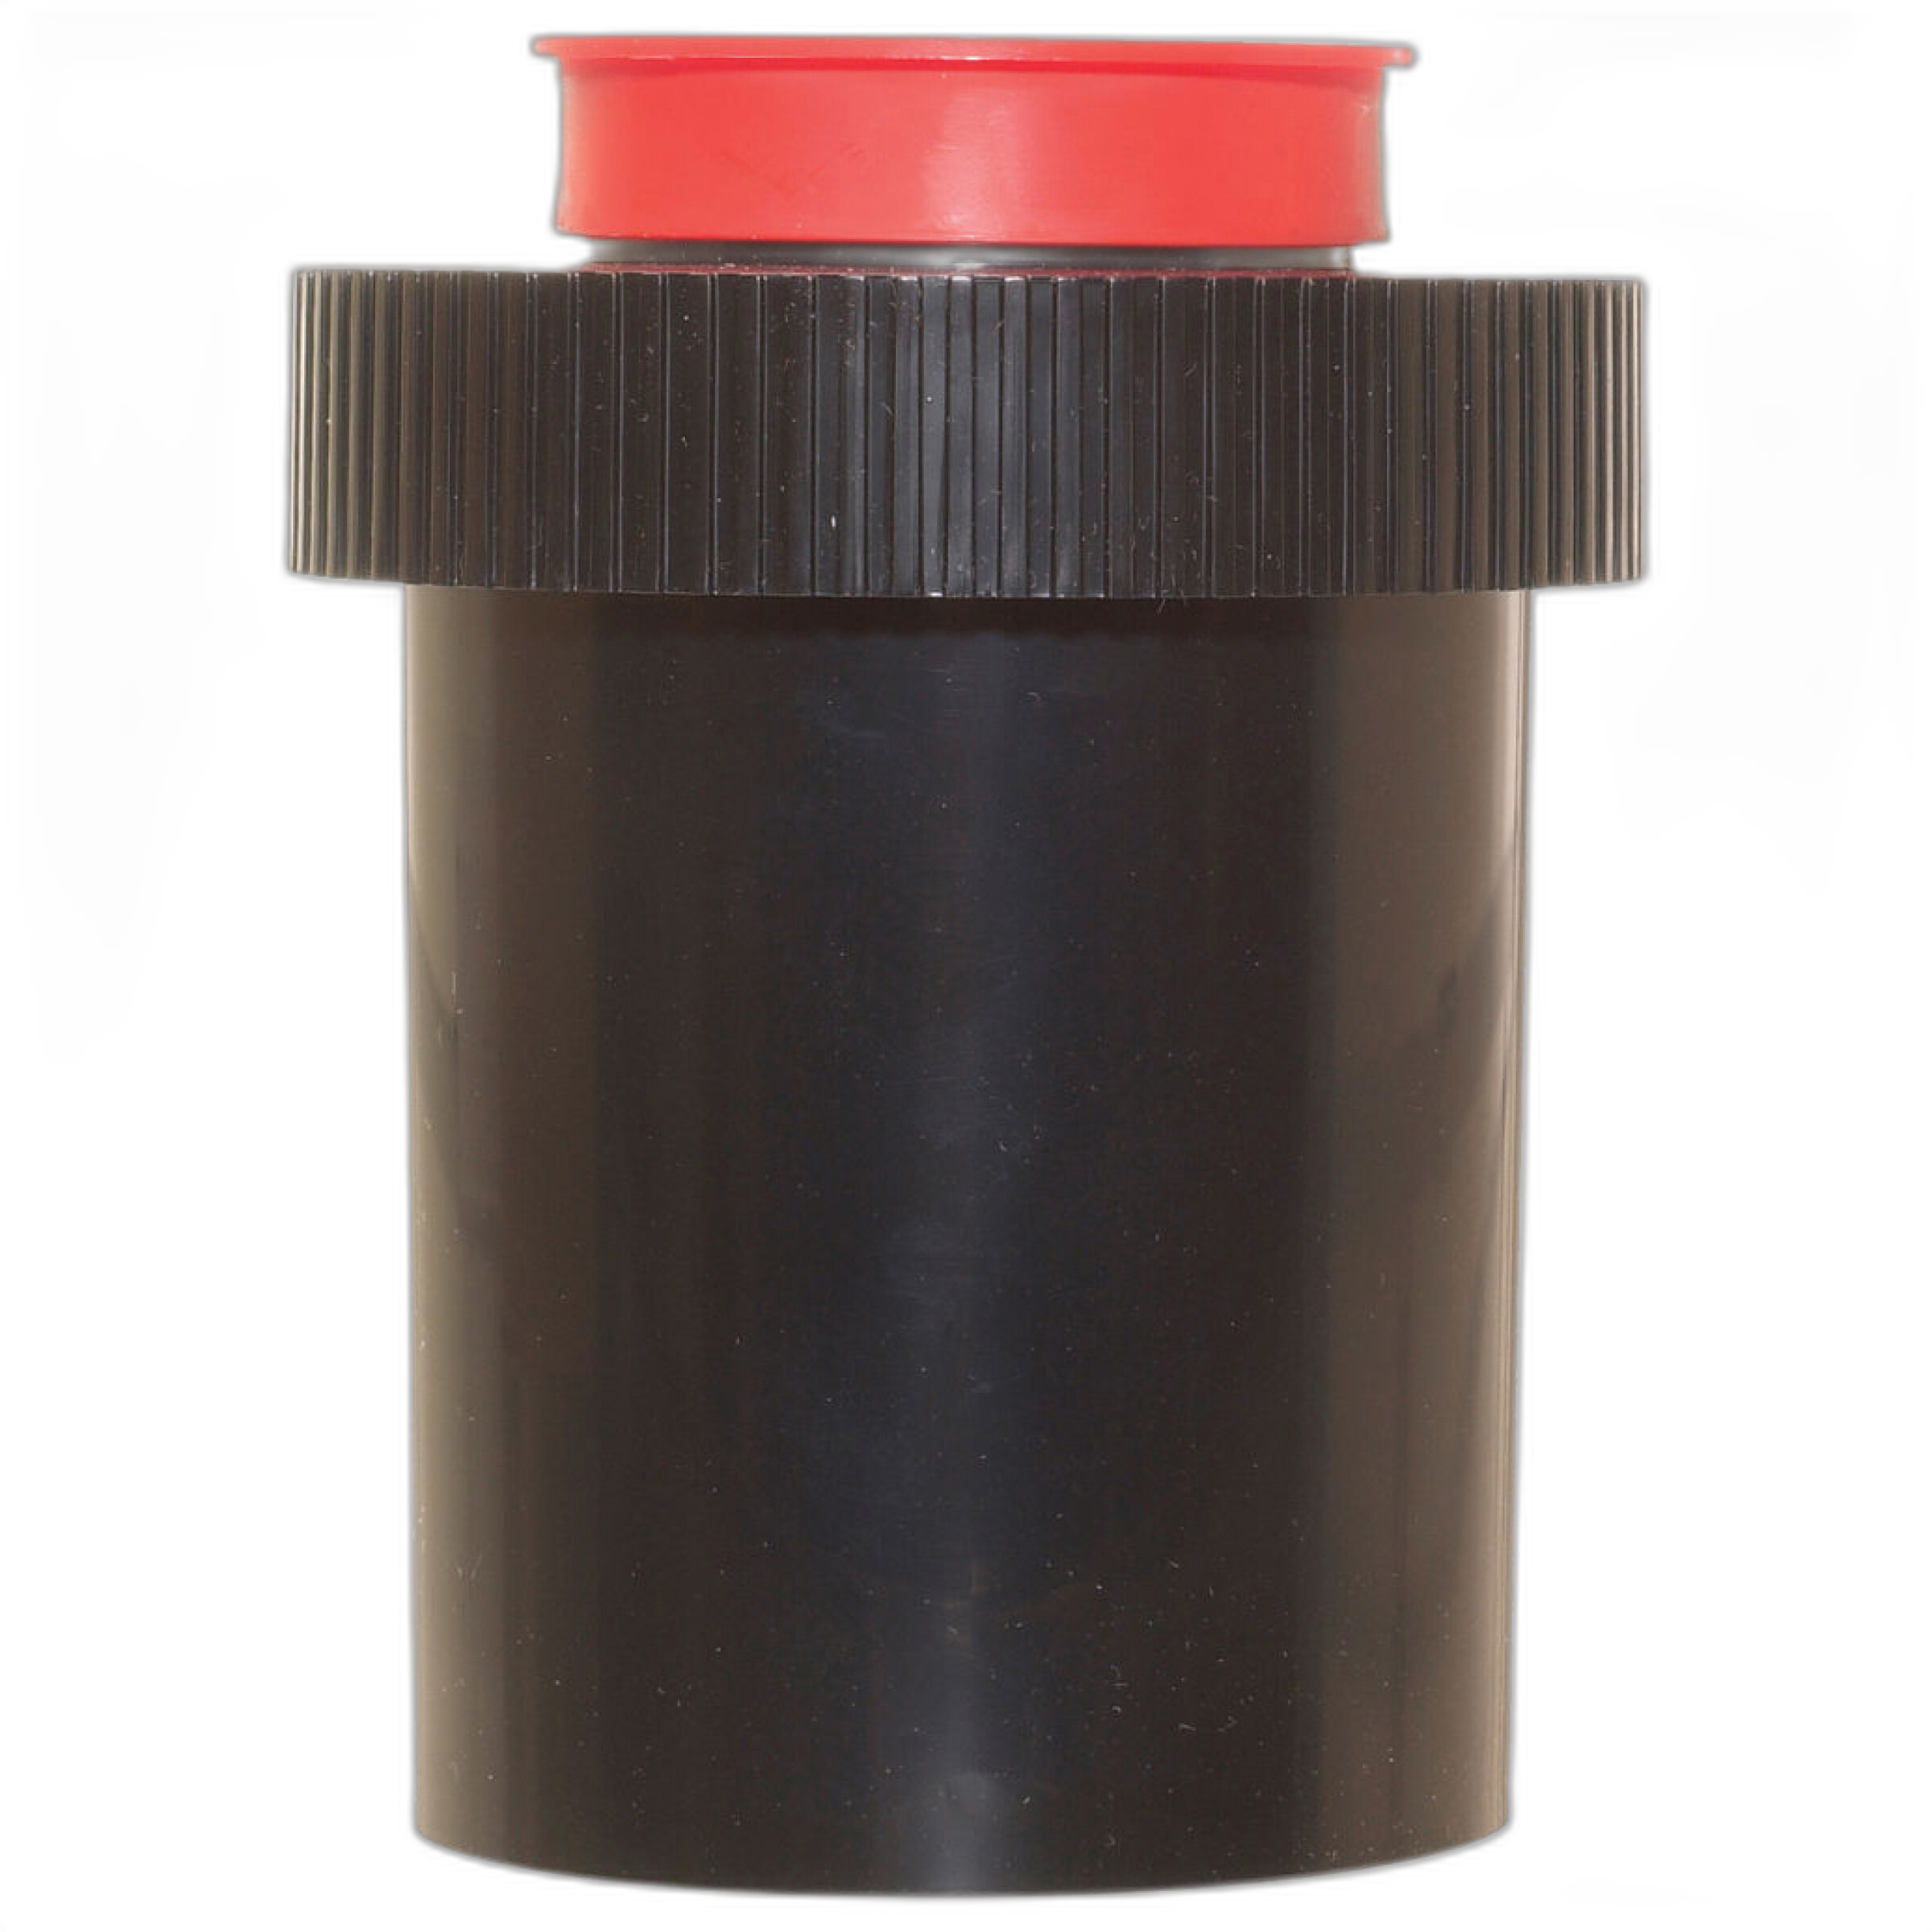
A dependable tank is one of the most important purchases because it affects how easily you load film and how consistently chemicals move across the emulsion. A practical choice for many beginners is the Samigon Universal Plastic Developing Tank with 2 Reels, which gives you a straightforward way to process 35mm or medium format film at home.
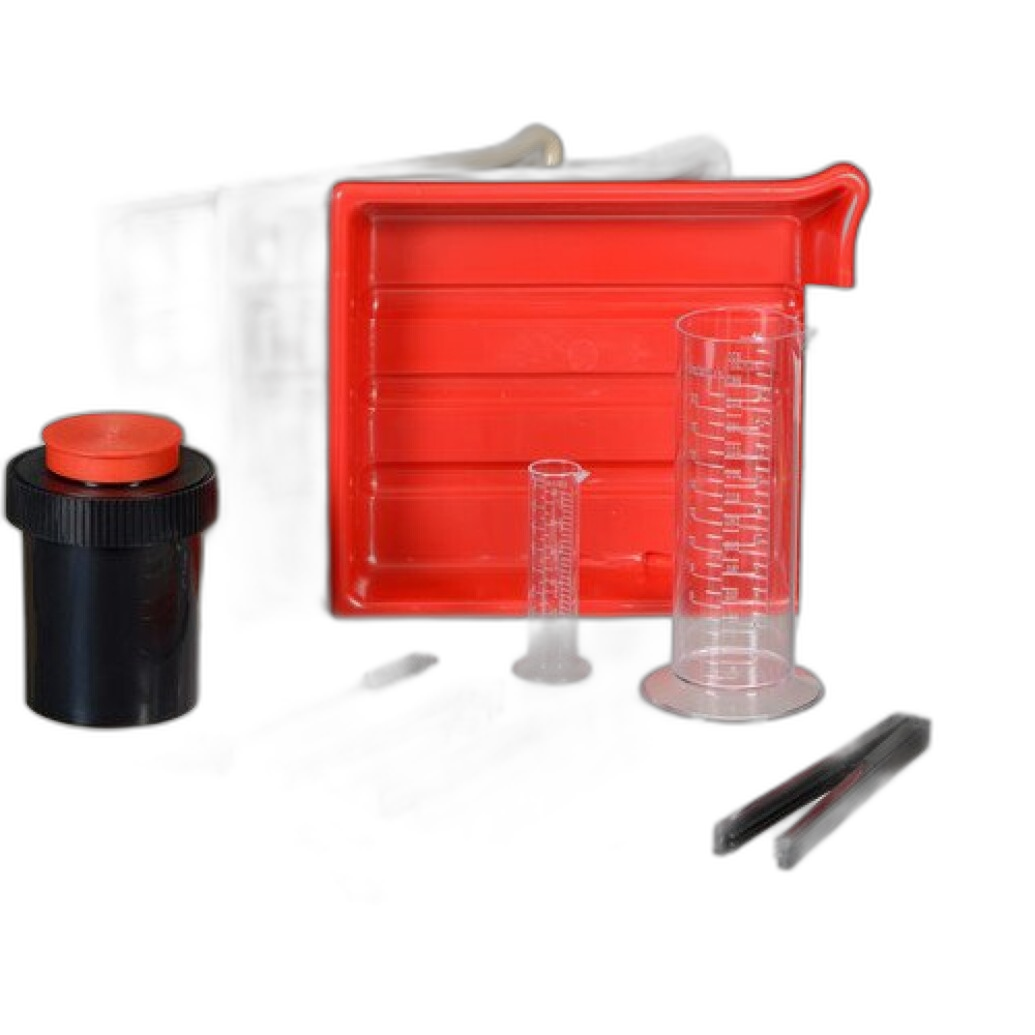
For photographers who want more of an all-in-one starting point, a bundled option like the Photographic Darkroom Film and Paper Developing Kit can make setup easier by reducing the guesswork around accessories and basic workflow tools.
Best home developing tank options for beginners
One of the most searched questions from new film photographers is which developing tank is best for beginners. The answer depends on your format, budget, and how hands-on you want the loading process to be.
If you mainly shoot 35mm and want a simple daylight-oriented solution, the Lomography Lomo Daylight Developing Tank 35 mm is designed for ease of use and convenience. Products like this appeal to newer users who want to simplify loading and reduce the stress of working in total darkness.
For a more traditional setup, the Samigon Universal Plastic Developing Tank with 2 Reels is a versatile option that fits into many home workflows. It is especially useful if you plan to process multiple rolls over time and want room to grow.
If your long-term goal includes darkroom printing in addition to film processing, larger starter bundles such as the Beseler Printmaker Darkroom Kit may be worth considering as you expand your setup beyond film developing alone.
How to set up a simple home film developing space
A beginner home developing space does not need to be permanent. Many photographers successfully develop film in a kitchen, bathroom, laundry room, or spare room. The key is organization and cleanliness.
To create a beginner-friendly developing area:
- Choose a flat, clean workspace near running water
- Keep chemicals clearly labeled and separated
- Use dedicated measuring tools for photo chemistry
- Make sure your drying area is low-dust and well ventilated
- Store negatives safely once they are dry
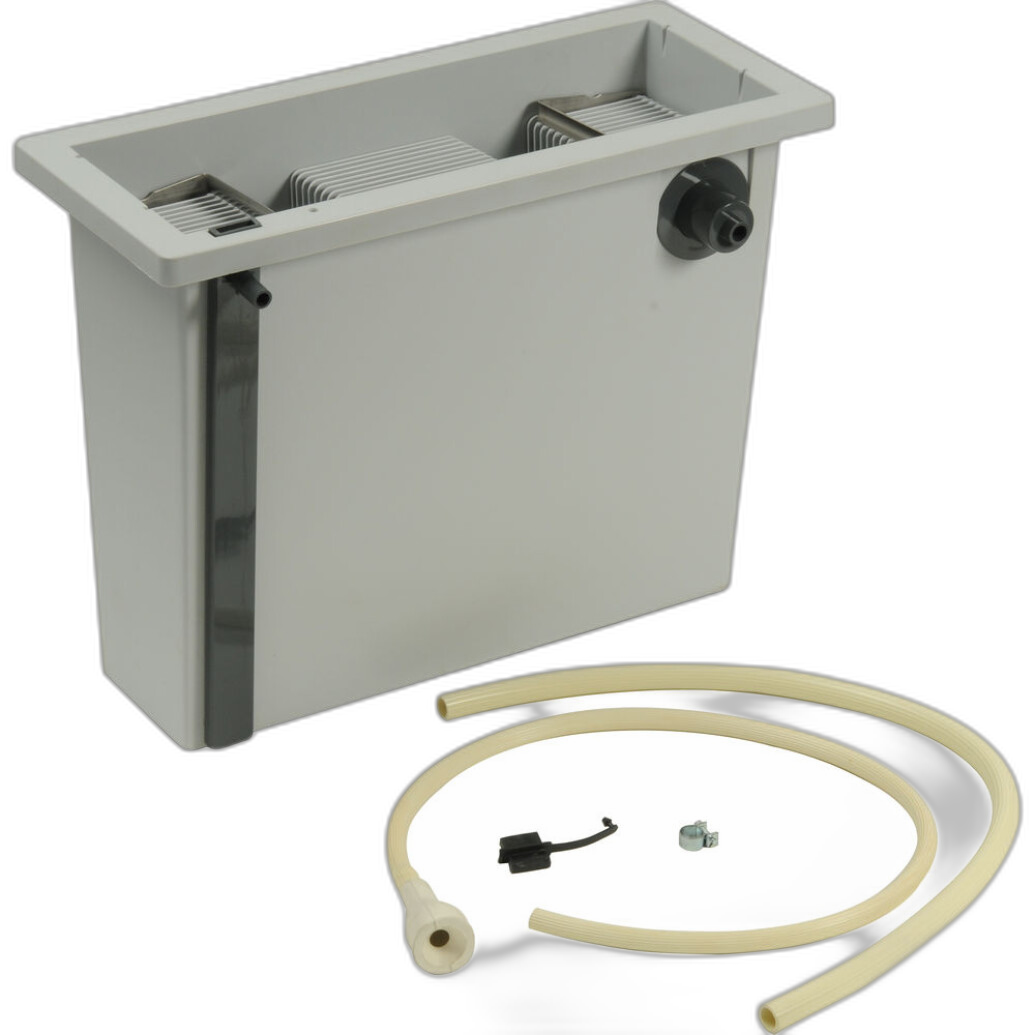
If you are planning to move beyond developing and into printing, accessories like a print washer can become useful later on. For example, the Paterson Auto Print Washer Major 12x16 is more relevant for darkroom print processing than basic film-only workflows, but it shows how a beginner setup can grow into a complete analog workspace.
What chemicals are used to develop film at home?
The exact chemicals depend on whether you are developing black-and-white, C-41 color negative, or E-6 slide film. For most beginners, black-and-white film is the easiest place to start because the process is more forgiving and temperature-sensitive variables are less demanding.
For black-and-white development, the basic chemistry includes:
- Developer: Converts the latent image into a visible negative
- Stop bath: Halts development
- Fixer: Makes the image permanent and light-safe
- Wetting agent: Helps reduce drying marks
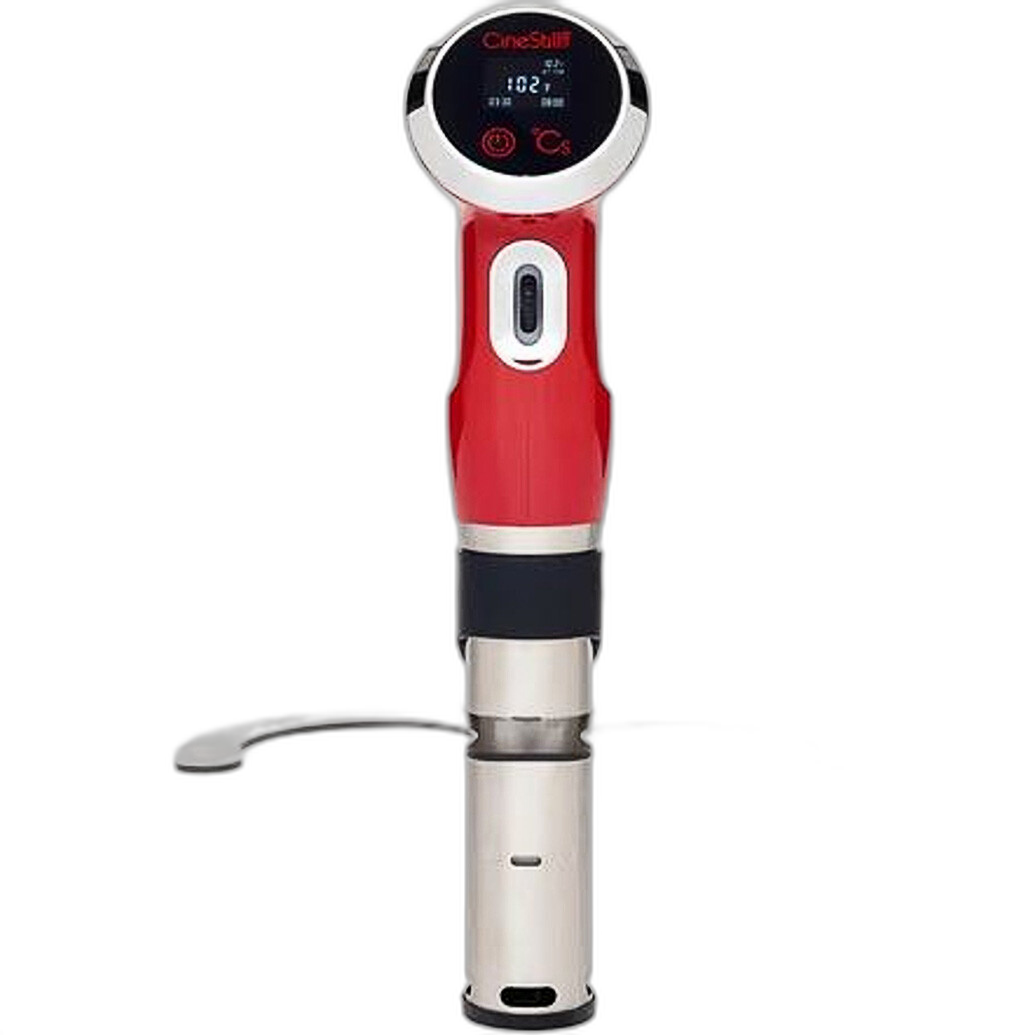
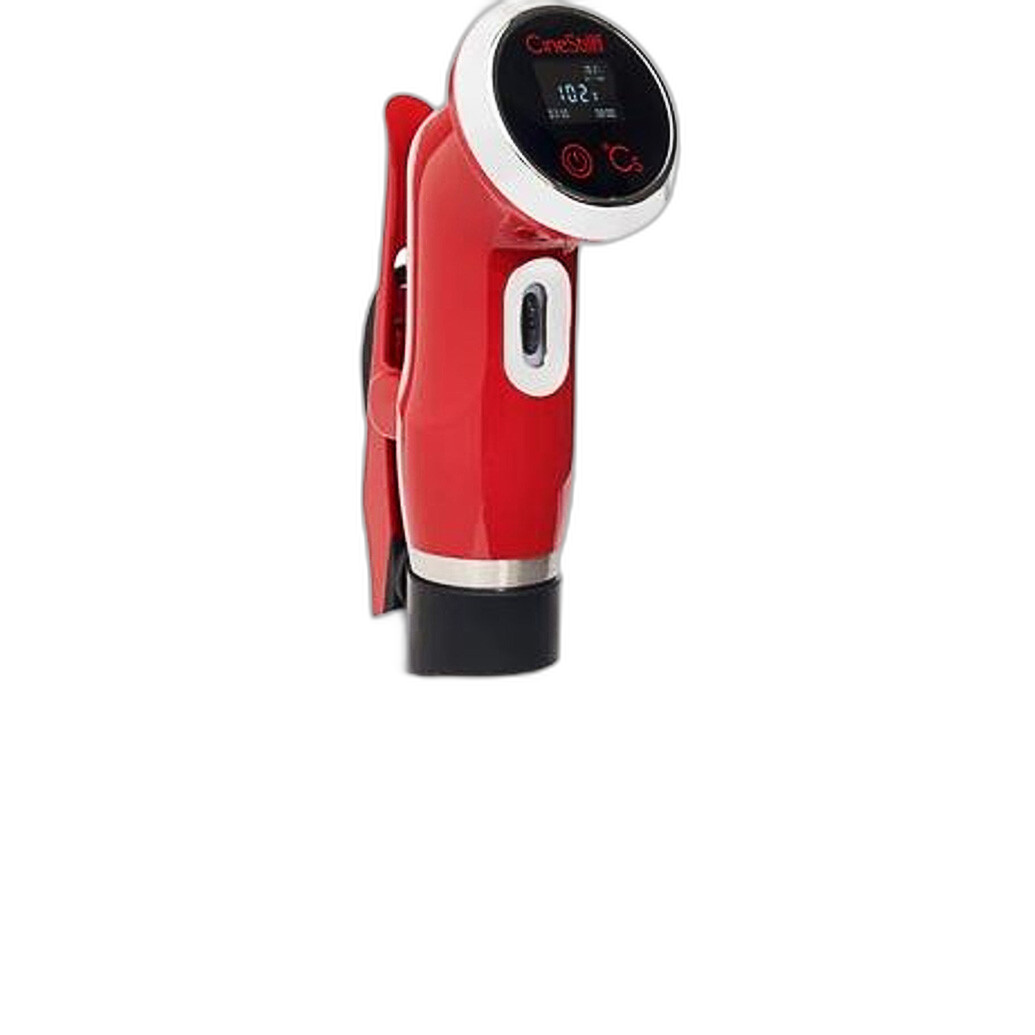
Color film adds tighter temperature requirements, which is why many home developers eventually add a temperature control tool. The Cinestill TCS-1000 Temperature Control System is a strong example of equipment that helps maintain consistency for color workflows, especially when accurate chemistry temperature matters from start to finish.
Why temperature control matters in home developing
If there is one technical detail beginners often underestimate, it is temperature control. Development times are based on specific temperatures, and small shifts can affect contrast, grain, density, and color balance. Black-and-white film can tolerate some variation, but color film is far less forgiving.
When processing C-41 at home, a reliable system for maintaining water bath and chemical temperatures can dramatically improve consistency. The Cinestill TCS-1000 Temperature Control System is especially useful for photographers who want to move from occasional experimentation to repeatable results.
Even if you are still learning with black-and-white film, paying close attention to temperature now helps build better habits for later.
Common home developing mistakes beginners should avoid
The most common mistakes in home developing usually come from rushing, inconsistent measuring, or poor handling. Avoiding these errors can save your negatives and reduce frustration.
1. Loading film incorrectly onto the reel
This is often the hardest part for beginners. If the film binds, overlaps, or kinks on the reel, chemicals cannot reach the emulsion evenly. Practice with a scrap roll in daylight before trying it for real in a changing bag or dark space.
2. Using the wrong dilution or chemical order
Always read the manufacturer instructions for your chemistry. Mixing incorrectly or using chemicals in the wrong sequence can lead to thin negatives, stains, or total failure.
3. Ignoring temperature
As noted above, this is a major issue, especially with color film. Use a thermometer and be consistent.
4. Inaccurate timing
Start your timer the moment chemistry enters the tank, and follow agitation intervals carefully. Guessing creates inconsistent results.
5. Over-agitating or under-agitating
Agitation affects how evenly fresh chemistry reaches the film. Too much can increase contrast or unevenness; too little can cause streaks and underdevelopment in areas.
6. Washing or drying film poorly
Insufficient washing can leave residue, while dusty drying conditions can ruin otherwise perfect negatives. Use a clean drying area and consider a final rinse with wetting agent.
7. Reusing exhausted chemicals too long
Track how many rolls your chemicals have processed. Exhausted developer or fixer can quietly compromise image quality.
How to avoid streaks, water spots, and dust on negatives
Another frequent beginner search query is how to get cleaner negatives at home. Most streaks and spots come from handling and drying rather than the development stage itself.
To improve results:
- Use distilled water for the final rinse if your tap water is mineral-heavy
- Add wetting agent according to instructions
- Hang film vertically with clips in a dust-free area
- Avoid touching the emulsion side
- Do not squeegee aggressively unless you are experienced and using a clean tool
Patience matters here. A careful drying process is often the difference between negatives that scan beautifully and negatives that need extensive cleanup later.
Is black-and-white or color film easier to develop at home?
For most beginners, black-and-white film is easier to develop at home. The chemistry is simpler, development times are widely available, and the process is more tolerant of slight temperature variation. It is the best way to learn tank loading, agitation rhythm, measuring, washing, and drying.
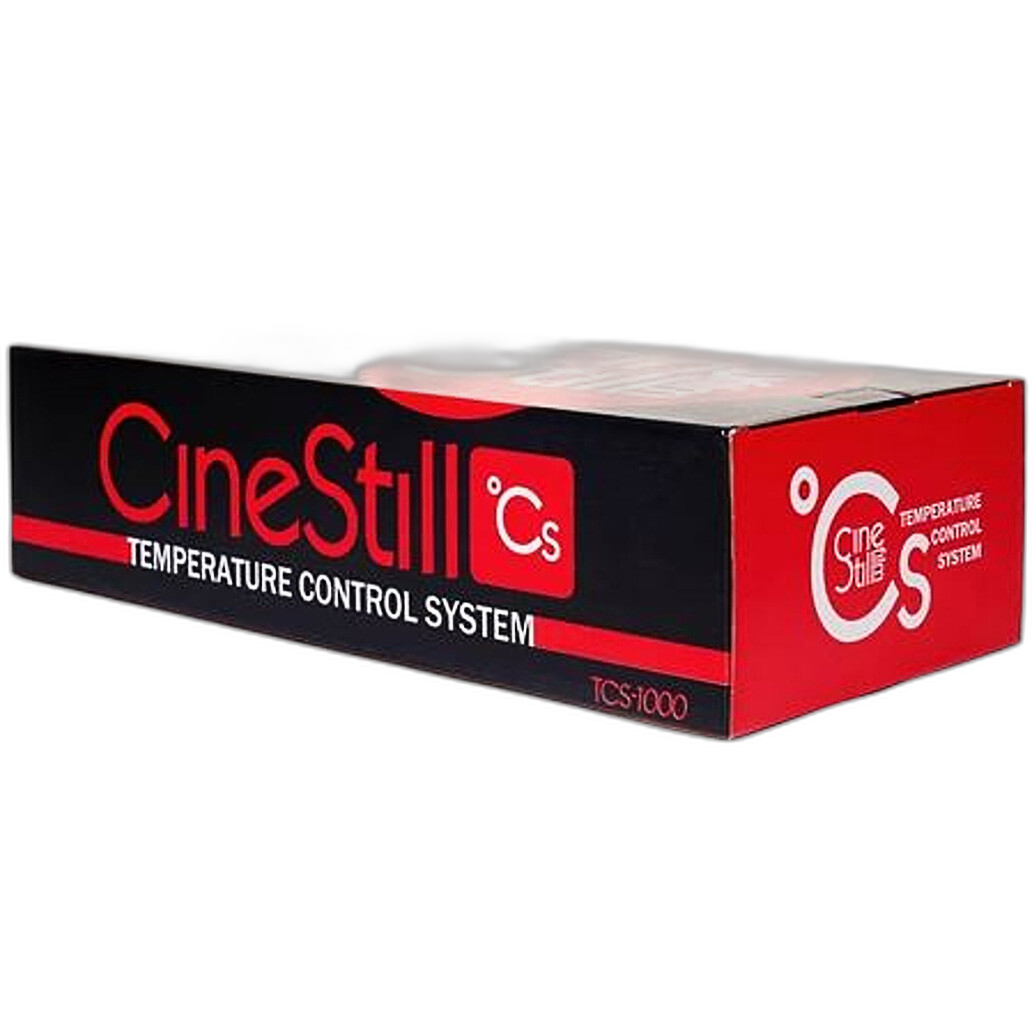
Color negative film can absolutely be developed at home too, but it benefits from better temperature management and stricter process control. Once you feel confident with black-and-white, moving into C-41 is a natural next step. This is where tools like the Cinestill TCS-1000 Temperature Control System become especially helpful for building consistency.
Should beginners buy a film developing kit or build a setup piece by piece?
Both approaches work, but many first-time home developers prefer a kit because it reduces friction. A pre-assembled option can help ensure that you have the basic components needed to start, while also making it easier to learn the sequence of the process.
If you prefer convenience, a product like the Photographic Darkroom Film and Paper Developing Kit can be a strong starting point. If you want flexibility, pairing a standalone tank such as the Samigon Universal Plastic Developing Tank with 2 Reels with separately chosen chemistry and accessories may make more sense.
Unique Photo is a great resource for comparing these options, especially if you are trying to decide whether to keep your setup minimal or invest in a system that can grow with your film photography.
How beginners can get consistent results when developing film at home
Consistency is what turns home developing from a stressful experiment into a dependable part of your workflow. The best practices are simple:
- Use the same measuring tools every time
- Label all chemistry clearly
- Follow tested development times from trusted sources
- Keep your temperature stable
- Agitate on a repeatable schedule
- Write down your process for each roll
A notebook or phone log can help you track film stock, exposure index, chemistry age, dilution, time, and temperature. If something goes wrong, you will have a reference point instead of guessing.
Final thoughts on starting home developing with confidence
Home developing for beginners is much more accessible than many photographers expect. Start small, focus on one film type and one process, and learn to control the basics: loading, timing, agitation, temperature, and drying. A reliable tank, sensible organization, and a patient workflow will do more for your results than a complicated setup.
Unique Photo offers a range of home developing essentials that can support beginners at every stage, from starter kits and developing tanks to more advanced darkroom and temperature-control tools. If you are ready to take the next step, consider exploring internal shopping and learning paths such as Film Supplies, Darkroom Supplies, Developing Essentials, and educational resources for film photographers. These are useful next stops if you want to build your first kit, upgrade your tank, or move from developing negatives into full darkroom printing.