Budget Lighting Kits for Home Portraits: Recommendations
Great portraits at home don’t require a big budget—just smart choices and solid technique. Whether you’re using an affordable LED panel, a single speedlight, or a basic umbrella, the right setup and know-how will elevate your results. Below are practical, budget-minded tips, plus learning resources from Unique University to help you master light fast.
Tips to build a great budget portrait kit
1) Start with one soft key
If you’re building from scratch, begin with a single, soft key light. A speedlight with a shoot-through umbrella or a compact bicolor LED panel with a small softbox can create flattering, wraparound light for headshots and half-body portraits. Place the light 2–3 feet from your subject at about a 45-degree angle for soft shadows and nice catchlights. Want to refine your key-light placement and shape? Unique University’s CS: Key Lighting Methods with Mark Raker (Nanlite) is a great deep dive into what one light can do.

2) Shape light with a reflector before buying a second light
A 5-in-1 reflector (often $25–40) can act as a fill, negative fill, or subtle kicker—stretching your budget further than a second fixture at first. Silver gives punch, white keeps skin tones soft, and black adds drama by reducing spill. For a guided, approachable workflow, consider Portrait Lighting Made Easy with Joel Grimes (Westcott)—you’ll pick up pro shaping tricks you can apply with inexpensive tools.

3) Two-light upgrade: hair or background accent
When you’re ready to expand, add a budget second light as a hair light or background kicker to separate your subject. Keep it subtle: aim a low-power light at the hair from behind, or feather an LED across a backdrop for gradient interest. Advanced Creative Lighting with Robert Harrington and ExpoImaging shows practical, small-footprint techniques you can replicate at home.

4) Pick inexpensive modifiers that punch above their weight
Shoot-through umbrellas are ultra-affordable, pack small, and produce soft, even light—perfect for living rooms and small bedrooms. Add a simple grid or black foamcore flag to control spill and keep backgrounds clean. For posing and subject interaction that complements your lighting, check out Stunning Portraits Workshop with David Maynard and ExpoImaging for practical, real-world portrait tips.

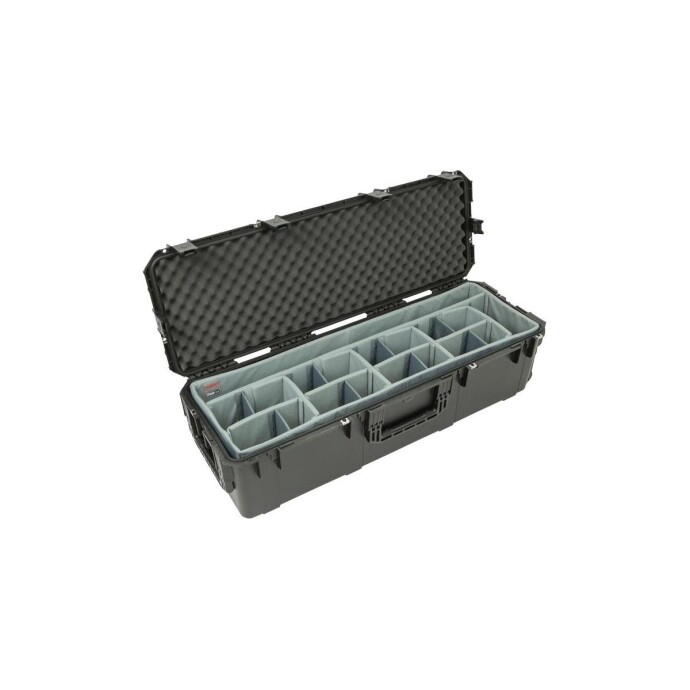
5) Stabilize stands and protect your gear
On a budget, a lightweight light stand is fine—just sandbag it for safety and consistency. As your kit grows, keeping it organized saves time (and bulbs). The SKB iSeries 3i-4213-12 Case with Think Tank Designed Lighting/Stand Dividers is a rugged option to store stands, umbrellas, and LED panels so your home studio can set up and break down fast.
6) Use your home to your advantage
White walls can act as giant reflectors; dark curtains make excellent negative fill. Place your subject a few feet from the wall to avoid hard background shadows, and shoot slightly telephoto to compress the scene. For working small and fast in mixed environments, NJCS: Travel Portraits with Bobbi Lane (Fujifilm and Profoto) offers techniques that translate beautifully to tight home spaces.

7) Mind color and power
Match color temperature: set your camera’s white balance to your LED’s Kelvin or gel your speedlight to room light for cleaner skin tones. Rechargeable AA batteries for flashes and a small V-mount or NP-F battery for LEDs keep you cable-free and mobile at home. Consistency beats complexity—lock in a simple setup and practice.
8) Practice a repeatable portrait playbook
Create a go-to sequence: clamshell with reflector for beauty, loop lighting for character, rim light for separation. Build a 10-minute routine you can repeat for family sessions or headshots. If you want hands-on feedback, Unique University events like the sessions above provide guided practice and pro critiques that accelerate your progress.
Wrap-up
You don’t need an expensive studio to make beautiful portraits—just a soft key, a reflector, a stable stand, and smart placement. Learn a few versatile setups, practice often, and expand your kit only as your needs grow. When you’re ready for gear, education, or advice, visit Unique Photo online or in-store—we’re here to help you create your best portraits at home.