Why Affordable Lighting Works for Home Portraits
You don’t need a studio packed with pricey gear to create flattering, professional-looking portraits at home. With thoughtful light choices, clever modifiers, and a few strategic accessories, you can shape beautiful light on a small budget and in a small space.
Quick Buying Guide: Pros and Cons of Budget Light Types
- Window light – Pros: free, flattering, large source. Cons: inconsistent with weather/time; needs reflectors/flags to control.
- LED bulbs/panels – Pros: see your light in real time, quiet, cool-running, dimmable. Cons: entry-level options can have color shifts; may lack power for high-speed shuttering.
- Speedlights (hot-shoe flashes) – Pros: compact, powerful for size, battery-operated, plentiful used market. Cons: learning curve with triggering and balancing ambient; need modifiers.
- Used monolight strobes – Pros: lots of power, freeze motion. Cons: AC power or big batteries, more gear bulk, modifiers required.
- Clamp lights/household bulbs – Pros: ultra-cheap, easy DIY. Cons: color variance, can run hot; best for background or accent, not key light.
10 Practical Tips to Build a Budget Portrait Setup
Start with window light and a DIY reflector
Place your subject near a large window, turn off overhead lights, and shape the light with a reflector opposite the window. A $5–10 foam board or a piece of white poster board makes a great reflector; cover one side with aluminum foil for a punchier fill.
Pick your first artificial light intentionally
If you shoot stills and want portability, a single speedlight plus a trigger is a great starting point. If you prefer to see your light while composing or record video, an affordable LED panel or LED bulb in a clamp lamp works well. Whichever you choose, learn to balance it with ambient light to keep portraits natural.

Choose an umbrella before a softbox
Shoot-through and reflective umbrellas are inexpensive, fast to set up, and create a pleasing broad source. They’re more forgiving in small rooms than deep softboxes and pair well with speedlights or LED bulbs in a simple bracket.
Diffuse with inexpensive fabrics
White shower curtains, ripstop nylon, or translucent tablecloths can turn a bare LED or a window into a soft source. Clip fabric to a cheap frame or a light stand with spring clamps. Always keep safe clearances from hot bulbs; LEDs are preferred because they run cool.
Add color and mood with budget gels
Gels are an inexpensive way to create separation, color the background, or craft a cinematic edge light. A single gelled rim light can make a simple setup look polished.
Control spill with flags and V-flats
Black foam board or tri-fold presentation boards make excellent flags to block stray light from hitting the background. Tape two boards together for a DIY V-flat to shape and contain your light in tight rooms.
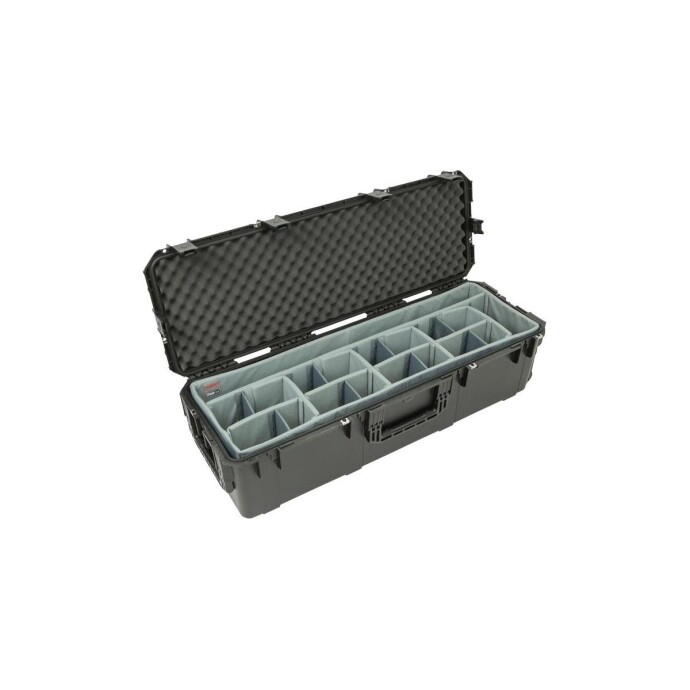
Prioritize safe, sturdy stands and smart storage
A wobbling stand can ruin a shoot. Budget stands with wide leg spread and metal locking collars are worth it. If you travel or want to keep your home kit tidy and protected, a hard case with dividers helps you stay organized between sessions.
Assemble a starter kit checklist
Build slowly, buy used where it makes sense, and focus on versatility:
- One light (speedlight or LED panel/bulb)
- 33–45" shoot-through umbrella + swivel bracket
- 1–2 light stands and spring clamps
- DIY reflector (white foam board) and black flag
- Basic triggers (for flash) or dimmer (for bulbs)
- A gel or two for background/rim accents
- Neutral background: paper roll, sheet, or a blank wall
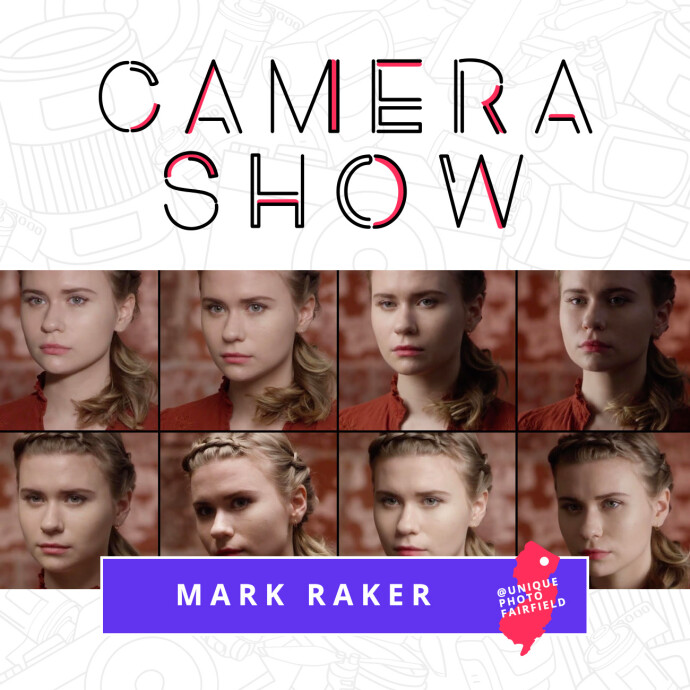
Learn fundamentals from pros to level up faster
Targeted education helps you squeeze pro results from budget gear. Sessions like Portrait Lighting Made Easy with Joel Grimes (Westcott) demystify shaping light and ratios. If you’re exploring continuous sources, CS: Key Lighting Methods with Mark Raker (Nanlite) is packed with practical placements you can replicate at home. For creative off-camera techniques, NJCS: Advanced Creative Lighting with Robert Harrington and ExpoImaging dives into problem-solving with simple tools.

Make small spaces look big
Pull your subject a few feet off the background to reduce shadows and create depth. Place your key light close for softer wrap and lower power needs. Angle the subject slightly toward the light, and add a white bounce at the shadow side. Keep backgrounds simple and avoid mixing lots of household light sources to maintain clean color.
Conclusion
You can create beautiful home portraits without overspending—start simple, control your light, and add tools that give you the most flexibility per dollar. When you’re ready to grow, explore education, gels, stands, and smart storage at Unique Photo to keep your kit effective and affordable. Happy shooting!