
Tips for Capturing Sharp Photos on a Budget
If you’re a new photographer, a student, or a creator trying to stretch your dollars, getting tack-sharp photos doesn’t require expensive gear upgrades. With smarter technique, a focused learning plan, and a simple print-and-review workflow, you can noticeably improve sharpness for landscapes, events, portraits, and action — all without breaking the bank. This guide walks you through essential, low-cost tips and pairs them with a few affordable education and workflow helpers available from Unique Photo.
Quick, Budget-Friendly Techniques for Sharper Shots
- Stabilize your camera: Brace your elbows, lean against a wall, or rest the camera on a table. Use a 2-second self-timer to eliminate shake from pressing the shutter.
- Use the 1/focal length rule: Keep shutter speed at least 1 divided by your lens’s focal length (e.g., 1/50s for a 50mm). Go faster for moving subjects.
- Prioritize shutter speed: For people and street, try 1/250s; for sports/dance, 1/500–1/1000s. Raise ISO if needed to keep shutter speeds up.
- Choose the right focus mode: AF-S (single) for static scenes; AF-C (continuous) and a single focus point for moving subjects. Recompose as little as possible.
- Mind aperture: Most lenses are sharpest stopped down 1–2 stops from wide open. Avoid stopping down so far that diffraction softens the image.
- Shoot in better light: Directional light and golden-hour conditions reduce high-ISO noise and help your autofocus lock more confidently.
- Refine in post: Shoot RAW and apply selective sharpening and noise reduction. Sharpen the subject, not the noise in the background.
Recommended Learning to Level-Up Sharpness
Skill beats spend. A short class or mentoring session can fast-track your technique and post-processing, yielding sharper results with the gear you already own.
| Product | Format | Focus | Best For | Sharpness Takeaway |
|---|---|---|---|---|
| Editing and Enhancing Landscape and Nature Photography with Photoshop | Class (check schedule) | Post-processing, detail enhancement | Landscape & nature shooters | Master selective sharpening and texture without adding noise. |
| Seminar: How to Capture Great Festival and Event Photos with David Wells | Seminar (check schedule) | On-location technique | Event, street, documentary | Pick smart shutter speeds and AF strategies for unpredictable scenes. |
| UUOnline: Photoshop Mentoring (Session 3) | Online mentoring | Targeted editing help | Anyone wanting feedback | One-on-one guidance to refine your sharpening workflow. |
| PCS: Capturing Dance Movement with Steve Vaccariello | Photo class session (check schedule) | Action & motion | Action, sports, performance | Balance fast shutter speeds and timing to freeze motion sharply. |
Our Pick: Editing and Enhancing Landscape and Nature Photography with Photoshop
If you’re on a tight budget, learning how to sharpen smartly in post delivers immediate, repeatable gains for any camera. This class helps you build a clean, selective sharpening workflow that preserves detail and controls noise — the highest ROI skill you can add right now.
Editing and Enhancing Landscape and Nature Photography with Photoshop
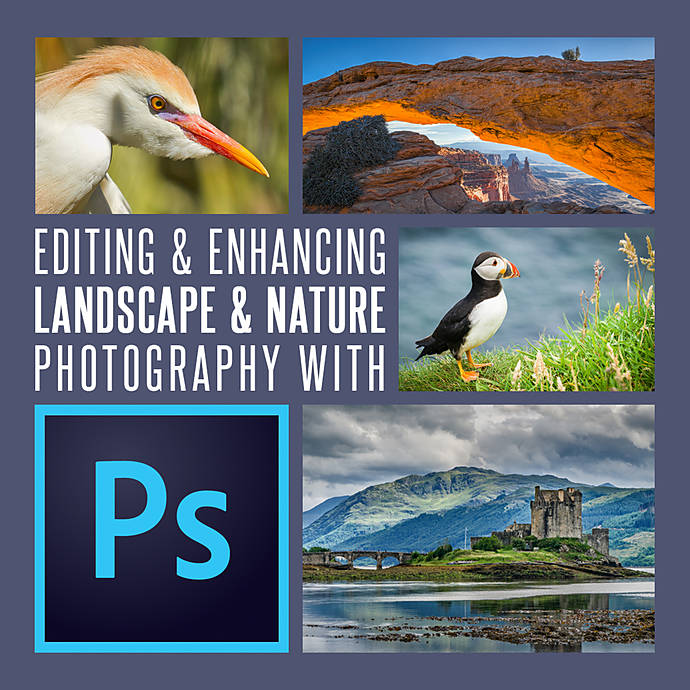
Learn to extract crisp detail from RAW files, mask sharpening where it matters, and avoid halos or crunchy textures. Ideal for anyone who wants sharper results without new gear.
Seminar: How to Capture Great Festival and Event Photos with David Wells

Understand light, shutter speed, and autofocus choices in dynamic event settings. You’ll pick up practical methods to reduce motion blur and nail focus in unpredictable conditions.
UUOnline: Photoshop Mentoring (Session 3)

Get targeted feedback on your sharpening and noise reduction. A short, focused session can correct workflow bottlenecks that keep your images from looking tack-sharp.
PCS: Capturing Dance Movement with Steve Vaccariello

Practice freezing fast motion, choosing the right shutter speeds, and timing your peak action shots. Perfect for anyone who wants sharper sports, stage, or performance photos.
Print, Test, and Archive Your Results
Printing small test images is one of the cheapest ways to evaluate sharpness. On-screen zooming can mislead; a simple 4x6 print tells the truth. Keep a running "sharpness diary" with settings and results so your technique improves week over week.
| Product | Capacity | Size/Orientation | How It Helps |
|---|---|---|---|
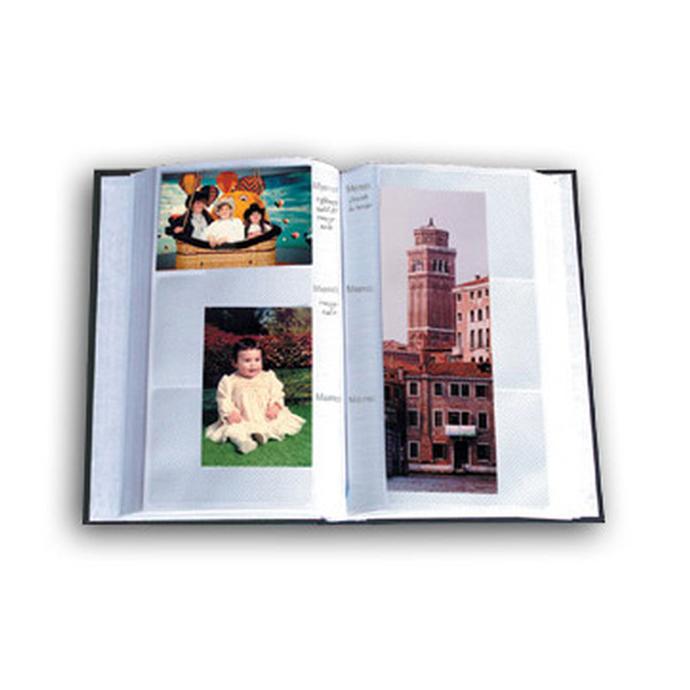
| Pioneer 4 x 6 In. Bi-Directional Memo Photo Album (200 Photos) - Black | 200 photos | 4x6, landscape or portrait | Insert 4x6 test prints with notes; compare sharpness over time. |
| Pioneer 4 x 6 In. Embossed Leather Frame Photo Album (200 Photos) - Brown | 200 photos | 4x6 | Better presentation for finished, sharp favorites you want to keep. |
| Pioneer Album Refill Pages for BP-200 Album (30 Photos) | 30 photos (per pack) | 4x6 | Expand capacity affordably as your test-and-review library grows. |
Pioneer 4 x 6 In. Bi-Directional Memo Photo Album (200 Photos) - Black

Store 4x6 prints in either orientation and jot exposure notes next to each image. It’s a simple, inexpensive way to track what settings produce the sharpest results.
Pioneer 4 x 6 In. Embossed Leather Frame Photo Album (200 Photos) - Brown
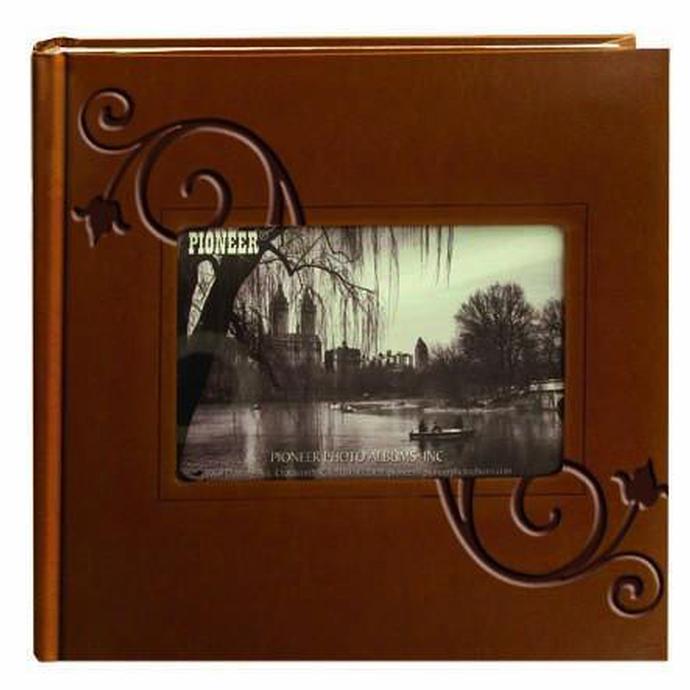
A classic, sturdy album for your polished keepers. Once your technique is locked in, archive your sharpest shots here for long-term protection and easy sharing.
Pioneer Album Refill Pages for BP-200 Album (30 Photos)
Add capacity on demand so you can keep testing, printing, and comparing sharpness without replacing albums.
Sample Budget Workflow for Sharper Photos
- Learn fast: Take a class or mentoring session to level-up technique and sharpening.
- Practice smart: Favor good light; use faster shutter speeds and the right AF mode.
- Edit selectively: Sharpen the subject and protect smooth areas from artifacts.
- Print 4x6 tests: Evaluate real-world sharpness and jot settings in a memo album.
- Archive winners: Move your sharpest prints into a long-term album.
Conclusion: The Clear Path to Sharper Photos (Without Overspending)
Prioritize skills over new gear, refine your post-processing, and build a simple print-and-review habit. Start with Editing and Enhancing Landscape and Nature Photography with Photoshop to master selective sharpening, then add an event or action class to solidify capture techniques. Print 4x6 tests and track progress using Pioneer’s memo album and refill pages. You’ll see sharper results fast — all with modest spend. Shop these education and workflow essentials at Unique Photo to get started today.