Best Starter Video Lighting Setups for New YouTube Creators
Good lighting can make a bigger difference to your YouTube videos than many beginners expect. Before you spend heavily on advanced gear, it helps to understand which lighting approach fits your room, your shooting style, and the kind of camera setup you plan to use.
At Unique Photo, we often recommend starting with a simple, repeatable lighting setup that flatters skin tones, controls shadows, and works well with creator-focused cameras. If you are building a talking-head studio, filming product demos, or vlogging around the house, these FAQs will help you choose the right direction.
What is the most cost-effective lighting setup for a home YouTube studio?
For most beginners, the most cost-effective setup is a basic two-light or three-light arrangement built around a strong key light and softer fill. The key light does most of the work shaping your face, while the fill light reduces harsh shadows. If you have a small room, adding a hair light or background light can wait until later.
The biggest budget mistake is buying too many weak lights instead of one good primary light source. A soft, broad key light placed slightly off to one side of the camera usually gives a more professional look than flat front lighting. In a home setup, that means prioritizing flattering softness and consistent color over sheer brightness.
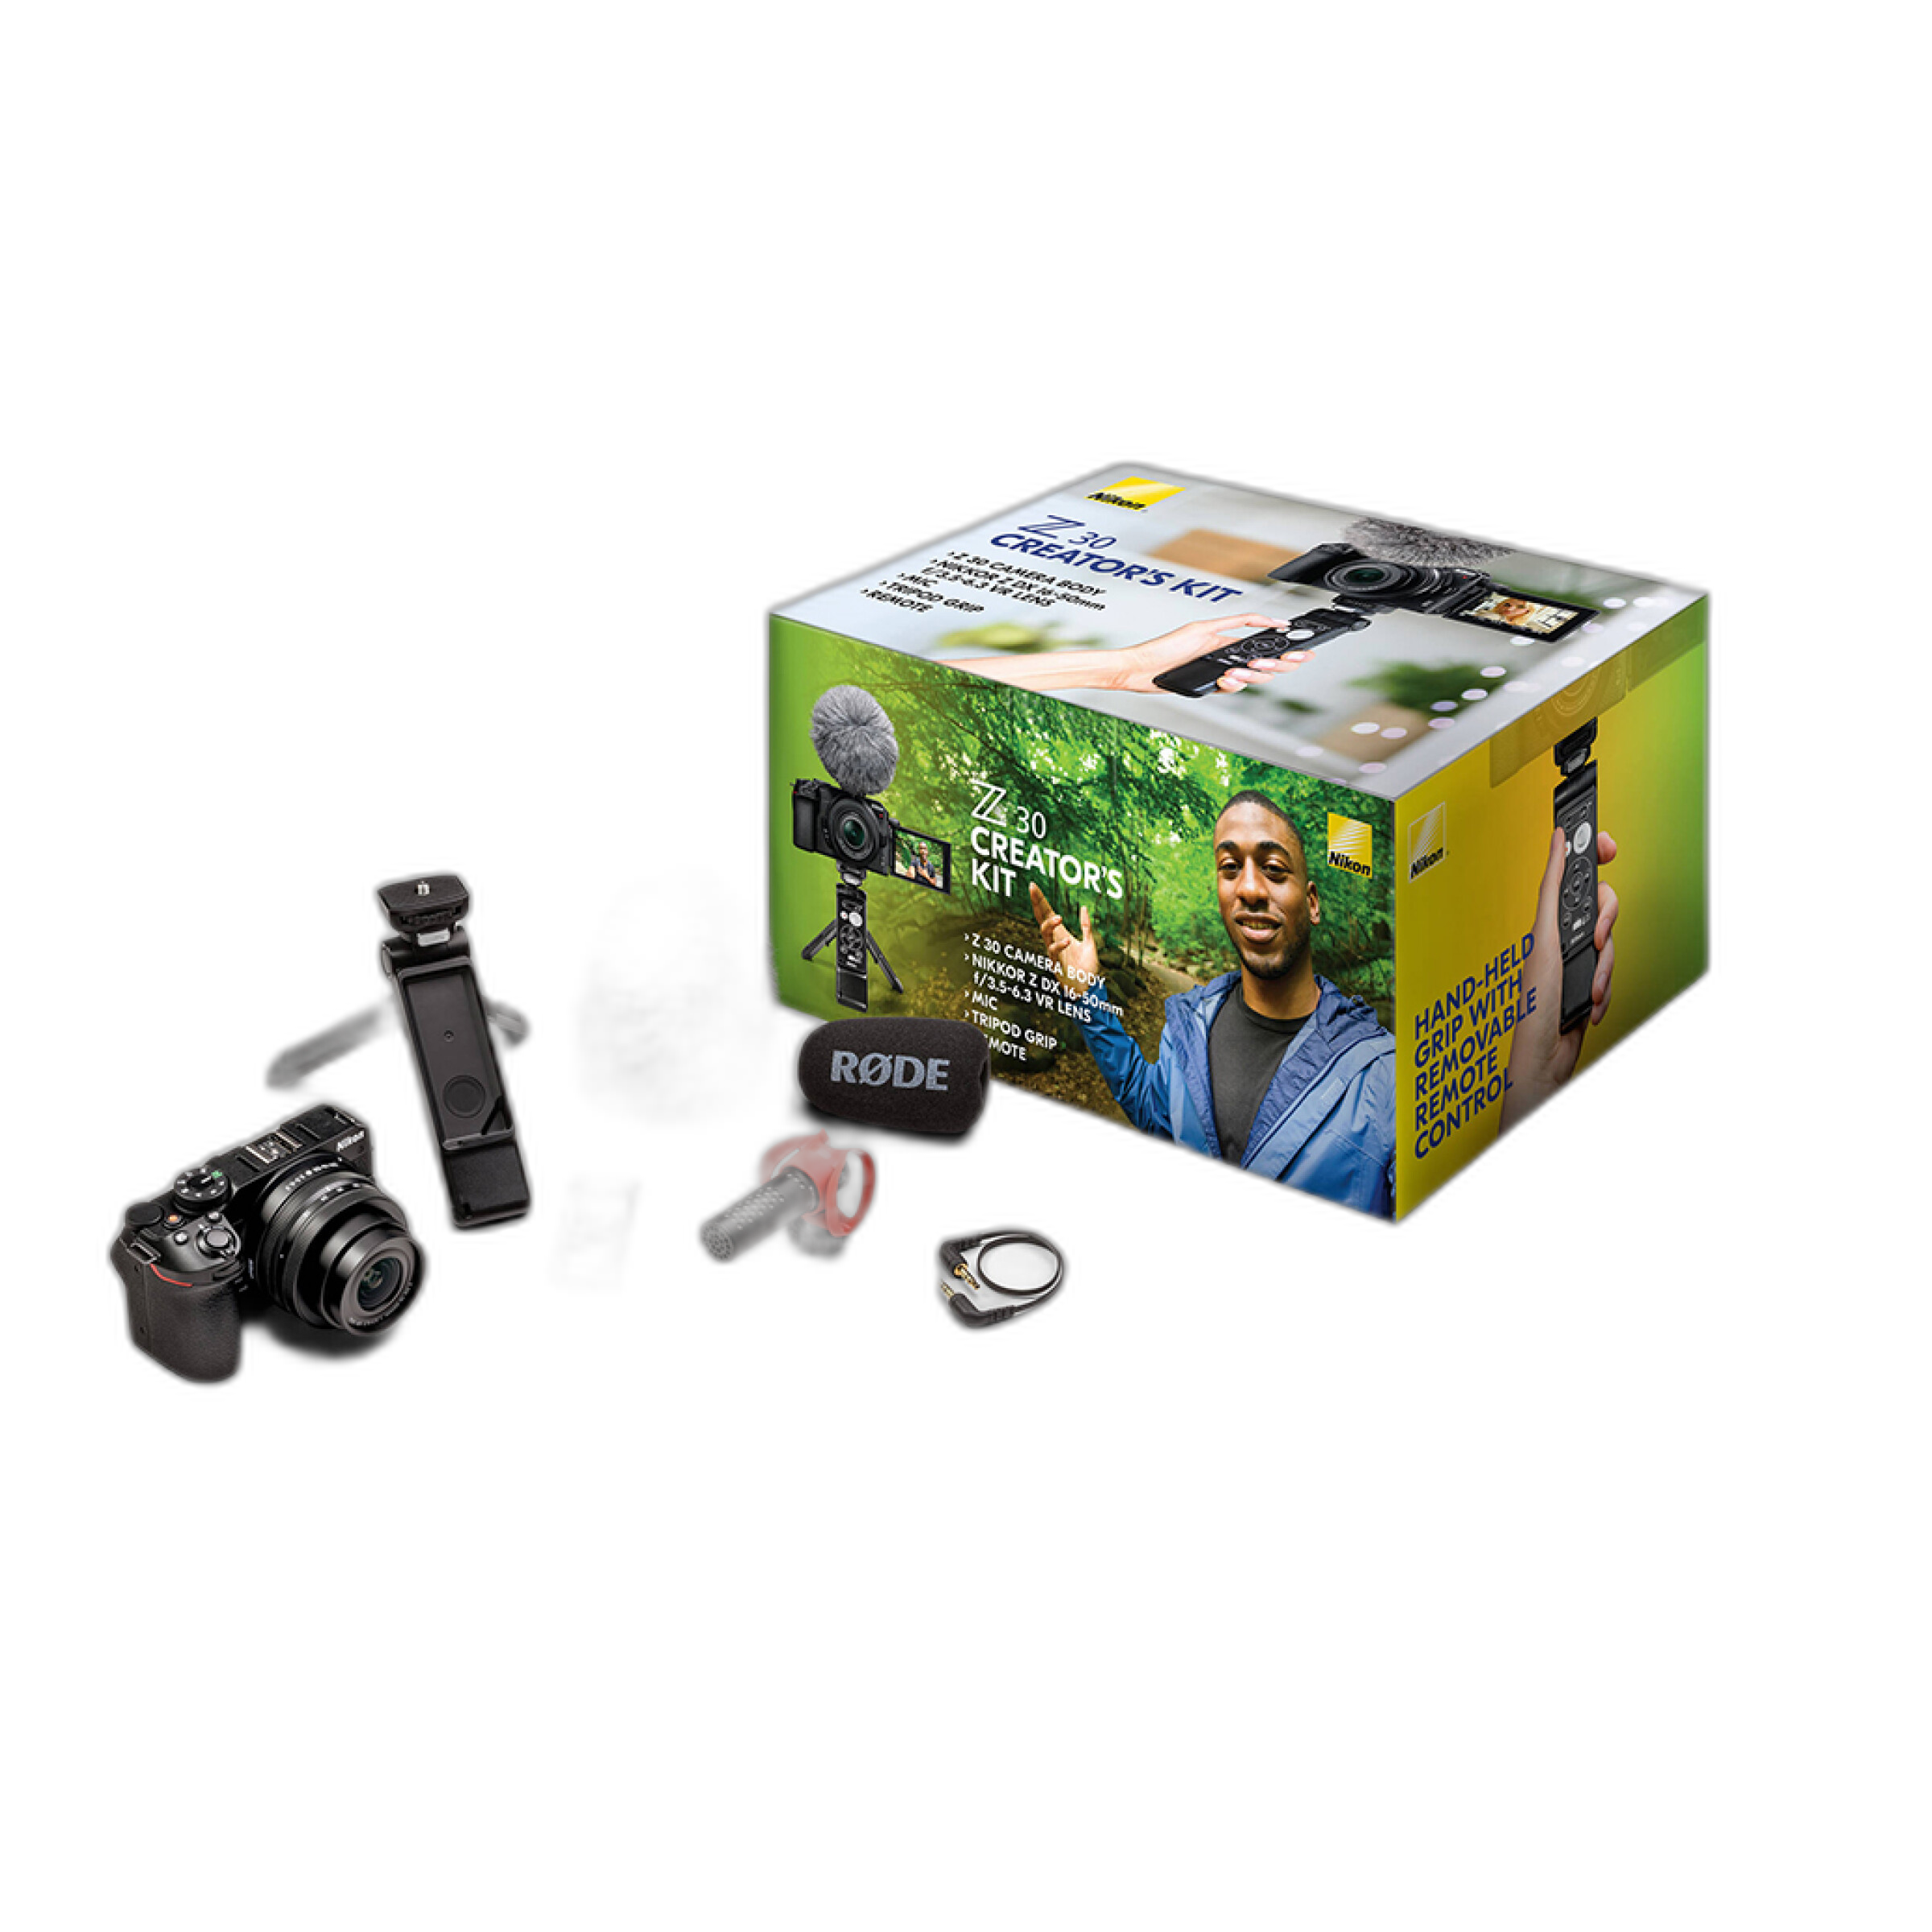
It also helps to pair your lighting with a creator-friendly camera kit designed for easy video production. A kit such as the Nikon Z30 Creators Kit is a strong starting point for new YouTubers who want a streamlined camera package to match a clean home studio workflow.
Should I choose LED panels or softboxes for talking-head videos?
For talking-head content, both can work well, but they create different results. LED panels are compact, easy to position, and convenient if you want quick setup and teardown. They are especially useful in apartments, bedrooms, or multipurpose spaces where you cannot leave a large setup assembled all the time.
Softboxes generally create a more wrapped, flattering light because they produce a larger apparent light source. That softer output can be ideal for interviews, beauty content, tutorials, and any channel where you want gentle shadows and a polished look. The trade-off is that softboxes usually take up more room and can be less portable.
If your priority is speed and flexibility, LED panels are often the better beginner choice. If your priority is the most flattering light possible in a dedicated filming space, a softbox-style light modifier often wins. Many creators eventually combine both: a soft key light for the face and a small LED panel for background separation.
How many lights do I actually need to get started?
You can absolutely start with one light if your room is small and you can place it well. A single soft key light positioned at about a 45-degree angle from your face can produce a clean, cinematic look, especially if you let the opposite side of the face fall into a little natural shadow.
Two lights are the practical sweet spot for many beginners. One serves as the key, and the second acts as fill or background light. Three lights give you more control, especially if you want to separate yourself from the wall behind you or maintain a brighter, more commercial look.
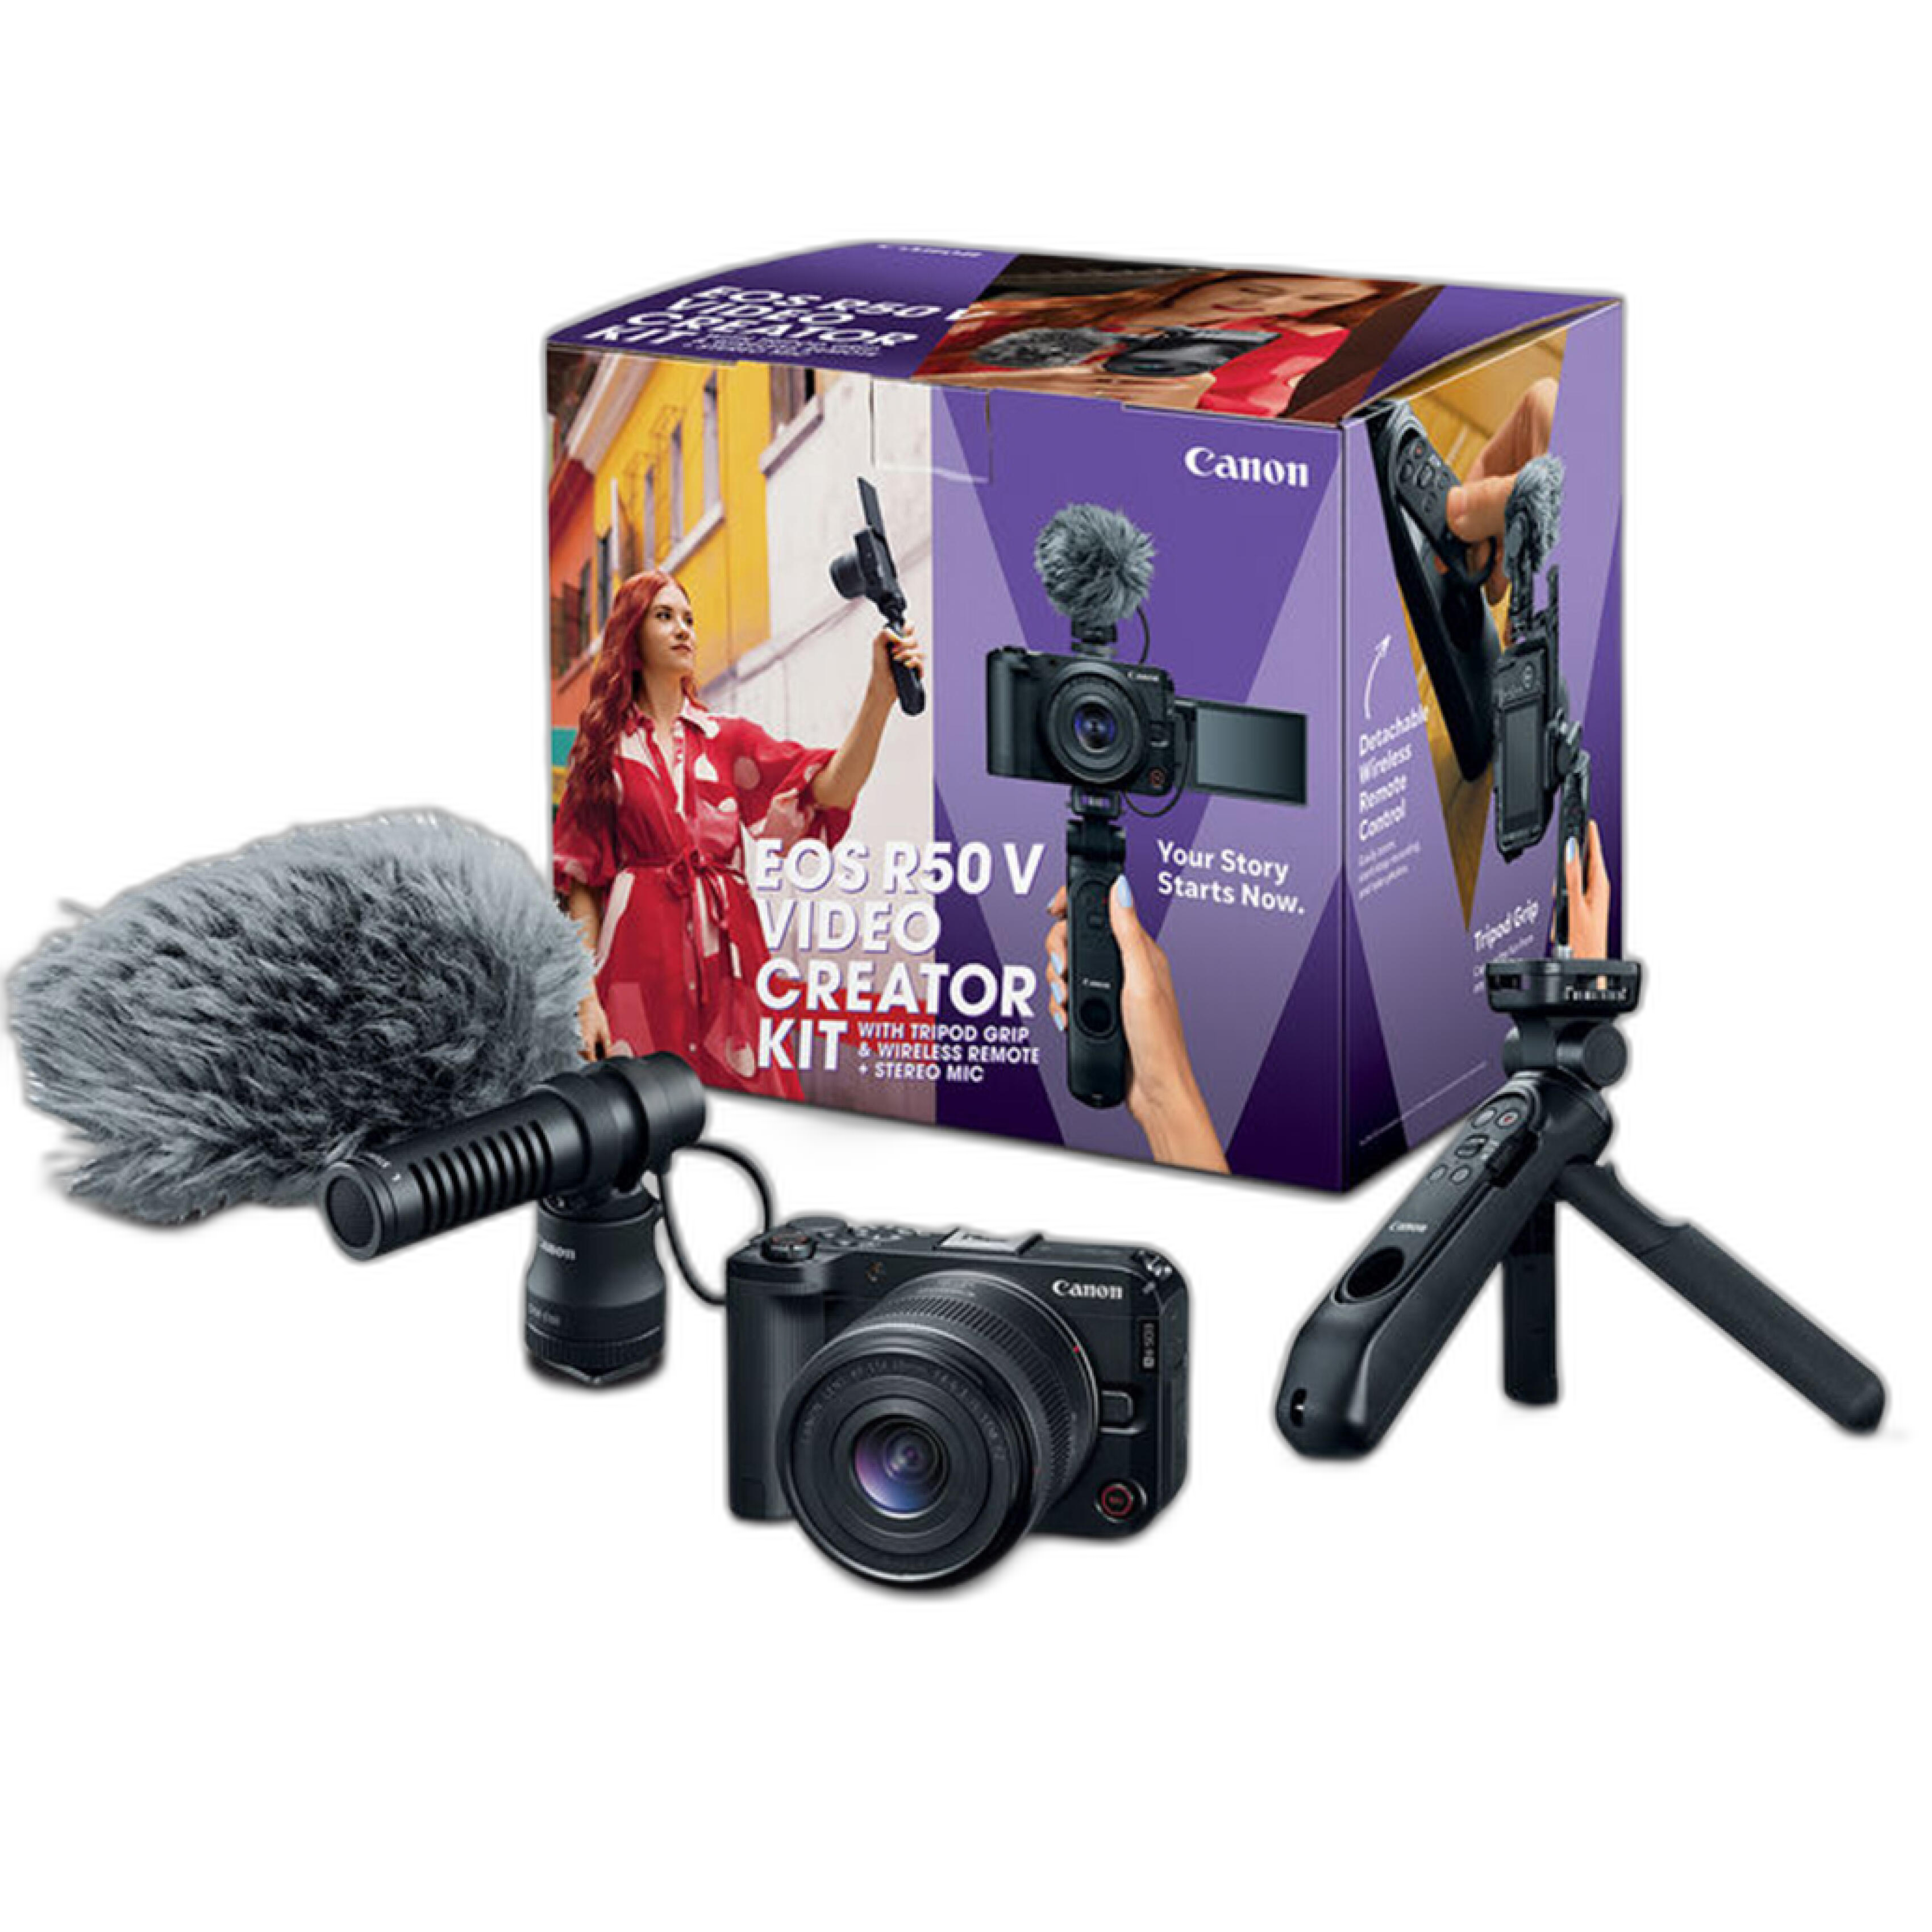
If you are building a complete beginner content station, it makes sense to think of camera and lighting together. The Canon EOS R50 V Video Creator Kit, for example, is well suited to creators planning a polished talking-head workflow, and it pairs nicely with a straightforward two-light layout.
What kind of lighting works best in small rooms or bedrooms?
In smaller rooms, large soft light sources placed close to the subject usually work best. Bringing the light closer makes it appear softer, which helps smooth facial features and reduce distracting shadows. It also means you do not need extremely powerful fixtures to get good exposure.
You should also pay attention to wall color and ceiling bounce. White walls can help fill in shadows naturally, while darker walls may require more output or an additional fill light. If your room has mixed lighting from windows, ceiling bulbs, and lamps, it is usually best to simplify the environment and control one color temperature at a time.
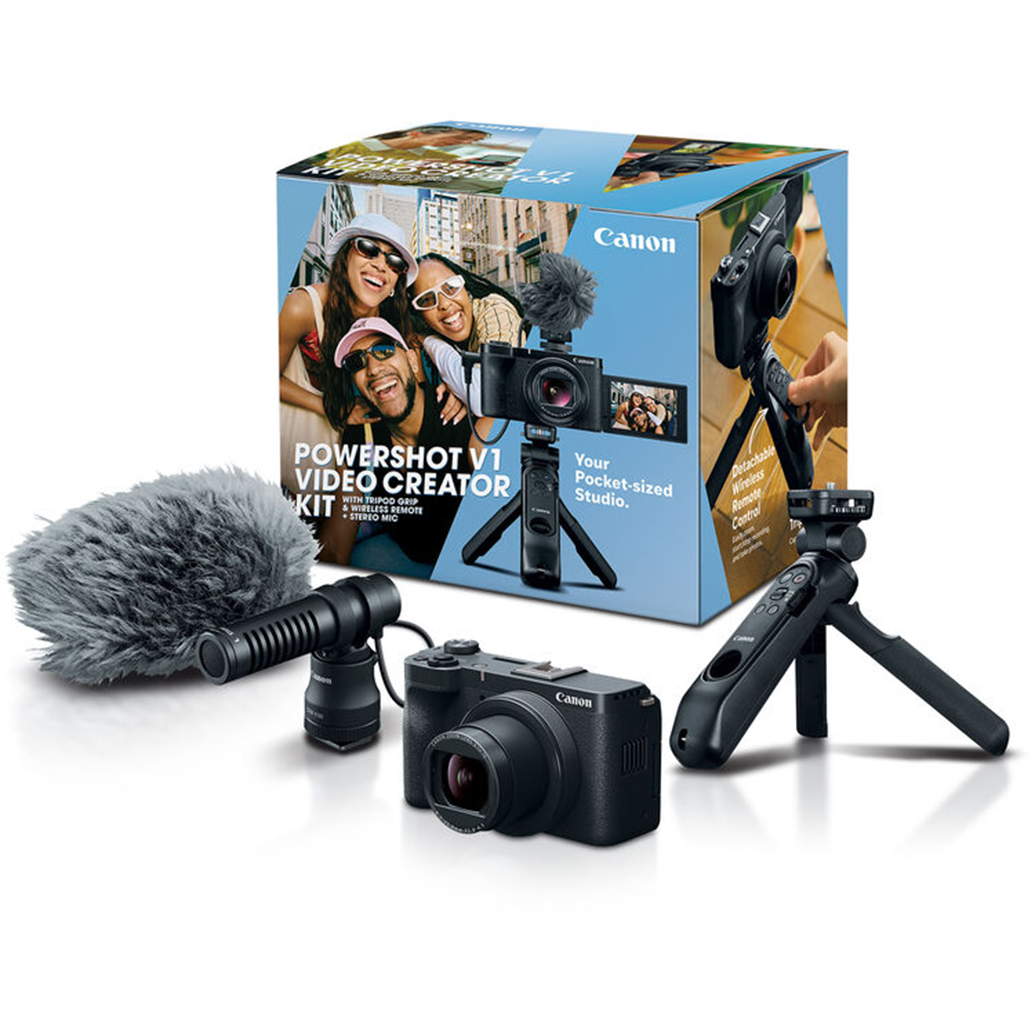
Compact creator cameras can be especially practical in tight spaces because they are easier to mount on small tripods or desktop rigs. The Canon PowerShot V1 Video Creator Kit is a useful option for creators who want a streamlined video setup without taking over the entire room.
Are portable battery-powered lights worth it for vlogging?
Yes, especially if you shoot away from a fixed desk setup. Battery-powered lights are valuable for run-and-gun creators, travel vloggers, event coverage, or anyone who films in locations where outlets are limited. They are also handy as accent lights in a home studio because you can place them almost anywhere without worrying about power cables.
That said, portability usually comes with trade-offs. Small battery-powered lights may not be powerful enough to act as your main key light in a bright room, but they can be excellent for fill, background color, or quick face lighting in close-up shots. For vlogging, the best portable light is often the one you will actually carry and use consistently.
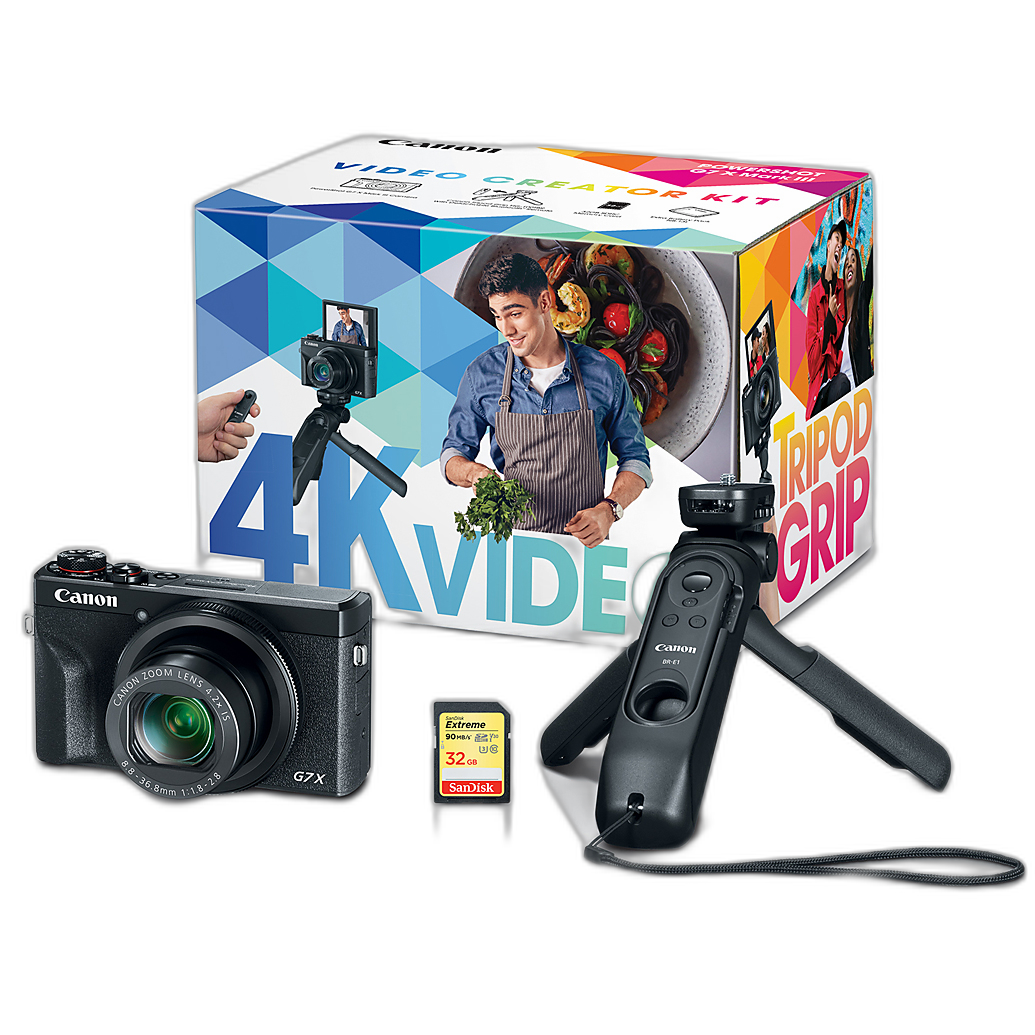
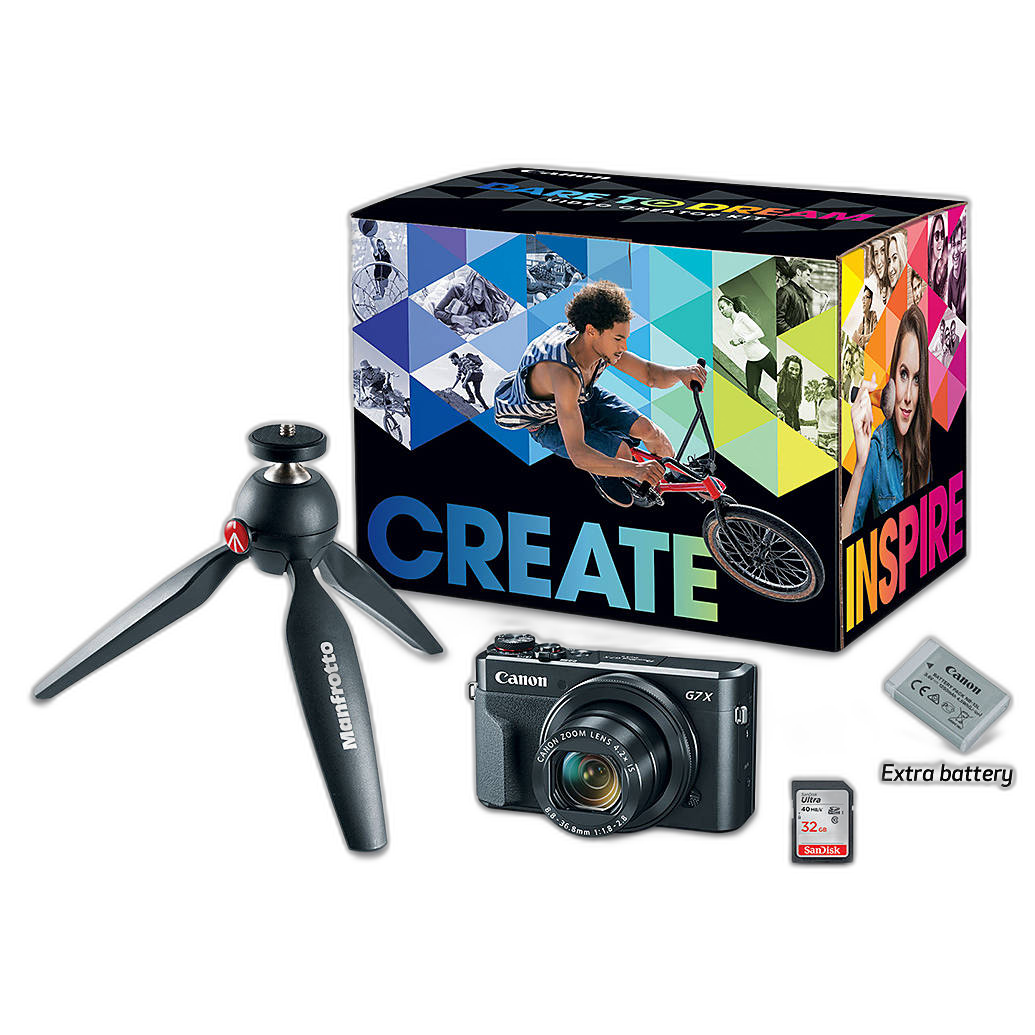
If you are building a mobile creator kit, a compact camera setup matters just as much as the light itself. The Canon PowerShot G7 X Mark III Digital Camera Video Creator Kit and Canon PowerShot G7 X Mark II Video Creator Kit remain appealing choices for creators who value portability for everyday shooting.
How should I position my key light and fill light for YouTube videos?
A classic beginner setup places the key light slightly above eye level and about 45 degrees to one side of the camera. This creates depth and dimension while keeping your face clearly visible. Your fill light, if you use one, should be softer and dimmer, placed on the opposite side to reduce the darkest shadows without eliminating them entirely.
If the image feels flat, your fill is probably too bright or too close to the camera axis. If the shadows look harsh, move the key light closer, increase diffusion, or raise the fill slightly. The goal is not just brightness but shape. Good lighting adds contour to your face and separates you from the background.
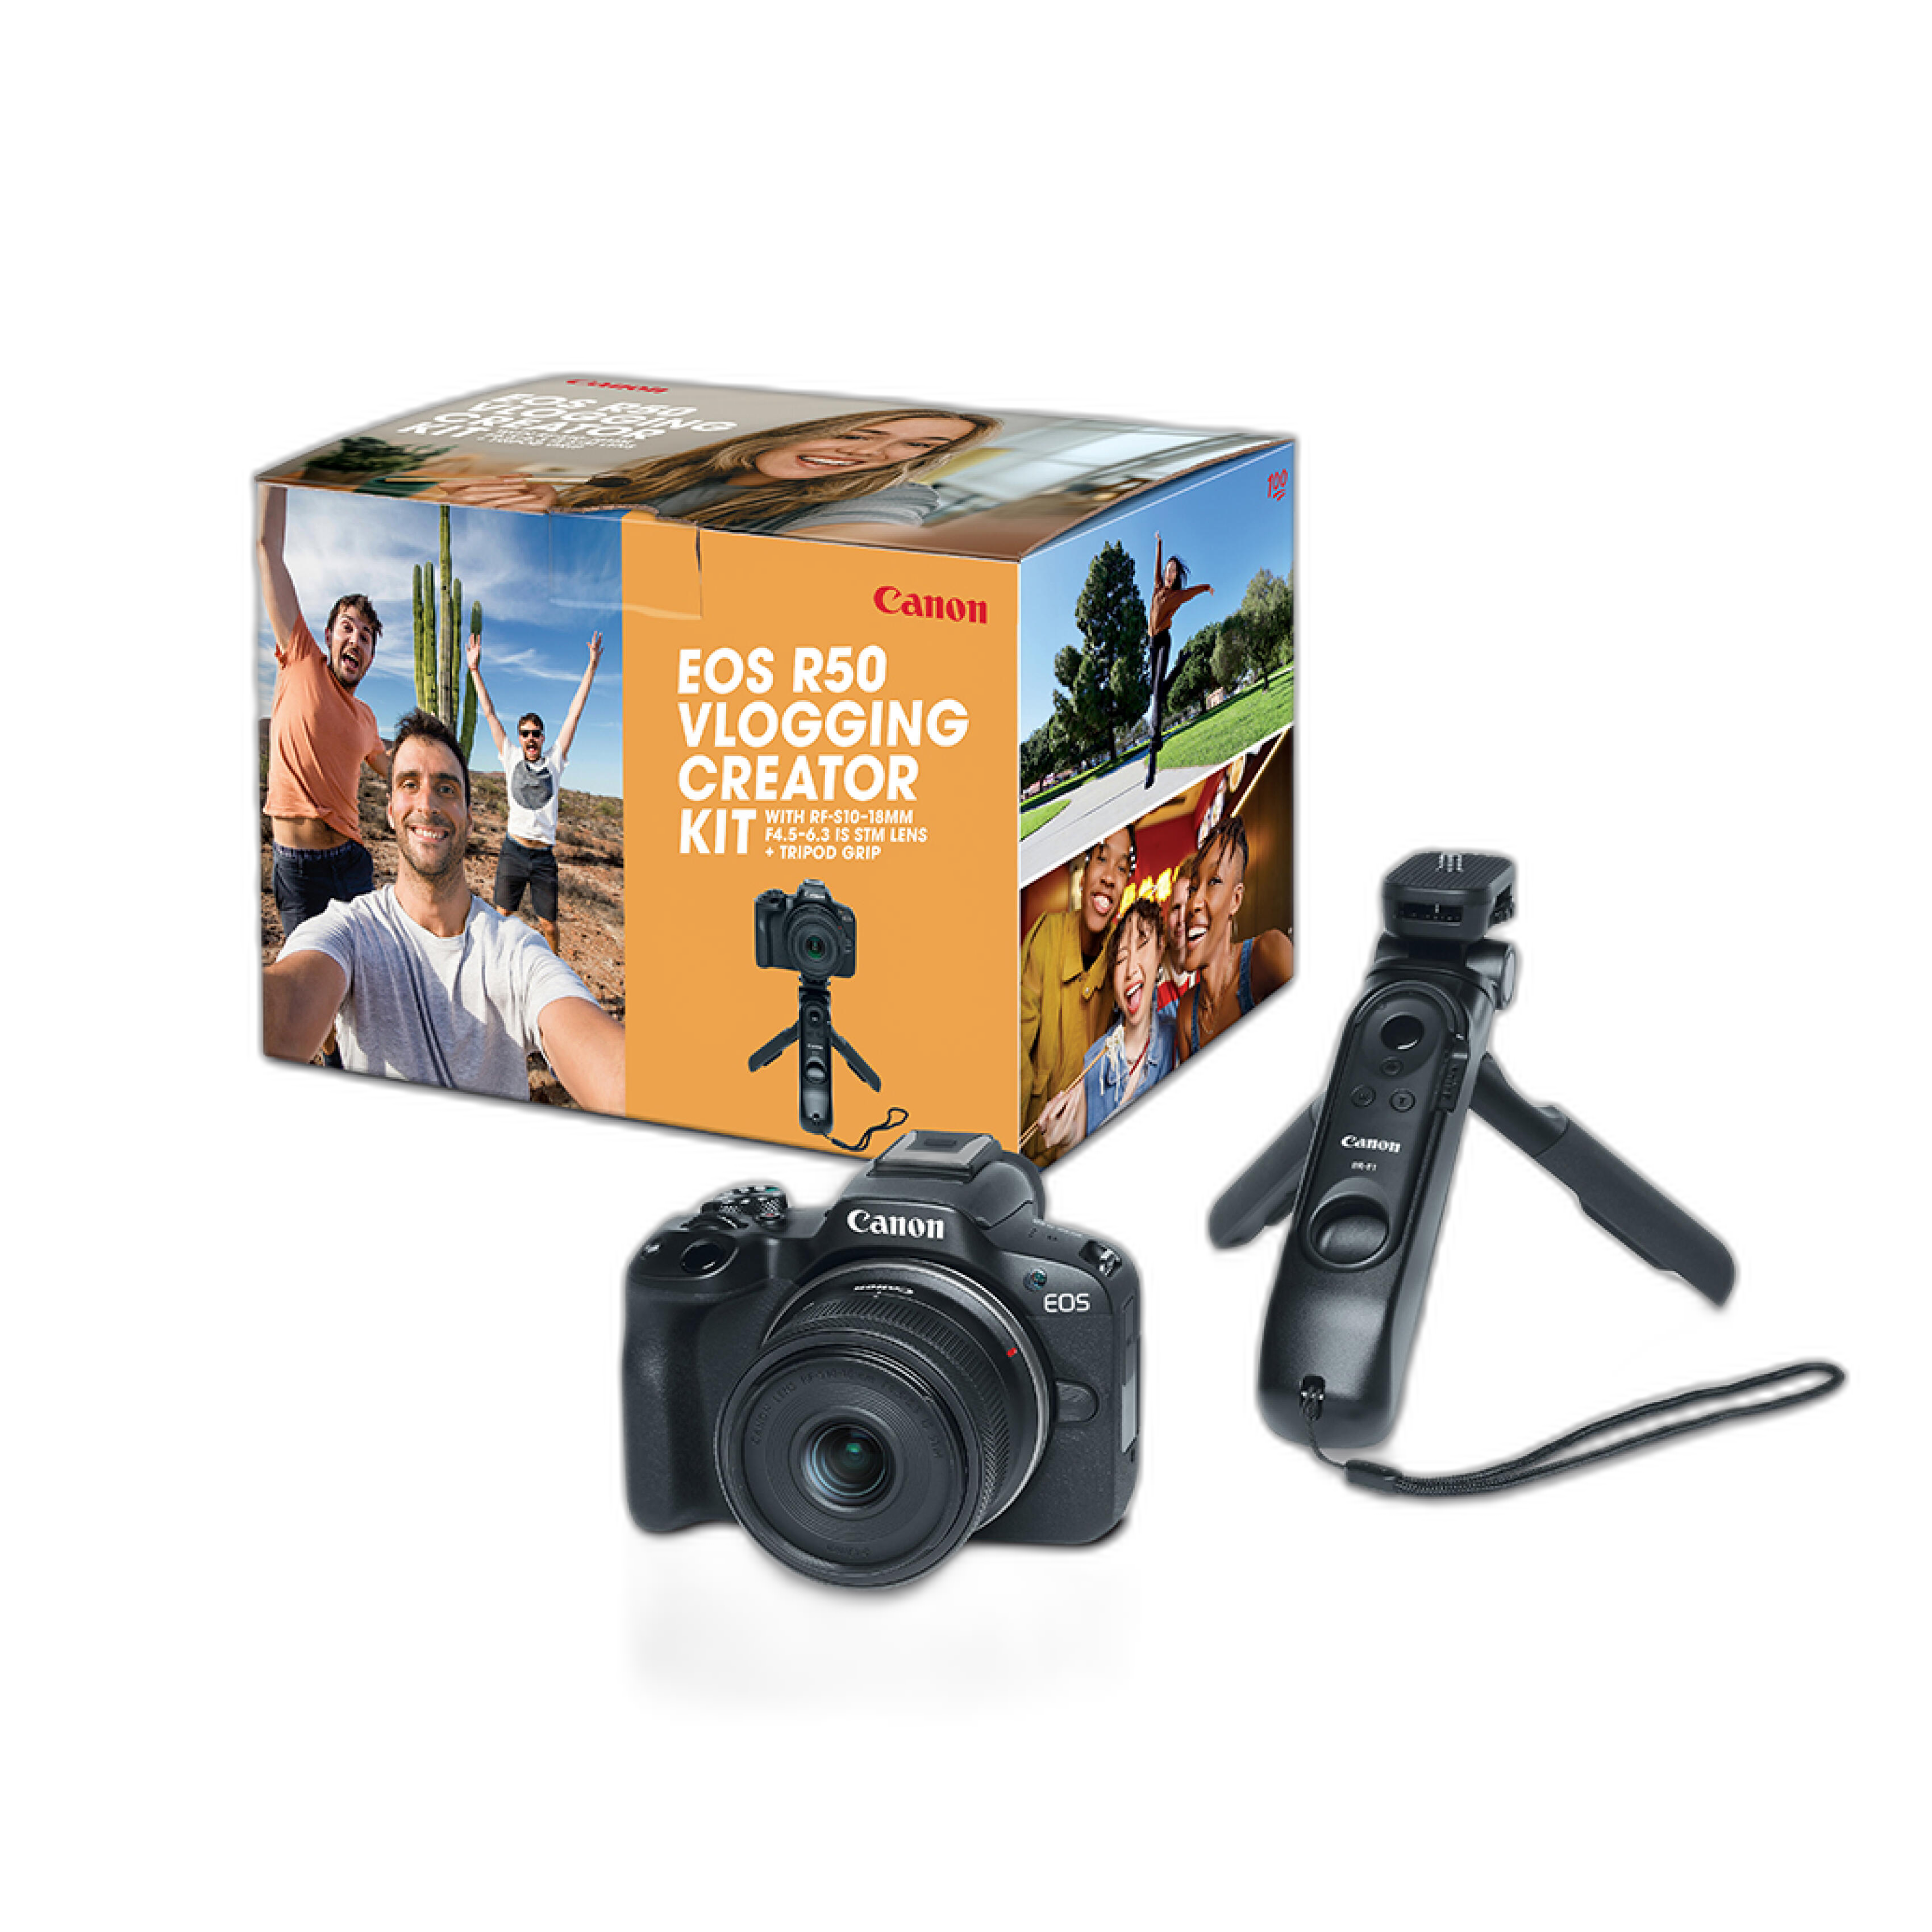
Creators using wider lenses for desk setups or handheld presentation videos may also want to think about framing and lighting together. The Canon EOS R50 Mirrorless Camera with RF-S 10-18mm Video Creator Kit is particularly useful for creators who need a wider field of view for tight indoor spaces.
Do I need special accessories to improve my lighting results?
Accessories can make a major difference, even if your light fixtures are modest. Diffusion helps soften harsh sources, light stands improve placement, and compact grips or mounting accessories help you keep your setup consistent from shoot to shoot. Consistency is especially important if you publish regularly and want your videos to maintain a recognizable look.
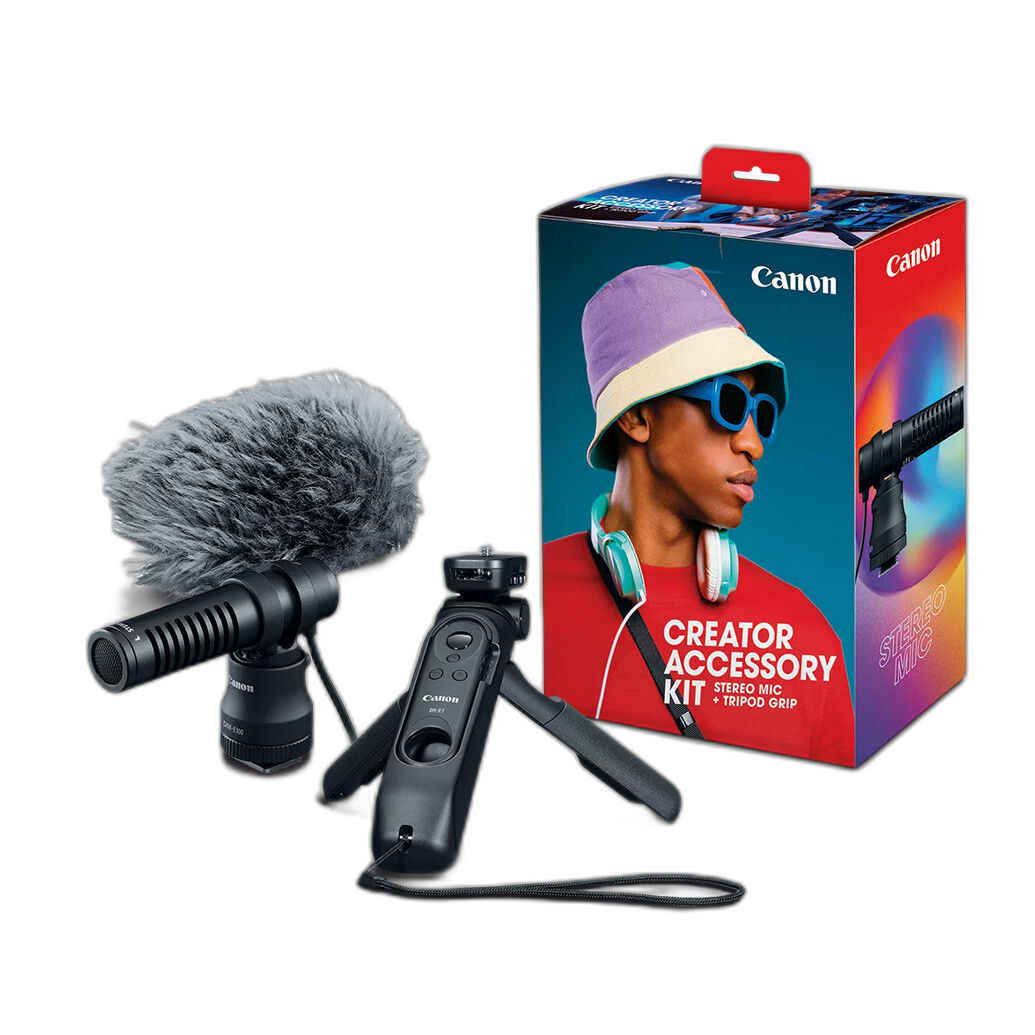
Audio and stabilization accessories also matter because production value is never just about the light alone. A creator-oriented accessory bundle can simplify the process for beginners who want to improve overall video quality at the same time. The Canon Creator Accessory Kit is a practical example for creators assembling a more complete content workflow.
Can natural window light replace a lighting kit?
Natural light can absolutely work, especially when you are starting out. A large window can act like a beautiful soft key light if you position yourself correctly and shoot when the light is consistent. For many beginners, this is the easiest way to learn the basics of flattering direction and shadow control.
The challenge is reliability. Window light changes with the time of day, weather, and season, which can make your videos look inconsistent. If you upload regularly, dedicated lights give you more control and help you recreate the same look every time. Many creators start with window light, then add a key light once they want more flexibility and repeatability.
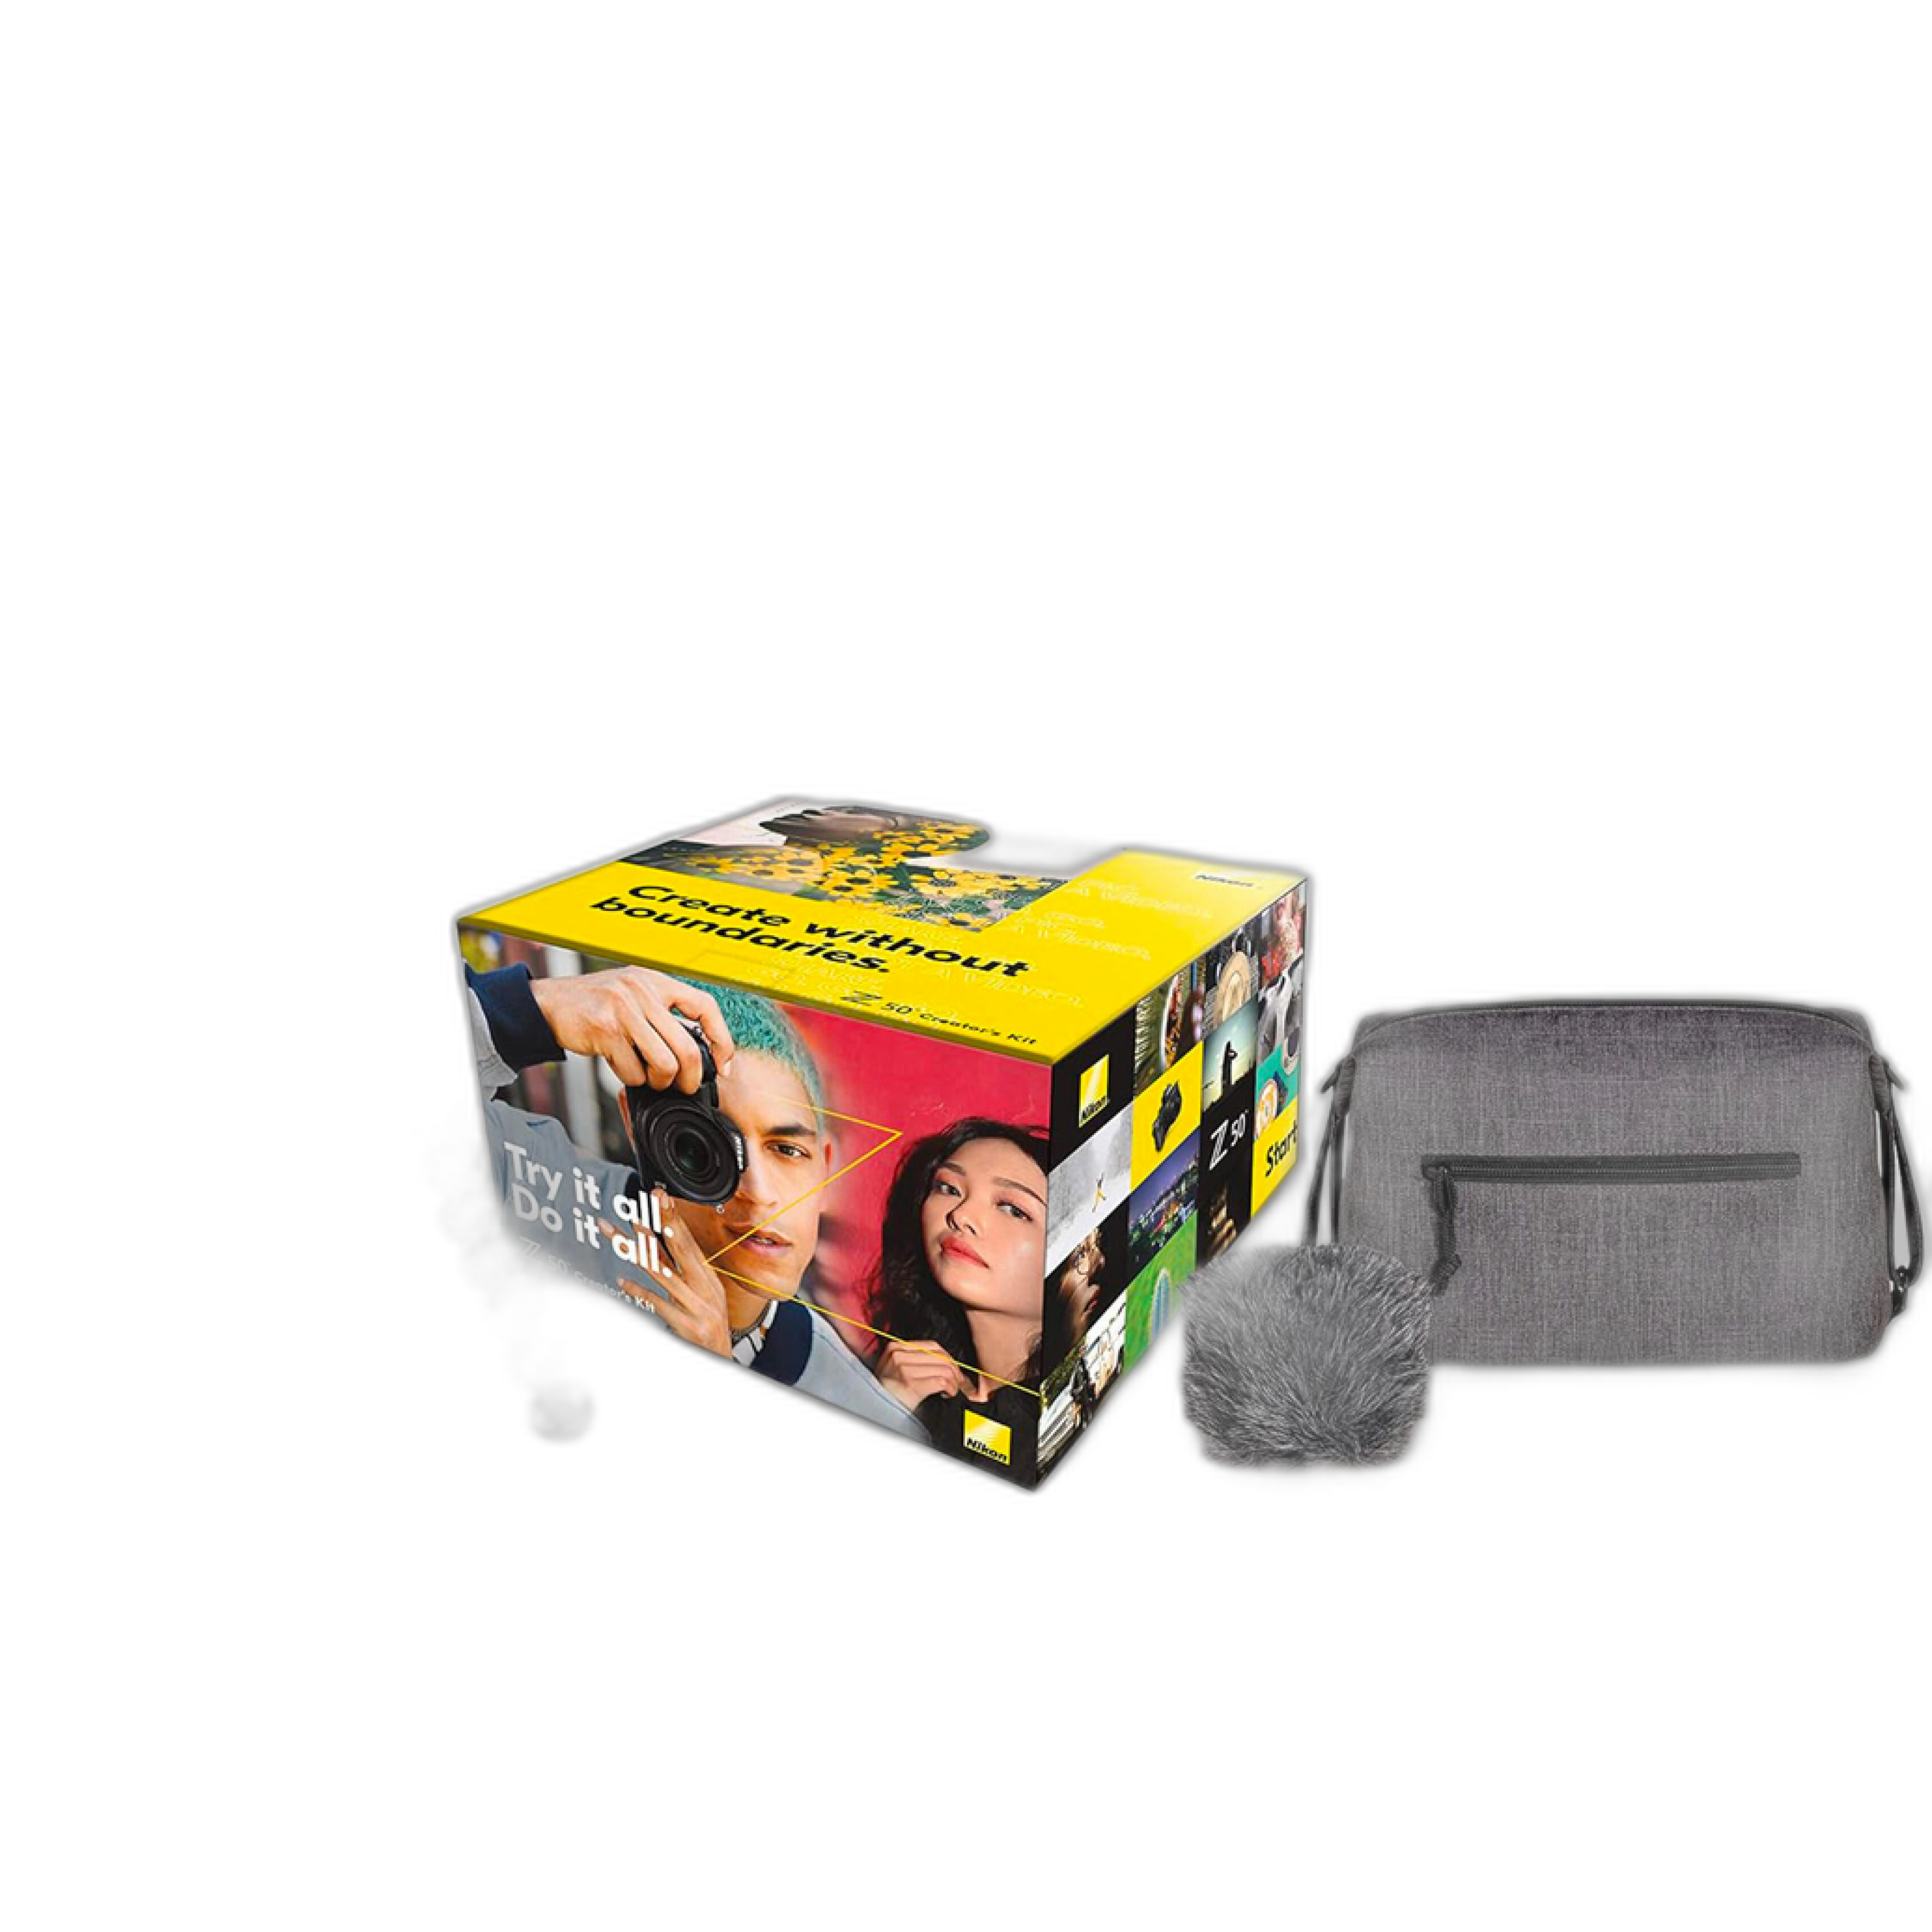
A camera kit designed for content creation still helps even if you are using natural light. The Nikon Z50 Creators Kit is a strong option for creators who want an approachable system for both indoor videos and on-the-go content.
What is the best overall beginner approach if I want to grow my channel?
The best approach is to start simple, prioritize soft and flattering light, and build a setup you can use consistently. One quality key light, thoughtful positioning, and a creator-focused camera kit will usually take you farther than an overly complicated rig. Once your workflow is established, you can add fill, background lighting, and portable battery-powered options as your channel expands.
If you are choosing gear for your first serious upgrade, think in terms of a system rather than a single purchase. A capable creator camera, useful accessories, and a dependable lighting plan will help you produce cleaner videos with less guesswork. Unique Photo offers creator kits and video-friendly camera options that make it easier to build a setup around the way you actually shoot. If you are ready to refine your YouTube studio, explore our creator-focused gear and find the right combination for your space, style, and budget.