Film negatives can last for decades when they’re handled carefully, processed consistently, and stored with archival materials. Whether you’re shooting 35mm, medium format, or sheet film, a few smart habits can make a huge difference in image quality today and preservation for the future. Here are practical tips for building a reliable film workflow from development day to long-term storage and scanning.
Start With a Clean, Consistent Film Handling Routine
1. Handle negatives as little as possible
The best preservation step is prevention. Touch film only by the edges, keep your workspace free of dust, and avoid stacking strips loosely on tables. Fingerprints, scratches, and embedded dust are much harder to fix later during scanning. After drying, move negatives into archival storage quickly rather than leaving them exposed.
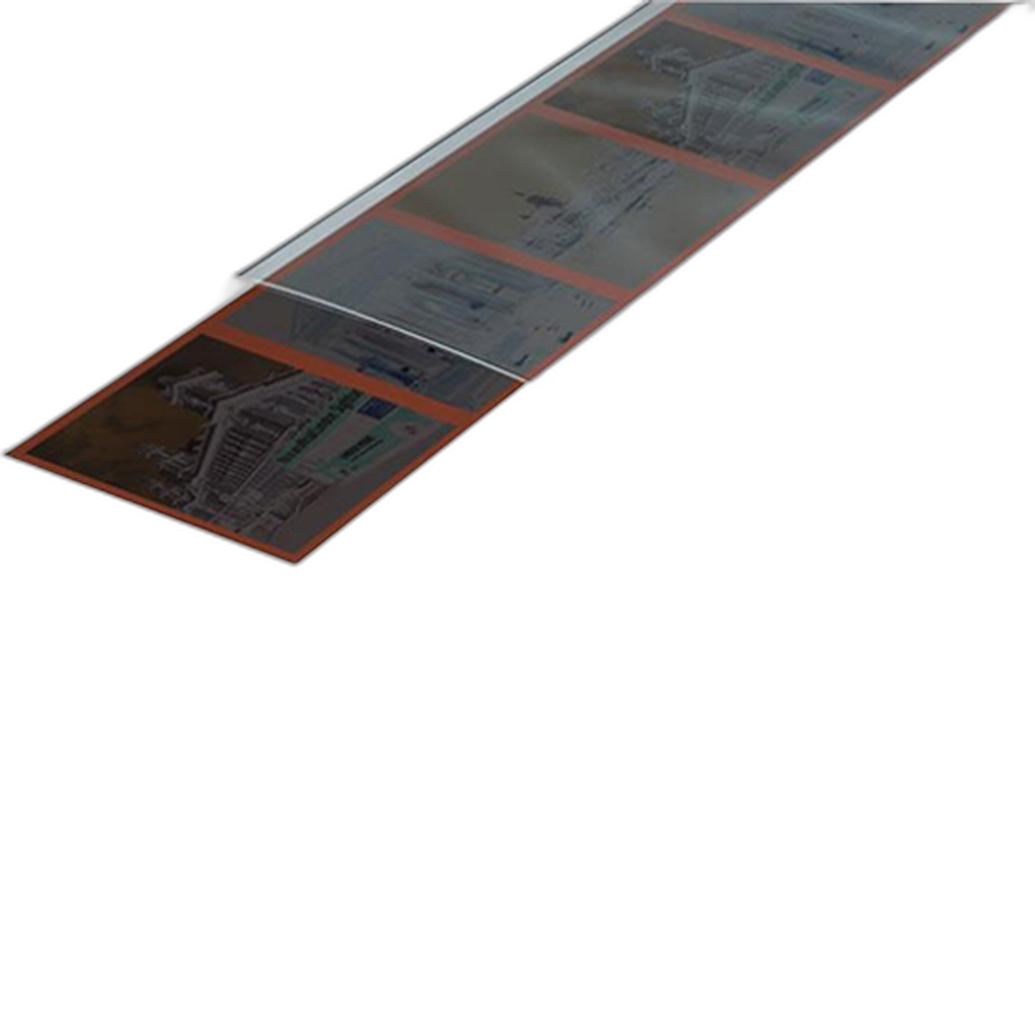
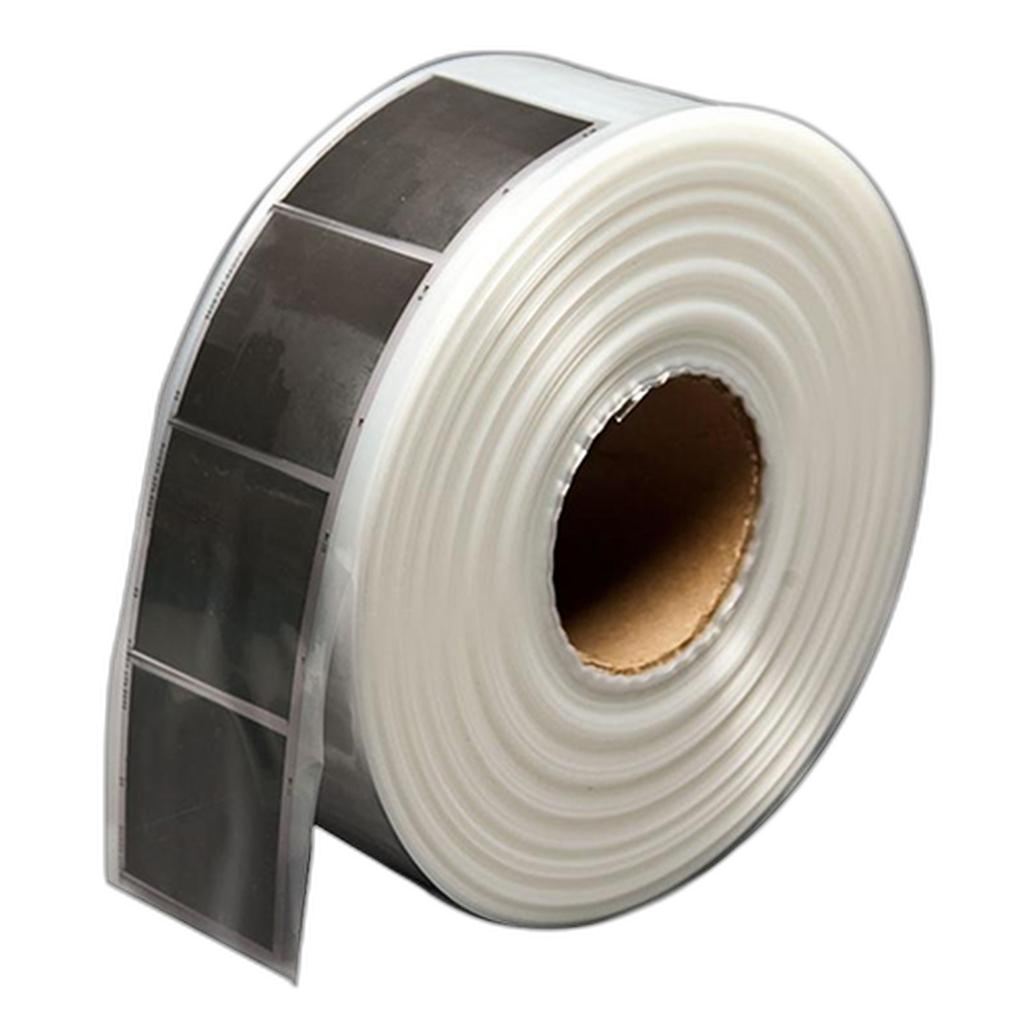
For photographers organizing 120 film, the Print File Archival Storage Film Strip Roll for 120 Negatives - 1000 FT is a practical way to protect strips before they collect dust or handling marks.
2. Separate film by format and shooting date
Organization matters just as much as protection. Keep 35mm, 120, and large format negatives in separate systems, and label everything with the film stock, camera, development date, and any processing notes. This saves time when you need to rescan, print, or compare results from different emulsions.
Use Reliable Developing Practices for Better Negatives
3. Build consistency into your development process
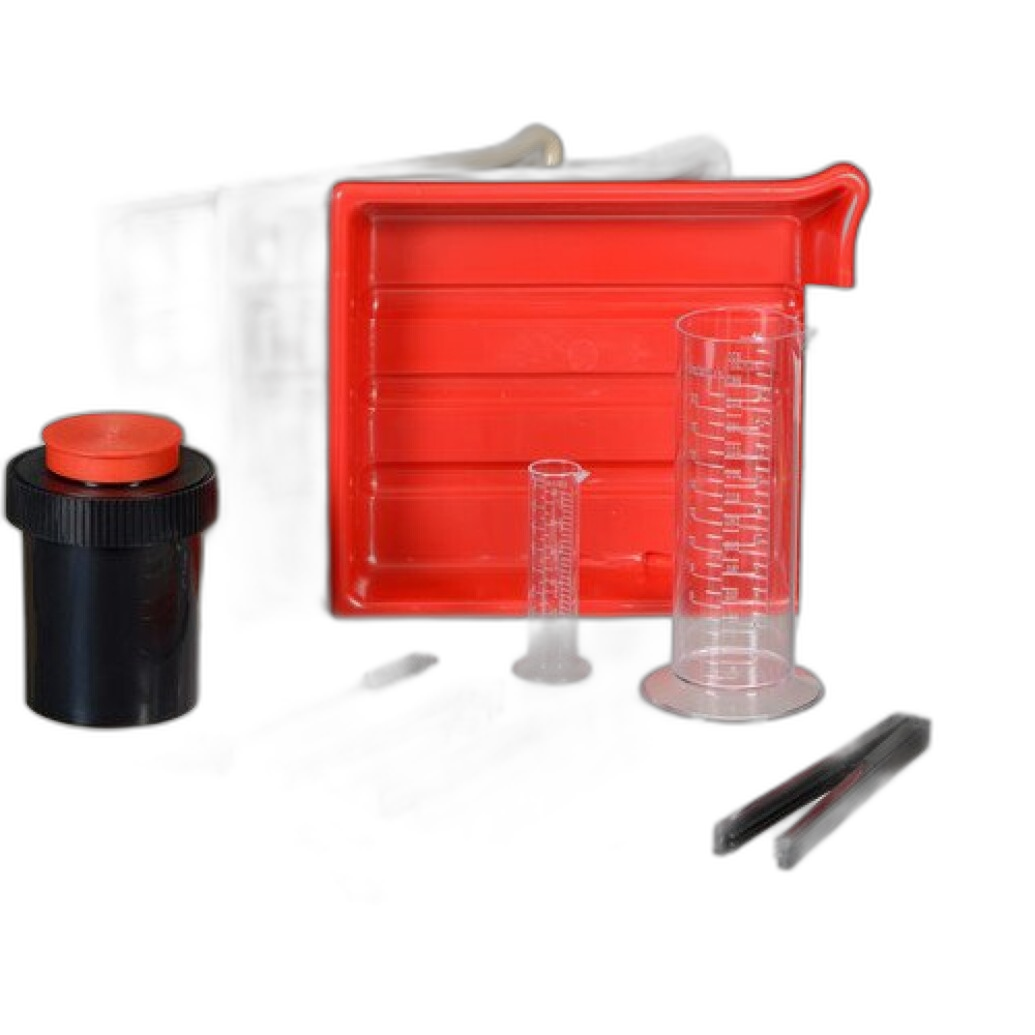
Good scans start with good negatives, and good negatives start with repeatable development. Maintain accurate temperatures, use clean chemistry, and stick to timed agitation routines. If you’re setting up a home workflow, a kit like the Photographic Darkroom Film and Paper Developing Kit can help keep the essentials together so your process stays predictable from roll to roll.
4. Let film dry completely before sleeving
Even a small amount of residual moisture can lead to sticking, curling, or trapped contaminants inside storage sleeves. Hang film in a dust-minimized area and give it enough time to dry fully before cutting and filing. Rushing this step often creates more work later, especially when scanning high-resolution files.
5. Cut negatives to match your storage pages
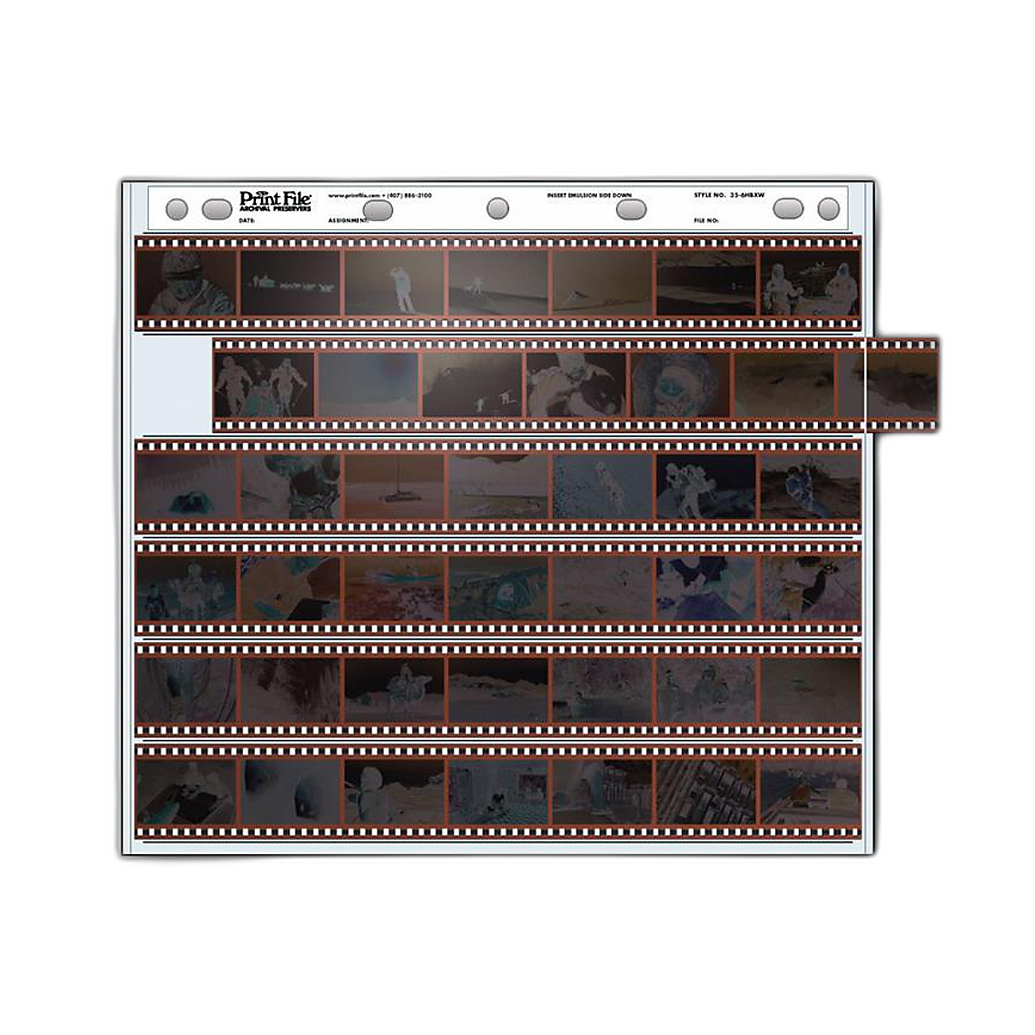
Before cutting, decide how you want to archive your film. For example, many photographers use the Print File 35-6HBXW (100) Negative Pages for 35mm strips, so cutting to match page layout makes filing faster and safer. A consistent strip length also reduces unnecessary handling each time you revisit your archive.
Choose Archival Storage Materials That Match Your Film Format
6. Use archival sleeves instead of improvised storage
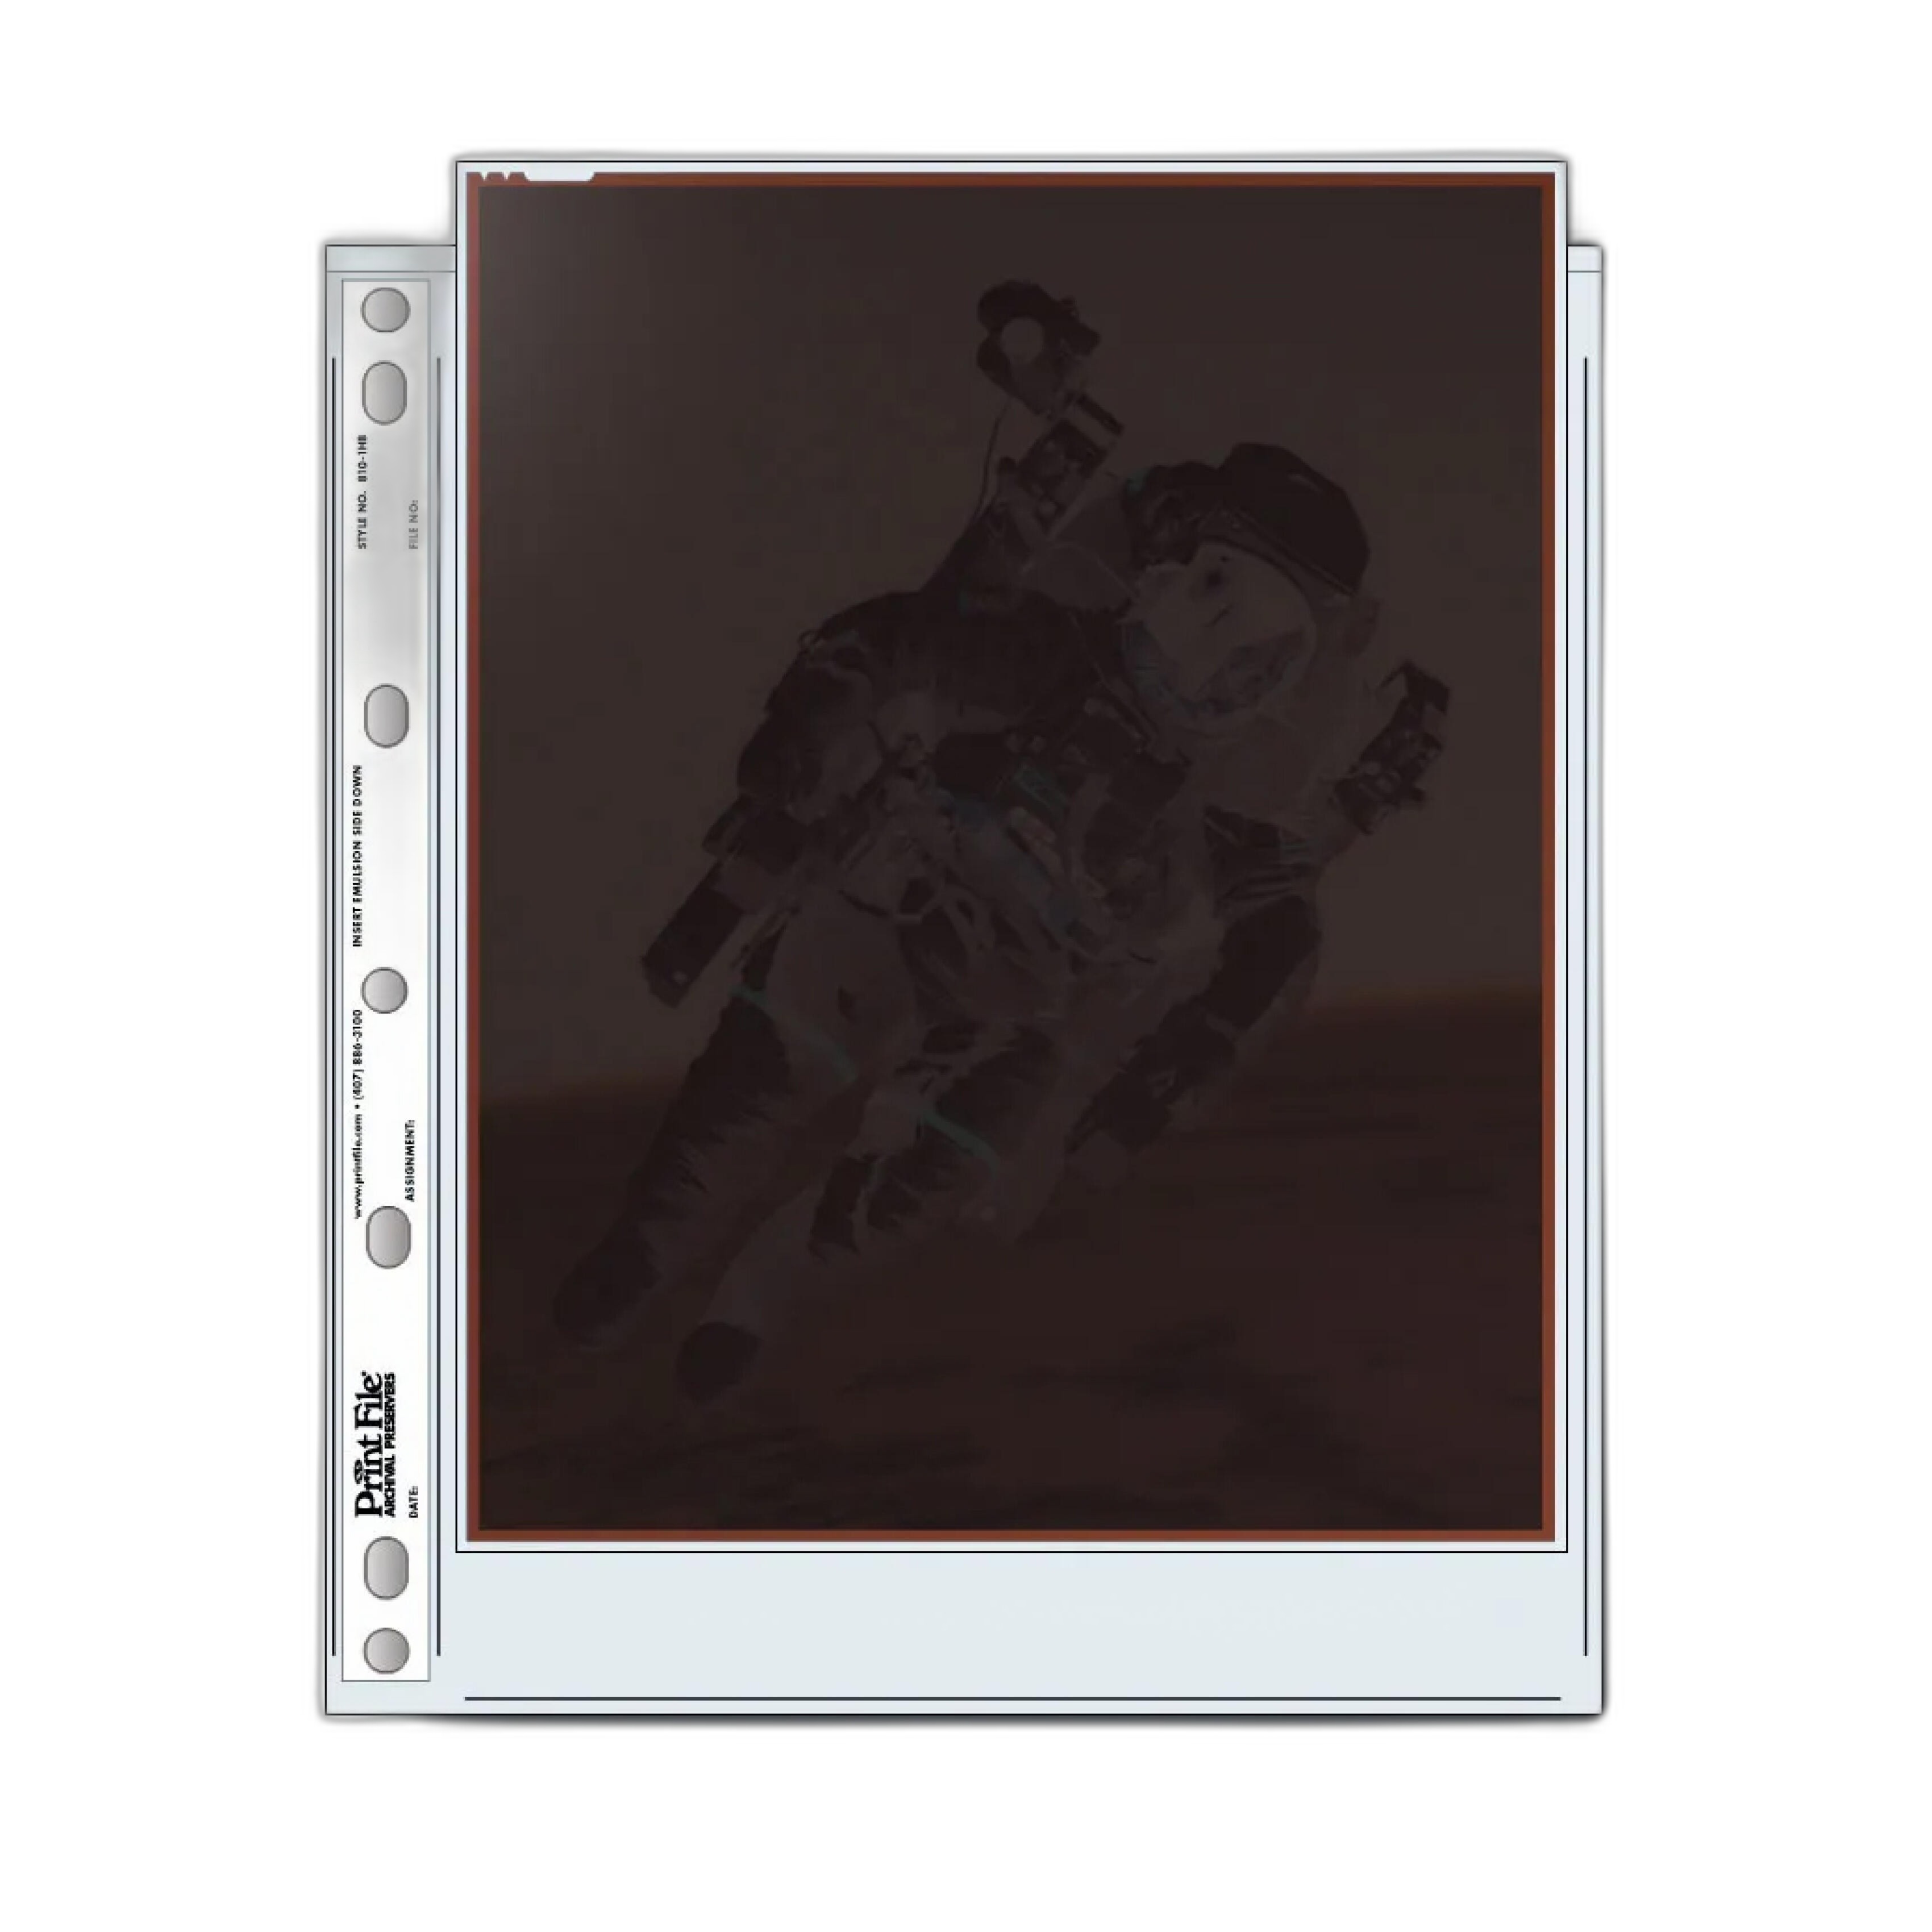
Negatives should be stored in archival-quality pages or sleeves designed for photographic materials. Household plastics, envelopes not made for photo storage, or random binders can introduce abrasion and long-term deterioration risks. For individual frames or transparencies, the Print File Archival Storage Page for Negatives - Holds 1 Negative or Transpa can be a useful option when you want extra separation and protection.
7. Match the storage solution to the film size
Different formats benefit from different storage styles. Sheet film photographers may prefer paper-based enclosures like the Duracraft 500 Kraft Negative Preserver Envelopes for 4.0x5.0 Film, which make labeling and filing straightforward. Medium format shooters often prefer strip storage systems and archival pages that keep the film flat and easy to review.
8. Store negatives in a cool, dry, dark environment
Even the best sleeves can’t compensate for poor storage conditions. Keep negatives away from heat sources, humidity swings, direct sunlight, and basements or attics with unstable temperatures. Use binders or archival boxes in a climate-controlled room whenever possible. The goal is stable storage, not just convenient storage.
Prepare Negatives Properly Before Scanning
9. Clean film right before digitizing
Dust that seems invisible on the light table can become obvious in a high-resolution scan. Before scanning, use a blower and anti-static cleaning routine to remove surface particles. Cleaning right before digitizing is more effective than cleaning once during storage and assuming the film stayed dust-free.
10. Use a holder that keeps film flat
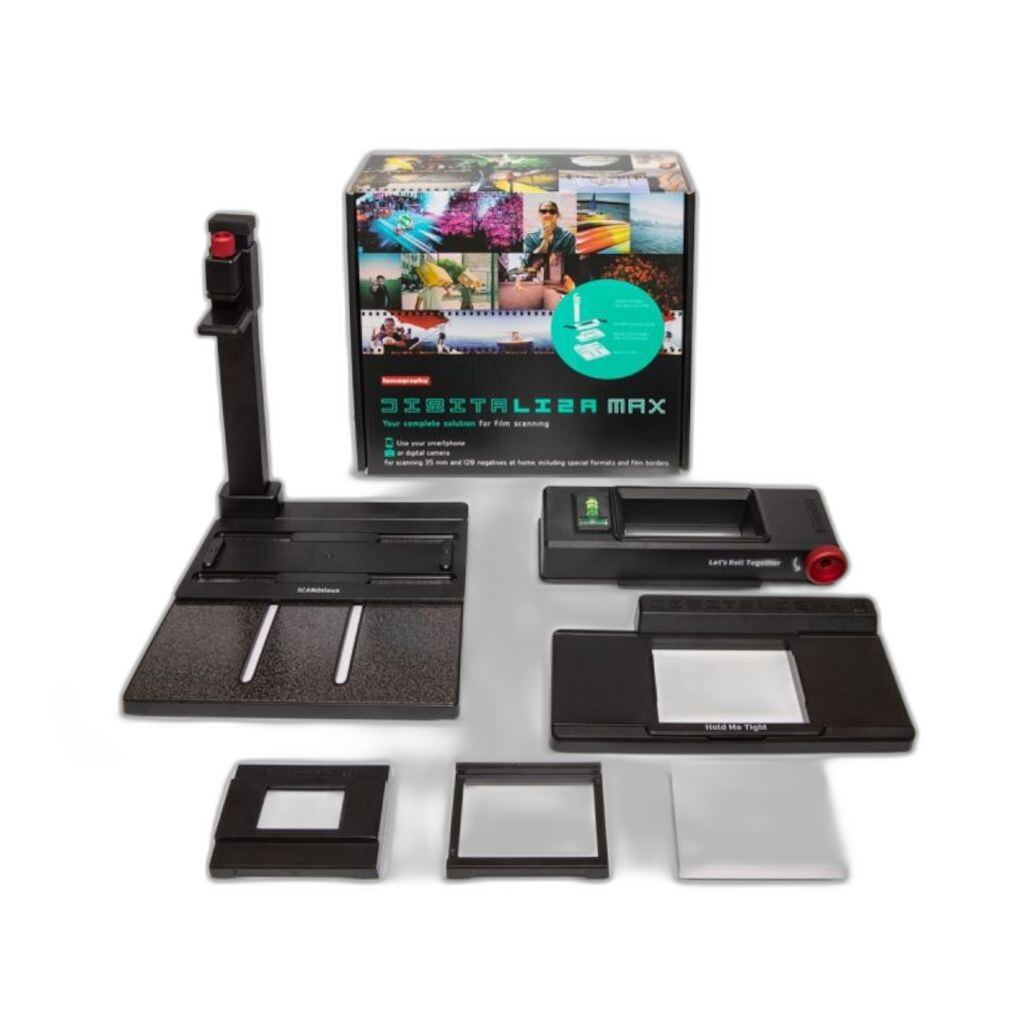
Flat film is critical for sharp scans. Curled negatives can throw off focus, create uneven sharpness, and slow down your workflow. The Lomography DigitaLIZA Max Scanning Kit is designed to help keep film positioned neatly for digitizing, making it easier to produce more consistent results across different formats.
11. Consider a dedicated film carrier for camera scanning setups
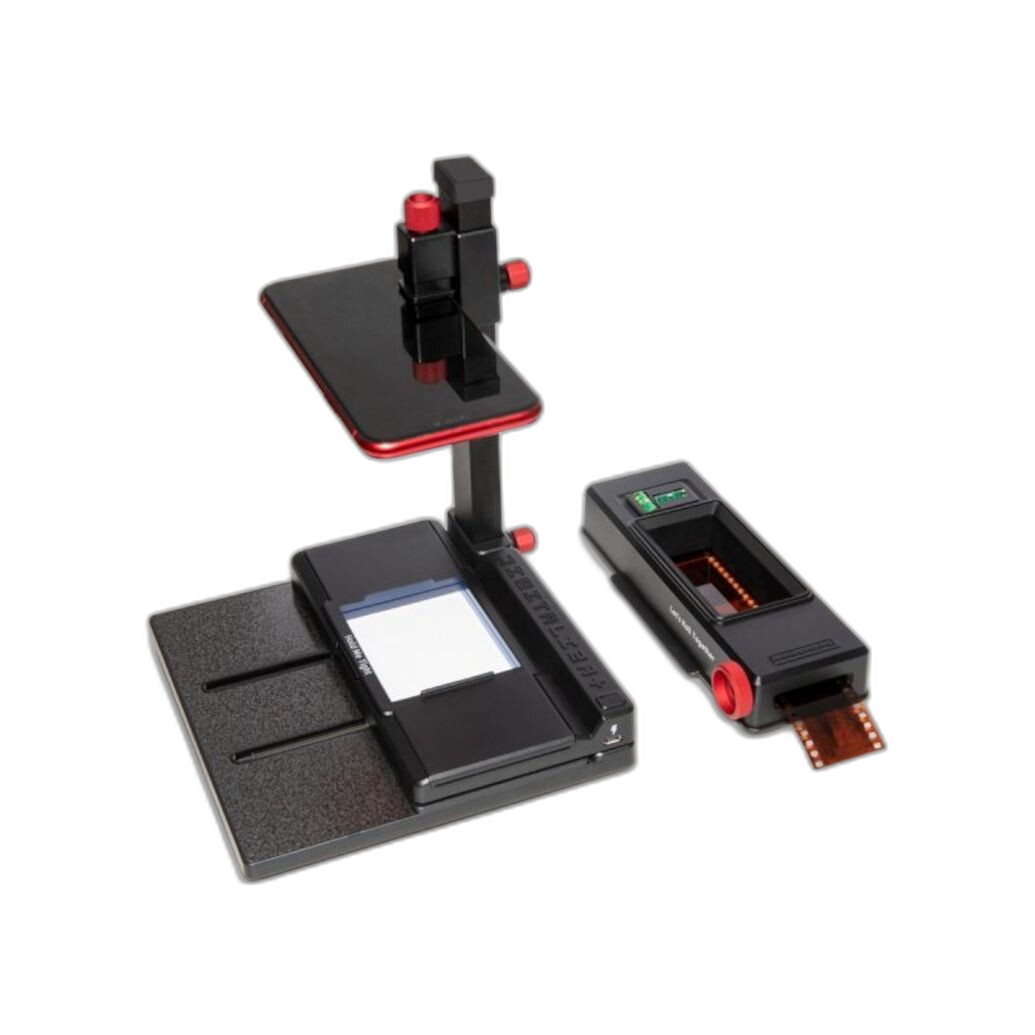
If you digitize negatives with a digital camera rather than a flatbed or dedicated scanner, a film carrier can improve alignment and speed. The Negative Supply Film Carrier 35MD Kit is a strong example of the kind of tool film photographers use to streamline camera scanning while helping maintain film flatness and repeatable positioning.
Build an Archive That’s Easy to Revisit
12. Label every page, sleeve, and folder clearly
An archive only helps if you can actually find what you need. Include dates, locations, film stock, camera, lens, and development notes whenever possible. If you’re filing medium format frames in pages, a product like the Print File Archival Storage Page for 9 Negatives (2.6x3.6in, 500-Pack) fits neatly into a broader organizational system where each page can be cross-referenced with contact sheets or scan folders.
13. Keep physical and digital archives connected
Once scans are complete, name your digital folders to match the labels on your physical negative pages. That way, if you want to rescan a frame at higher resolution or make a darkroom print later, you can go directly from the file to the original negative without guesswork.
A Few Common Mistakes to Avoid
14. Don’t over-clean or wipe film aggressively
Too much pressure can scratch the emulsion. Gentle air cleaning and film-safe handling tools are usually better than repeated wiping.
15. Don’t store negatives in overcrowded binders
Pages that are bent, compressed, or packed too tightly can lead to curling and physical stress. Leave room for pages to sit flat.
16. Don’t wait too long to archive fresh film
The longer negatives sit loose after processing, the more likely they are to collect dust, fingerprints, and scratches. Filing film right away helps preserve its condition for both printing and scanning.
Preserve Your Film for the Long Run
The best film workflow is one that protects your negatives at every stage: careful handling, consistent development, archival storage, and thoughtful scanning. With the right supplies and habits, your negatives can stay clean, organized, and ready for future prints or rescans for many years. If you’re building out your film setup, Unique Photo offers a strong selection of archival storage, developing tools, and scanning accessories to help you get the most from every roll.