Film photography has a magic all its own, but it also comes with a few quirks that every shooter eventually faces. Light leaks can streak an otherwise beautiful frame, dust can show up where you least want it, and expired film can deliver either wonderful character or total unpredictability. The good news is that these challenges are manageable once you know what to look for. Here are practical tips to help you troubleshoot and keep shooting with confidence.
Understand Where Light Leaks Come From
1. Check door seals, backs, and bellows before loading film
Many light leak problems begin with aging foam seals, worn camera backs, or tiny cracks in bellows and body seams. If you are shooting a classic body like a Used Leica MDa 35MM Film Camera - As Is or a vintage medium format option such as the Used Hasselblad 1000F With Kodak Ektar 80MM F/2.8 - As Is, it is worth giving the camera a careful inspection before trusting an important roll to it. Open the back in a dim room, shine a flashlight around the edges, and look for places where light may sneak in.
With TLRs and older cameras, wear and age often go hand in hand, so a camera like the Used Rolleiflex 2.8E Planar Film TLR - As Is can produce gorgeous results, but it also benefits from a little preventative checking.
2. Test suspect cameras with a non-critical roll
If you are unsure about a used film body, run a test roll first. Keep notes on frame spacing, where the camera was stored, and whether the leak appears consistently in the same area. Cameras marked as-is can still be fun creative tools, but they are best learned through experimentation before using them for once-in-a-lifetime images.
This is especially helpful with unusual or collectible shooters, including the Used Cambinox Film Camera Binocular Combo, where part of the fun is discovering the personality of the gear while also learning its limitations.
3. Load and unload film away from direct sunlight
Sometimes the issue is not the camera at all. Harsh midday sun during loading or unloading can fog the film leader or edge frames. Try loading in open shade, indoors, or with your body blocking direct light. This is a simple habit that can reduce accidental exposure and help you tell the difference between handling fog and a true seal problem.
Keep Dust Under Control
4. Clean the camera interior gently and regularly
Dust often enters through normal use, especially with older cameras and accessories. Before loading film, inspect the film chamber, pressure plate, and take-up area. A manual air blower and a soft brush can remove loose debris without scratching internal surfaces. Avoid canned air when possible, since it can force propellant or excessive pressure into delicate parts.
This matters even more with vintage cameras that may have spent years on a shelf. A little maintenance before each roll can save a lot of cleanup later during scanning or printing.
5. Store film and cameras in clean, dry conditions
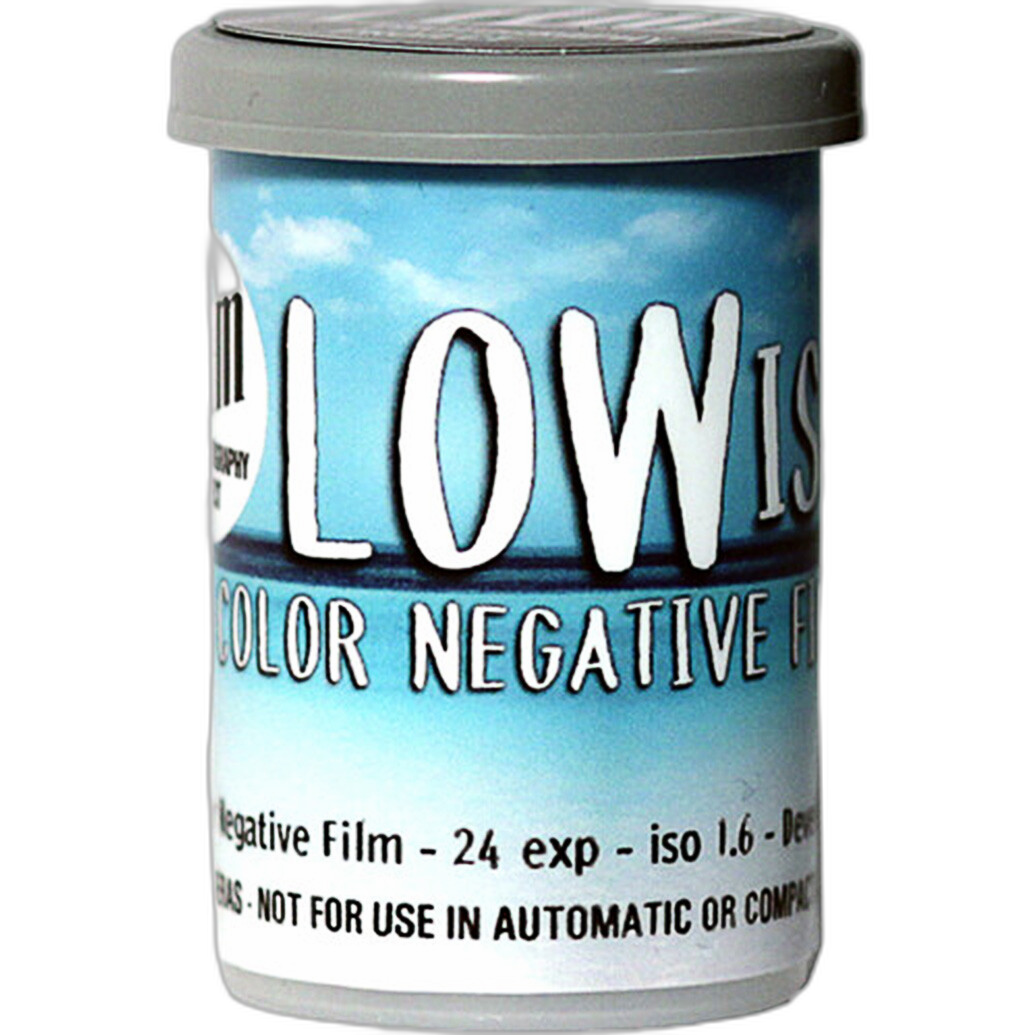
Dust problems often start in storage rather than in the field. Keep cameras capped, store them in cases or cabinets, and avoid tossing loose film into bags full of lint and fibers. If you enjoy experimenting with specialty emulsions like the Film Photography Project FPP Low ISO Color Negative Film 35mm 1.6 ISO 24 exp, careful storage is especially important because slow film is often used in bright, dusty outdoor settings where contamination can build up quickly.

6. Minimize dust during scanning and darkroom handling
Even if your negatives are clean coming out of the camera, dust can settle during drying, sleeving, or scanning. Handle negatives by the edges, use anti-static sleeves, and clean your scanning area before each session. If you are working with sheet film, this step becomes even more critical because the larger surface area gives dust more room to show up.
Use Expired Film to Your Advantage
7. Expect shifts in color, contrast, and speed
Expired film can be beautiful, but it rarely behaves exactly like fresh stock. Older emulsions may lose sensitivity, build fog, or show lower contrast. Black-and-white large format options like Expired New55 PN400 400 ISO Black and White Film 5 Sheets - As is and Expired New55 Instant 4x5 Film Black and White ISO 50 5 Sheets - As Is can be especially intriguing for photographers who enjoy a more experimental process.
Instead of expecting perfect consistency, approach expired film as part technical exercise and part creative surprise.
8. Rate expired film more generously
A common starting point is to give expired film extra exposure. How much depends on the age and storage history, but many photographers begin by overexposing color negative film by one stop per decade and then adjust from there. For black-and-white film, testing matters even more. If your film was frozen, it may perform better than expected. If it sat in a hot attic for years, you may need to compensate more aggressively.
With a specialty stock like the Film Photography Project FPP Low ISO Color Negative Film 35mm 1.6 ISO, accurate metering is already important because the film is so slow. Add age into the equation and bracketed exposures become your friend.
9. Bracket and take notes when trying unfamiliar stock
When shooting expired film for the first time, make several exposures of the same scene at different ratings. Write down the camera, lens, exposure, and estimated film speed. This builds your own reference guide and quickly shows whether the stock likes extra light, reduced development, or simply a different subject matter.
Sheet film users, especially those trying older New55 stocks, can learn a lot from a few controlled test frames before heading into a more important shoot.
Know When a Problem Is Actually a Creative Opportunity
10. Separate unwanted flaws from intentional character
Not every leak, dust mark, or expired-film shift is a disaster. Some photographers actively seek out the imperfect charm of vintage cameras, old emulsions, and unpredictable rendering. The key is knowing whether the effect was intentional. Once you can control the basics, you can choose when to embrace those imperfections.
A camera with a known quirk, like an as-is Leica, Rolleiflex, or Hasselblad, can become a signature tool when you understand how it behaves. The same goes for unusual film stocks that bring unexpected tones, muted colors, or atmospheric fog.
Build a Reliable Testing Workflow
11. Change one variable at a time
If you are troubleshooting, avoid changing the camera, film, metering method, and lab all at once. Use one camera, one film stock, and one process until you identify the source of the issue. That approach makes it much easier to tell whether a streak came from a light leak, a speck came from dust, or a low-contrast result came from expired film.
For example, if you are trying a vintage body and an experimental stock together, test each element separately first. Shoot a known-good roll through the camera, then test the expired or specialty film in a camera you already trust.
Conclusion
Film photography rewards patience, observation, and a willingness to experiment. Light leaks, dust, and expired film are all part of the learning curve, but they do not have to derail your images. With a careful inspection routine, cleaner handling habits, and a little testing, you can turn common film challenges into part of your creative process. If you are ready to explore vintage cameras, specialty film, or unusual photographic tools, Unique Photo is a great place to keep the adventure going.