Ask a group of travel and landscape photographers about tripods and you will hear equal parts practical wisdom, glowing endorsements, and absolute horror stories. One shooter will swear a featherweight travel tripod saved a weeklong trek. Another will tell you about a cheap model that folded in coastal wind and nearly sent a camera over a cliff. The truth is that the best tripod is rarely the lightest, cheapest, or toughest on paper. It is the one that fits how you actually travel, shoot, and work in the field.
If you are trying to balance stability, portability, durability, and ease of use, these tips can help you make smarter tripod decisions before your next trip.
1. Start with your real shooting conditions, not the spec sheet
Think about wind, terrain, and focal length first
A tripod that feels solid in a showroom can become frustrating on a rocky overlook, a windy beach, or a muddy trail. Travel and landscape photographers often learn the hard way that specs alone do not tell the full story. A compact tripod may be perfect for sunrise cityscapes, but if you regularly shoot long exposures near water or use longer telephoto lenses for compressed mountain scenes, you need more rigidity than the travel category sometimes promises.
A common horror story is buying for packed size alone, then discovering the tripod vibrates every time a gust hits. Before you buy, ask yourself where you really shoot: airline travel, roadside pull-offs, long hikes, waterfalls, deserts, or urban architecture. Your answers should guide the size and stability tradeoff.

Hands-on education can help here too. Workshops like Macro and Landscape Photography at Duke Farms with Michael Downey often reinforce field technique decisions that matter just as much as gear choices, including when a sturdier support system is worth carrying.
2. Don’t underestimate the cost of a cheap tripod failure
Budget matters, but false economy is real
Many photographers have a story about a bargain tripod that looked great online and disappointed immediately in real use. Maybe the leg locks slipped after a few outings. Maybe the center column flexed. Maybe the head crept during a long exposure. In travel and landscape photography, that kind of failure does not just waste money; it can cost a once-in-a-lifetime frame.
This does not mean you must buy the most expensive option available. It means you should be careful about where corners are cut. Lower-cost models can be fine if the locks are dependable, the platform is rigid enough for your camera setup, and the controls are simple enough to use quickly in changing light. But if the tripod feels fiddly, unstable, or fragile from day one, photographers often end up replacing it anyway.
The best endorsements usually sound less flashy: “It just works,” “I stopped thinking about it,” or “I trust it near water and wind.” That kind of reliability is worth a lot.
3. Pay attention to leg locks and setup speed
User-friendliness matters more than many buyers expect
Landscape light changes fast. If your tripod takes too long to deploy, you may miss the best color, fog movement, or wave pattern. This is why experienced travel photographers often talk as much about usability as they do about materials and weight.
- Twist locks are often favored for compact packing and a cleaner profile.
- Flip locks can be quicker for some photographers, especially with gloves.
- Fewer leg sections generally improve rigidity, but increase folded length.
- More leg sections pack smaller, but may reduce stiffness slightly and add setup time.
There is no universal winner. The right answer is the one you can operate confidently at dawn, in cold weather, and on uneven ground. If a tripod is technically light but annoying to use, it may stay in your hotel room instead of coming with you.
4. Keep the center column down whenever possible
One of the easiest ways to improve stability
Photographers often praise a tripod when they use it low and compact, then complain about wobble after raising the center column. That is because extending the center column is one of the fastest ways to reduce stability. It effectively turns a sturdy support into a taller, less rigid one.
If you need extra height only occasionally, a travel tripod with a center column can still be a good choice. But if you constantly find yourself raising it fully, you may simply need a taller set of legs. This is one of the classic compromises in travel gear: compactness versus confidence.
For landscapes, a lower working height is often perfectly fine and sometimes even better compositionally. Staying lower can also help in windy conditions and make your whole setup feel more planted.
5. Match tripod size to the camera kit you actually carry
Overbuilding and underbuilding both create problems
A lightweight tripod can be fantastic with a compact mirrorless body and wide-angle lens, but less satisfying with a heavier body, L-bracket, and telephoto zoom. On the other hand, carrying an oversized support system for a small travel kit defeats the purpose of traveling light.
Be honest about your normal setup, not your occasional one. If 80 percent of your landscape work is done with a smaller kit, a lighter tripod may be the smart choice. If you frequently use heavier lenses, prioritize torsional rigidity and head quality over shaving every last ounce.
Many positive tripod reviews come from photographers whose support matches their load well. Many negative ones come from asking a travel tripod to perform like a studio support.
6. Field technique can make a “good” tripod feel great
Use smart habits before blaming the gear
Even a strong tripod can underperform if used carelessly. Travel and landscape photographers who get the most from lighter supports usually rely on a few habits:
- Spread the legs wider on uneven terrain instead of extending the center column.
- Use the thickest leg sections first and save the thinnest sections for last.
- Hang weight cautiously only when conditions and tripod design support it.
- Avoid placing one leg directly toward a drop or unstable edge.
- Use a remote release or self-timer for critical long exposures.
These techniques are often the difference between a tripod that feels merely acceptable and one that earns long-term trust.
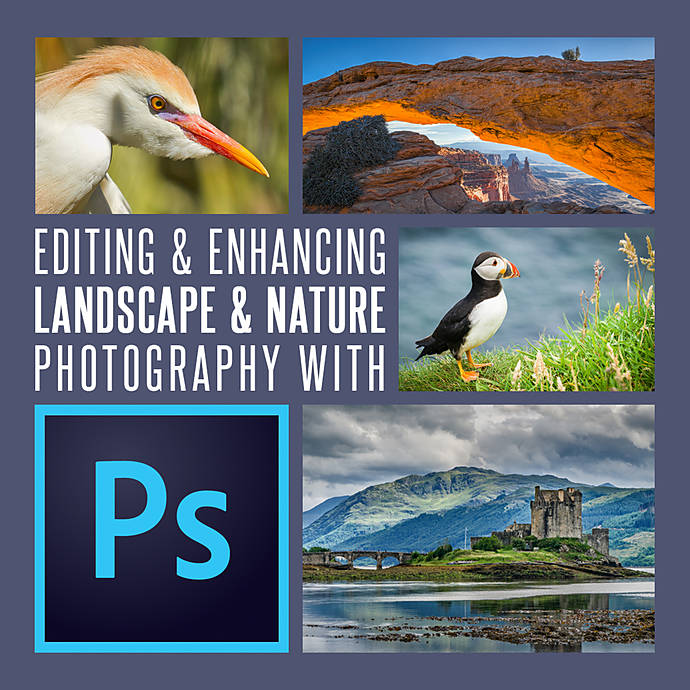
And once you get the shot, refining the final image matters too. Editing and Enhancing Landscape and Nature Photography with Photoshop is a useful reminder that great landscape work is a full process, from stable capture in the field to careful finishing afterward.
7. Durability is about long-term use, not just material marketing
Look beyond carbon fiber versus aluminum debates
Tripod discussions often get stuck on materials. Carbon fiber is popular for reducing weight and damping vibration, while aluminum can offer good value and toughness. But long-term durability depends on more than the leg material alone.
Check how well the locks are made, how easy the tripod is to clean after sand or salt exposure, and whether the head controls remain smooth after repeated travel. Many field photographers would rather carry a slightly heavier tripod with dependable hardware than an ultralight one that feels delicate after a season of use.
Travel photography is hard on gear. Bags get tossed into trunks, tripods get strapped to packs, and weather changes fast. A durable tripod is one you will still enjoy using after many miles, not just one that looks good in a product description.
8. Practice with your tripod before the trip
Familiarity reduces frustration in the field
One subtle but important advantage of a user-friendly tripod is confidence. If you know exactly how the locks feel, how far the legs spread, and how the head behaves with your camera, you will work faster under pressure. If you do not, even a well-reviewed tripod can feel awkward when the light is peaking.
Before a major trip, practice setting up on stairs, uneven ground, and low angles. Test how stable the tripod feels with your real lens and composition style. This is often when photographers discover whether they genuinely like the controls or merely tolerated them at home.
9. Remember that travel photography is a system, not a single purchase
Tripod comfort improves when the rest of your kit is efficient
A tripod always feels heavier at the end of a long day if the rest of your setup is disorganized. Compact carrying choices, smart lens selection, and an efficient day kit all affect whether you actually bring support with you. That is why seasoned travel shooters often recommend evaluating the whole workflow, not just the tripod alone.
If your camera kit is pared down for a hike or city day, a smaller support solution becomes more practical too. Similarly, educational events focused on travel shooting, such as NJCS: Travel Portraits with Bobbi Lane (Fujifilm and Profoto), can help photographers think more broadly about mobile workflow, packing discipline, and making gear serve the shot instead of slowing it down.

10. Review your results after each trip and adjust honestly
Your best tripod choice may change over time
Photographers often discover their tripod preferences evolve. Maybe you started out wanting the lightest option possible, then grew tired of missed frames in wind. Or maybe you carried a heavy support for years and realized a modern travel setup is enough for most of your work. The right compromise changes with your destinations, camera system, and shooting style.
After each trip, ask:
- Did I carry the tripod enough to justify its weight?
- Did it feel stable in the conditions I encountered?
- Was setup fast enough for changing light?
- Did the controls feel intuitive or annoying?
- Would I trust it again on an important shoot?
Those answers matter more than online arguments. Personal experience is what turns tripod ownership into either a horror story or a lasting endorsement.

If you want thoughtful feedback on your travel and landscape work overall, NJCS: Portfolio Reviews with Bess Adler (Fujifilm) can also be a valuable way to evaluate how your field technique, support choices, and final image selection all come together.
Conclusion
For travel and landscape photographers, tripod choice is always a balancing act between weight, cost, durability, and ease of use. The best advice is rarely to buy the lightest or the heaviest option. It is to choose the support that fits your real shooting habits, inspires confidence in rough conditions, and is simple enough that you will actually bring it along.
Test honestly, learn from other photographers’ endorsements and cautionary tales, and do not be afraid to refine your setup over time. For more inspiration, education, and photography resources, explore what Unique Photo has to offer for your next adventure.