Best All-Around Sony Zooms: FAQ for Travel, Events, Landscape & Portraits
Choosing a general-purpose Sony zoom can feel complicated when comparison tools, spec charts, and real-world shooting needs do not always point to the same answer. At Unique Photo, we recommend looking beyond rankings alone and focusing on focal length, speed, handling, and the kind of work you actually do most often.
Below, we answer the most common questions photographers ask when comparing Sony zoom lenses for everyday use, travel, events, landscapes, portraits, and street shooting.
Which Sony zoom is the best all-around option for most photographers?
For many full-frame Sony shooters, the classic answer is still a midrange standard zoom in the 24-70mm class because it covers wide, normal, and short telephoto perspectives in one lens. That range is practical for family photography, travel, portraits, documentary work, and event coverage. While comparison tools may highlight sharpness, distortion control, or edge performance, the real-world "best" lens is usually the one that gives you the most usable focal lengths without forcing constant lens changes.
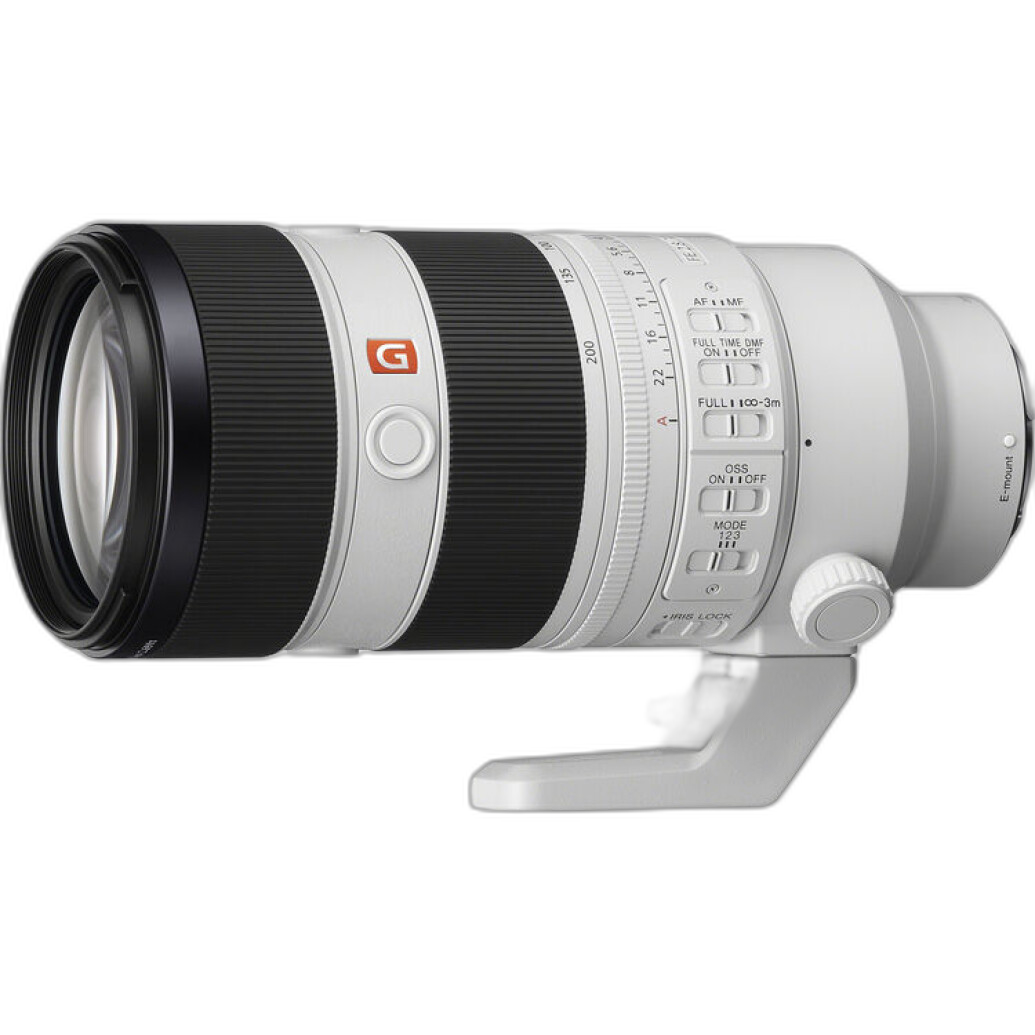
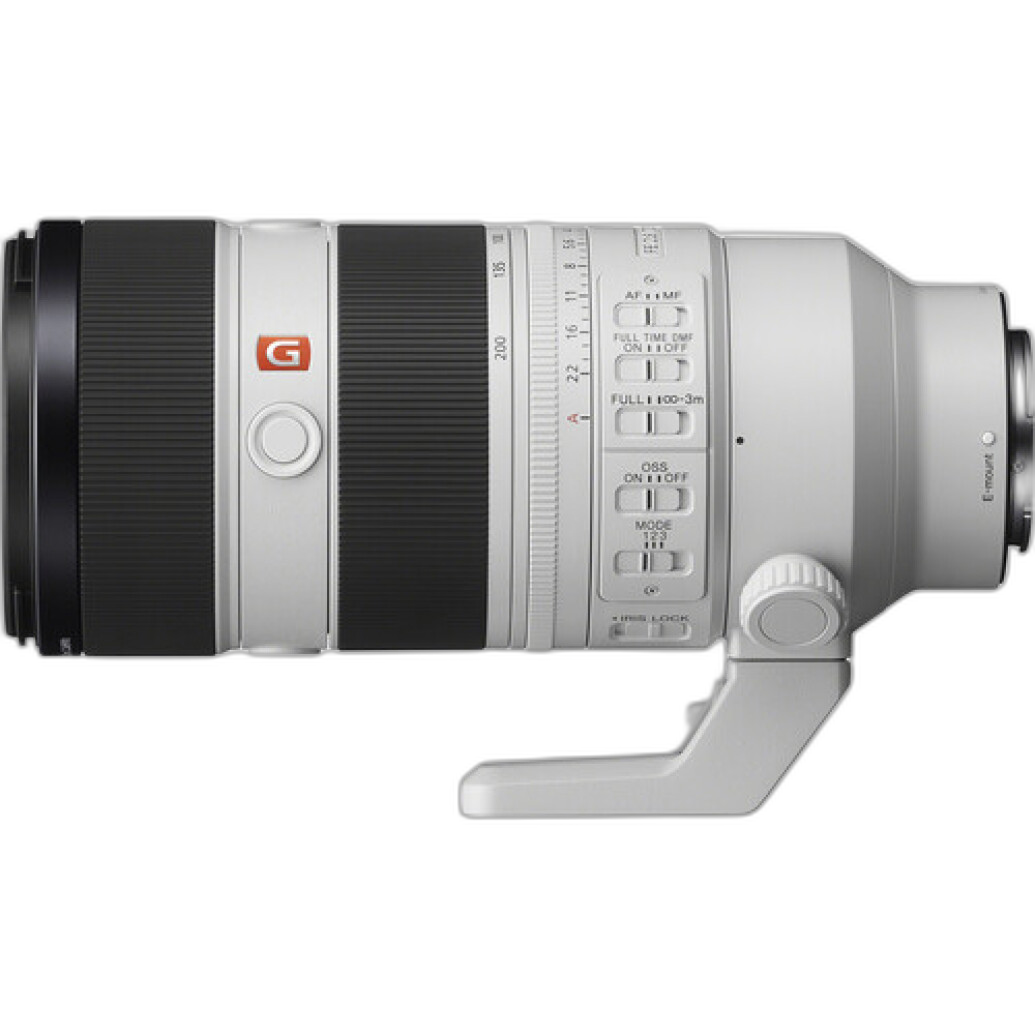
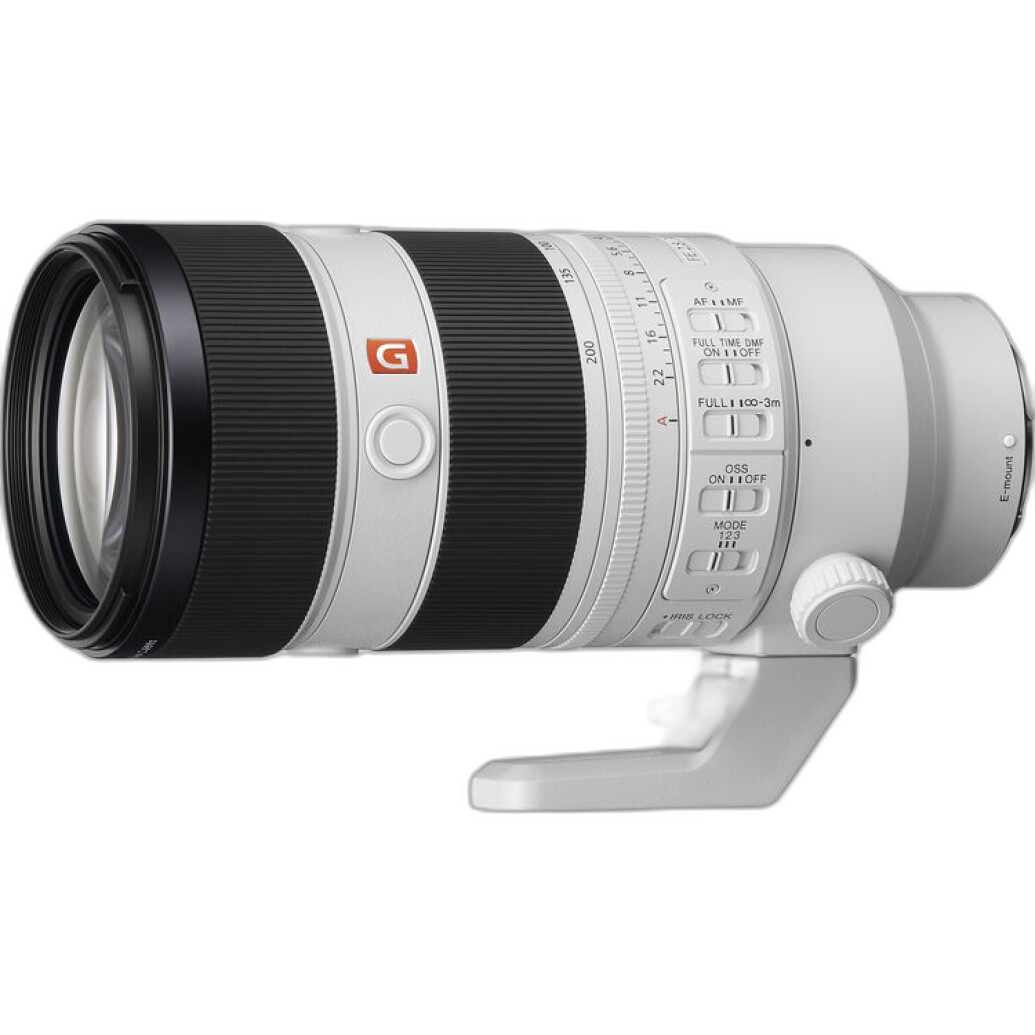
From a practical buying standpoint, many photographers pair a standard zoom with a second lens that expands either wider or longer depending on their style. If you often need extra reach for portraits, ceremonies, stage work, or sports from the sidelines, the Sony FE 70-200mm f/2.8 GM OSS II is one of the strongest complements to a standard zoom thanks to its fast aperture, professional autofocus performance, and flexible telephoto range.
Does a top ranking in a lens comparison tool always match real-world recommendations?
Not necessarily. Comparison charts are helpful for measuring optical performance, but they cannot fully account for weight, balance, autofocus feel, zoom range preferences, travel convenience, or how a lens fits your shooting workflow. A lens that scores exceptionally well in lab-style comparisons may still be less desirable for someone who values compactness, internal zoom behavior, power zoom control, or lighter carry weight over maximum aperture.
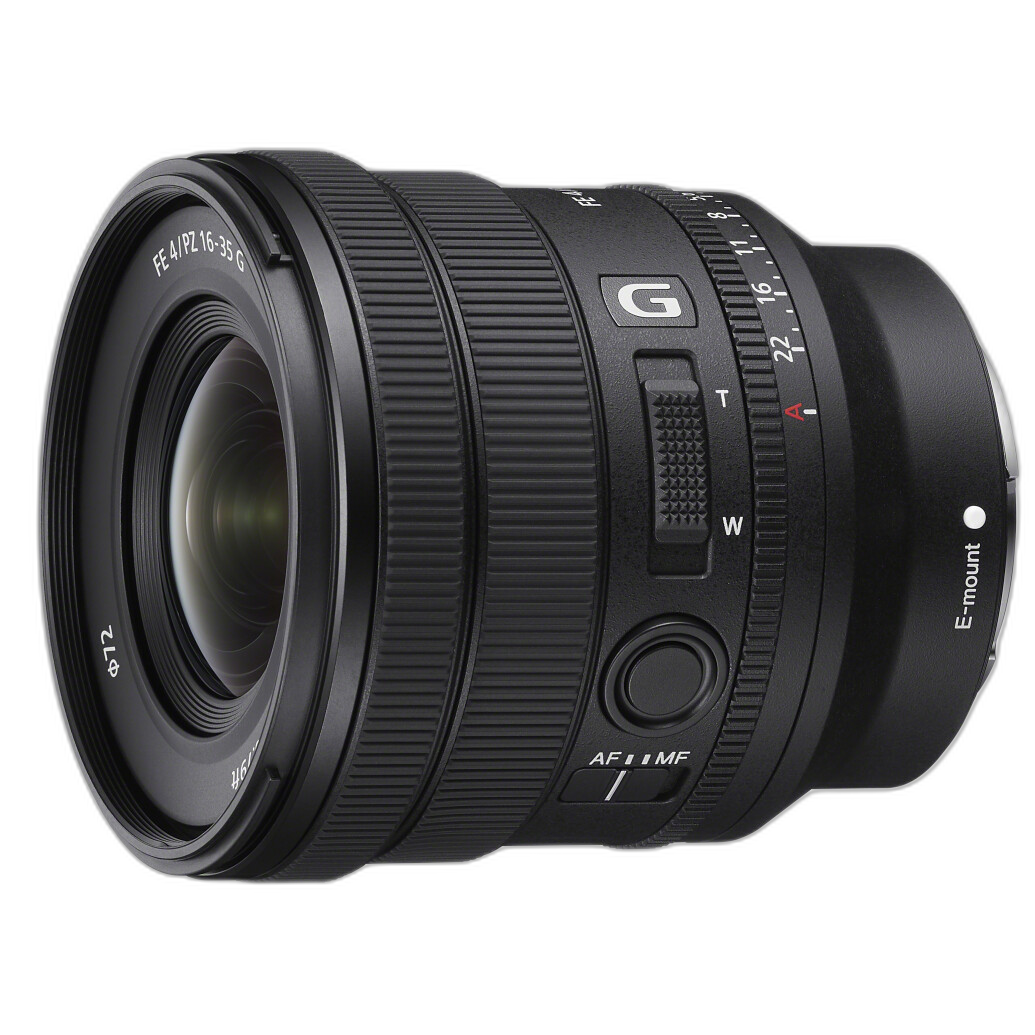
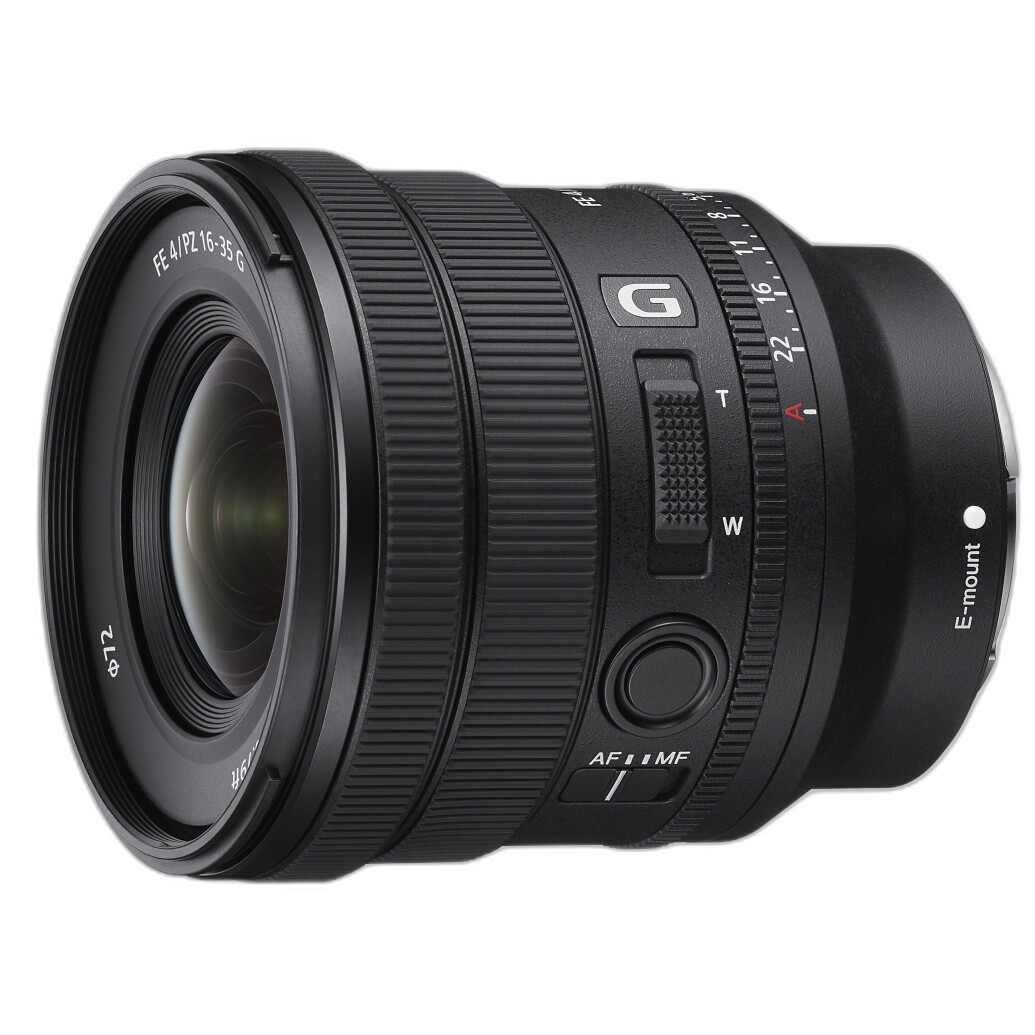
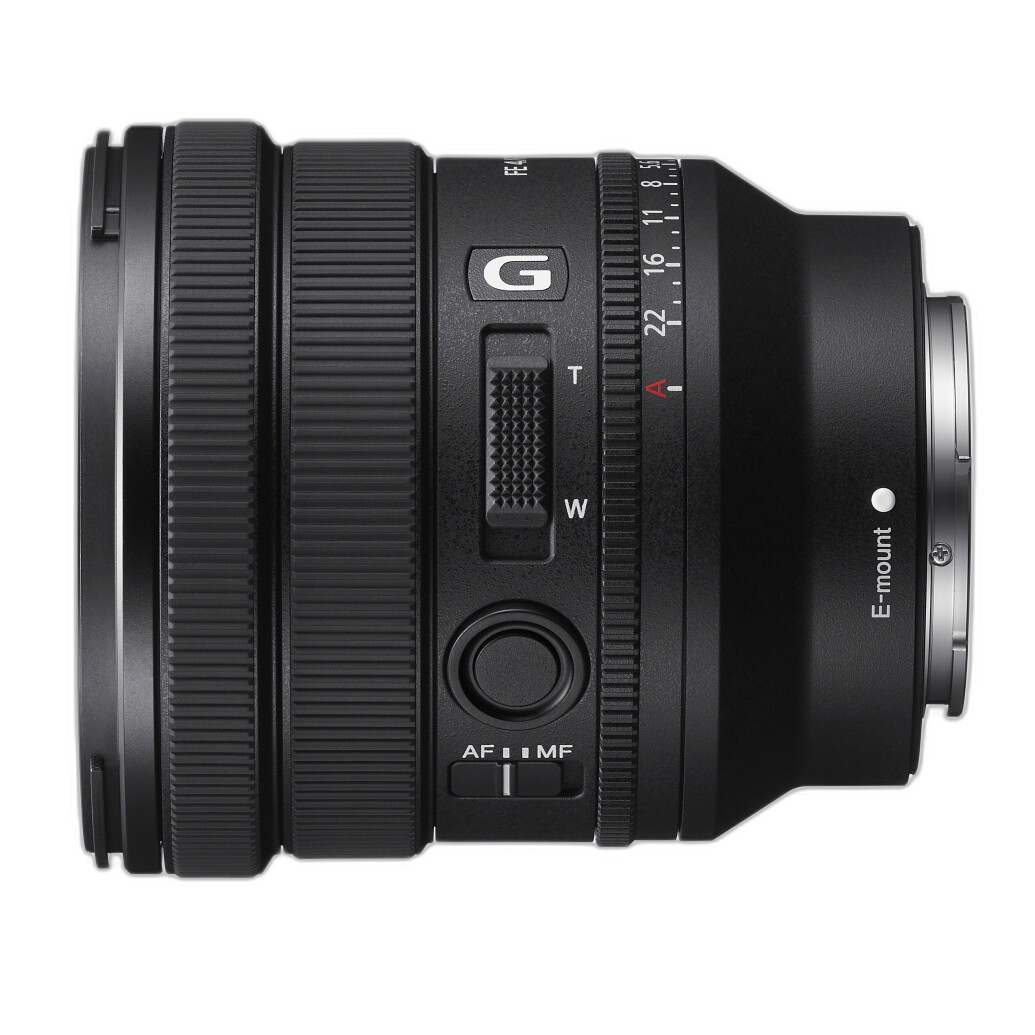
That is especially true when deciding between lenses intended for still photography and lenses with stronger video-oriented features. For example, a lens like the Sony FE PZ 16-35mm f/4 G may not occupy the same role as a standard zoom, but it can be a more useful everyday tool for creators who prioritize wide coverage, smooth power zoom operation, and compact travel-friendly handling for hybrid shooting.
Is a 24-70mm f/2.8 still the best choice for travel and events?
For many photographers, yes. A 24-70mm f/2.8 remains one of the most versatile event and travel lens types because it balances range and speed so well. At 24mm, you can cover interiors, environmental portraits, and city scenes. At 50-70mm, you have a flattering range for portraits, details, and candid moments. The constant f/2.8 aperture is especially useful for dim venues, receptions, and subject separation.
That said, not every travel or event photographer wants the same thing. Some travelers prefer going wider rather than faster, particularly for architecture, landscapes, and handheld video. In those cases, a lens such as the Sony FE PZ 16-35mm f/4 G can make more sense than a standard 24-70mm-style zoom because it starts substantially wider and remains relatively portable.
If your events regularly involve larger venues, performances, or ceremonies where you cannot get close, adding or stepping up to a 70-200mm f/2.8 gives you a stronger two-lens solution. The Sony FE 70-200mm f/2.8 GM OSS II is a premium option for that role.
Which Sony zoom makes the most sense for landscape photography?
Landscape photographers often benefit more from width, corner-to-corner consistency, and portability than from the fastest possible aperture. That is why an ultra-wide or wide standard zoom is often a better fit than a midrange event lens. If your photography centers on mountain vistas, seascapes, architecture, or dramatic foreground compositions, a 16-35mm-class lens is a very compelling choice.
The Sony FE PZ 16-35mm f/4 G stands out for photographers and content creators who want a wide field of view in a relatively compact package. It is also attractive for travel because it gives you access to sweeping scenes and tight urban spaces that a standard zoom starting at 24mm cannot always capture as easily.
For photographers shopping value, used gear can be especially appealing in this category. Unique Photo often carries used options such as the Used Sony FE PZ 16-35mm f/4 G Lens in both excellent and good condition.
What if I shoot portraits and want more flattering compression?
Portrait photographers often prefer longer focal lengths because they produce more flattering facial proportions, cleaner backgrounds, and stronger subject isolation. While a standard zoom can absolutely handle portraits, a telephoto zoom expands your creative options significantly. The 70-200mm range is a favorite for wedding portraits, headshots, candid moments, and outdoor sessions where you want to separate your subject from the environment.
The Sony FE 70-200mm f/2.8 GM OSS II is one of the most versatile portrait and event telezooms in the Sony system. It gives you fast aperture performance, premium image quality, and the flexibility to move from full-length portraits to tight headshots without changing lenses. If you want to maximize value, Unique Photo also offers used versions in excellent and good condition.
Is a wide zoom or telephoto zoom better for street photography?
Street photography is highly personal, so the answer depends on how you like to work. If you prefer immersive storytelling, visible context, and working close to your subjects, a wider zoom can be a smart fit. A 16-35mm lens encourages environmental compositions, layered foregrounds, and a stronger sense of place. It is also useful when navigating narrow streets, transit systems, or interiors.
On the other hand, some street and documentary photographers prefer the discretion of longer focal lengths. A telephoto zoom allows you to isolate moments from farther away and compress urban scenes in a distinctive way. The tradeoff is size, visibility, and weight. For many street-focused shooters, a 70-200mm f/2.8 is better as a specialty tool than an everyday carry lens, even though its image quality is outstanding.
If you want one zoom that leans toward travel, cityscapes, and contextual street images, the FE PZ 16-35mm f/4 G is easier to justify as a walkaround choice than a large telephoto.
Are power zoom lenses a good choice for hybrid shooters?
Yes, especially if your work combines stills and video. Power zoom designs can offer smoother focal length changes for video work, better control during recording, and a more cinema-friendly shooting experience. That makes them appealing to creators filming interviews, events, social content, documentaries, or run-and-gun travel pieces.
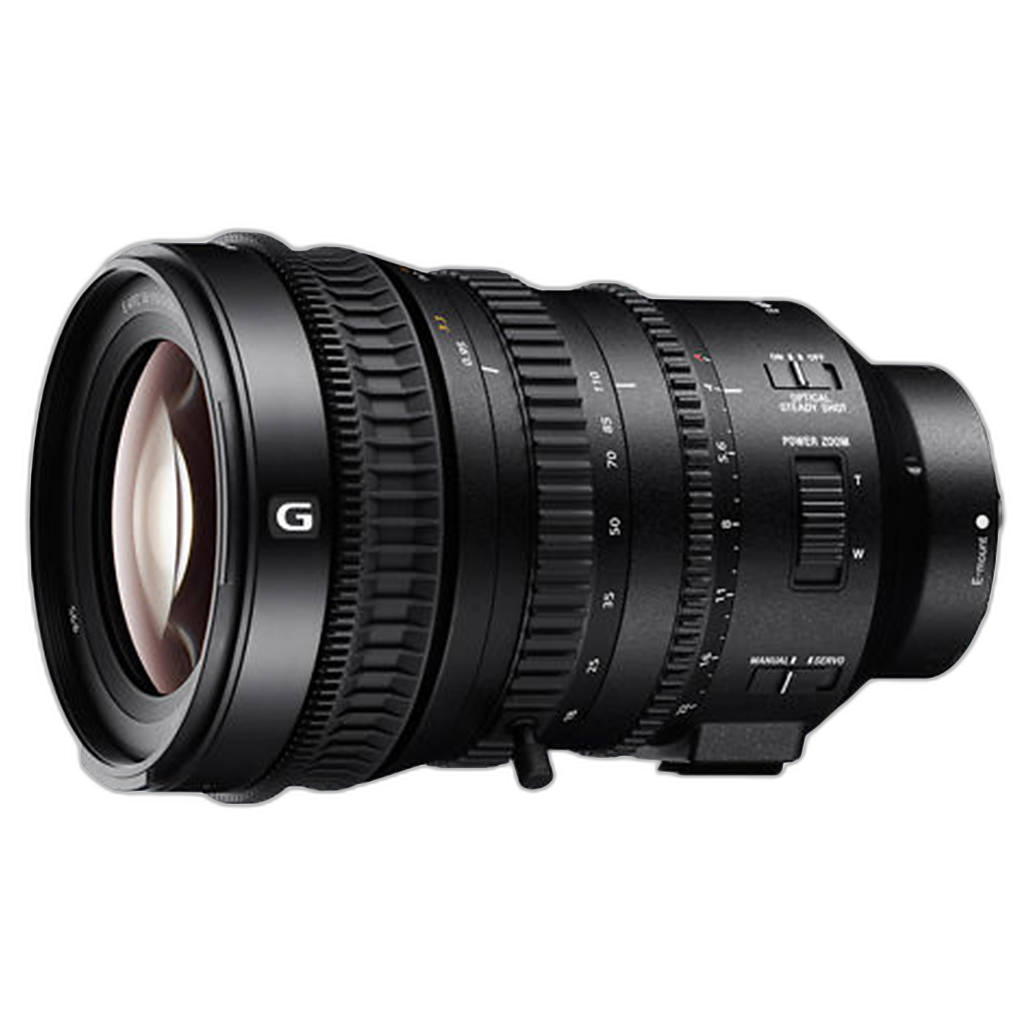
For full-frame Sony users, the FE PZ 16-35mm f/4 G is a strong example of a hybrid-friendly zoom. For APS-C or Super35 video production, Sony's 18-110mm f/4 G OSS is also worth considering, particularly if you need a broad focal range and professional video ergonomics. Unique Photo carries used versions of the Sony 18-110mm f/4 G OSS APS-C Super35 E-Mount Power Zoom Lens for creators building out a video kit on a budget.
What is the best Sony zoom setup for someone who wants to cover almost everything?
If your goal is maximum flexibility, a two-lens approach often makes more sense than trying to force one lens to do it all. A wide zoom plus a telephoto zoom can cover an enormous range of shooting situations with very high image quality. For full-frame photographers, a 16-35mm paired with a 70-200mm creates a professional kit for landscapes, interiors, portraits, weddings, sports, and travel.
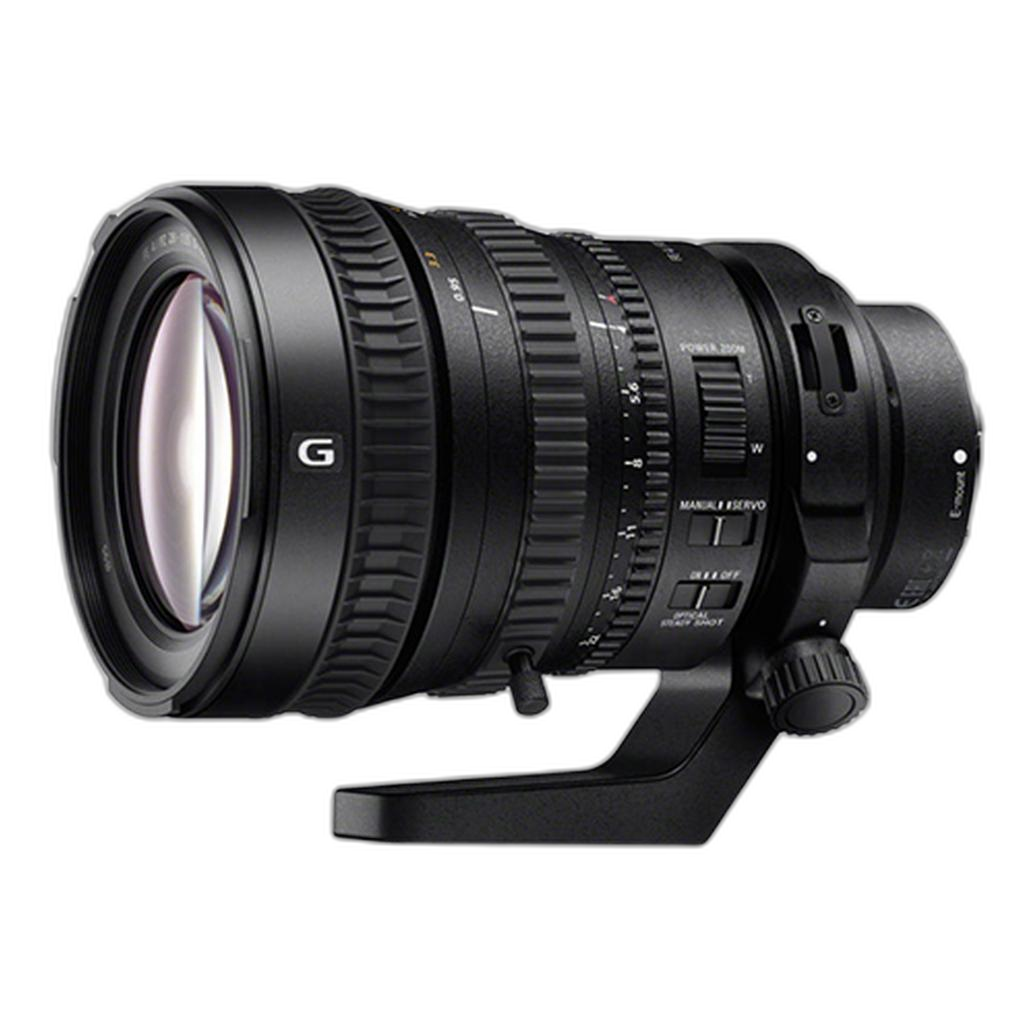
A practical example would be combining the Sony FE PZ 16-35mm f/4 G with the Sony FE 70-200mm f/2.8 GM OSS II. The first lens handles wide scenes, travel, architecture, and video-friendly coverage; the second handles portraits, ceremonies, distant subjects, and compressed compositions. If you are building a more cinema-oriented setup, the used Sony FE PZ 28-135mm f/4 G OSS is another interesting option because of its broad range and video-centric design.
Should I buy new or used when choosing a Sony zoom?
Used lenses can be an excellent way to move into higher-tier Sony glass without stretching your budget as far. This is especially attractive when you are comparing premium zooms and deciding whether to prioritize optics, focal range, or system expansion. Buying used may allow you to step up to a better-performing lens category or build out a two-lens kit sooner.
At Unique Photo, used options like the Sony FE PZ 16-35mm f/4 G, Sony FE 70-200mm f/2.8 GM OSS II, Sony FE PZ 28-135mm f/4 G OSS, and Sony 18-110mm f/4 G OSS can give photographers and creators more room to tailor a system around their needs. The smartest choice is the one that matches your shooting style, your camera format, and how much versatility you need day to day.
Whether you are narrowing down your first all-around Sony zoom or building a more complete kit for travel, events, landscapes, portraits, or video, Unique Photo can help you compare the right options. Explore our new and used Sony lens selection to find the zoom that makes the most sense for the way you actually shoot.