Street photography after dark can deliver some of the most cinematic, emotional, and visually layered images you will ever make. Neon signs, headlights, storefronts, reflections on wet pavement, and isolated pools of light all create scenes that feel alive in a way daytime often cannot. The challenge, of course, is getting sharp, usable, expressive images when light is limited and moments pass fast. If you are wondering how to improve your low light street photography, the right mix of gear choices, camera settings, and shooting technique can make a huge difference.
At Unique Photo, photographers regularly look for practical ways to balance image quality, portability, and speed for real-world night shooting. Below, we break down the best tips for shooting street photography in low light, including recommended settings, useful accessories, and field techniques that help you stay ready when the city starts glowing.
What camera settings work best for low light street photography?
The best settings for low light street photography depend on whether your priority is freezing motion, keeping noise low, or embracing ambient blur for atmosphere. In most cases, you will want to control three things carefully: shutter speed, aperture, and ISO.
Start with these general settings:
- Aperture: Use a wide aperture such as f/1.4, f/1.8, f/2, or f/2.8 to let in as much light as possible.
- Shutter speed: Use at least 1/125 sec for walking subjects, and 1/250 sec or faster for busier scenes and quick gestures.
- ISO: Raise ISO as needed. ISO 1600, 3200, and 6400 are common for night street photography, especially in urban environments.
If your subject is mostly still, you can sometimes drop to 1/60 sec or 1/80 sec, especially with good handholding technique. But for candid street moments, motion blur often appears quickly, so a faster shutter is usually worth the noise tradeoff.
A useful baseline setup: Aperture Priority mode with your lens wide open, Auto ISO enabled, and a minimum shutter speed set to 1/125 sec or 1/250 sec. This gives you speed and flexibility while walking through changing light.
How to choose the right gear for night street photography
Low light street photography rewards gear that is fast, compact, and unobtrusive. You do not need a giant kit, but the wrong setup can slow you down.
Look for these gear traits:
- Fast prime lenses: A 35mm f/1.4, 35mm f/1.8, 50mm f/1.8, or 28mm f/2 is ideal for gathering light and maintaining mobility.
- Good high ISO performance: Cameras with strong low light sensors help preserve detail and color at higher ISO values.
- Reliable autofocus in dim scenes: Eye detection and face detection can help, but center-point AF or a small flexible focus area may be more dependable in very dark conditions.
- Compact bodies: Smaller cameras often help you blend into the environment and keep shooting longer without fatigue.
At Unique Photo, many street photographers shop for lightweight camera-and-lens combinations because portability matters just as much as image quality when you are moving through a city for hours. A small prime lens often outperforms a larger zoom simply because it is brighter and encourages faster reaction times.
Best shutter speed for freezing motion on city streets at night
One of the most common low light street photography problems is deciding how slow is too slow. The answer depends on subject movement more than your own movement.
- 1/250 sec: Great for active sidewalks, cyclists, hand gestures, and crossing traffic.
- 1/125 sec: A strong general-purpose speed for people walking.
- 1/60 sec: Works for slower scenes, standing subjects, or intentional motion in the background.
- 1/30 sec and below: Best for creative blur, layered motion, or when your subject pauses under a light source.
Do not be afraid of blur when it adds energy. Night street photography often looks better when everything is not perfectly frozen. A sharp person against blurred headlights or moving pedestrians can create a much more dynamic frame.
How high should ISO be for street photography in low light?
A lot of photographers hold ISO too low and end up with blurry files. In low light street photography, noise is usually easier to fix than motion blur. Modern cameras can handle surprisingly high ISO values, especially when exposure is accurate.
Practical ISO advice:
- Use ISO 1600 to 3200 freely in moderately lit city streets.
- Use ISO 6400 when needed to preserve shutter speed.
- Consider even higher ISO if the moment matters more than technical perfection.
Expose carefully to protect shadows. Underexposed high ISO files often look worse than properly exposed files shot at the same sensitivity. If your camera offers Auto ISO limits, set a realistic ceiling based on your tolerance for grain and your camera’s performance.
Many street photographers actually like a little noise at night because it adds texture and mood. A clean but lifeless image is not always better than a gritty, emotionally effective one.
Should you use autofocus or manual focus for low light street scenes?
Autofocus is usually the best choice for low light street photography, but you need to be realistic about where it struggles. Dim scenes, backlighting, reflective surfaces, and low-contrast subjects can all slow AF performance.
Use autofocus when:
- Your camera has reliable low light AF
- You are working quickly and reacting to spontaneous moments
- Your subject is moving toward or across the frame
Use manual focus or zone focus when:
- You are pre-framing a scene and waiting for a subject to enter
- Your autofocus keeps hunting
- You want maximum consistency in a repeated shooting distance
Zone focusing is especially effective on the street. Set your focus to a known distance, stop down slightly if light allows, and wait for subjects to enter your focus zone. Even at night, this can work well under brighter storefronts, transit stations, and intersections.
How to meter and expose for bright signs, headlights, and shadows
Night city scenes often include extreme contrast. If you expose for faces, signs may blow out. If you expose for the neon, your subjects may disappear into shadow. This is where exposure compensation and careful metering become important.
Helpful exposure tips:
- Use spot metering or center-weighted metering when your subject is lit by a specific light source.
- Dial in -0.3 to -1 EV compensation when bright highlights dominate the frame.
- Check your histogram occasionally, especially when shooting RAW.
- Preserve important highlights, but do not underexpose your subject too much.
RAW files give you much more flexibility when recovering shadows or taming bright signs later. If your workflow includes post-processing, shooting RAW is one of the best decisions you can make for night street work.
What lenses are best for low light street photography?
Fast primes remain the top recommendation for most photographers shooting streets at night. They bring in more light, often focus faster, and keep your setup compact.
Popular focal lengths include:
- 28mm: Wide environmental storytelling with strong foreground-background relationships
- 35mm: A classic street focal length with natural perspective and flexibility
- 50mm: Great for isolating subjects and picking out moments across the street
A 35mm or 50mm prime at f/1.8 is often the sweet spot for photographers building a practical low light street kit. It is affordable, bright, and easy to carry. If you already own a zoom, test its widest aperture limits at night and see whether it forces ISO too high for your style.
How to stay discreet and steady while shooting in low light
Night street photography benefits from subtle technique. A calm shooting posture and a low-profile approach can improve both image sharpness and candid results.
Try these field tips:
- Keep elbows tucked close to your body for more stability.
- Exhale gently before pressing the shutter at slower speeds.
- Use storefronts, poles, walls, or benches as support when possible.
- Turn down camera sounds and bright screen settings to stay unobtrusive.
- Work one corner or block for several minutes instead of constantly walking.
Sometimes the best strategy is not chasing subjects, but finding good light and waiting. A pool of light under a sign or bus stop can become your stage. Let people move into the composition naturally.
Creative tools for cinematic low light street photography
While solid exposure and timing matter most, some accessories can add a more atmospheric look to your night images. Diffusion-style filters, for example, can gently soften highlights and create a subtle glow around light sources.
For photographers exploring a more stylized city-at-night aesthetic, the Tiffen 82mm Soft Glow 4 Filter can be worth considering for scenes with street lamps, signage, and reflections. Likewise, the Tiffen 77mm Golden Glow 2 Filter may appeal to those who want a warmer, more romantic rendering of urban night light. These kinds of tools are not essential for documentary street work, but they can be creatively useful depending on your visual style and lens setup.
If you are shooting a high volume of images and need an efficient download workflow when you get home, the Lexar Professional Workflow Dual-Slot SD UHS-II Reader is the kind of practical accessory many photographers appreciate after a long night on the street.
How to edit low light street photography for better mood and detail
Editing is a major part of successful low light photography. Even well-exposed files usually benefit from thoughtful adjustments to contrast, shadow detail, white balance, and noise reduction.
Common editing moves for night street images:
- Lift shadows carefully without flattening the scene
- Reduce highlights to retain neon signs and street lamps
- Fine-tune white balance for a realistic or intentionally cinematic color cast
- Apply selective noise reduction to preserve texture
- Use contrast and clarity carefully to keep the image natural
Photographers looking to strengthen their post-production skills may also benefit from educational resources available through Unique Photo. For example, classes like Editing and Enhancing Landscape and Nature Photography with Photoshop can still offer valuable workflow ideas for tonal control, local adjustments, and finishing techniques.

How to practice low light street photography and improve faster
Night street photography gets easier when you build familiarity with a few dependable settings and repeatable situations. Instead of changing everything constantly, simplify your process.
A good practice plan:
- Choose one lens for the entire session.
- Set one default minimum shutter speed.
- Use Auto ISO and monitor how often it reaches the limit.
- Work the same neighborhood on multiple nights.
- Review which frames failed because of blur, missed focus, or poor timing.
It also helps to study how other photographers tell stories in public spaces. Unique Photo often features educational events and talks that can spark new ideas about visual narrative and working on location.
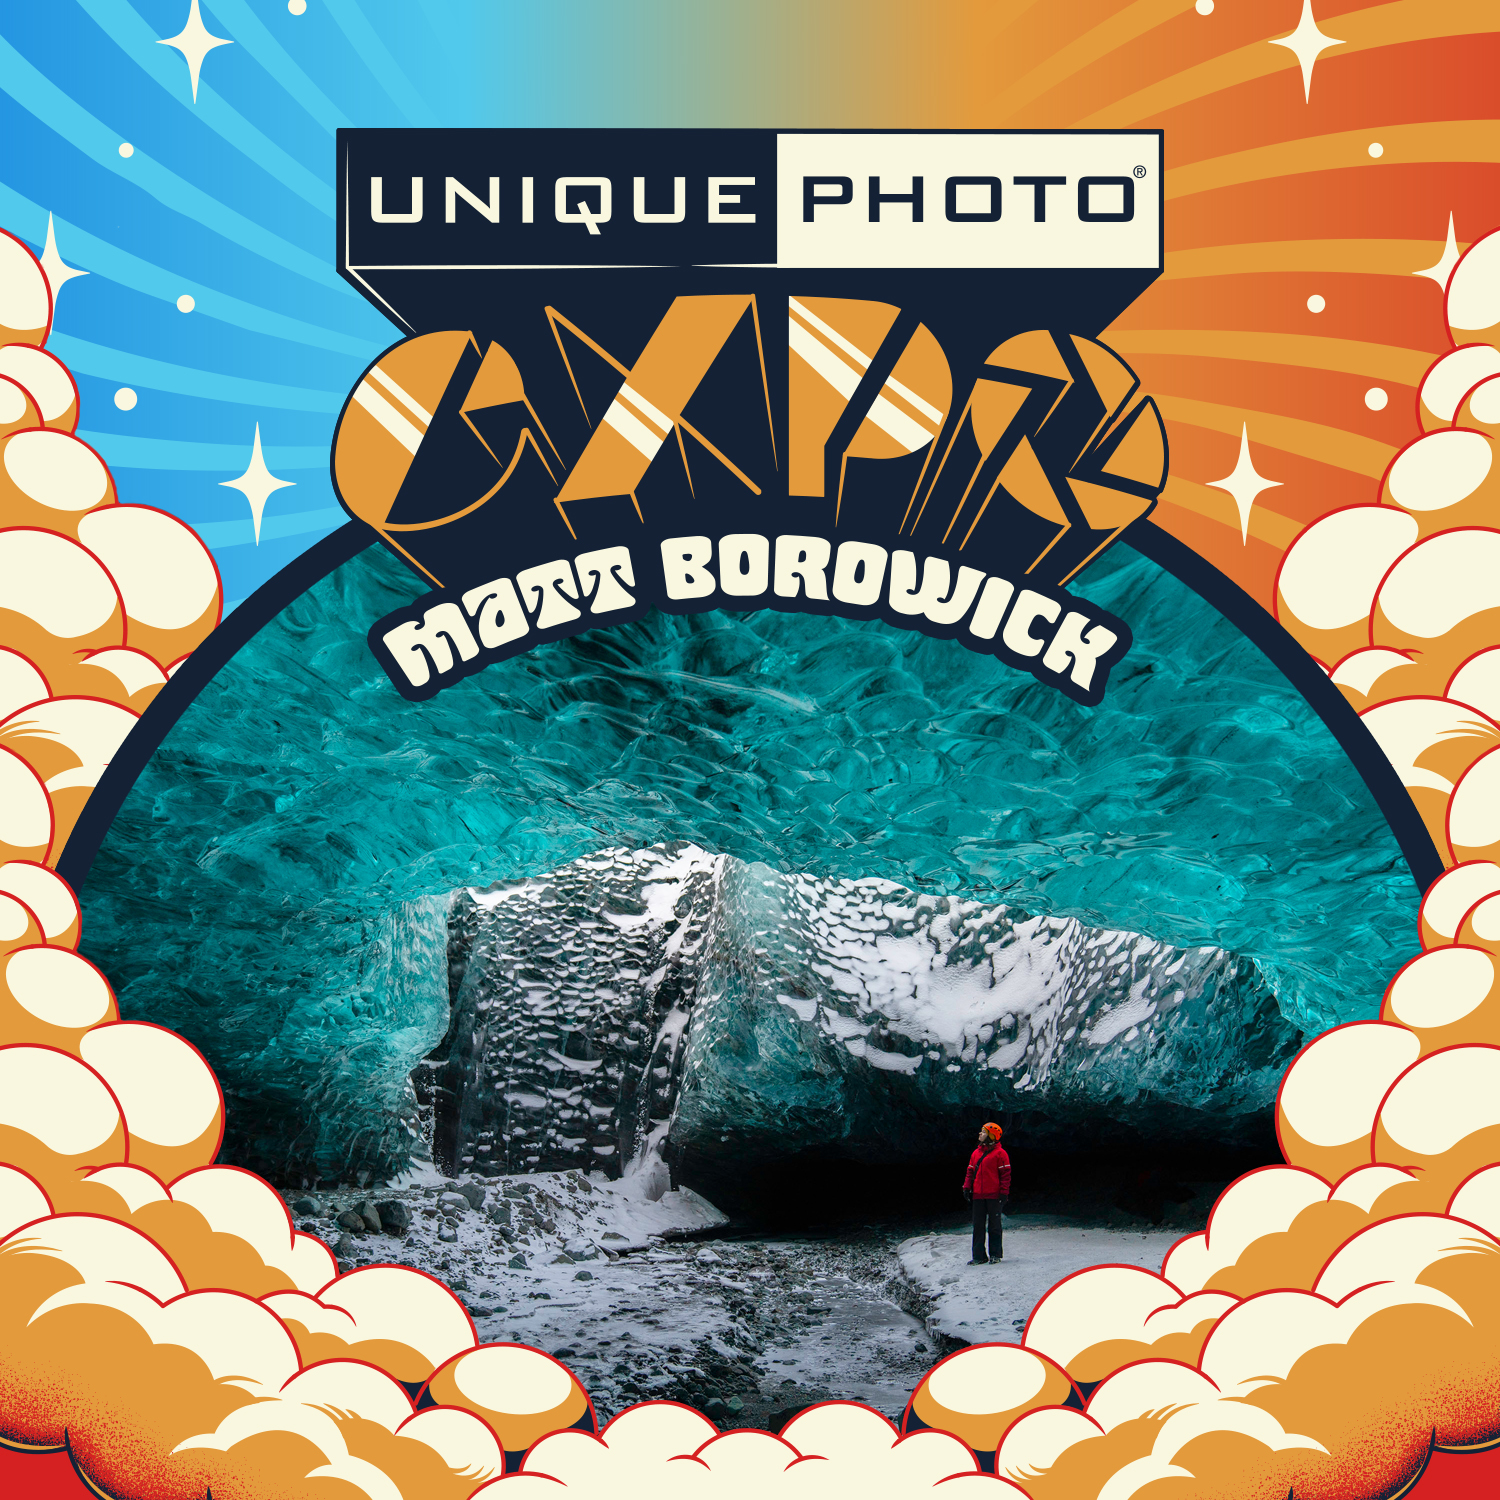
Programs and talks such as EXPO: Stories from the Road - Photography Across Worlds w. Matthew Borowick can be inspiring for photographers who want to think beyond settings and explore how mood, place, and timing shape stronger images.
Final tips for better low light street photos
If you want better street photography in low light, focus on the basics first: use the fastest practical lens, keep shutter speed high enough for your subject, raise ISO without fear, and look for strong pockets of light. Then refine your technique by anticipating movement, exposing carefully, and editing with intention.
Unique Photo is a great place to explore night photography accessories, learning opportunities, and workflow tools as you build your skills. If you are planning to expand your setup, consider browsing fast lenses, camera bags for urban shooting, memory cards and readers, and photography classes or events that can help sharpen both your technical and creative approach.
Internal linking suggestions: Link this article to category or educational pages about camera lenses for low light, memory cards and card readers, photography filters, Unique University classes, and in-store photography events at Unique Photo.