If you are searching for the best travel tripods under $200, you are probably trying to balance three things at once: portability, stability, and price. Travel photographers, vloggers, landscape shooters, and content creators all need support gear that is light enough to carry all day but sturdy enough to handle real-world shooting. At Unique Photo, we regularly help customers narrow down tripod choices by focusing on how and where they actually shoot.
While tripod availability and pricing can shift over time, this guide covers what matters most when choosing an affordable travel tripod, which features are worth paying for, and which compromises are acceptable if you want to stay below the $200 mark.
What makes a great travel tripod under $200?
The best budget travel tripod is not always the lightest or the cheapest. A good travel model should be compact enough to fit in or on your bag, quick to deploy, and reliable when shooting on uneven ground. If you are shopping in the under-$200 category, prioritize these features:
- Folded size: A shorter folded length is easier to pack for flights, road trips, and daily carry.
- Weight: Lighter is better for travel, but not at the expense of stability.
- Load capacity: Make sure the tripod can support your camera body plus your heaviest lens.
- Head type: Ball heads are the most common for travel because they are compact and fast to adjust.
- Leg locks: Twist locks usually pack down slimmer, while flip locks can be faster for some users.
- Minimum and maximum height: Check whether you can shoot comfortably without stooping too much.
- Center column design: Useful for extra height, but extended center columns can reduce stability.
- Material: Aluminum dominates this price range and often provides good value.
For most photographers, the sweet spot is a compact aluminum tripod with a simple ball head, decent load rating, and a folded size that fits inside standard luggage or straps neatly to a backpack.
Best travel tripod features for photographers on a budget
When shopping for an affordable travel tripod, it helps to separate must-have features from nice-to-have upgrades.
Must-haves:
- Solid leg construction with minimal flex
- Secure locking mechanisms
- Arca-style compatible plate or a widely supported quick-release system
- Reasonable vibration control for landscapes, cityscapes, and self-portraits
- A weight that makes sense for airline and walking travel
Nice-to-have features under $200:
- Monopod conversion
- Reversible or removable center column
- Spiked feet or interchangeable feet
- Low-angle shooting capability
- Included carry case
In this category, you may need to give up premium carbon fiber construction, weather sealing, or ultra-refined head performance. That is normal. The key is getting a tripod that performs consistently for the kind of travel work you actually do.
How to choose the best travel tripod for your camera setup
Different camera systems place different demands on a tripod. A lightweight mirrorless body with a compact lens can work well on many entry-level travel tripods. A full-frame camera with a telephoto zoom needs more support, even if the tripod is still marketed as travel-friendly.
Use this general approach:
- Smartphone and compact cameras: Almost any decent travel tripod can work, especially for video calls, casual landscapes, and travel content.
- Mirrorless with kit lens or small prime: This is the easiest setup to support under $200.
- Mirrorless with medium zoom: Look closely at stability, leg diameter, and ball head strength.
- DSLR with heavier zoom: Be more cautious. Many sub-$200 travel tripods are usable, but only when conditions are calm.
If your gear is close to the tripod's rated capacity, it is usually better to move up to something sturdier. Manufacturer load ratings can be optimistic, especially for long exposures in wind.
Are travel tripods under $200 good enough for landscape photography?
Yes, many are. If your main goal is shooting landscapes during hikes, road trips, or vacations, a travel tripod under $200 can be a smart purchase. The most important thing is understanding the limits.
For sunrise and sunset landscapes, architectural photography, and long exposures with a lightweight setup, budget travel tripods often perform very well. The biggest challenges appear in windy locations, with heavier lenses, or when extending the center column to maximum height.
To improve results:
- Keep the center column as low as possible
- Spread the legs wider when stability matters more than height
- Use a remote release or self-timer
- Add weight to the tripod hook if available
- Avoid touching the camera during exposure
Many travelers find these tripods are more than sufficient for occasional long exposures, city night scenes, and scenic photography.
Travel tripod recommendations under $200: what to look for by use case
Rather than focusing on one exact model list that may change with inventory and promotions, we recommend shopping by use case. At Unique Photo, this is often the fastest way to find the right tripod without overspending.
Best for city travel and walking all day
Choose a lightweight compact tripod with short folded length, quick deployment, and a small ball head. This is ideal for street scenes, architecture, and casual video.
Best for landscape travel
Look for thicker leg sections, independent leg spread, and a reliable head. A little extra weight can be worth it if stability is your priority.
Best for travel video creators
If you shoot reels, vlogs, or talking-head content, consider whether you need smooth panning. Some shoppers may prefer a compact video tripod or a hybrid support solution instead of a standard photo tripod.
Best for occasional use
If you only need a tripod a few times per trip, focus on value, ease of packing, and basic reliability. You may not need premium controls or maximum height.
Best for mirrorless kits
Compact mirrorless cameras pair especially well with travel tripods in this price range, making this one of the best categories for budget-conscious buyers.
Common mistakes when buying a budget travel tripod
Many shoppers buy the wrong tripod because they compare only price and maximum height. Here are the mistakes to avoid:
- Buying based only on load rating: Real-world stability matters more than a printed number.
- Ignoring folded size: A tripod that is awkward to pack often gets left behind.
- Choosing maximum height over stiffness: Taller and lighter can mean shakier.
- Overlooking head quality: A weak ball head can ruin the experience even if the legs are decent.
- Not matching the tripod to the camera: A travel-friendly model for a small mirrorless kit may not be ideal for a heavier body and lens.
If possible, shop with a retailer like Unique Photo where you can compare support options and accessories in a broader travel kit context.
Travel accessories that pair well with a lightweight tripod
A tripod is only one part of a practical travel setup. Depending on your workflow, a few small accessories can make travel shooting easier and more efficient.
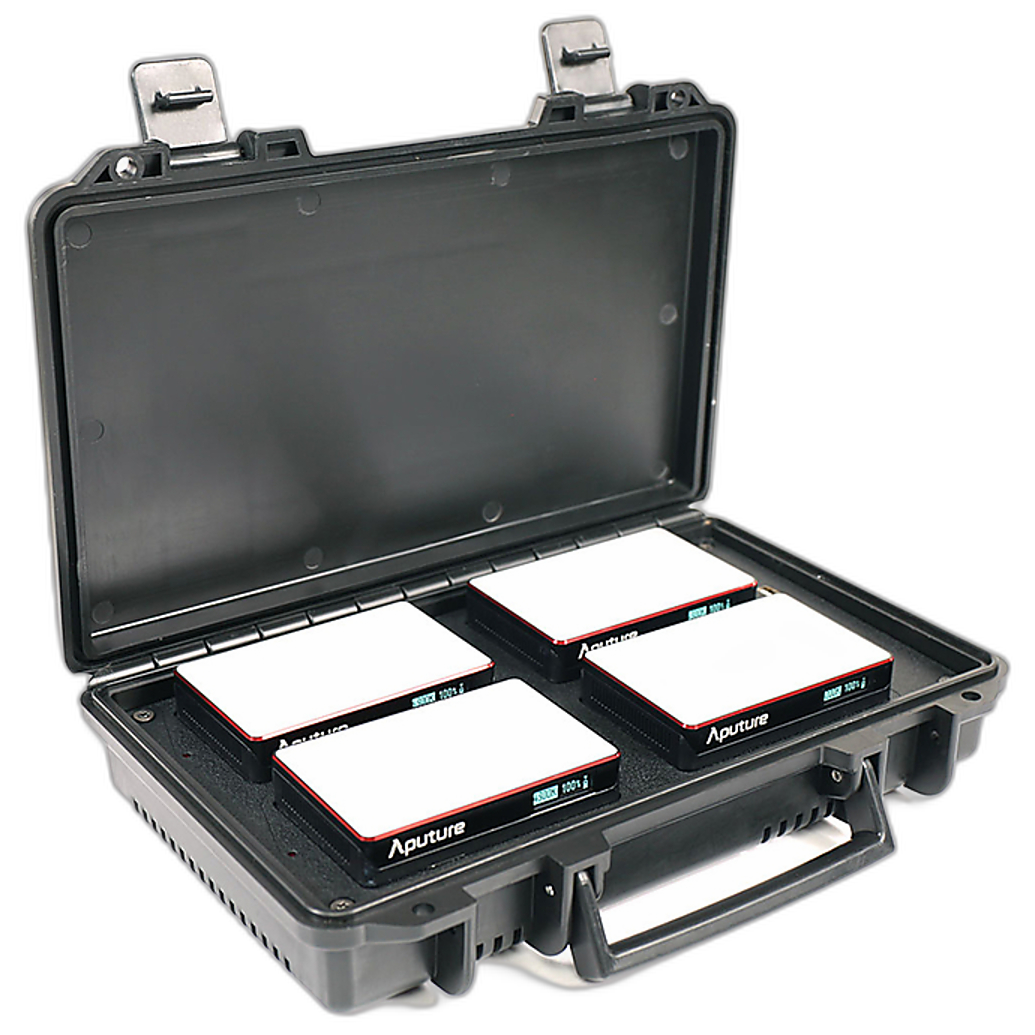
For creators who also travel with lightweight lighting, the Aputure MC 4-Light Travel Kit with Charging Case is a useful example of compact gear built for portability. It fits naturally into a mobile creator workflow alongside a small tripod for travel portraits, interviews, and social content.
If your travel setup includes editing on the road, the OWC USB-C Travel Dock E Multiport Travel Adapter is the kind of accessory many photographers appreciate for backing up files and connecting essentials while traveling.
Travel-focused bags also matter. A compact carry solution like the Peak Design Travel Crossbody 3L Sage can complement a light camera kit when you want to keep accessories and personal items close while moving through airports or city streets.
For photographers who want to improve their people photography while traveling, educational resources can be just as valuable as gear. Unique Photo offers classes and events like NJCS: Travel Portraits with Bobbi Lane (Fujifilm and Profoto), which can help you get more out of a lightweight travel setup.

Is it better to buy a cheap tripod now or save for a premium travel tripod?
If your current need is immediate, buying a solid travel tripod under $200 can make perfect sense. This price range is strong enough for many travelers, especially mirrorless users and casual landscape photographers. The key is to buy with realistic expectations.
Save for a premium tripod if you regularly shoot in harsh conditions, use longer lenses, depend on long exposures, or travel professionally. Otherwise, a well-chosen budget travel tripod can be a smart and practical investment.
For many photographers, the best path is to start with an affordable tripod, learn what features matter most in real travel use, and then upgrade later only if your work truly demands it.
Final thoughts on the best travel tripods under $200
The best travel tripods under $200 deliver portability, decent stability, and enough flexibility for the way most people actually travel. Focus on folded size, weight, load handling, and overall usability rather than flashy specs. A compact aluminum tripod with a dependable head is often the best value in this category.
At Unique Photo, shoppers can build a more complete travel kit by pairing support gear with bags, mobile lighting, travel accessories, and educational events. When you are ready to continue researching, consider exploring internal site resources such as travel camera bags, mirrorless cameras for travel, compact lighting kits, and photography classes that help you get more from your next trip.
If you want, I can also turn this into a more product-driven roundup with specific tripod model recommendations once a list of tripod products is available.