Storytelling in Photo Essays: Sequencing, Shot Mix, Printing & Presentation
A memorable photo essay does more than collect good pictures—it builds a story with intention, pacing, and emotional shape. At Unique Photo, we help photographers turn raw frames into cohesive narratives, whether you’re preparing a web feature, a zine, or a gallery-ready sequence.
Use this FAQ to refine how you select, sequence, and present your work, with practical tools and products you can put to use right away.
How do I pick a theme and select images for a strong narrative?
Start with a clear throughline: one idea, question, or experience your images will explore. On your first edit pass, remove any frames that don’t technically hold up. On your second pass, favor images that advance the story—shots that reveal context, change, or stakes. For the final pass, compare similar frames and keep the one with the strongest moment, gesture, or contrast. Aim for variety without breaking cohesion; recurring visual motifs (color, light, gesture, location) help tie the set together.
Tip: Print small proofs of your contenders and lay them out on a table. Seeing them off-screen helps you evaluate rhythm and relationships between frames.
What’s the best way to sequence images for narrative flow?
Use a clear opener to establish tone and curiosity, then quickly orient your viewer with a wider scene before moving into medium and detail frames. Build tension through contrast—light/dark, crowded/empty, loud/quiet—and insert “breather” images between intense moments. End with a frame that lingers: surprise, resolution, or an evocative question. Keep transitions purposeful; link images by subject, color, geometry, or motion between frames.
Working physically speeds decisions. A compact, pigment-based photo printer lets you proof quickly and consistently at home.
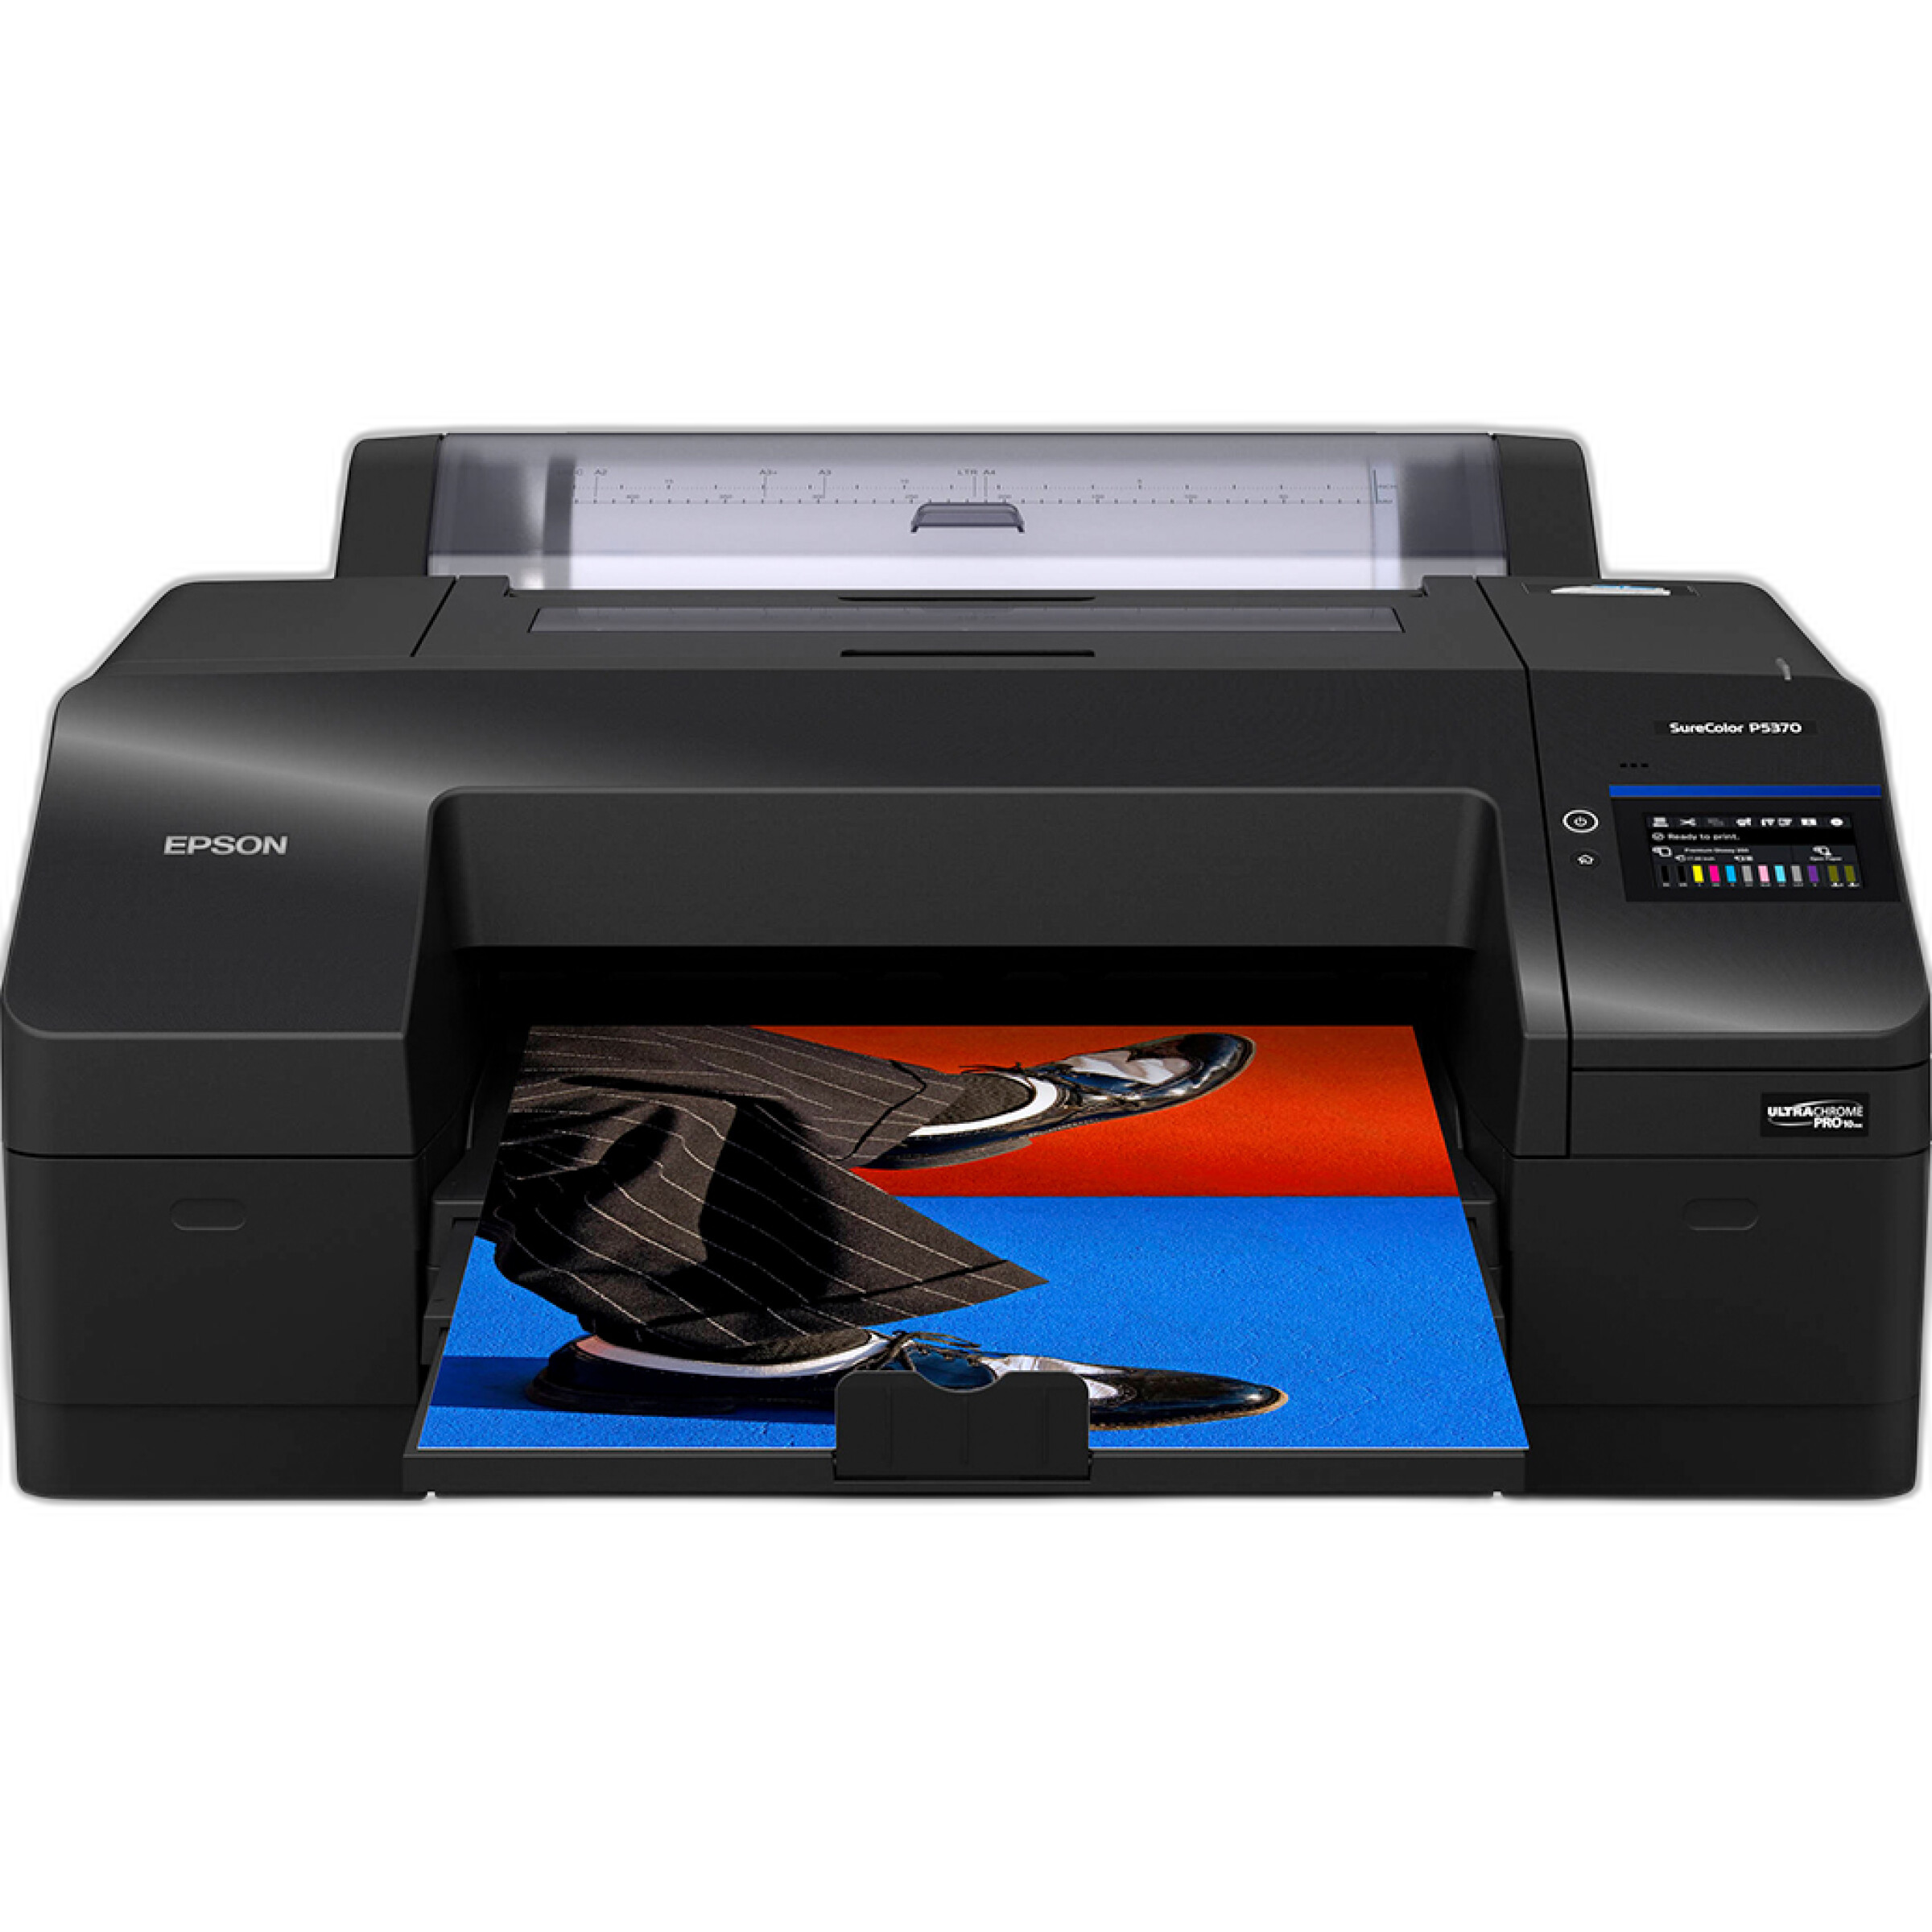
The Epson SureColor P5370 delivers exhibition-quality proofs with excellent tonal control, helping you spot sequencing issues you might miss on a backlit screen.
How should I mix wide shots, mediums, details, and portraits?
A reliable starting recipe for a 12–20 image essay: 3–5 wide establishing frames, 6–10 medium moments that carry action and relationships, and 3–5 details and portraits to add texture and humanity. Adjust as your subject demands (e.g., more details for craft processes, more wides for travel or environmental change). Avoid stacking too many of the same perspective; alternating scale maintains energy. If you switch between color and black-and-white, group by logic—e.g., all archival or memory-driven scenes in B&W—so the shift reads as intentional.
How many photos should a photo essay include?
For web stories, 8–20 images usually sustain attention without fatigue. For a zine or small print sequence, 12–30 frames provide room for pacing and pairings. Longer book-length essays may span 30–60 images. Tighter is almost always stronger; keep a “B-sides” set for social or process posts rather than diluting your core sequence.
How much text should accompany a photo essay?
Use text to add context, not to explain what’s already visible. A short intro paragraph can frame the stakes, followed by concise captions when facts are necessary (names, dates, locations). Let a few select quotes carry voice if you’re telling a community story. When in doubt, cut words until the pictures do the heavy lifting. Maintain consistency in tone and formatting across all captions.
What are smart ways to print and present a photo essay?
Printing transforms a set into a story you can shuffle, pair, and pace on a table or wall. A dependable desktop printer and a paper that fits your subject are key.
For subjects with bright highlights, night scenes, or reflective textures, Kodak Professional Metallic Photo Inkjet Paper delivers luminous depth that makes details pop. Pair it with a precision printer for true-to-intent proofs and final prints.
The Epson SureColor P5370 offers archival pigment inks, excellent color stability, and fine detail—ideal for both proofing and exhibition prints. Soft-proof your files, print at working sizes (4x6 or 5x7 for shuffling; 8x10+ for final flow checks), and evaluate under neutral light.
How can I build a physical dummy or album to test my sequence?
Before committing to a zine or show, create a “dummy” by slipping small work prints into an album. This lets you rearrange quickly and carry your edit to get feedback from trusted readers.

The Pioneer 4x6 Bi-Directional Memo Photo Album holds up to 200 prints and includes memo space for chapter notes or caption drafts—perfect for test sequences and traveling edits.
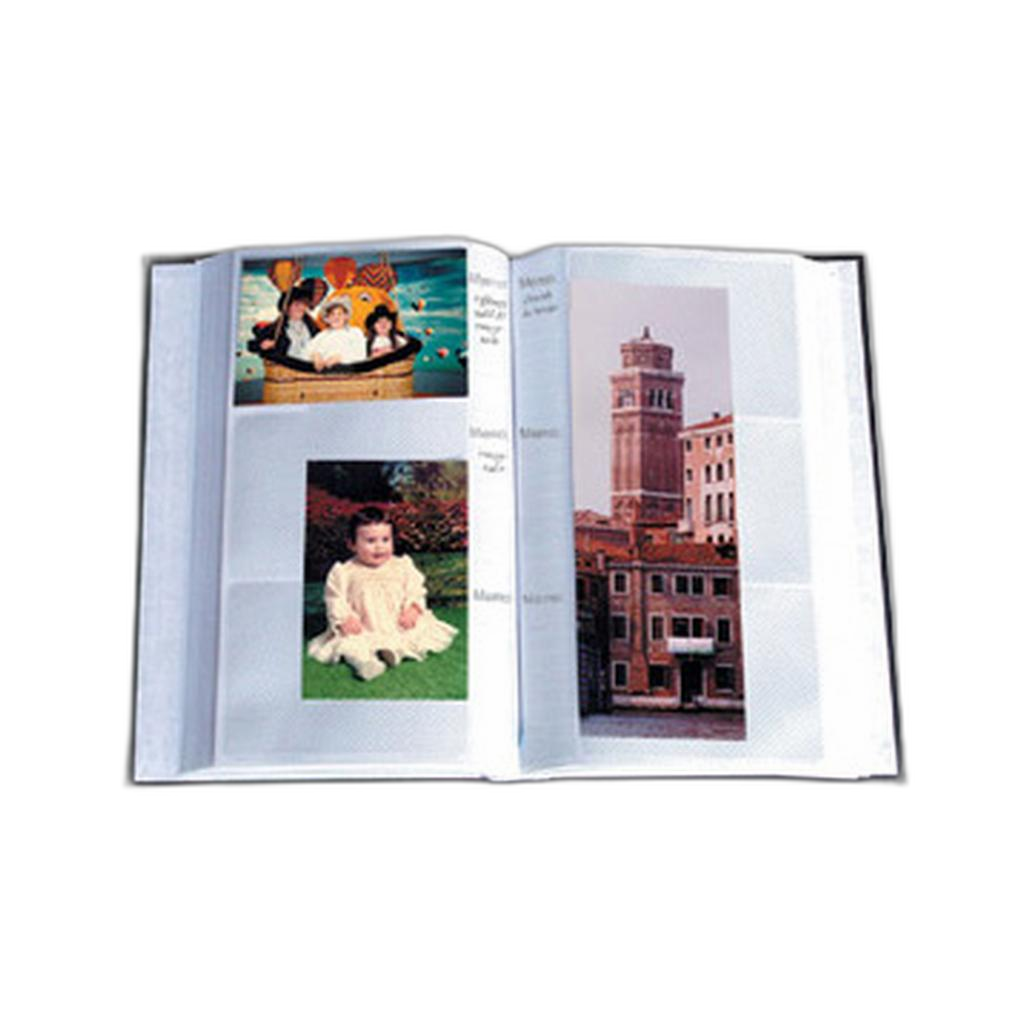
Add Pioneer Refill Pages when your story grows, or use extra pages to try alternate versions of the sequence (e.g., a tighter festival cut vs. a more exploratory one).
What are good sources of inspiration for structure and style?
Study photobooks and long-form essays to internalize pacing, transitions, and how masters balance wide frames with intimate moments. As you look, note how openers invite you in, where the sequence slows, and how closers resonate. Then get out to shoot with a specific narrative goal.
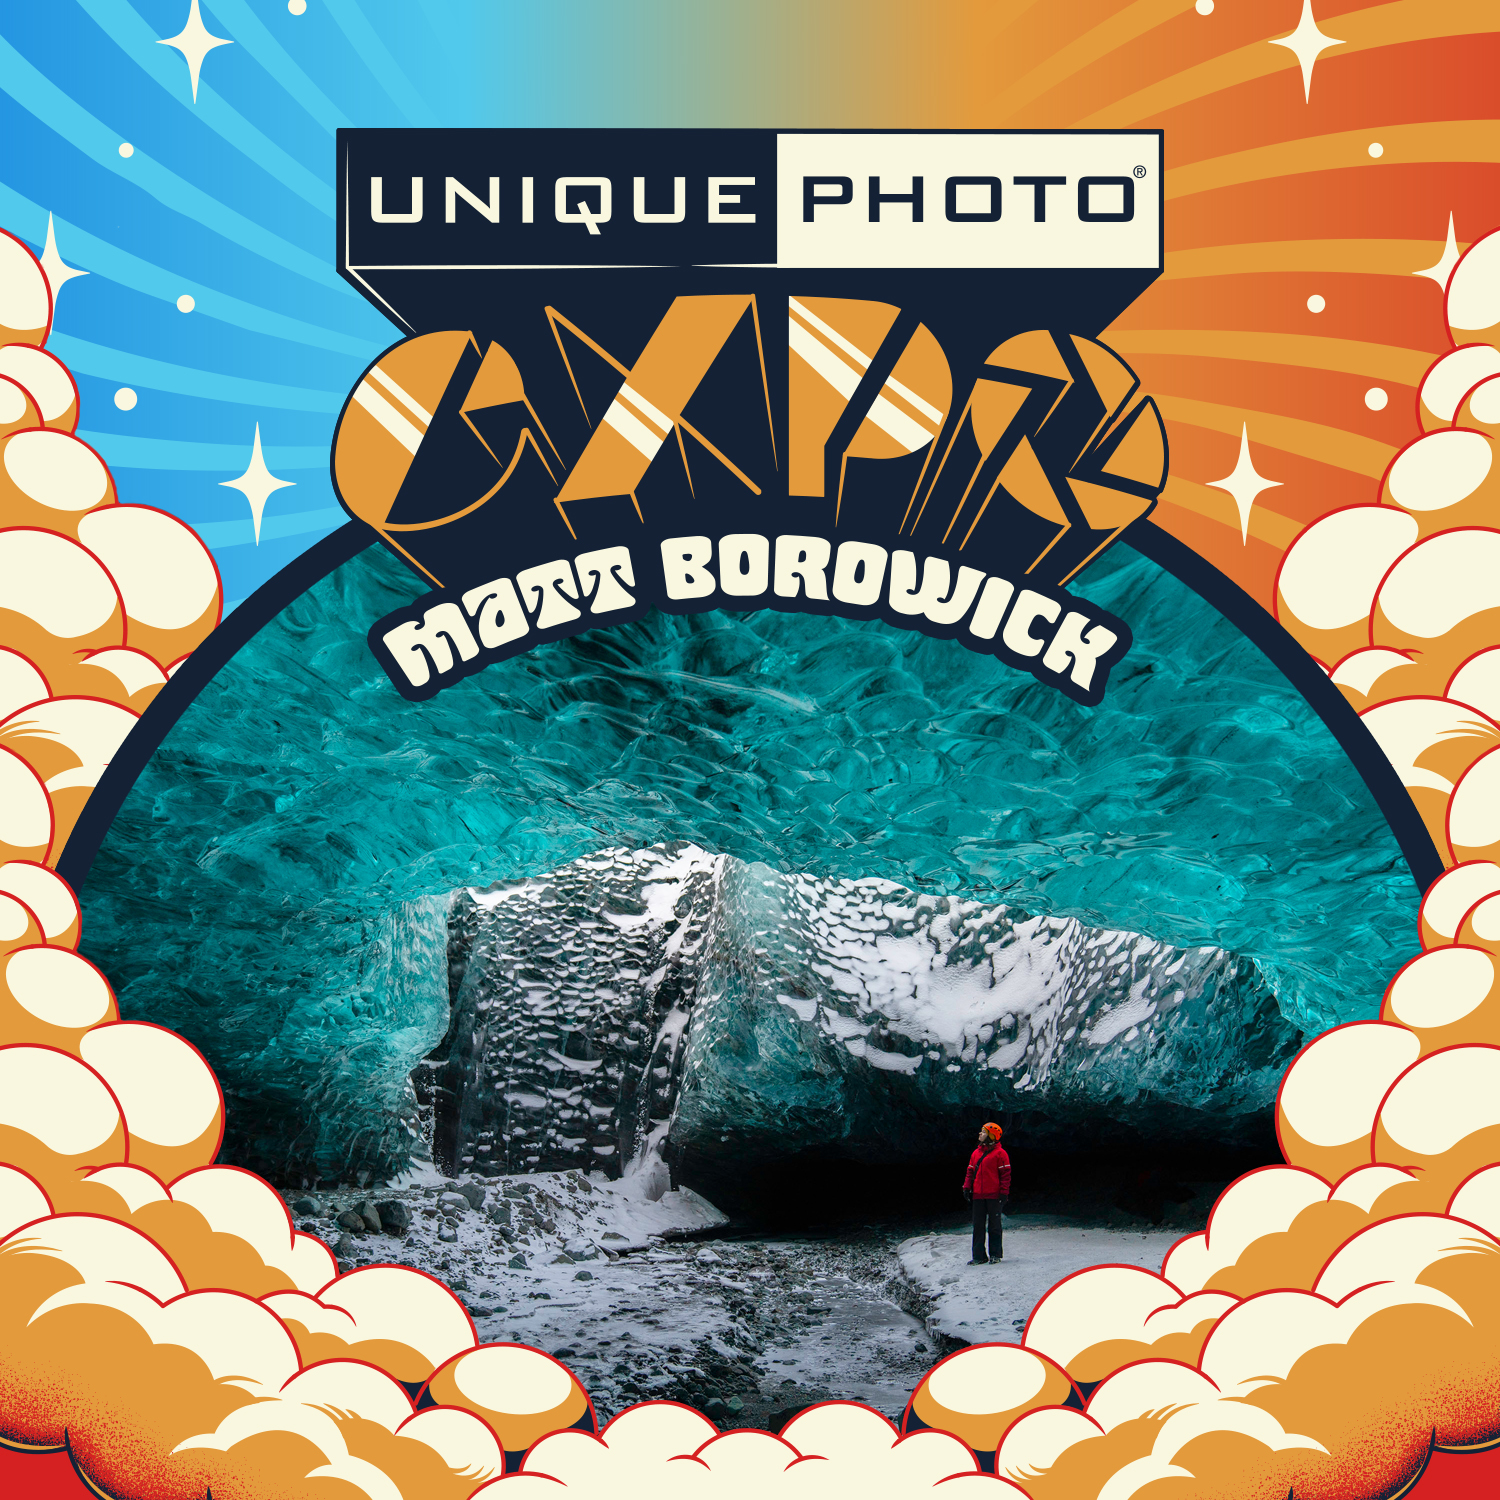
Join our EXPO session “Stories from the Road – Photography Across Worlds” for real-world storytelling insights you can apply to travel and documentary essays.
Practice building a visual arc in the field with our Macro and Landscape Photography workshop at Duke Farms—ideal for essays that evolve from grand scenes to intimate details.
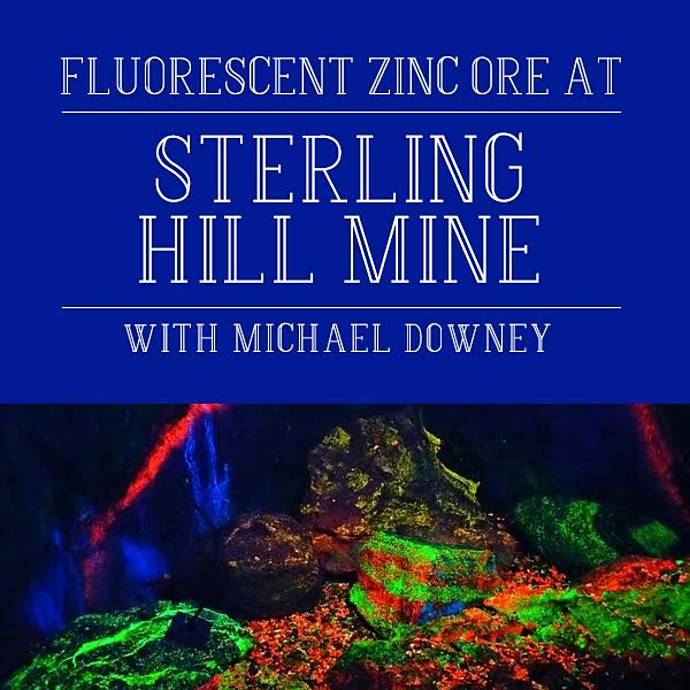
For experimental narratives, try our Sterling Hill Mine excursion to master low-light and UV-reactive subjects—great material for high-contrast sequences on metallic paper.
As you study, consider classic works across genres and eras; pay attention to how theme, editing, and design choices support the story. Then iterate with your own material using the tools above.
Ready to turn your images into a story that sticks? Visit Unique Photo to explore archival printers, specialty papers, and albums, and sign up for Unique University classes that sharpen both your shooting and your storytelling.