Environmental Portraits FAQ: Lenses, Light, and Editing for Impact
Environmental portraits tell a story about your subject and where they are. From focal length choices to lighting and post-processing, the right decisions help you capture both personality and place—without losing either.
Below, Unique Photo’s experts answer common questions we hear in-store and in class, with practical tips and learning resources to elevate your next shoot.
1) What focal lengths work best to capture both subject and context?
There’s no single “correct” focal length—each choice changes perspective and how much environment you include.
- 24–35mm: Great for context-rich scenes in tight spaces. Keep your subject near the frame’s center to minimize distortion, and watch the edges for stretched limbs.
- 35–50mm: Natural perspective for half- and three-quarter-length portraits that still show surroundings without exaggeration.
- 85–105mm: A classic “portrait feel” with gentle compression. Step back to include environment while keeping the subject proportionate and separated from busy backgrounds.
Pro tip: Choose focal length for storytelling first, then use aperture to fine-tune depth of field. Even at f/2.8, increasing subject-to-background distance helps separate your subject without erasing the setting.
2) How do I compose to include context without distractions?
Start with the story: What single detail best anchors the location? Place that element in relation to the subject using simple compositional tools.
- Layering: Combine foreground frames (doorways, foliage), your subject, and a background that supports the narrative.
- Leading lines: Use paths, railings, or light patterns to pull the viewer’s eye toward the subject.
- Clean edges: Scan the perimeter for bright clutter, partial signs, or poles “growing” from heads—then adjust your angle by a foot or two.
- Horizon control: Keep horizons level unless a purposeful tilt adds energy; a small shift can keep a scene grounded.
3) How do I balance natural light and fill flash outdoors?
Build the exposure in two parts: ambient first, then flash.
- Meter the background for the mood you want. Slightly underexpose ambient by 1/3 to 1 stop to deepen color and retain sky detail.
- Add fill flash about 1 to 2 stops below your key exposure so it lifts shadows without looking “flashy.” Feather the light across the subject for subtlety.
- Use high-speed sync when needed to keep shallow depth of field in bright conditions.
- A 1/4–1/2 CTO gel helps warm skin tones and blend flash with golden-hour ambient.
Want to practice on location? Explore travel-focused techniques—including off-camera lighting—at our NJCS: Travel Portraits with Bobbi Lane (Fujifilm and Profoto). 
4) What if I’m stuck in harsh midday sun without big modifiers?
Midday light can be workable with careful positioning and small, portable tools.
- Seek transitional shade (building overhangs, tree lines) and angle your subject toward the brightest open sky for a soft key.
- Backlight the subject, then add gentle fill to control contrast and bring back facial detail.
- Use negative fill with the black side of a 5-in-1 or a dark jacket to shape the face and reduce wrap from bright surroundings.
For hands-on guidance with portable light shaping, join our Stunning Portraits Workshop with David Maynard and ExpoImaging. 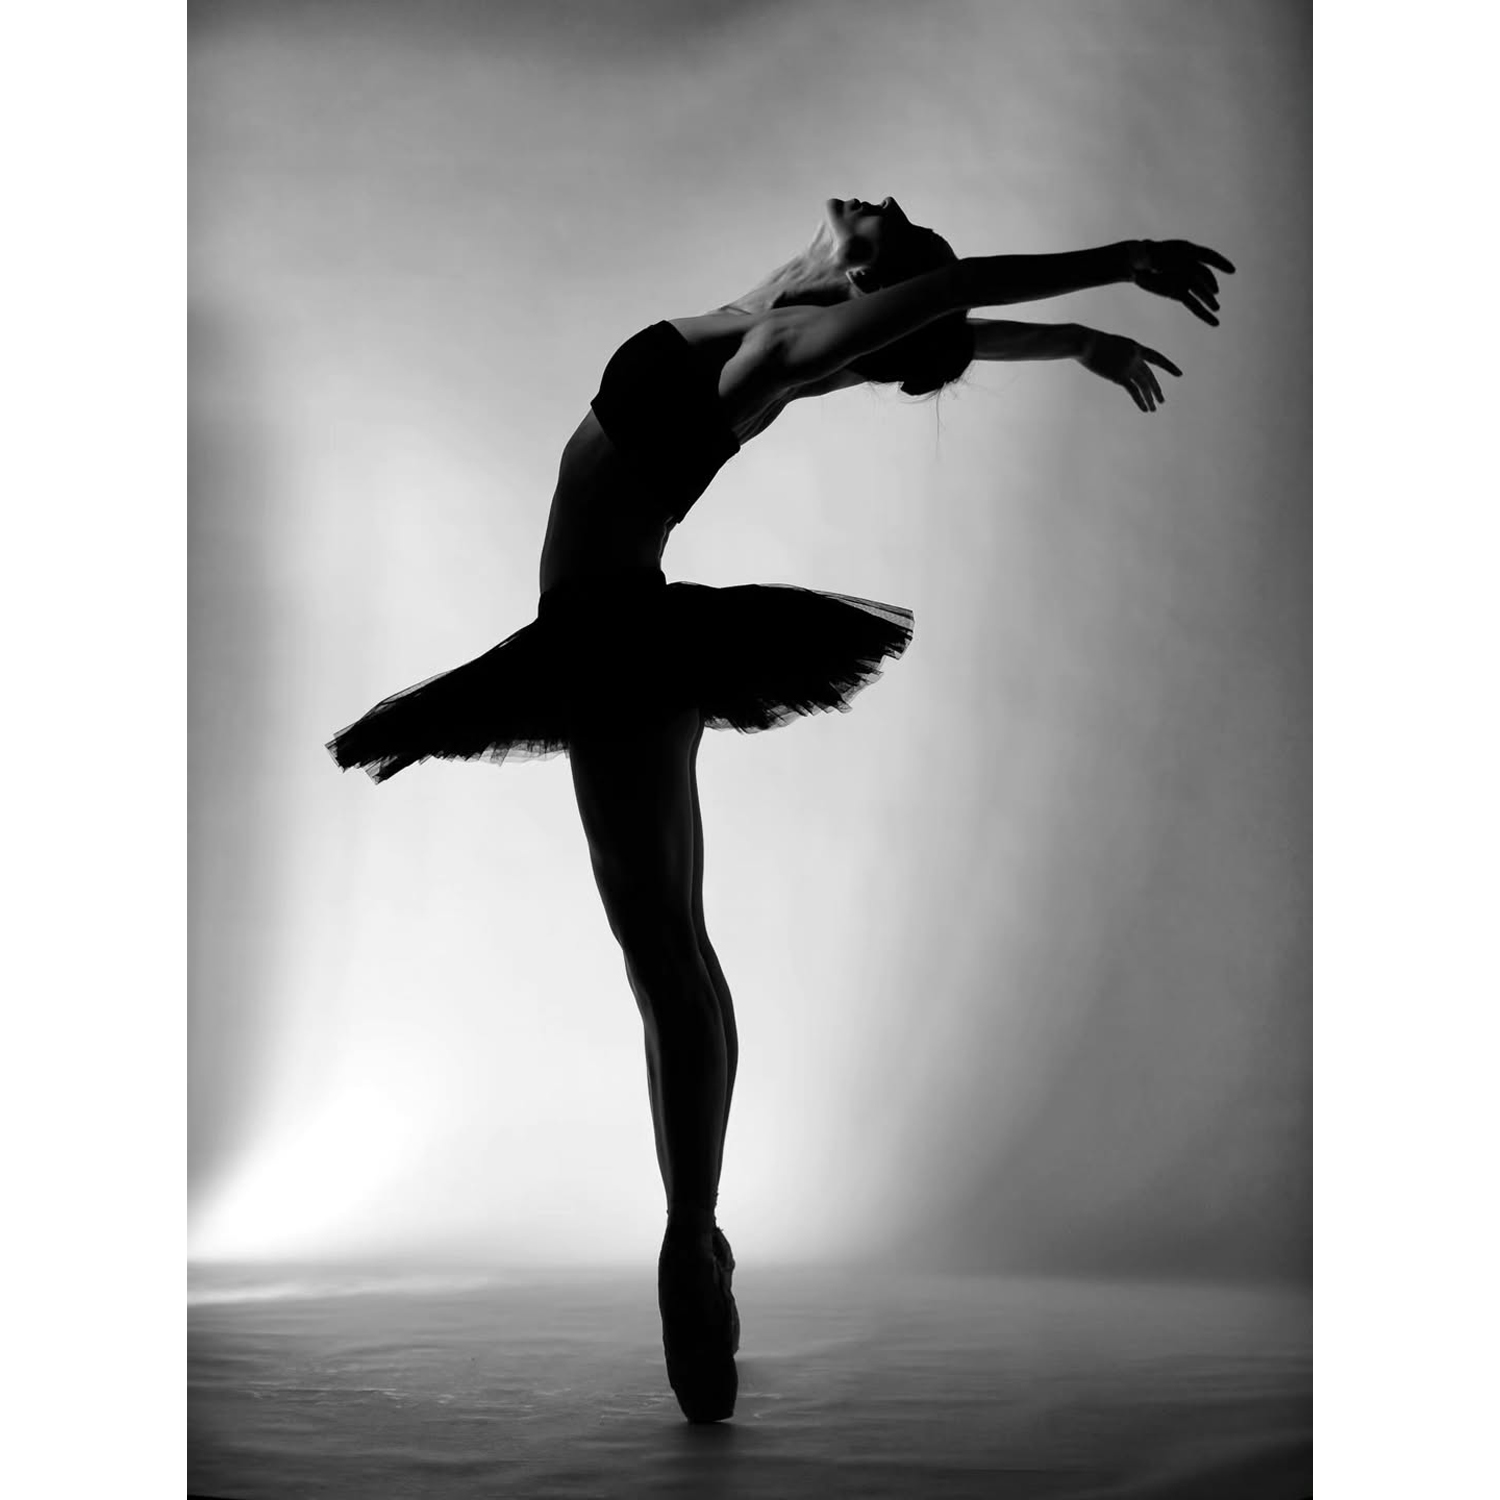
5) How do I keep my subject sharp with wide apertures?
Shallow depth of field can be beautiful—and unforgiving. Try these focusing strategies:
- Use single-point AF over the lead eye, or eye-detection AF if available. Avoid focus-and-recompose at very wide apertures; compositional shifts can move the plane of focus.
- Back up slightly and crop in post if necessary—more working distance can gently increase depth of field.
- Stop down to f/2.8–f/4 for couples or when there’s head-to-toe tilt relative to the camera.
- Shoot short bursts when subjects are animated; micro-movements can shift focus at f/1.4.
If you prefer manual focus or use adapted lenses, a focus gear ring provides more throw and precision for critical focus pulls—especially useful for hybrid photo/video portraits. Consider the Tilta Universal Focus Gear Ring. 
6) What post-processing techniques make subjects stand out without losing the environment?
Think “quiet separation,” not artificial isolation.
- Local exposure: Use a gentle radial mask to lift the subject by ~0.2–0.5 EV. Counterbalance with a subtle background burn to hold attention.
- Color contrast: Warm the subject slightly while cooling the background. Keep skin tones natural—avoid over-saturation in reds and oranges.
- Selective presence: Add texture/clarity to clothing details or eyes, while reducing clarity in busy backgrounds.
- HSL finesse: Desaturate a single distracting hue (e.g., bright greens) rather than blurring the entire scene.
- Lens corrections: Enable profile corrections and remove chromatic aberrations for cleaner edges against high-contrast backgrounds.
7) How do I direct and pose people naturally in their environment?
Give prompts that encourage interaction with the location rather than rigid poses. Ask your subject to lean on a railing, step into a patch of light, or engage with a tool of their trade. Keep hands busy, and use micro-prompts (“Look toward that doorway, then back to me”) to build natural expression.
For dynamic portrait direction—especially when incorporating movement—check out PCS: Capturing Dance Movement with Steve Vaccariello.  For bolder fashion-forward posing and lighting ideas that still honor setting, explore EXPO: Bold and Beautiful Fashion Portraits with Joe Edelman.
8) Can I create compelling environmental portraits with a smartphone?
Absolutely. Use the main wide lens for context and the 2x/tele lens for more flattering perspective on faces. Enable HDR to protect sky detail, and tap-and-hold to lock focus/exposure; drag exposure down slightly to preserve highlights.
- Shoot at eye level or slightly above to avoid distortion.
- Use a small reflector or even another phone screen as fill to shape light on the face.
- Avoid overusing computational background blur when the environment is part of your story—keep it natural.
Improve your mobile technique in CS: Taking iPhone Portraits with Kareem Hamdi. 
9) How do I approach hybrid stills + motion in environmental portrait sessions?
Short video clips deepen the sense of place—think ambient sound, subtle camera moves, and authentic gestures.
- Keep shutter near 1/50–1/60 at 24–30 fps for natural motion blur.
- Match color temperature across lights and practicals; gels help blend sources.
- Use manual focus pulls to guide attention from environment to subject.
- Record a few seconds of room tone for cleaner audio transitions.
Learn hybrid techniques in EXPO: Portraits in Motion with Suzette Allen (Panasonic).  For music-driven storytelling and on-location setups, join EXPO: Musical Portraits Live Shoot with Jesse Korman.
Ready to put these ideas into practice? Visit Unique Photo in Fairfield, NJ or shop online to explore lenses, lighting, and hands-on education. Our instructors and staff can help you match techniques to your gear and locations, so your environmental portraits truly resonate.