Scanning Negatives: Epson V600 vs. Dedicated 35mm Scanners
For film photographers building a digital workflow, one of the biggest questions is whether to choose a versatile flatbed like the Epson V600 or go with a dedicated 35mm scanner. The answer depends less on hype and more on what kind of film you shoot, how much volume you scan, and how critical maximum detail is to your final output. In practical terms, the Epson V600 has long been a popular entry point because it can handle prints, medium format, and 35mm negatives in one machine. Dedicated 35mm scanners, on the other hand, are designed specifically to extract as much sharpness and consistency as possible from 35mm film.
If your archive includes compact rangefinder negatives, classic 35mm street work, or older film camera collections, this choice matters. A dedicated scanner often rewards good glass and fine-grain film with noticeably better edge detail, while the V600 wins on flexibility and value. For photographers digitizing work from classic cameras and lenses found at Unique Photo, understanding this tradeoff can save time, money, and frustration.
Think of it this way: if you are scanning negatives made with premium optics, the scanner becomes part of the image chain. A high-performing lens can only show its character if the scanner resolves enough information to preserve it. That is especially true for 35mm shooters who care about micro-contrast, fine grain, and accurate rendering of tonal transitions.
Why This Comparison Matters
The Epson V600 occupies a strong middle ground. It is accessible, widely understood, and useful for hobbyists who want a single scanner for multiple formats. It is also appealing for photographers who occasionally scan contact sheets, old family prints, or medium format rolls in addition to 35mm strips. Dedicated 35mm scanners are less flexible, but when the goal is the best possible scan from 35mm film, they are generally the more purpose-built tool.
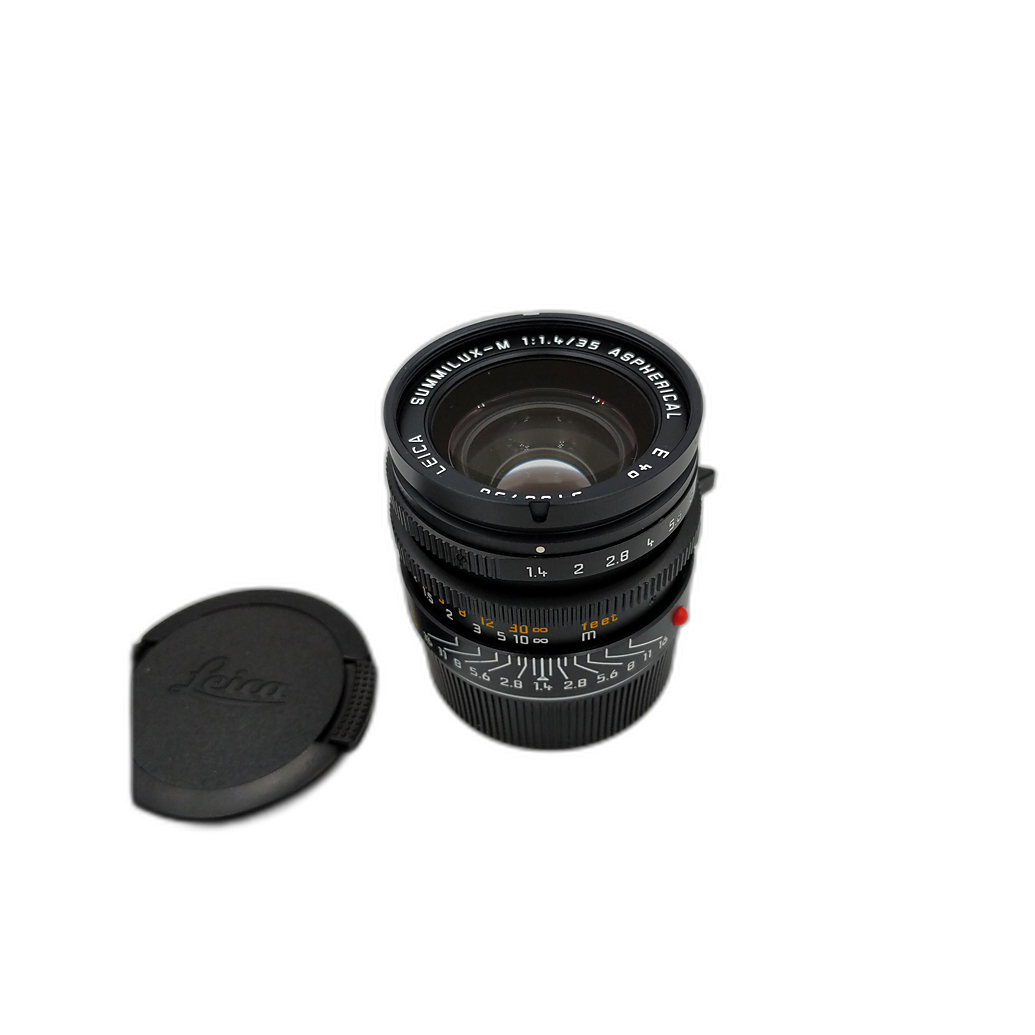
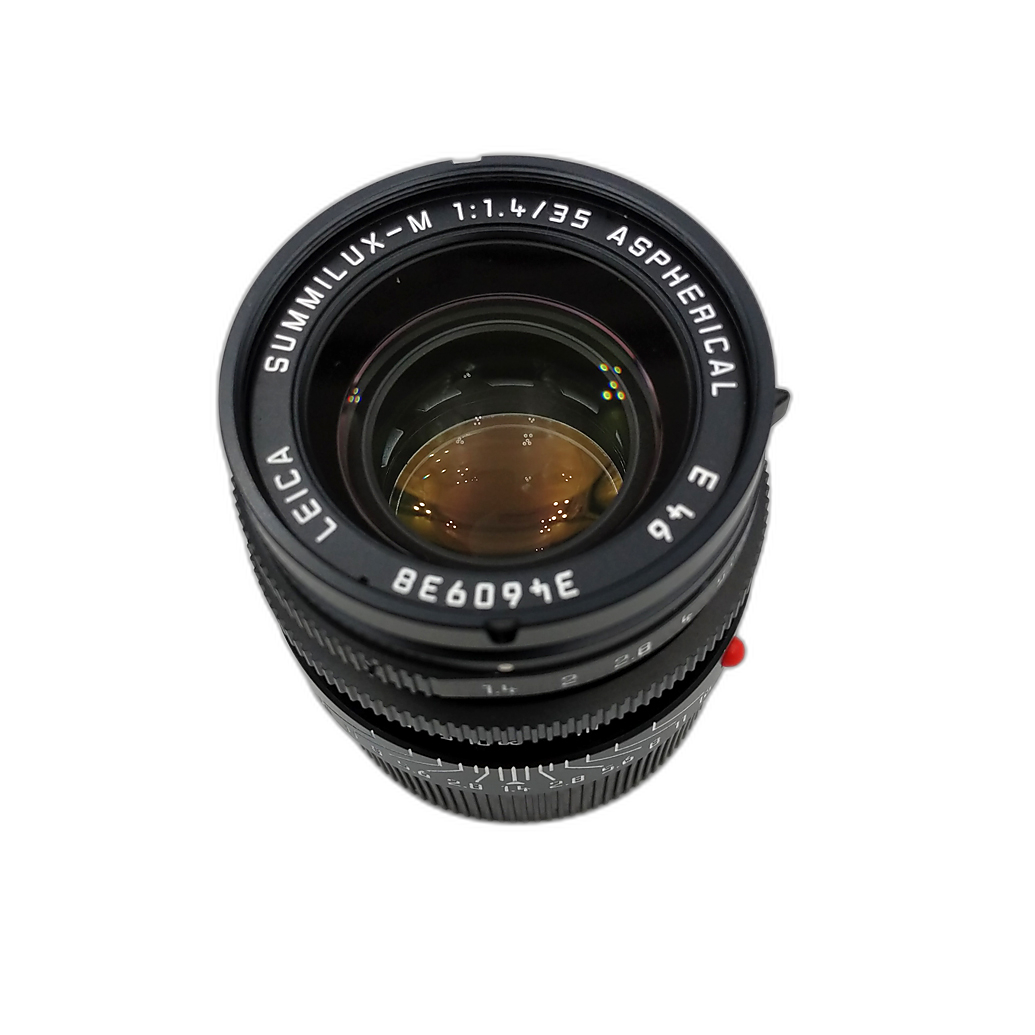
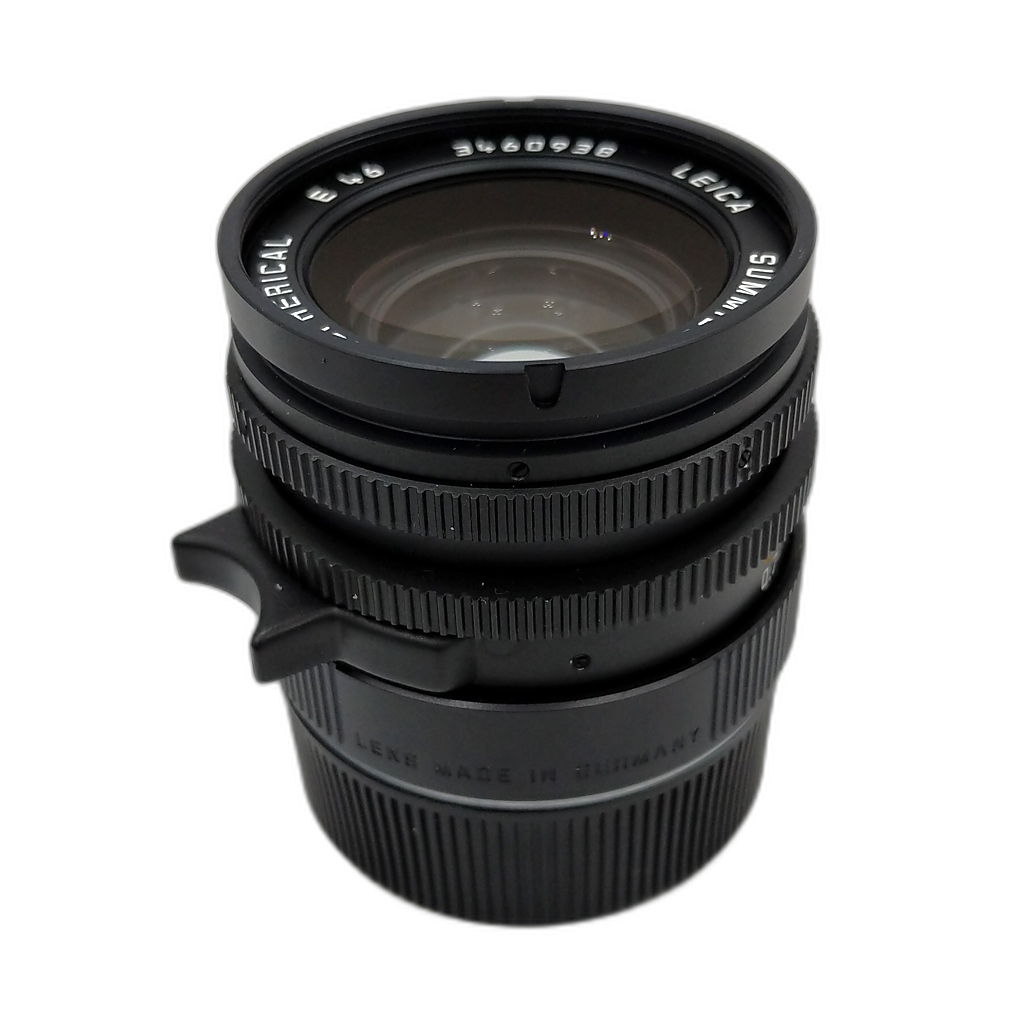
That distinction becomes even more important with negatives exposed using high-quality lenses. A premium optic like the Leica Summilux-M 35mm f/1.4 Double AA has a reputation for rendering, contrast, and fine detail that can be diminished by a lower-resolution or less precise scanning setup.
Epson V600 Review in Real-World Film Use
Versatility Is the V600's Biggest Strength
The best argument for the Epson V600 is simple: it does a lot. It can scan prints, documents, 35mm negatives, and medium format film without requiring separate hardware. For photographers who are digitizing mixed archives, that flexibility is genuinely valuable. If you shoot more than just 35mm, the V600 is often the more practical purchase.
Its included film holders and relatively approachable workflow also make it appealing to newer film users. You can start scanning with a reasonable learning curve, produce attractive files for social sharing, and create decent enlargements without major complexity.
Image Quality Is Good, Not Class-Leading for 35mm
Where the Epson V600 begins to show its limits is in pure 35mm performance. Flatbeds tend to deliver less effective resolution than their stated numbers suggest, and with 35mm negatives that matters more because the original frame is small. You may get scans that look very good on screen and in modest prints, but dedicated 35mm scanners usually pull ahead in crispness, grain separation, and corner consistency.
For casual scanning, proofing, or archiving, the V600 is often enough. For photographers trying to extract every bit of quality from carefully exposed fine-grain negatives, it can feel like a ceiling arrives quickly.
Dust Removal and Workflow Convenience
Another reason many users stay loyal to the V600 is workflow simplicity. Batch scanning can be efficient, and Digital ICE-style dust removal is helpful on color negative and color slide film. As always, black-and-white silver-based film can be a different story, but for many users the convenience factor is substantial.
If your goal is to digitize lots of family archives or everyday rolls with minimal fuss, this ease of use is one of the V600's strongest selling points.
Dedicated 35mm Scanners Review
Sharper Results and Better Effective Resolution
A dedicated 35mm scanner is built for one job, and it usually shows. Better film flatness, stronger effective resolution, and optics designed specifically for the 35mm frame generally translate into higher-detail scans. Fine textures, subtle grain, and edge definition tend to be better preserved than with a flatbed.
This is especially noticeable when scanning negatives made with lenses known for high resolution and character. A scanner with stronger 35mm performance is better able to show what the lens and film actually captured.
Better for Serious 35mm Shooters
If your archive is mostly 35mm, the dedicated route often makes more sense. Street photographers, documentary shooters, and rangefinder users working through large volumes of 35mm film will appreciate the extra clarity. It can also make editing easier, since better scans hold up more gracefully to tonal adjustments, sharpening, and print preparation.
For example, negatives made with classic 35mm cameras benefit from scanning that preserves detail rather than smoothing it away. Vintage camera users often accept imperfections in mechanics or coatings, but they still want a scanner that reveals as much of the frame as possible.
Less Flexible, Often More Specialized
The tradeoff is obvious: a dedicated 35mm scanner usually does not replace a flatbed for prints or medium format. It is also more specialized in workflow and may be less attractive if your film use is occasional or varied. In short, you gain quality but give up broad utility.
How Lens Quality Changes the Equation
One overlooked part of this debate is that better negatives expose scanner limitations more quickly. If a frame was made with average glass, the V600 may feel perfectly acceptable. But if you are scanning negatives shot with standout optics, the difference between scanner types becomes easier to see.
A lens like the Leica Summilux-M 35mm f/1.4 Double AA is a perfect example of gear whose rendering deserves careful digitization. If you are investing in premium film cameras, used rangefinder systems, or collectible lenses from Unique Photo, pairing them with the right scanning workflow protects that investment on the digital side.
Pros and Cons
Epson V600 Pros
- Excellent versatility for 35mm, medium format, prints, and documents
- Good value for photographers with mixed scanning needs
- Approachable workflow for beginners
- Useful batch scanning and dust-removal features
- Solid choice for archiving and casual output
Epson V600 Cons
- 35mm sharpness and effective resolution trail dedicated scanners
- Can leave detail on the table with high-quality negatives
- Less ideal for large prints from 35mm originals
- Film holder alignment and flatness can affect consistency
Dedicated 35mm Scanner Pros
- Better detail extraction from 35mm negatives
- Improved grain rendering and edge sharpness
- Stronger choice for serious 35mm shooters and printmakers
- More likely to reveal the benefits of premium lenses and careful exposure
Dedicated 35mm Scanner Cons
- Less flexible than a flatbed
- Usually limited to 35mm film
- May involve a more specialized workflow
- Not the best single-device solution for mixed-format archives
Who Should Buy Which?
Choose the Epson V600 if...
You want one scanner for multiple jobs, including prints and medium format, and you primarily need good scans rather than maximum 35mm performance. It is a smart, practical option for hobbyists, family archivists, and photographers who value flexibility above all else.
Choose a Dedicated 35mm Scanner if...
You shoot mostly 35mm, care deeply about extracting detail, or intend to print larger and edit more aggressively. If your negatives come from premium lenses, carefully exposed film stocks, or a serious personal archive, the dedicated scanner path is usually the better long-term choice.
Verdict
In this Epson V600 vs. dedicated 35mm scanner comparison, the flatbed wins on versatility and value, while the dedicated scanner wins on pure 35mm image quality. Neither is universally better; they simply serve different priorities. The V600 remains a very sensible all-around film scanner for users with mixed formats and practical expectations. A dedicated 35mm scanner is the stronger recommendation for photographers who want the most out of their 35mm negatives and do not want their scanning stage to become the weak link.
If you are building a film workflow around classic cameras, premium used lenses, or a growing analog archive, Unique Photo is an excellent place to buy the gear that supports the process. From used Leica optics to vintage film equipment, it is the kind of retailer that makes it easier to match your camera setup with the right digitization strategy.