Intro: Pentax 17 Hype vs. Real-World Pentax Film Alternatives
The Pentax 17 has sparked real excitement because it represents something rare in today’s market: a modern film camera release from a major brand. For photographers who love the idea of shooting film without diving straight into fragile vintage gear, that alone is a big deal. But hype and long-term value are not always the same thing. To answer whether the Pentax 17 is really worth the attention, it helps to compare the reissue-style appeal of a modern compact film experience against proven used Pentax classics that still deliver distinct shooting experiences.
In this comparison, we’re looking at how the Pentax 17 concept stacks up emotionally and practically against several established Pentax film cameras available on the used market: the Pentax K1000, Pentax Program Plus, and Pentax 67. These cameras represent very different reasons people fall in love with film: simplicity, flexibility, and huge medium format image quality. If you’re wondering whether the Pentax 17 is worth the hype, the answer depends on what kind of film shooter you really are.
Side-by-Side Comparison
| Camera | Format | Shooting Style | Best For | Main Strength | Main Tradeoff |
|---|---|---|---|---|---|
| Pentax 17 | 35mm half-frame | Compact, casual, high-shot-count film shooting | New film photographers, travel, everyday carry | Modern appeal and lower cost per shot | Half-frame limitations and less classic manual control feel |
| Used Pentax K1000 With 50mm F/2 | 35mm full-frame | Fully manual SLR | Students, purists, hands-on learners | Legendary simplicity | Fully manual operation may slow casual shooters |
| Used Pentax Program Plus with 50mm f/2 | 35mm full-frame | SLR with more automation | Shooters who want vintage film with convenience | Balanced ease of use and control | Less iconic than fully manual classics |
| Used Pentax 67 Mirror Up Version w/ 75mm f/4.5 | 120 medium format | Deliberate, high-impact image making | Portraits, landscapes, fine art film shooters | Huge negatives and distinctive rendering | Size, weight, and slower workflow |
What Makes the Pentax 17 So Appealing?
The Pentax 17 matters because it lowers the barrier to entry. A lot of people want the experience of film without dealing with decades-old electronics, uncertain service histories, or the trial-and-error that often comes with buying vintage gear. The Pentax 17 speaks directly to that audience. It offers a more approachable on-ramp into analog photography and fits the way many people actually want to use film today: casually, socially, and often on the go.
That is the core of the hype. It is not just about specs. It is about accessibility, reliability expectations, and the excitement of buying something current instead of gambling on older equipment. For many users, that alone makes the Pentax 17 feel fresh in a market dominated by used classics.
Pentax 17 vs. Pentax K1000
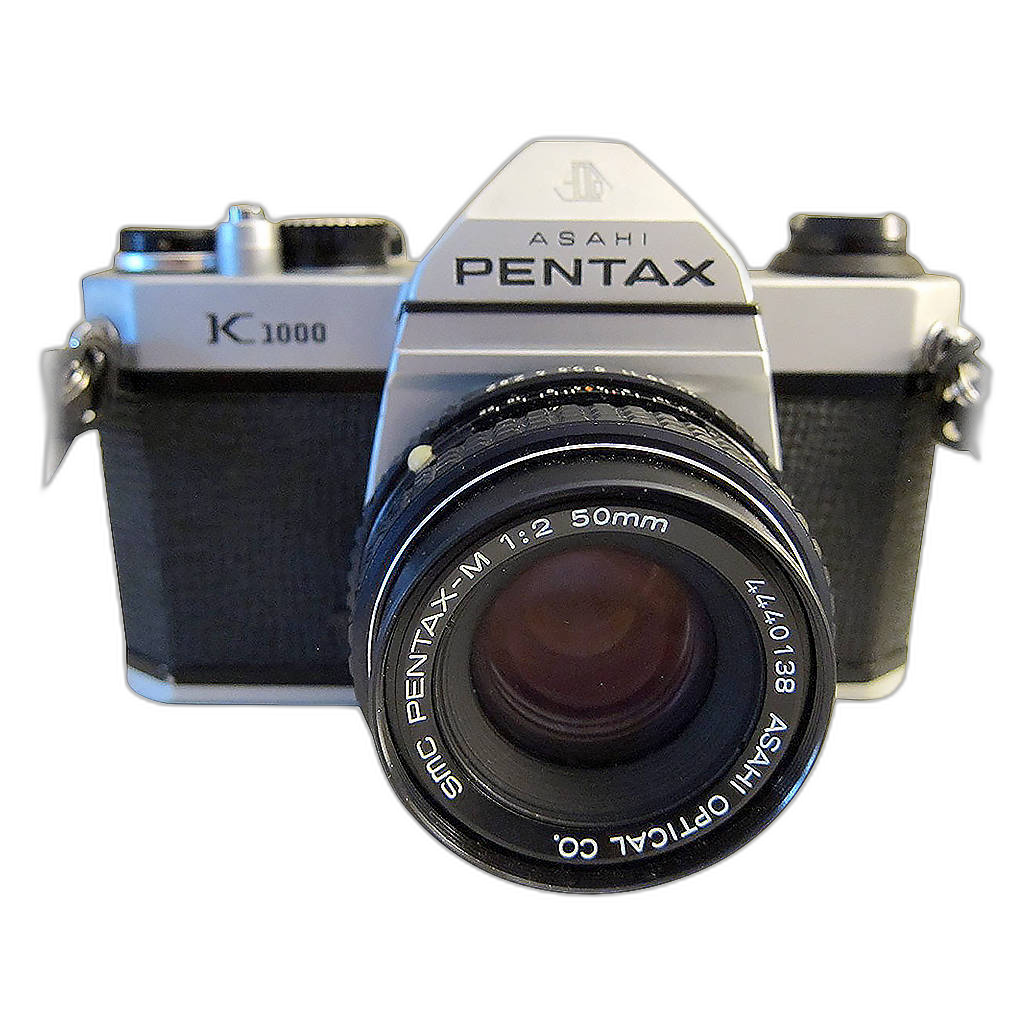
If your idea of film photography is learning exposure, focusing manually, and understanding every step of the process, the Pentax K1000 still has enormous appeal. It is one of the most respected beginner film SLRs ever made because it strips the experience down to essentials. There is almost no distraction between you and the image-making process.
The Pentax 17, by contrast, is more about spontaneity. It suits shooters who want film to feel fun and portable rather than academic. In real use, this means the K1000 rewards patience and intentionality, while the Pentax 17 rewards frequency. You are likely to shoot more often with the 17, but you may learn more deeply with the K1000.
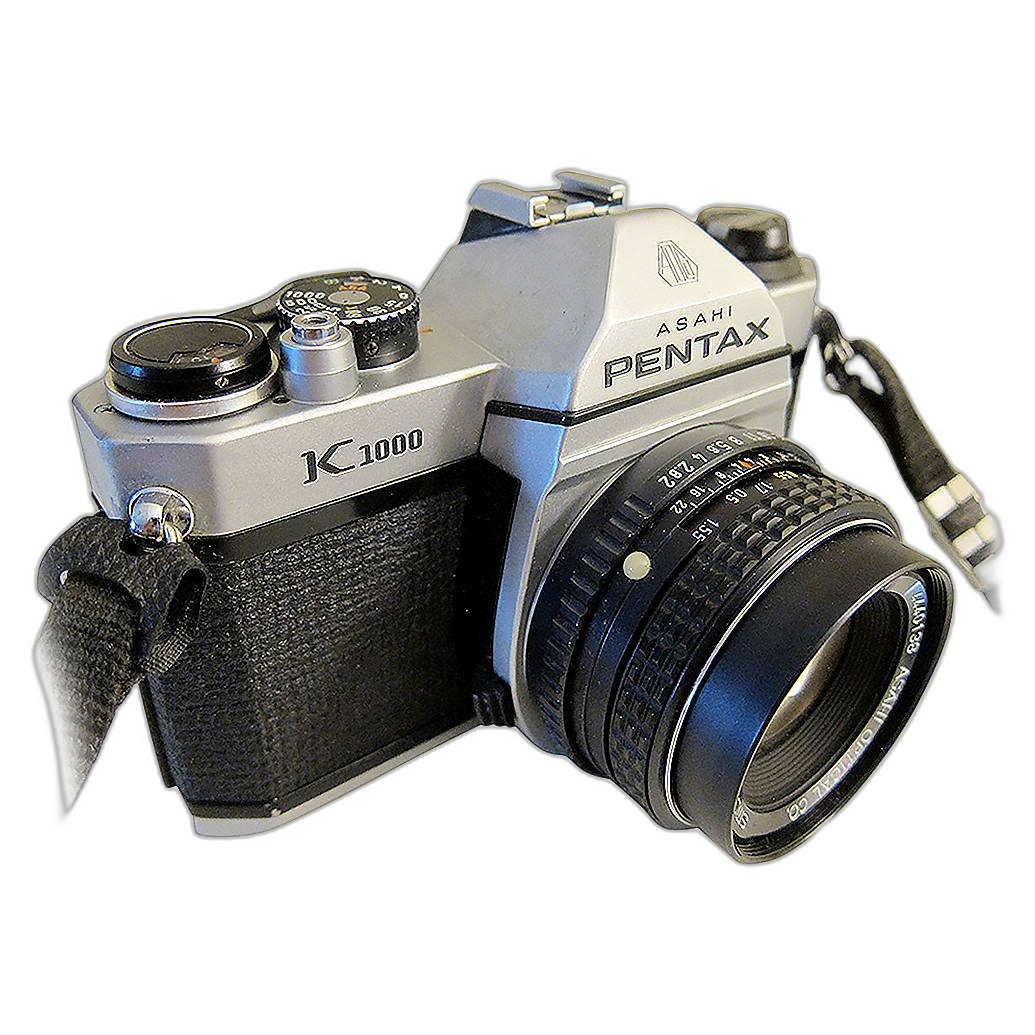
For image quality and classic 35mm SLR handling, the K1000 still feels more substantial. For convenience and lower per-frame hesitation thanks to half-frame shooting, the Pentax 17 has the edge. If you are chasing the romantic experience of old-school photography, the K1000 may feel more authentic. If you want a camera you will actually bring everywhere, the Pentax 17 makes a stronger argument.
Pentax 17 vs. Pentax Program Plus
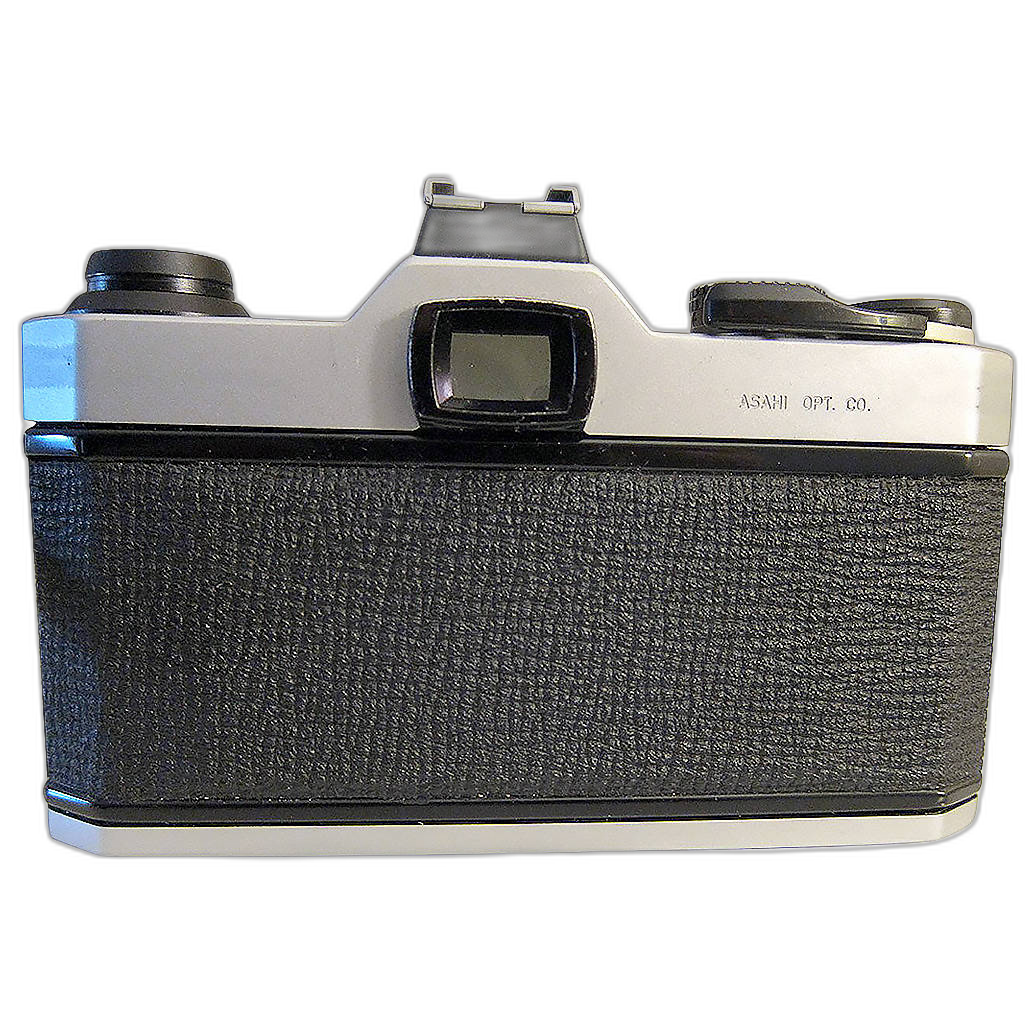
The Pentax Program Plus is a smart counterpoint because it already solved a problem many modern film shooters have: wanting vintage character without all-manual friction. Compared to a K1000, it is easier to live with for day-to-day use. Compared to the Pentax 17, it gives you a more traditional full-frame 35mm look and lens-based SLR flexibility.
For real-world shooting, the Program Plus arguably sits in the middle. It offers more capability for photographers who want to grow, experiment with lenses, and shoot more intentionally, but it is still less intimidating than a purely manual body. The Pentax 17 may still win on portability and novelty, but the Program Plus can be the better value for a shooter who wants to stay in the Pentax ecosystem and make fuller use of 35mm film.
This is where the hype question becomes more nuanced: if the Pentax 17 gets you shooting film consistently, it is doing its job. But if your budget could instead go toward a capable used Pentax SLR and a standard lens, the older camera may offer more room to grow.
Pentax 17 vs. Pentax 67
This is not a direct competitor matchup so much as a philosophical one. The Pentax 67 represents the opposite end of the film experience. It is large, deliberate, and built for photographers who want a slower process with dramatic medium format results. Nobody buys a Pentax 67 because it is convenient. They buy it because the images can be extraordinary.
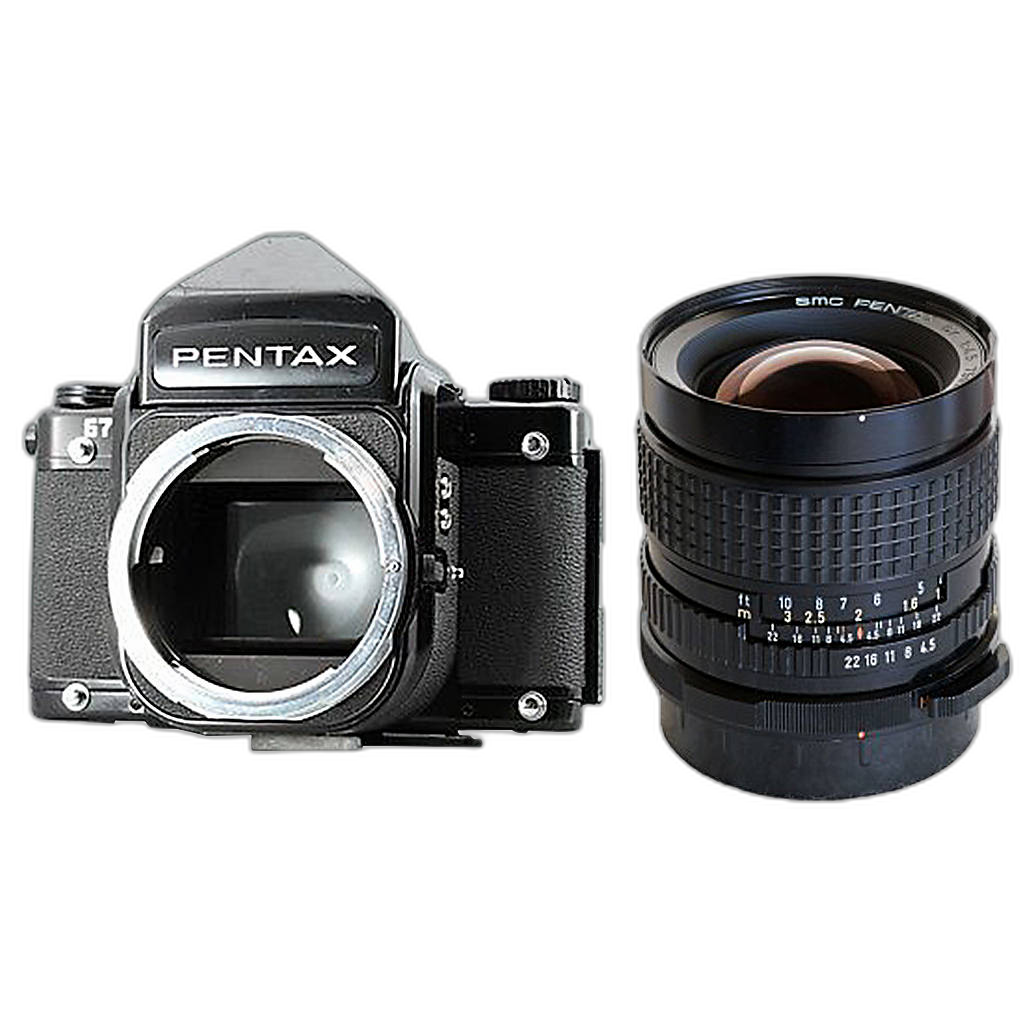
Compared with the Pentax 17, the Pentax 67 is a reminder that film hype can mean very different things. The 17 is exciting because it is accessible and new. The 67 is exciting because it delivers a legendary image aesthetic that many photographers still chase decades later. One camera is about getting more people into film; the other is about making film feel monumental.
If your goal is casual documentation, travel snapshots, or everyday creative use, the Pentax 17 is far more realistic. If your goal is to make images with maximum impact and you are willing to accept a heavier, slower system, the Pentax 67 remains in a different league entirely.
Image Quality, Format, and Shooting Experience
Half-Frame Convenience vs. Full-Frame Tradition
The Pentax 17’s half-frame format is one of its biggest strengths and one of its biggest compromises. You get more exposures from a roll, which makes film feel less expensive and encourages experimentation. That can be great for street shooting, travel, and casual storytelling. On the other hand, photographers who love the classic look and scanning flexibility of full-frame 35mm may find half-frame less satisfying.
The K1000 and Program Plus both preserve the more traditional 35mm experience. For many shooters, that alone makes them more appealing as long-term cameras. The Pentax 17 can absolutely be worth the hype if your priority is shooting more often, but it may not replace the visual expectations some film photographers already have.
Handling and Everyday Carry
This is where a modern reissue-style camera has the clearest practical edge. A camera that feels easy to carry and unintimidating to use tends to get used more. That matters. Many legendary vintage cameras spend more time on shelves than in bags because they are heavier, louder, or simply demand more attention than a user wants to give every day.
The K1000 is still manageable, but it is a classic SLR with classic bulk. The Program Plus is similar. The Pentax 67 is on another level entirely. For users who want a film camera that naturally fits daily life, the Pentax 17 is easier to justify than any of them.
Who Should Actually Buy the Pentax 17?
Buy It If You Want Film to Feel Easy
The Pentax 17 is worth the hype for photographers who have been curious about film but hesitant to commit to the quirks of older gear. It is also a strong fit for digital shooters who want a second camera that encourages a different pace without becoming a technical project. If your main goal is to have fun, shoot often, and carry a film camera regularly, the Pentax 17 makes a lot of sense.
Skip It If You Want the Deep Classic Film Experience
If what you really want is mechanical involvement, optical SLR viewing, lens interchangeability, or the unmistakable rendering of larger film formats, then the Pentax 17 may not fully satisfy you. In that case, a used Pentax classic may be a better purchase. The K1000 is better for learning fundamentals, the Program Plus is better for flexible everyday 35mm shooting, and the Pentax 67 is better for image makers chasing a premium analog look.
Our Pick
Our Pick: The Pentax 17 is worth the hype for new and casual film shooters, but the best value for most enthusiasts is still a used Pentax SLR.
If you want the simplest answer, the Pentax 17 earns its attention because it makes film photography feel approachable again. That is meaningful. But for photographers who already know they want deeper control, fuller 35mm negatives, or long-term system flexibility, a used Pentax camera like the K1000 or Program Plus is often the smarter buy. If image quality is the top priority and portability is not, the Pentax 67 remains the aspirational choice.
Conclusion
The Pentax 17 is not just hype, but it is also not the automatic best choice for everyone. Its real value is in making film easier to start and easier to enjoy consistently. That alone gives it a strong place in today’s analog conversation. Still, when compared with proven Pentax film classics, it becomes clear that the right camera depends on whether you prioritize convenience, control, or image size.
If you are weighing a modern film reissue experience against trusted used Pentax bodies, Unique Photo is a great place to explore your options and find the film camera that matches how you actually want to shoot.