Scanning Film Negatives FAQ: DIY Setups, Lab Scans, and Best Practices
Scanning film negatives is one of the most important steps in a hybrid film workflow. Whether you shoot 35mm, medium format, or both, the right approach depends on your quality expectations, budget, and how much control you want over the final image.
At Unique Photo, we help photographers compare dedicated scanners, camera-scanning accessories, and workflow tools so they can choose a process that fits their style. Below, we answer the most common questions about DIY film scanning versus lab services and how to get cleaner, sharper, more consistent results.
Should I scan my film at home or use a lab?
Both options can make sense, and the best choice depends on volume, convenience, and how hands-on you want to be. Lab scans are ideal if you value speed and consistency without investing time in setup, file inversion, dust cleanup, and color correction. A good lab workflow is especially attractive for casual shooters, for photographers testing a new film stock, or for anyone who does not want to manage scanning hardware.
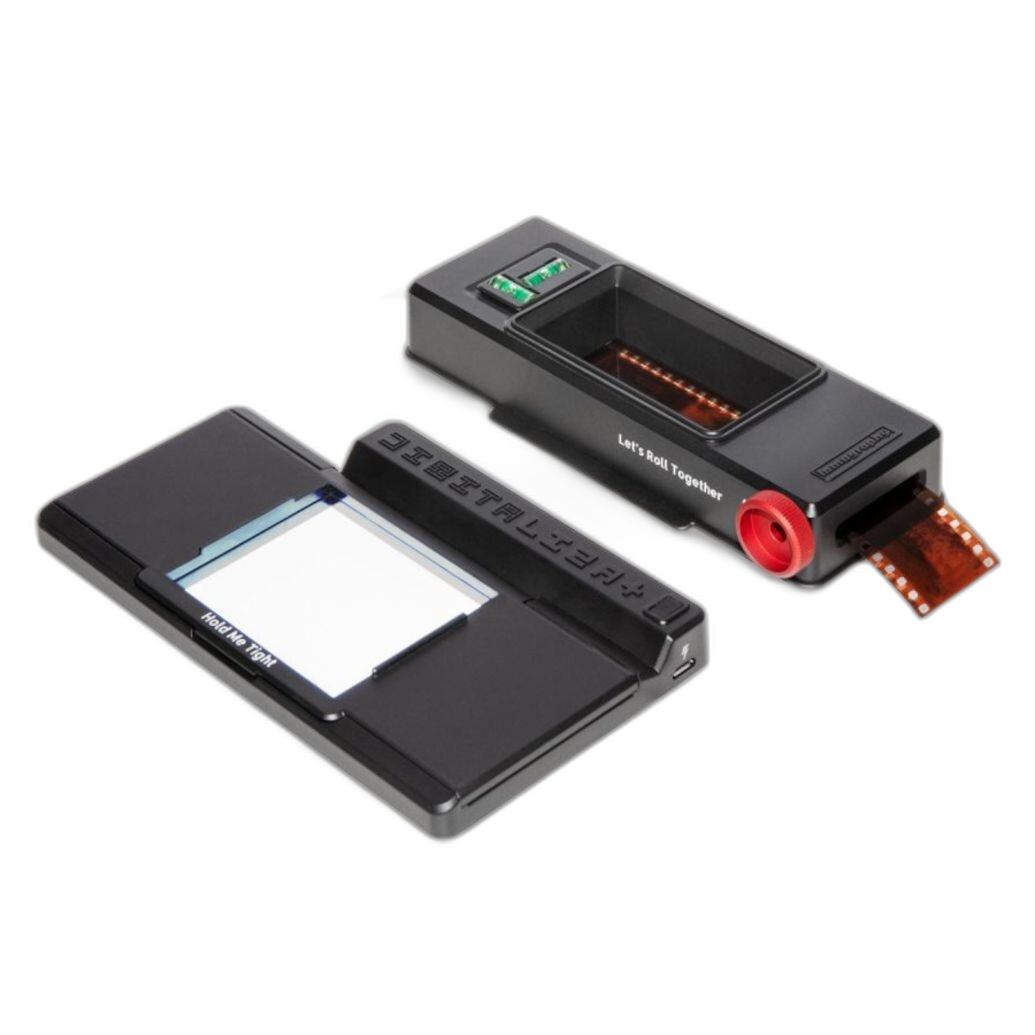
DIY scanning becomes more appealing when you shoot film regularly and want control over crop, color, contrast, and final resolution. Home scanning also makes it easier to revisit older negatives and rescan selected frames for larger prints or portfolio use. If you are building a camera-scanning workflow, film holders and masks are a major part of image quality because they help keep film flatter and alignment more consistent.
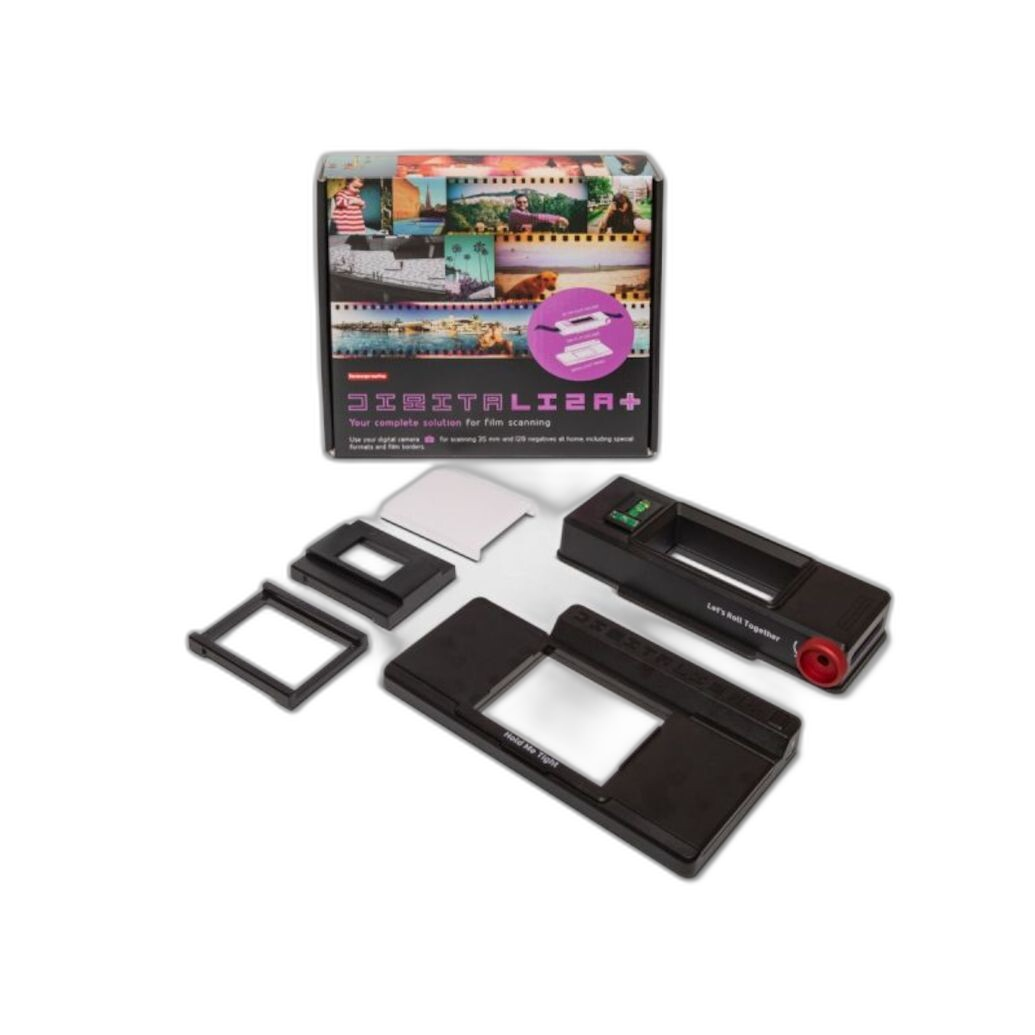
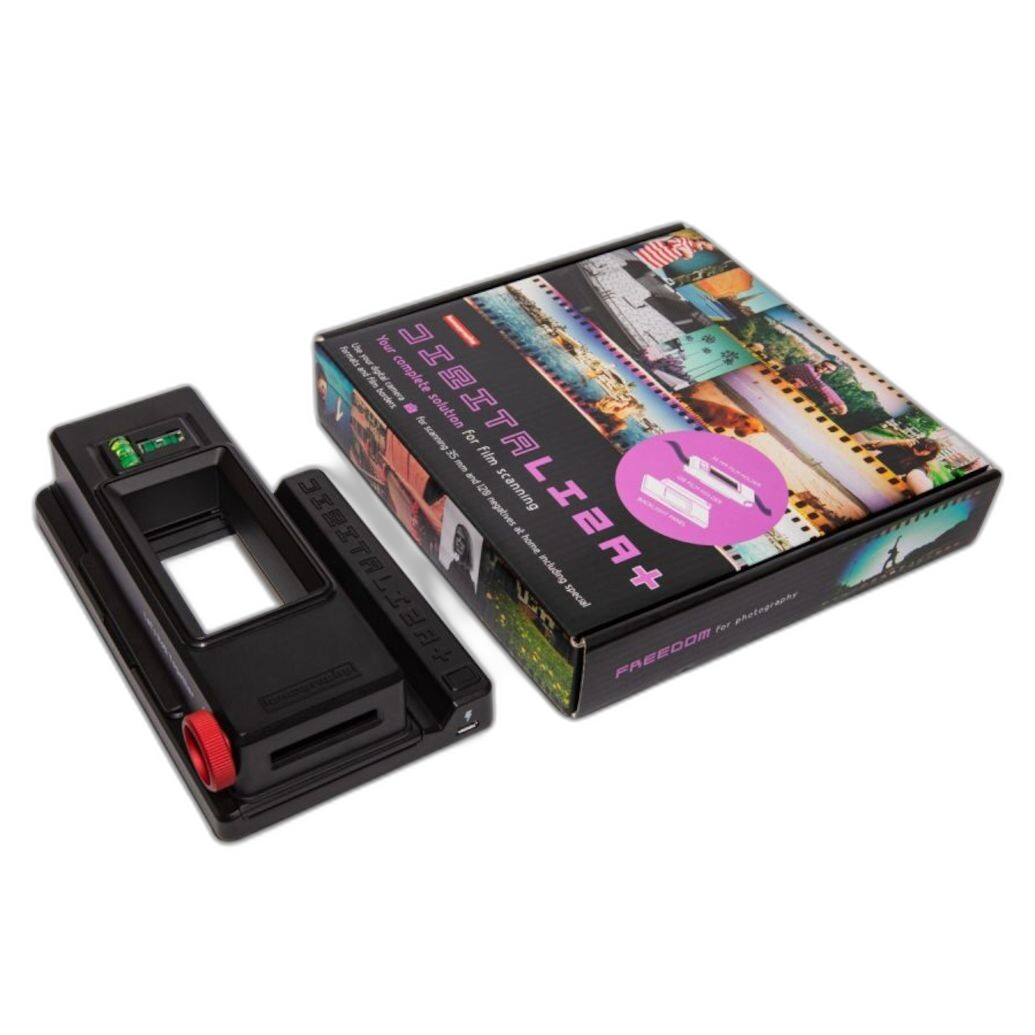
For example, the Lomography DigitaLIZA+ Scanning Kit is a practical option for photographers who want a compact home setup that supports common formats and simplifies film handling.
How do lab scans compare to DIY scans in image quality?
Quality depends less on whether the scan is done at home or by a lab, and more on the equipment, operator skill, and the care taken during cleanup and color work. A high-volume lab may produce excellent standard scans for sharing and small prints, but those files may not always be optimized for your exact preferences in density, shadow detail, or color balance. Premium lab scans can be outstanding, though they usually cost more per roll or per frame.
At home, image quality can be extremely strong if your negatives are clean, held flat, evenly illuminated, and captured with a repeatable setup. Dedicated film scanners often deliver consistent results for 35mm, while camera-scanning setups can be faster and more flexible across multiple formats. The biggest DIY advantages are control and repeatability once your workflow is dialed in. The biggest lab advantage is convenience.
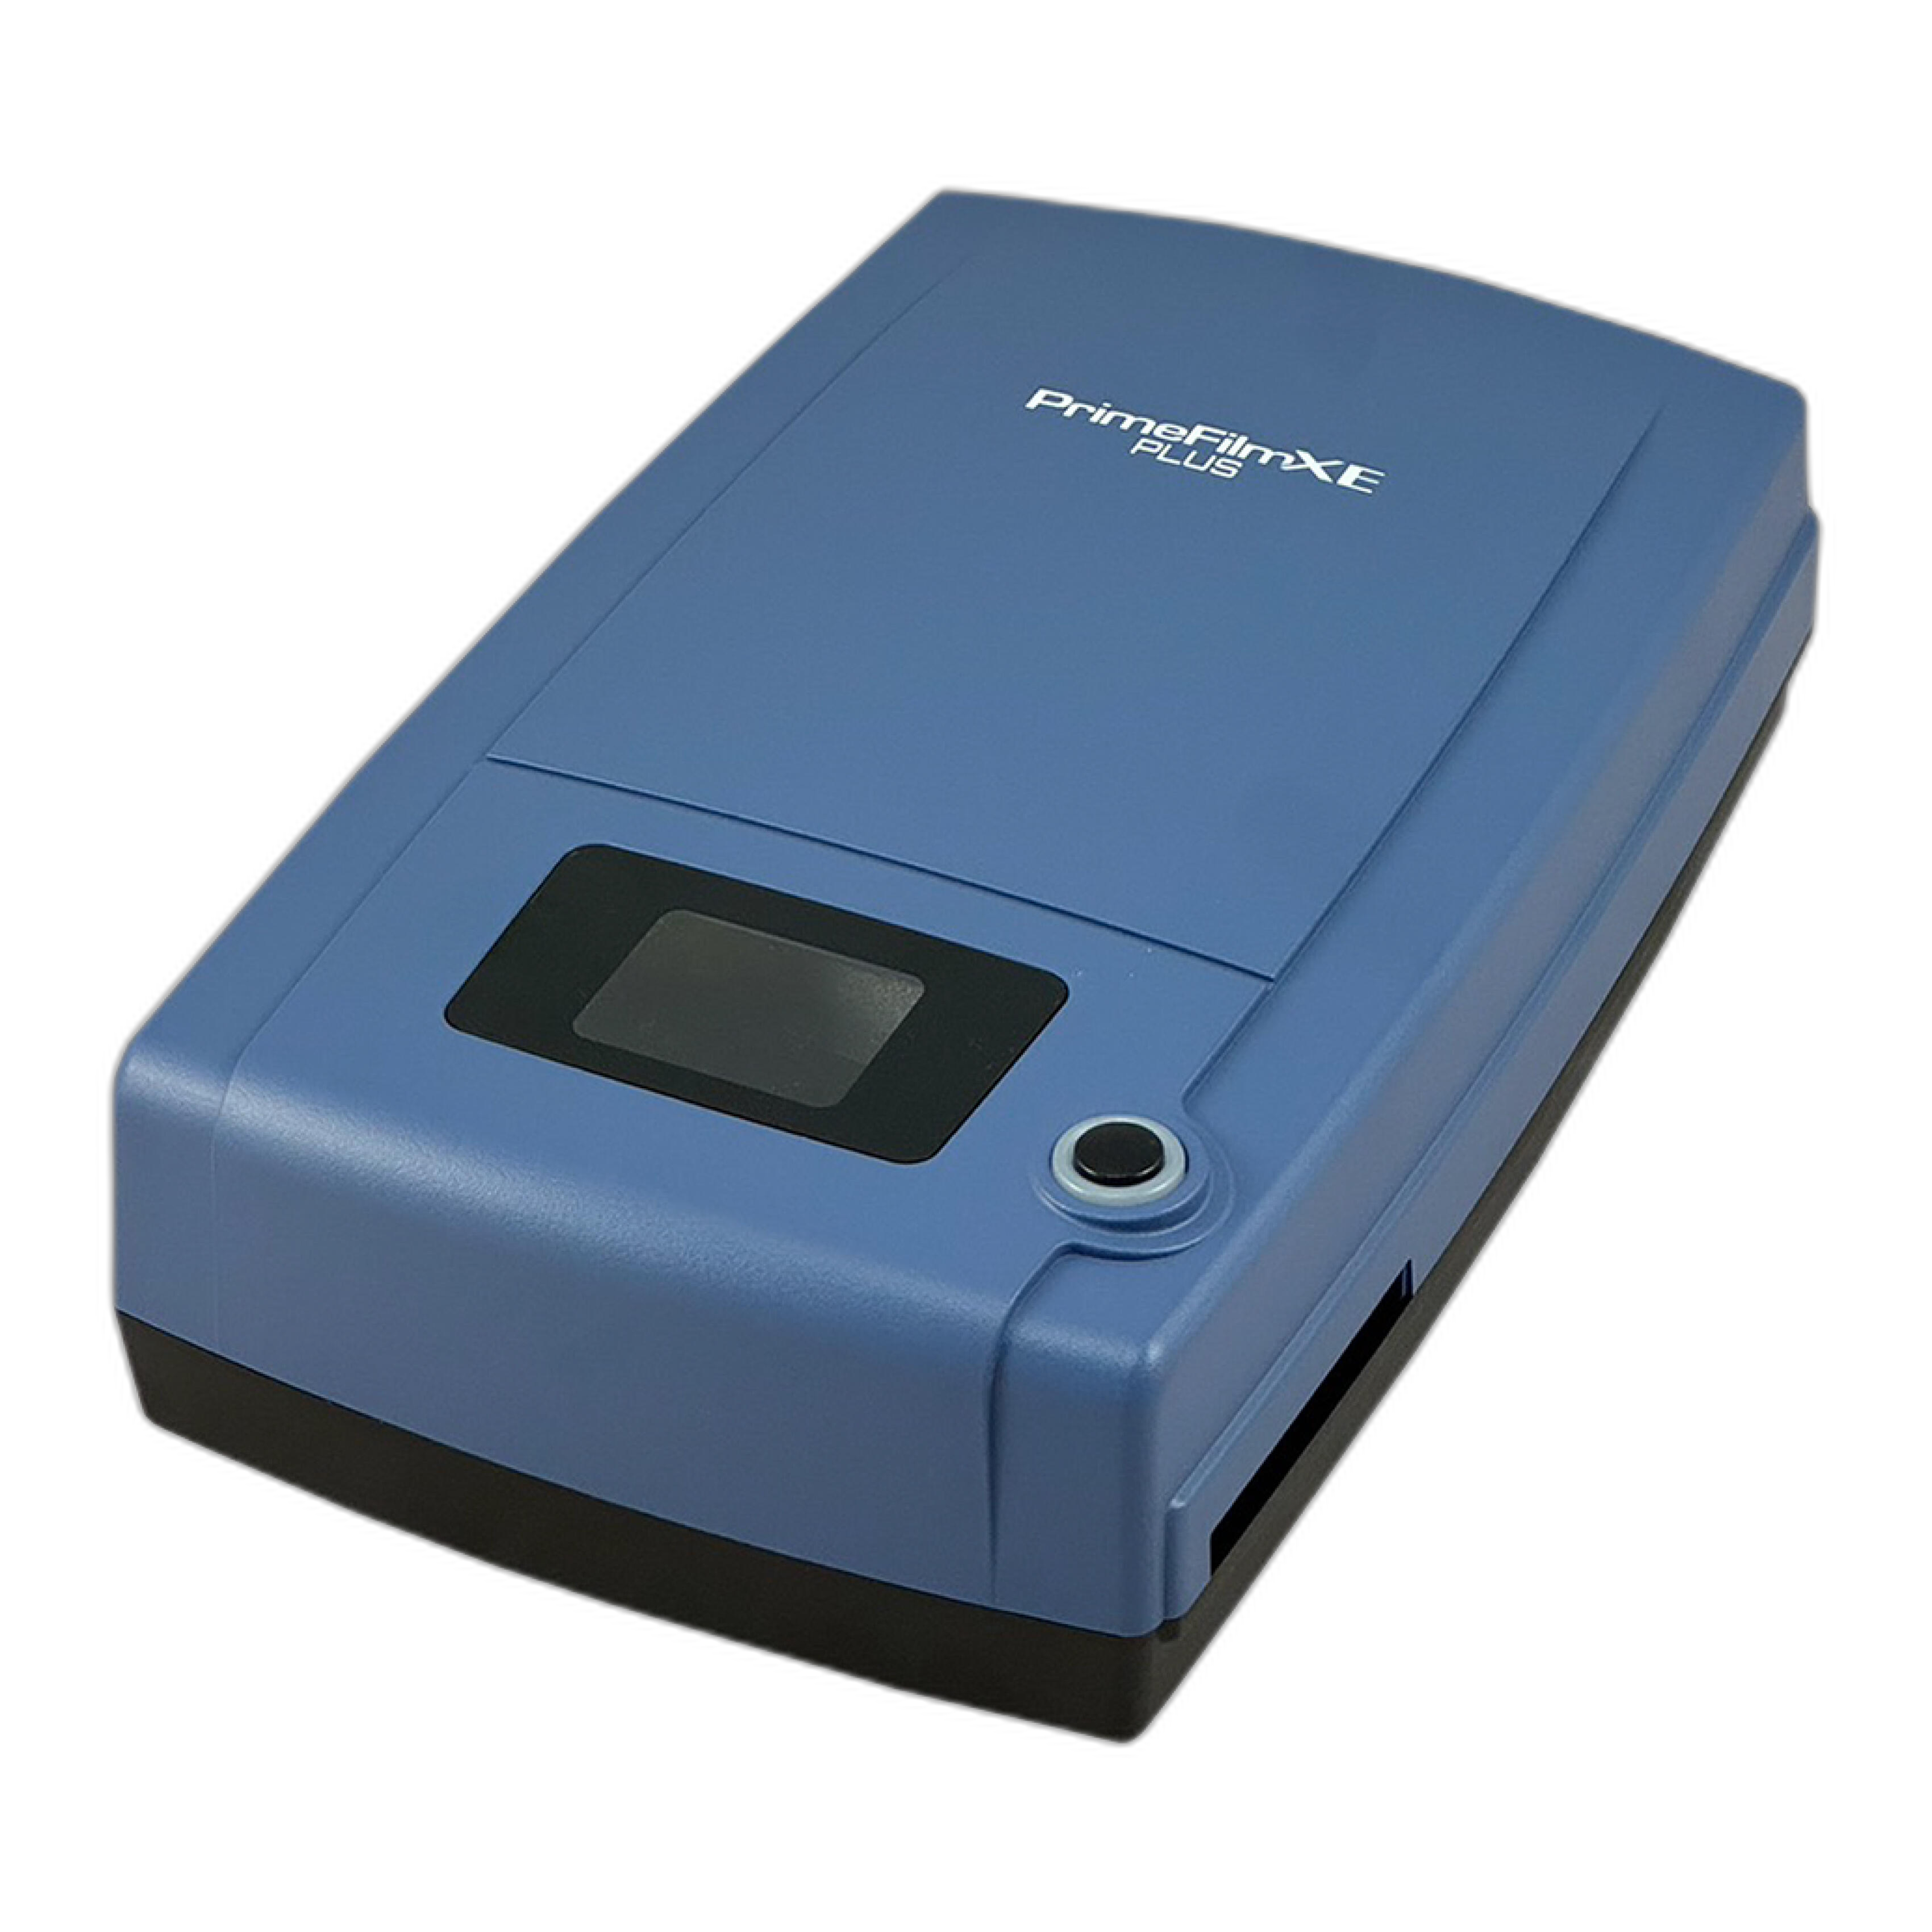
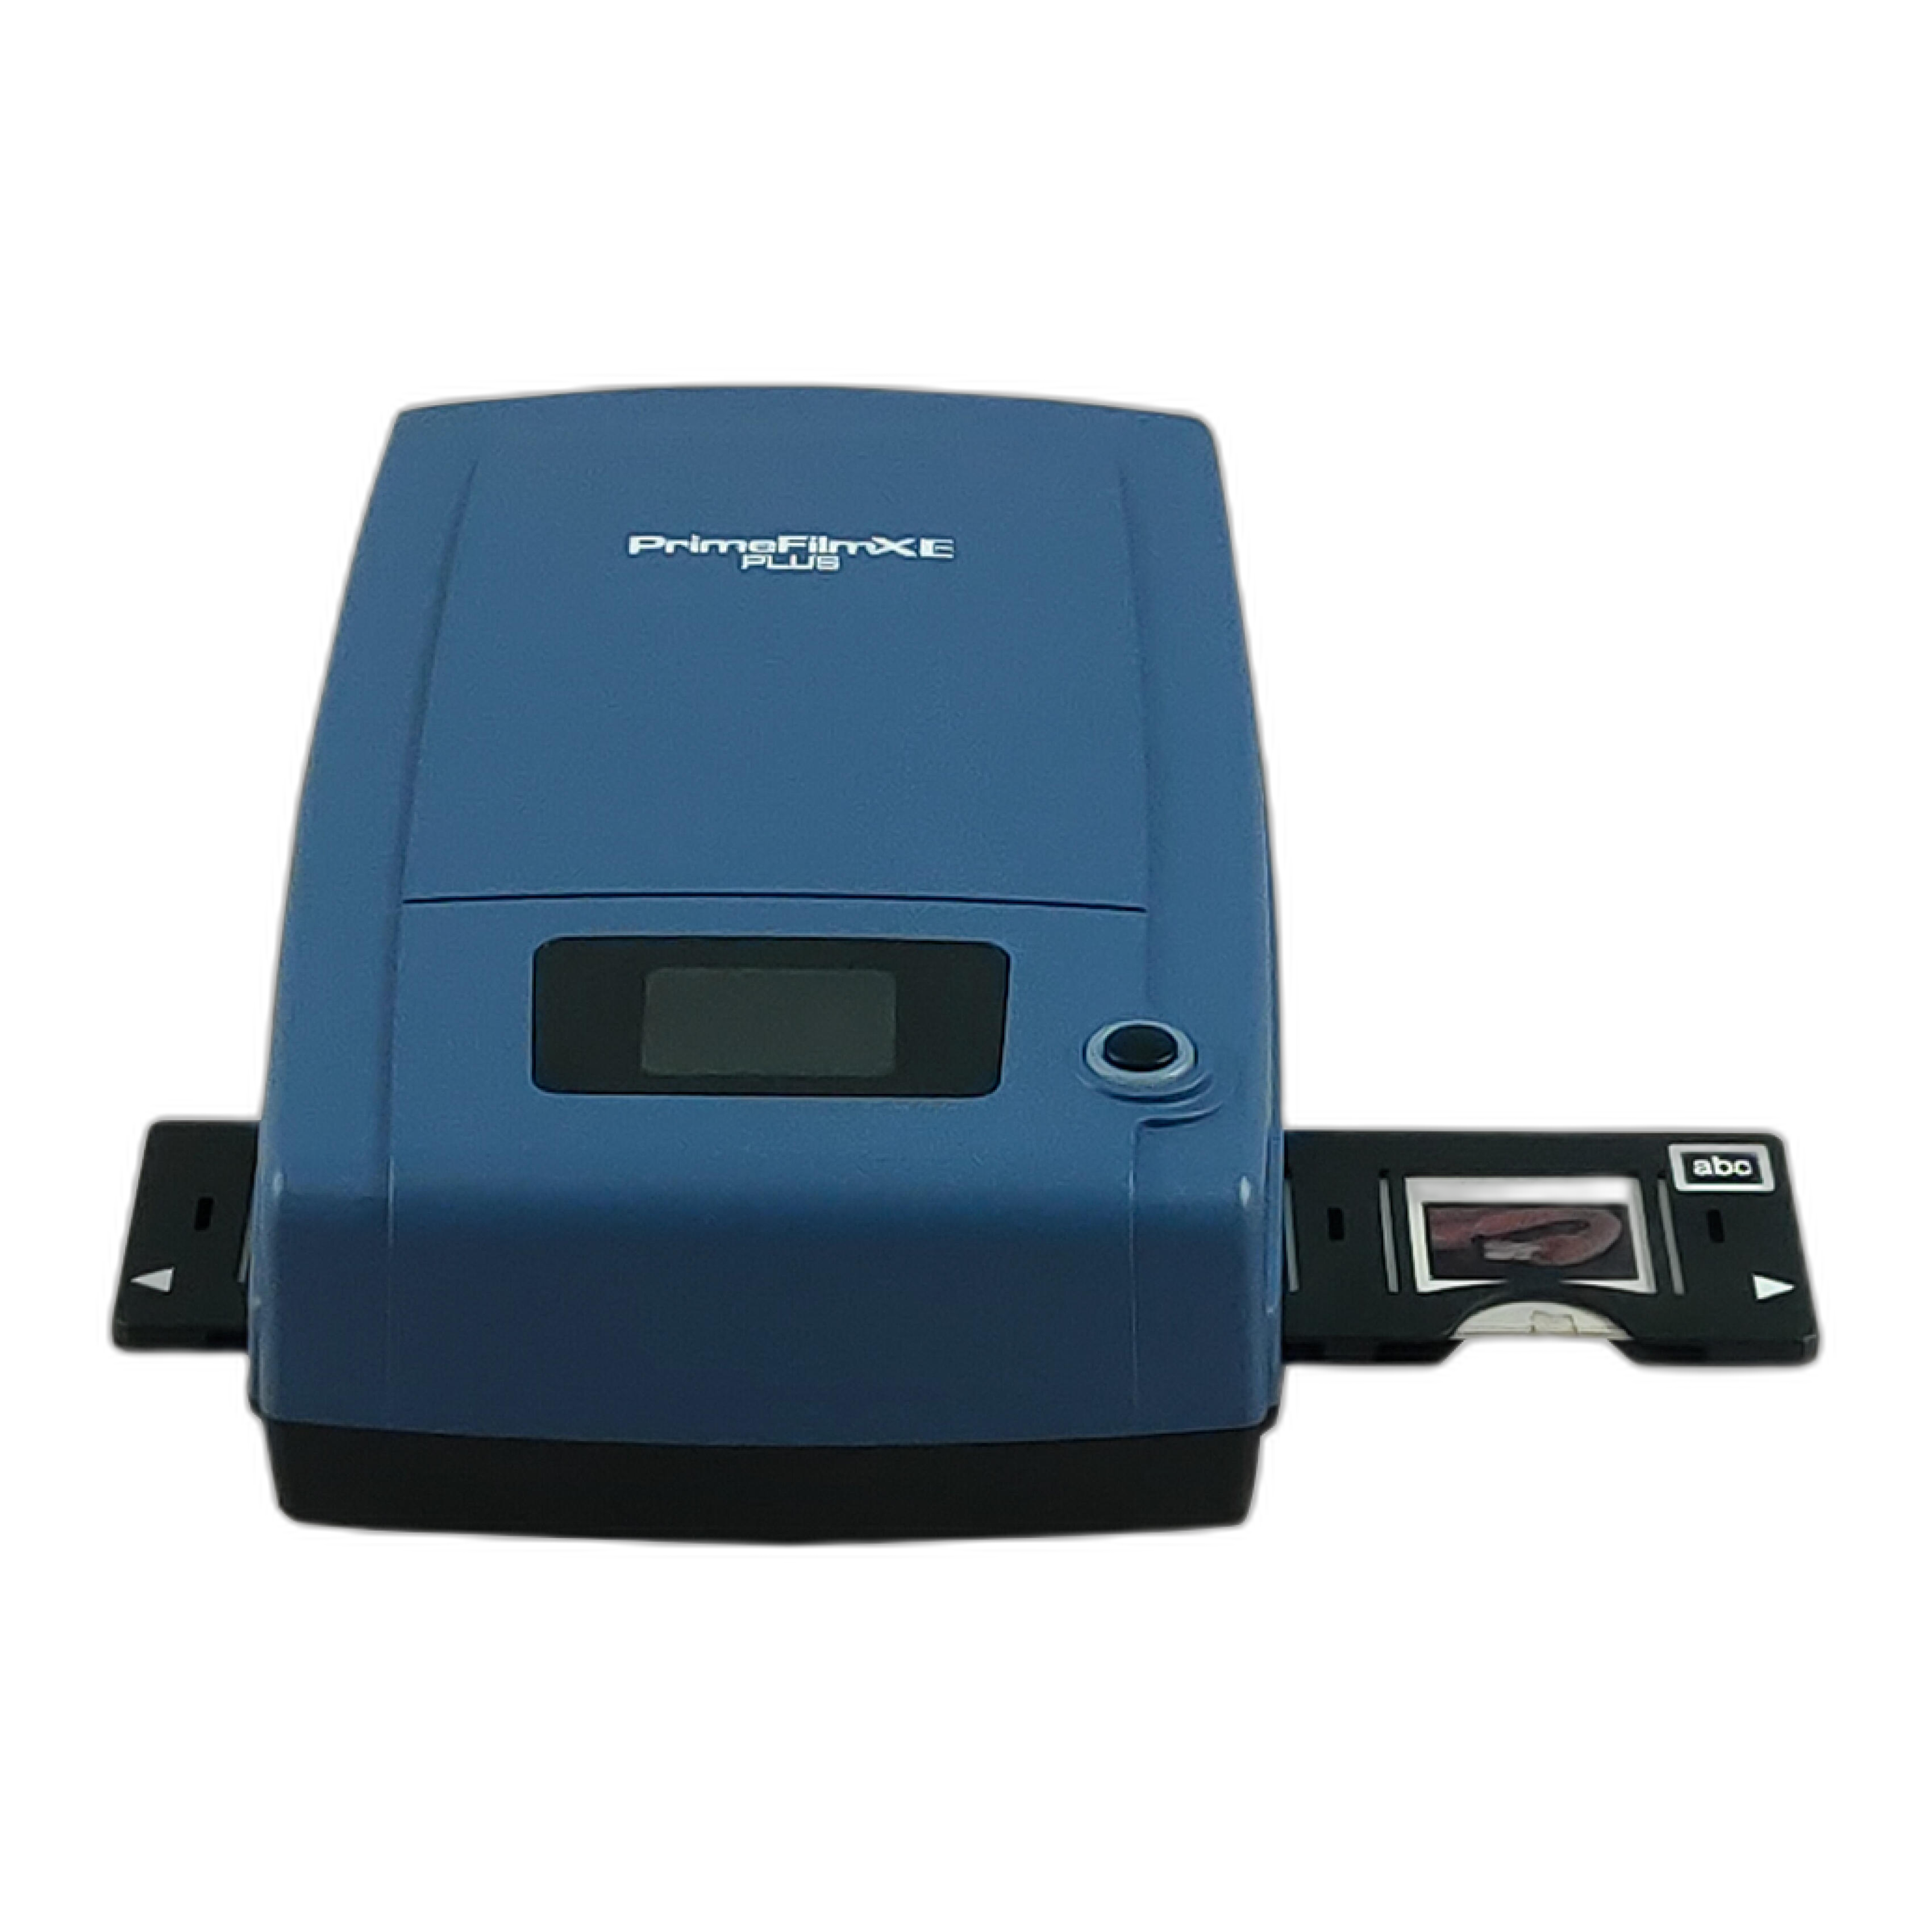
If you mainly shoot 35mm and want a dedicated scanner approach, the Pacific Image PrimeFilm XE Plus is worth considering as an accessible option for photographers who want home scanning without building a full camera copy setup.
Which scanner models offer the best value for 35mm and medium format?
For 35mm-only photographers, a dedicated film scanner often offers the best value because it is purpose-built for the format and can deliver a straightforward workflow. The Pacific Image PrimeFilm XE Plus is a strong option for users who want a compact scanner designed specifically for film handling rather than adapting a general flatbed or improvised setup.
For medium format shooters, or for photographers who work across 35mm and 120, value often shifts toward camera scanning. That is because one digital camera setup can handle multiple film sizes with the right holders, light source, and copy arrangement. Instead of buying separate devices for different formats, many photographers invest in masks and carriers that support a more versatile workflow.
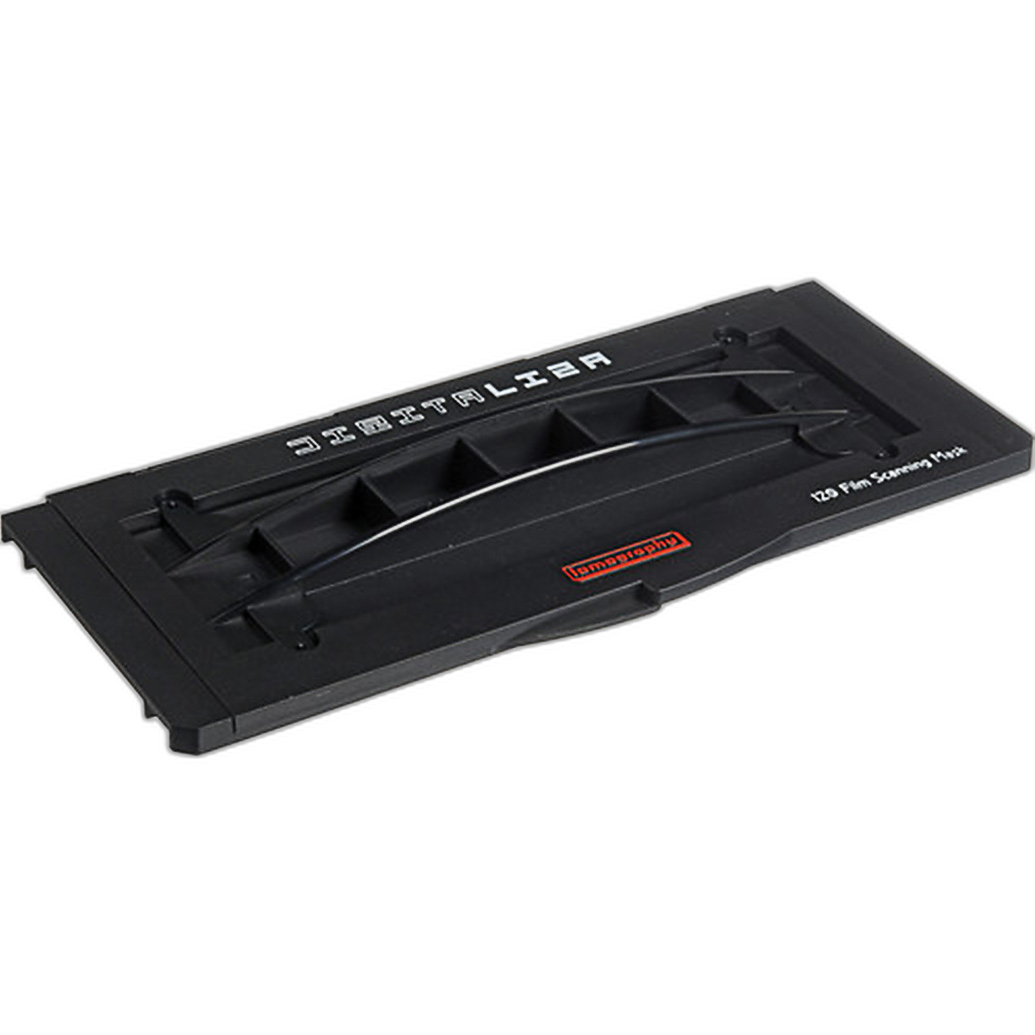
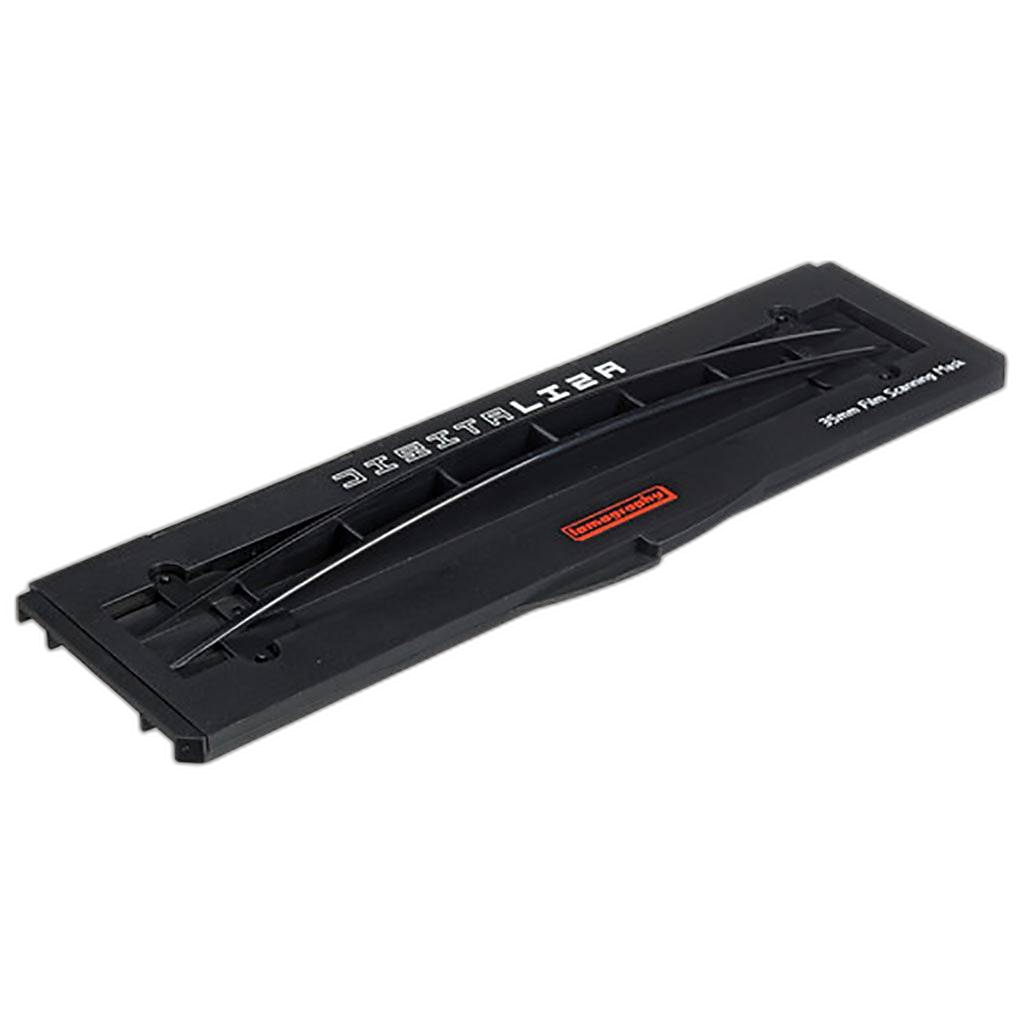
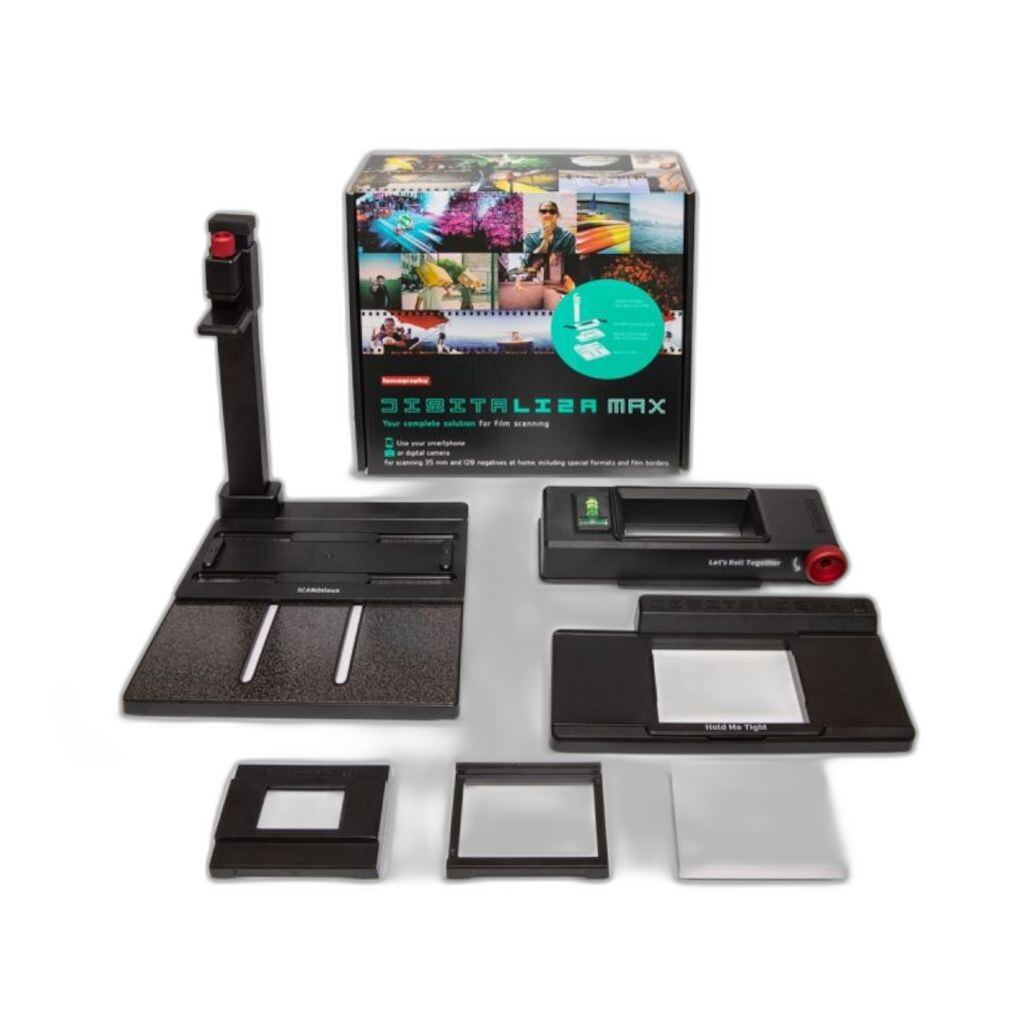
The Lomography DigitaLIZA 120 Film Scanning Mask is a simple solution for medium format handling, while the Lomography Digitaliza 135 Film Scanning Mask is geared toward 35mm. If you want a more complete package, the Lomography DigitaLIZA Max Scanning Kit can be a smart all-in-one starting point for home digitization.
Is a dedicated film scanner better than a DSLR or mirrorless scanning setup?
Neither is universally better; they simply excel in different situations. A dedicated film scanner is often easier for photographers who want an appliance-like workflow. It can be compact, repeatable, and well suited to scanning one frame at a time with minimal setup changes. This is especially useful for photographers focused on 35mm.
A DSLR or mirrorless scanning setup usually wins on speed, flexibility, and format coverage. It can be particularly effective if you already own a high-resolution camera and macro lens. With a stable copy arrangement and a good film holder, camera scanning can produce excellent detail and is often much faster when you need to digitize entire archives.
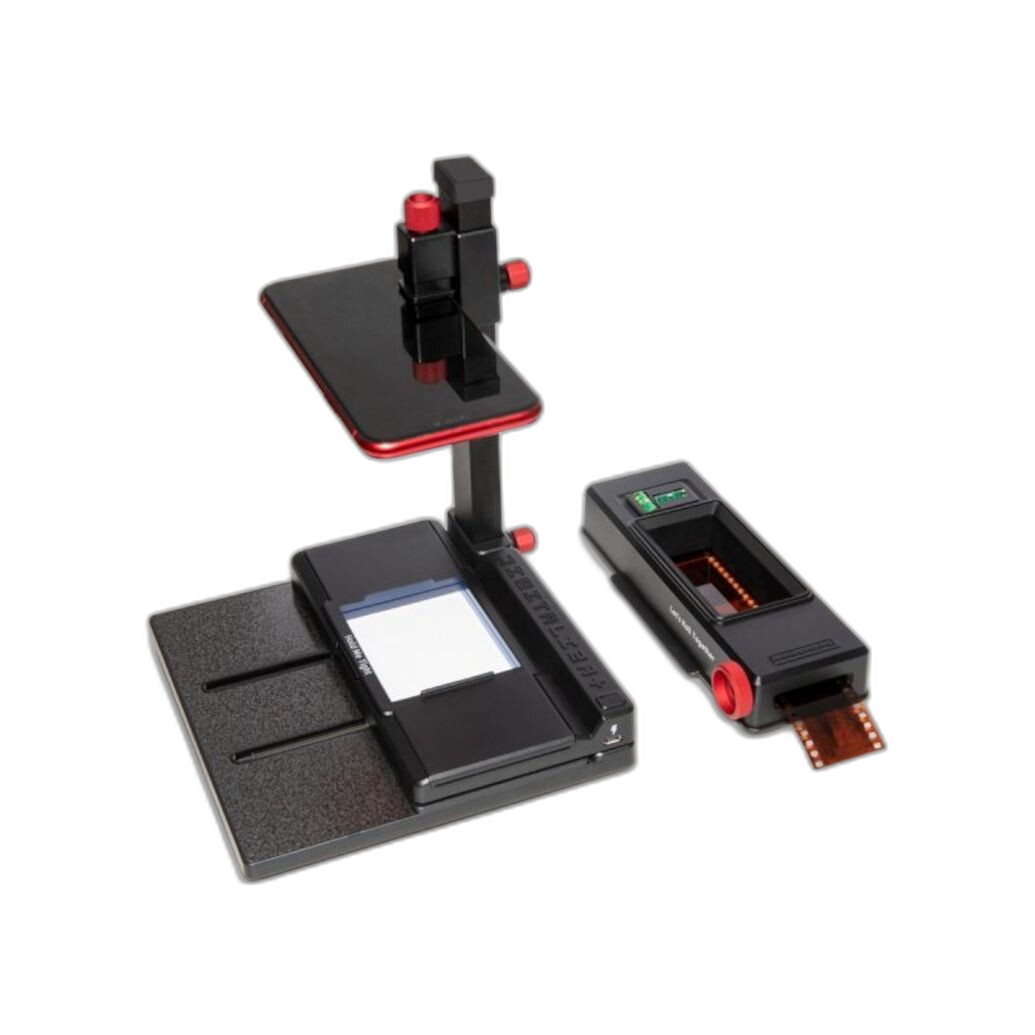
Film flatness is critical in a camera-scanning setup, so accessories matter. The Lomography DigitaLIZA+ Scanning Kit and Lomography DigitaLIZA Max Scanning Kit are useful starting points for photographers building a workflow around a digital camera. For some shooters seeking more specialized carrier options, open-box accessories like the Negative Supply Film Carrier 35MD Kit can also be worth watching when available.
What software is best for color correction and dust removal?
The right software depends on whether you prioritize speed, batch workflow, or precise manual control. Many photographers use scanning software to create the initial file and then move to an editor for inversion, tonal work, and cleanup. For color negatives, the key tasks are neutralizing color casts, recovering highlight and shadow detail, and preserving the look of the film stock without overcorrecting it.
For dust removal, the most effective strategy starts before software. Clean negatives, careful handling, and a dust-controlled workspace save more time than any retouching tool. If your scanner supports infrared-based dust removal, that can be helpful for compatible films, though it is not always suitable for every film type. Manual spot removal in post is often still necessary for the cleanest final file.
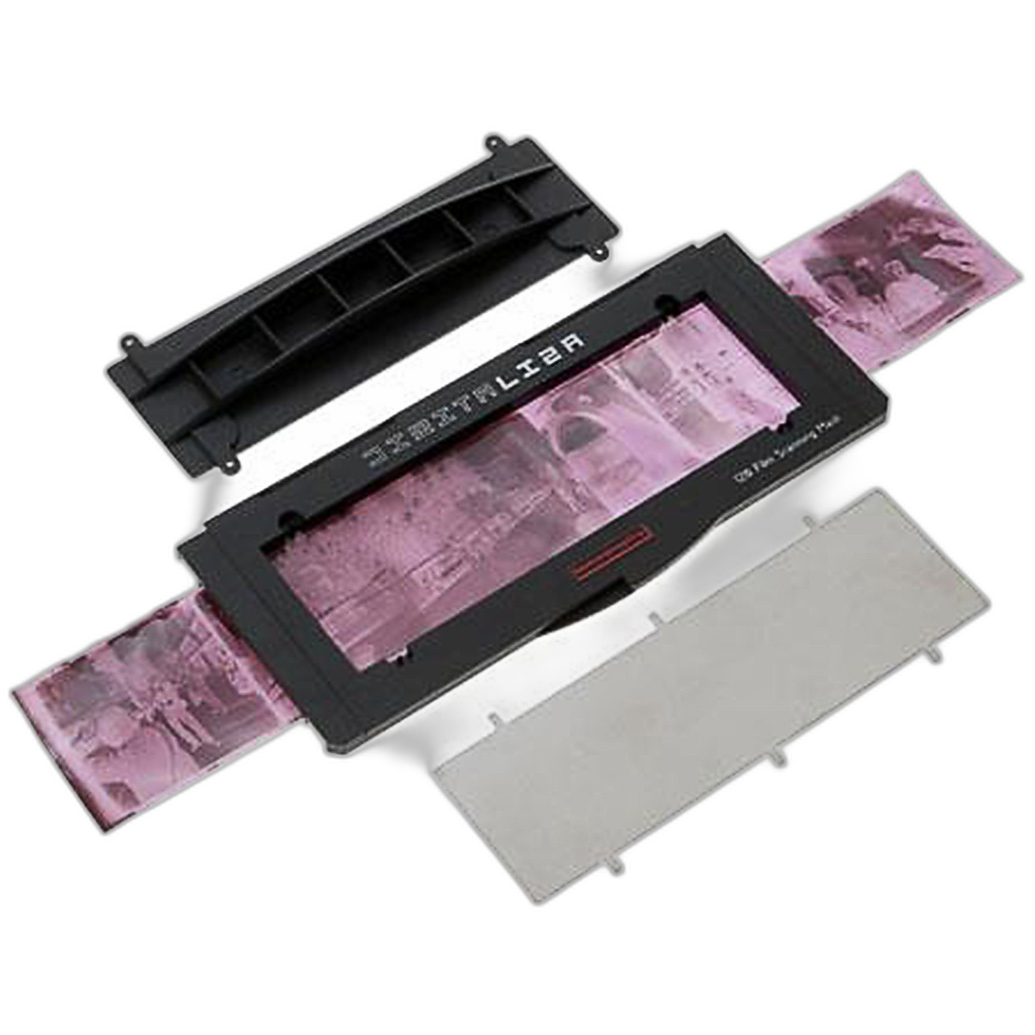
Whichever software you choose, consistency matters more than complexity. Establish a repeatable routine for white balance, inversion, contrast, and dust cleanup so your scans from different rolls match more closely. Hardware also helps here: a stable holder such as the Lomography Digitaliza 135 Film Scanning Mask or DigitaLIZA 120 Film Scanning Mask reduces alignment issues and makes batch work easier.
What are the most important best practices for cleaner, sharper scans?
Start with clean negatives. Use lint-free handling habits, keep your scanning area free from dust, and avoid touching the image area. Flatness is the next priority, especially with curly film. A reliable holder keeps the film plane more even, which improves sharpness across the frame and speeds up your workflow.
Even illumination is also essential. Uneven backlighting can create difficult color and exposure inconsistencies that are frustrating to fix later. If you are camera scanning, make sure your camera is perfectly parallel to the film and that focus is set precisely. Small alignment errors can soften corners or introduce distortion.
Choosing the right mask or kit can simplify all of this. The Lomography DigitaLIZA 120 Film Scanning Mask is useful for medium format users who need better film positioning, while the Lomography DigitaLIZA+ Scanning Kit gives many photographers a more complete path to a controlled home workflow.
When is it worth investing in your own scanning equipment?
Investing in your own equipment usually makes sense when you shoot film often, want more control over final files, or need the ability to rescan important images at any time. If you only process a few rolls per year, a lab may remain the more economical route. But if film is a regular part of your workflow, home scanning can become cost-effective while also giving you more creative flexibility.
Another reason to buy your own setup is turnaround time. Waiting on scans from a lab may be perfectly fine for occasional projects, but photographers on a steady shooting schedule often prefer to control the pace themselves. A home system lets you review and refine your work immediately.
For a straightforward 35mm-focused route, the Pacific Image PrimeFilm XE Plus is a sensible dedicated option. For photographers who want to digitize both 35mm and medium format with a camera-based approach, the Lomography DigitaLIZA Max Scanning Kit offers a versatile path.
What setup is best for beginners who want good results without overspending?
Beginners usually benefit most from choosing the simplest workflow they will actually use consistently. If you mainly shoot 35mm and want a dedicated, purpose-built option, a scanner like the Pacific Image PrimeFilm XE Plus can be easier to learn than assembling a full camera copy setup from scratch.
If you already own a capable digital camera, then a holder-based setup may be the better value. In that case, a product such as the Lomography Digitaliza 135 Film Scanning Mask or the more comprehensive DigitaLIZA+ Scanning Kit can help you get started without overcomplicating the process. Medium format photographers should especially consider holder-based options because they offer flexibility as your workflow grows.
The main goal is to prioritize clean handling, flat film, good alignment, and a repeatable editing routine. Those fundamentals matter more than chasing the most elaborate setup on day one.
Whether you are comparing lab scans to DIY options or building your first home digitizing workflow, Unique Photo carries film scanning accessories and dedicated tools to help you get better results from your negatives. Explore our selection to find the right holder, kit, or scanner for your film format and workflow.