Push and Pull Film Processing FAQ
Push and pull processing can be a powerful way to shape the look of your film images, whether you are trying to work in low light, tame a contrasty scene, or intentionally lean into a grittier aesthetic. At Unique Photo, we often recommend understanding both the exposure decision in-camera and the lab or development adjustment afterward, because the best results come from planning the whole workflow before you press the shutter.
While push and pull processing are most commonly discussed with black-and-white film, the same ideas can apply to color negative film in the right situations. The key is knowing when the tradeoffs in grain, contrast, color, and shadow detail are worth it for your subject and shooting conditions.
What does push or pull processing actually mean?
Push processing means rating your film at a higher ISO than the box speed and then extending development to compensate. For example, a 400-speed film might be metered and shot at 800 or 1600, then developed longer. Pull processing is the opposite: you rate the film at a lower ISO than box speed, such as shooting ISO 400 film at 200, then reduce development accordingly.
In practical terms, pushing is usually used when you need more working speed in dim conditions or want a punchier, higher-contrast look. Pulling is often chosen when you want smoother tonality, more open highlights, and a slightly gentler rendering in bright or contrast-heavy scenes. The important thing to remember is that development changes cannot fully replace correct exposure, especially when it comes to shadow detail.
When should I consider pushing film?
Pushing film makes the most sense when available light is limited and you need a faster shutter speed or a smaller aperture than your film speed would normally allow. Street photography at night, indoor events, concerts, documentary work, and moody portraits are all common situations where pushing can help you keep shooting without flash.
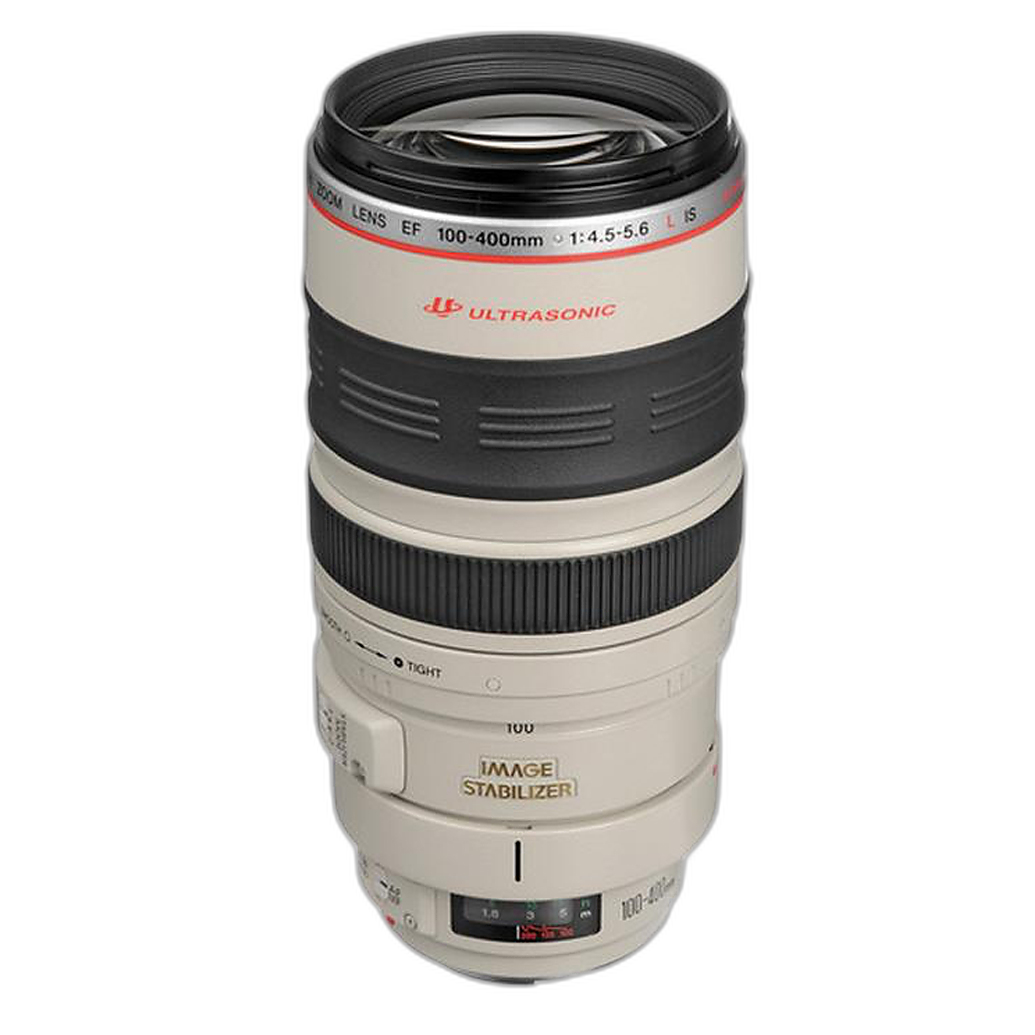
It can also be a creative choice rather than a purely technical one. Many photographers like the added contrast, denser grain, and more dramatic tonal separation that come with a moderate push. If you are photographing action from a distance, a longer lens can also help you isolate subjects in low light. A used telephoto like the Canon EF 100-400mm f/4.5-5.6 L USM gives you flexible reach for outdoor sports, wildlife, or compressed portrait perspectives where changing light may push your exposure choices toward the edge.
That said, pushing is not a magic fix for severely underexposed negatives. It is best used intentionally and within a reasonable range, usually one or two stops depending on the film and developer.
When is pull processing the better choice?
Pull processing is useful when you want to control highlight density and lower overall contrast. This can be especially helpful in harsh daylight, high-contrast environments, or scenes with bright skies and reflective surfaces. By giving the film more exposure and then reducing development, you can often retain a softer highlight roll-off and a more open tonal scale.
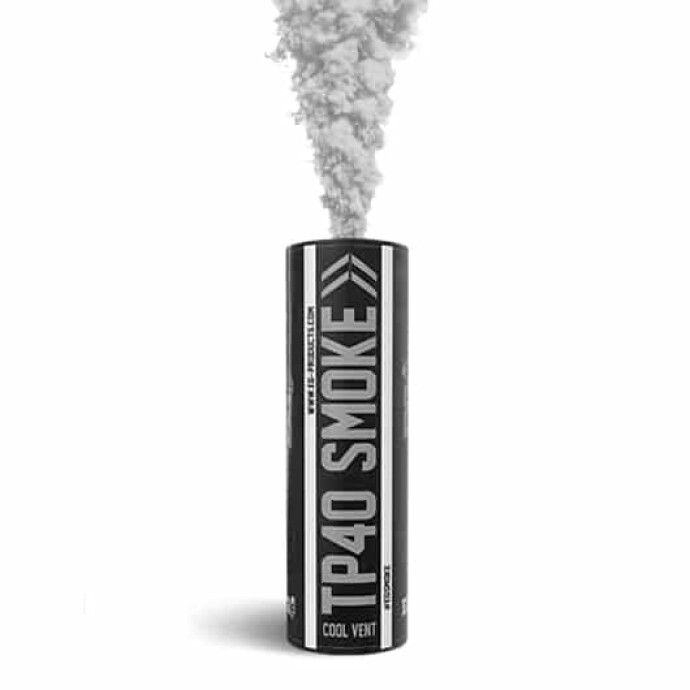
Portrait photographers sometimes pull film for a cleaner, more forgiving look in daylight. It can also work well for fashion, editorial, and environmental portraiture where you want skin tones and fabrics to feel smoother. If you are building a stylized outdoor portrait set, atmospheric tools such as colored smoke can change the visual intensity of the scene, which may influence whether you prefer a normal, pulled, or pushed workflow. For example, the Enola Gaye TP40 Top Pull Smoke Grenade in White can create a bright, airy effect that benefits from careful highlight management in strong sun.
How do pushing and pulling affect grain, contrast, and sharpness?
Pushing generally increases apparent grain and contrast. Shadows may become thinner, blacks can deepen, and midtones may separate more aggressively. This can look excellent for gritty reportage, dramatic monochrome portraits, and night scenes, but it may be less ideal if you want subtle tonal transitions or maximum detail in dark areas.
Pulling usually has the opposite effect. Grain can appear a bit smoother, highlights may feel less harsh, and the image often takes on a more relaxed tonal structure. Fine detail can seem gentler because the overall contrast is reduced, even if the lens itself is resolving very well.
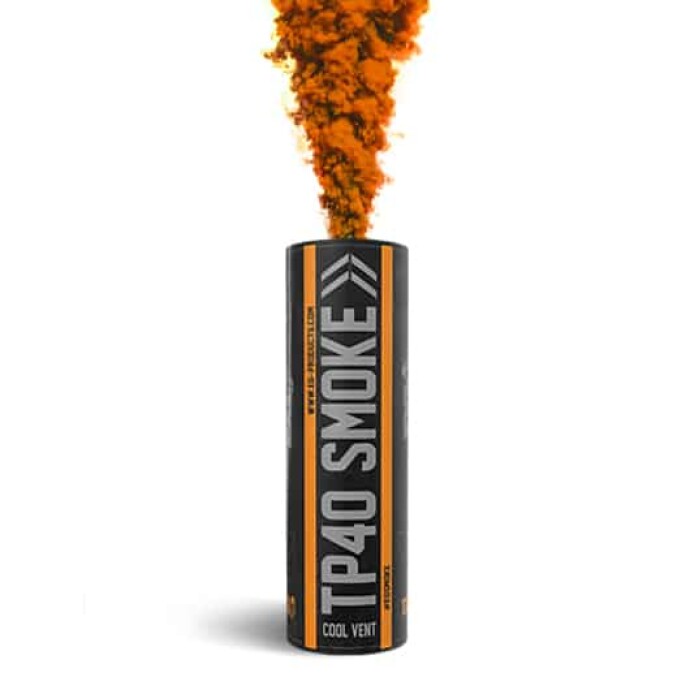
To compensate, think about your end goal before choosing the process. If you want to push, consider scenes that benefit from bold contrast and avoid relying on deep shadow recovery. If you want to pull, prioritize compositions where highlight detail matters and softer tonal rendering enhances the subject. Strong visual elements like colored smoke can also interact with contrast in interesting ways. The Enola Gaye TP40 Top Pull Smoke Grenade in Orange, for example, can create a vivid plume that may look more dramatic with a normal or pushed contrast curve, depending on your lighting.
Can you push color negative film, or is this mainly for black-and-white?
You can absolutely push color negative film, and many photographers do. Black-and-white film is often more forgiving and easier to customize in home development, which is why push processing is frequently associated with it, but color negative film can also respond well to a one-stop or even two-stop push in the right circumstances.
The tradeoffs are a little different. With color negative film, pushing can shift color balance, increase grain, and boost contrast in ways that may vary by film stock and lab process. Some emulsions handle this very gracefully and produce cinematic, saturated results, while others may show more obvious changes in skin tone or shadow color. Pulling color negative film is also possible, though labs may be more cautious about nonstandard requests.
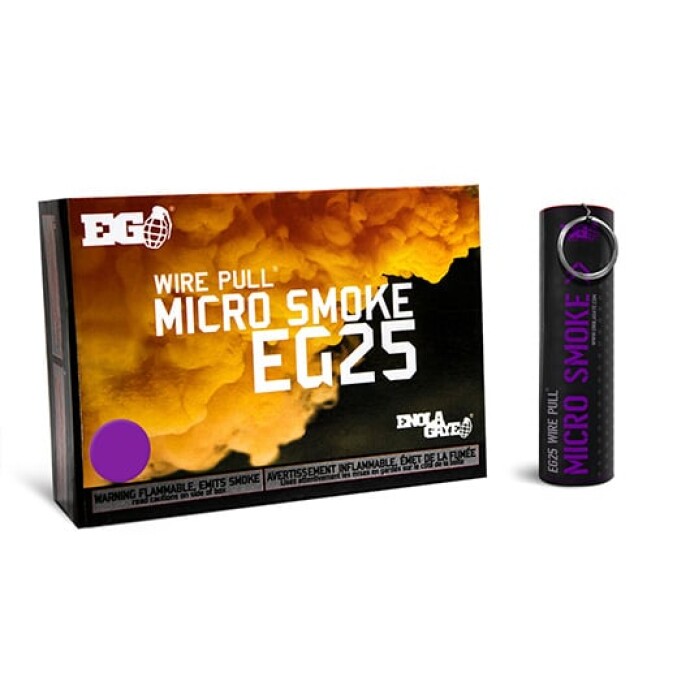
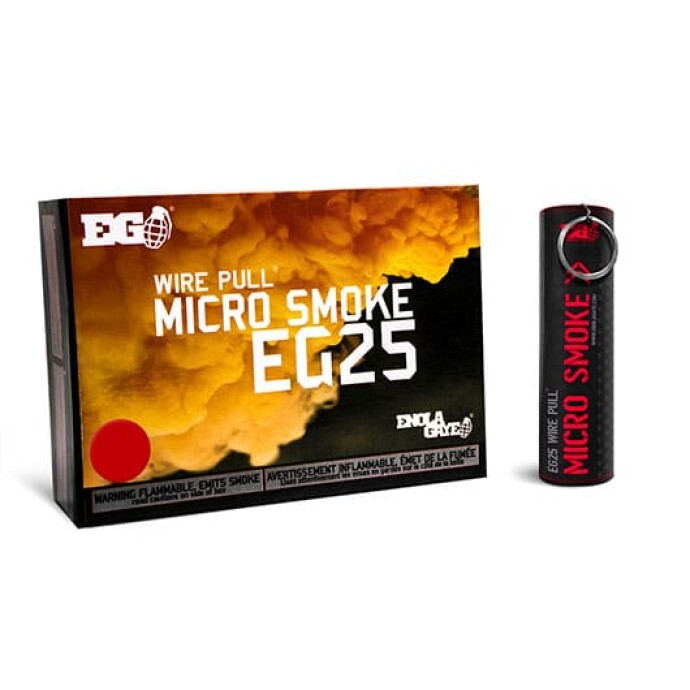
If you are using colorful scene elements such as smoke effects, testing matters even more. A rich tone like the Enola Gaye EG25 Wire Pull Micro Smoke Grenade in Purple or the Red version can interact with exposure latitude and color shifts in ways that are either beautiful or unpredictable depending on the film stock and scan settings.
How do I compensate for changes in grain and contrast when pushing or pulling?
The best compensation starts before development. When pushing, meter carefully for the most important tones and avoid assuming that every underexposed area can be rescued later. If shadow detail matters, consider a smaller push or choose a scene with stronger natural separation. During scanning or printing, you can often tame some of the added contrast, but missing shadow information is difficult to restore convincingly.
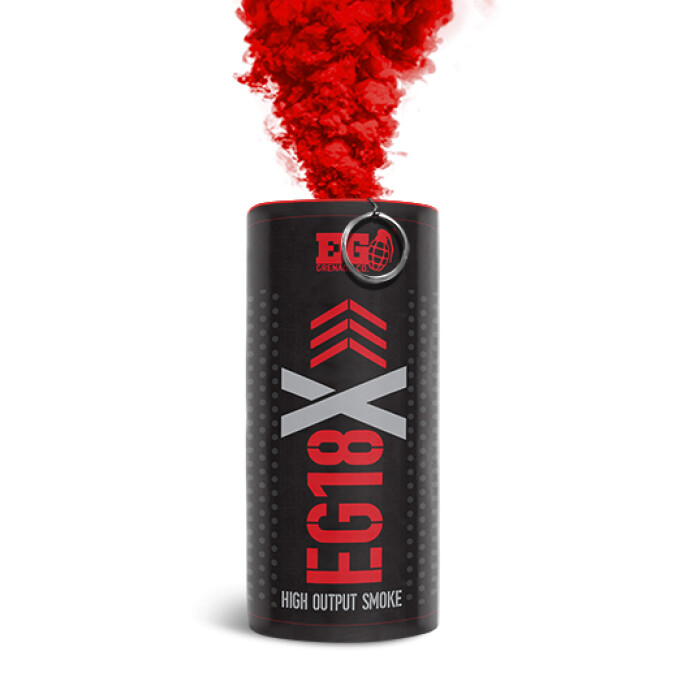
When pulling, watch for flatness. Reduced development can preserve highlights beautifully, but if the scene was already low contrast, the final result may need more shaping during printing or scanning. Good subject separation, thoughtful lighting, and deliberate color choices all help. If you are creating portraits or action scenes with a dramatic atmosphere, higher-output smoke products like the Enola Gaye EG18X High Output Wire Pull Smoke Grenade in Red can add density and visual structure that complement a contrast-conscious film workflow.
In short, use pushing when you can accept stronger grain and contrast as part of the look, and use pulling when preserving highlight detail is more important than maximum punch straight out of the tank.
What developers work best for push processing?
The best developer depends on the film stock, your preferred look, and whether you are prioritizing speed, grain control, tonal smoothness, or acutance. In general, photographers often prefer developers known for maintaining usable shadow separation and relatively controlled grain when pushing black-and-white film. Some formulas emphasize crispness and edge sharpness, while others are chosen because they keep pushed negatives from becoming excessively harsh.
Rather than looking for a single universal answer, it is smarter to pair a film and developer combination based on the final aesthetic you want. If you are after classic, punchy black-and-white, a developer with a strong reputation for predictable push times is a smart place to start. If you want a slightly smoother result, choose a developer known for finer grain and gentler tonal transitions. For color negative film, push processing usually follows standardized lab chemistry, so consistency from the lab and clear communication about your push request matter more than chemistry experimentation at home.
At Unique Photo, we recommend testing your preferred film stock before using it on an important assignment. Shoot one roll at box speed, one pushed a stop, and compare the negatives and scans under similar lighting. That controlled approach will teach you far more than general rules alone.
How many stops can I realistically push or pull?
One stop is the most common and dependable adjustment for both push and pull processing. Two stops can work well with the right film, subject, and development approach, but the compromises become more obvious. Beyond that, results can turn highly stylized, and consistency becomes less predictable.
For black-and-white, some films tolerate aggressive pushes better than others and still deliver usable negatives with a strong look. For color negative film, one stop is often a comfortable starting point, while two stops may produce dramatic but more variable color and contrast shifts. Pulling by one stop is generally manageable if your highlights are the main concern, but going too far can leave the negatives underdeveloped-looking and flatter than intended.
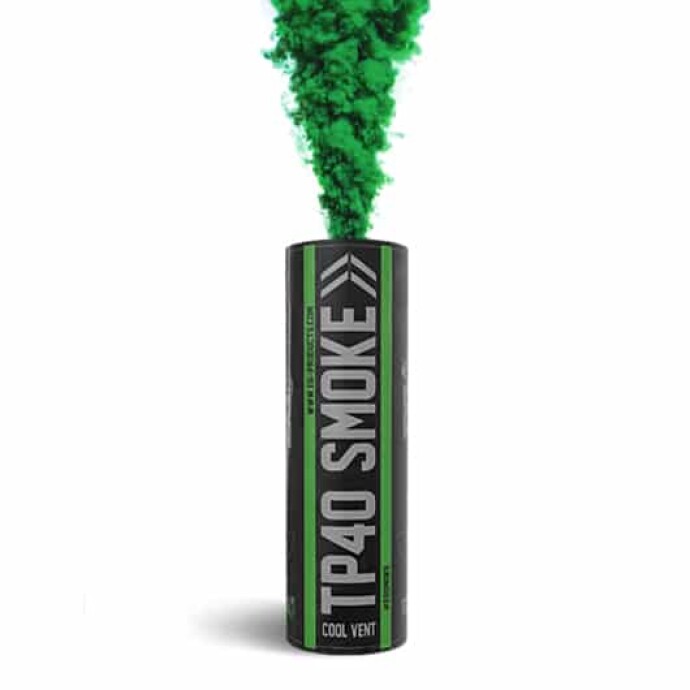
If you are planning a stylized outdoor session with smoke, color, or fast-moving subjects, keep experimentation manageable. The Enola Gaye TP40 Top Pull Smoke Grenade in Green can create a bold environmental effect, but combining too many variables at once such as a new film stock, a two-stop push, and unusual lighting can make it harder to learn what actually influenced the final image.
Should beginners experiment with push and pull processing?
Yes, but with a methodical approach. Push and pull processing are excellent learning tools because they force you to understand exposure, latitude, development, and scanning as connected parts of one system. Beginners often improve quickly when they test deliberately instead of changing multiple variables at random.
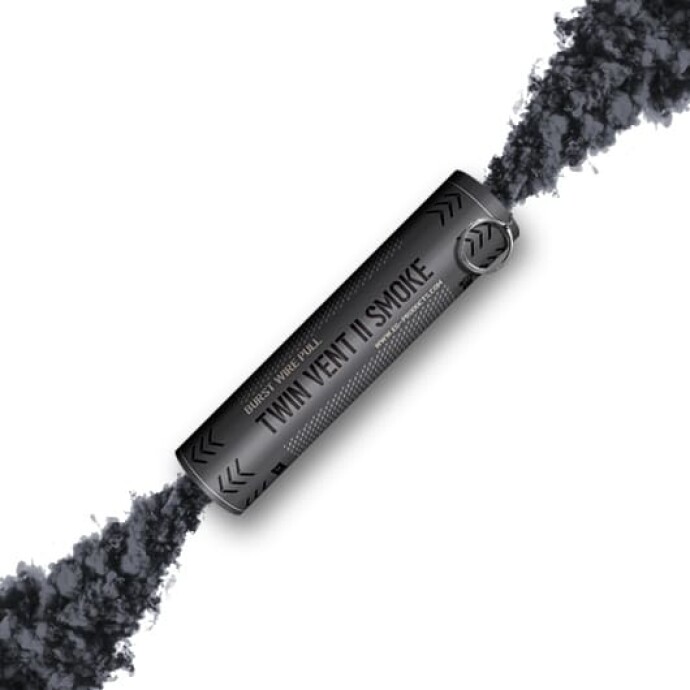
Start with one familiar camera, one film stock, and one lighting scenario. Keep notes on how you rated the film, how it was developed, and how the scans were adjusted. If you want to create more visually distinctive test shots, controlled accessories and location choices can help you see how contrast and color respond. Products like the Enola Gaye Twin Vent 2 Wire Pull Smoke Grenade in Black can produce a dense, dramatic atmosphere for experimental portrait or concept shoots, especially if you are evaluating how your film handles strong tonal separation.
Most importantly, do not judge the process from a single roll. Push and pull techniques become much easier to predict after a few rounds of testing with the same film and subject matter.
Whether you are exploring low-light black-and-white, color negative experimentation, or building a creative portrait session with bold atmosphere and long-lens compression, Unique Photo is here to help you refine the process. Shop gear, creative effects, and used equipment at Unique Photo, and keep testing until your exposure and development choices become part of your signature style.