Whether you're submitting images to a client, entering a photo contest, sending work to a publication, or uploading a portfolio for review, presentation matters just as much as the photo itself. A strong image can still be overlooked if the file is too large, too small, poorly labeled, or missing key metadata. The good news is that with a consistent workflow, preparing files for submission becomes fast and reliable.
Below are practical tips to help you handle image sizing, watermarking, and metadata cleanly and professionally before you hit send.
Start With a Clean, High-Quality Master File
1. Edit from your highest-quality original
Before creating submission copies, make sure your final edit is based on the best source file available, ideally a RAW capture or a full-resolution master export. Cameras built for demanding professional workflows, such as the Nikon D6 FX-Format Digital SLR Camera, produce files with the latitude needed for careful resizing and output sharpening later in the process.
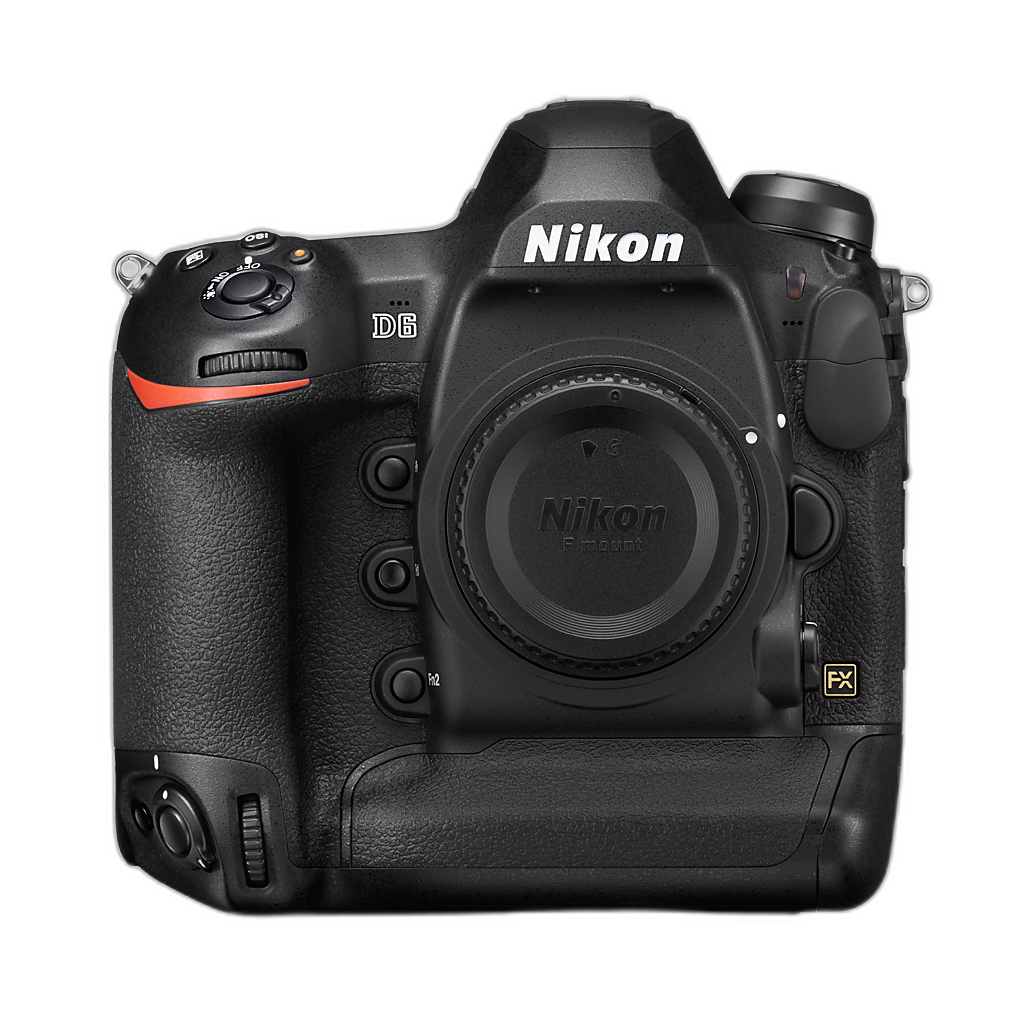
Avoid repeatedly resizing or re-saving old JPEGs. Every additional compression step can reduce quality, introduce artifacts, and leave your submission looking less polished than intended.
Size Images for the Intended Destination
2. Read the submission guidelines first
Different destinations want different file dimensions, aspect ratios, color spaces, and file size limits. Some contests ask for 2048 pixels on the long edge, while magazines may request full-resolution TIFF or JPEG files. Always check:
- Pixel dimensions
- Maximum file size in MB
- Required format, such as JPEG, TIFF, or PNG
- Color space, usually sRGB or Adobe RGB
- File naming requirements
If you skip the guidelines, even excellent images can be rejected automatically.
3. Export specifically for web, print, or review
Create separate exports for each use case instead of relying on one universal file. For example:
- Online submissions: JPEG, sRGB, moderate compression, sized to the required pixel dimension
- Print submissions: higher resolution, minimal compression, often Adobe RGB or another requested color space
- Client proofs: medium-resolution images that look good on screen but are less useful for unauthorized printing
This is especially important if your images were carefully lit for detailed commercial or portrait work. A capable lighting setup, like a Light & Motion CLx10 Imaging Kit, can create subtle tonal transitions that deserve proper export settings so they do not get lost in an over-compressed file.

4. Resize carefully and sharpen for output
Resizing is not just about making a file smaller. After reducing dimensions, apply appropriate output sharpening for the final medium. Screen images usually benefit from a different sharpening approach than print images. Oversharpening creates halos and rough edges, while undersharpening can make a strong image look soft.
A good habit is to zoom to 100% and inspect important areas like eyes, edges, textures, and fine detail before exporting the final version.
Use Watermarks With Restraint
5. Watermark only when it makes sense
Not every submission should be watermarked. In fact, many editors, competitions, and juried calls specifically prohibit visible watermarks because they interfere with judging. For client proofs or public gallery previews, however, a discreet watermark may still be appropriate.
Before adding one, confirm that the recipient allows it.
6. Keep watermarks subtle and professional
If you do use a watermark, avoid large opaque logos across the center of the frame unless theft is a major concern. A better approach is usually:
- Small signature or logo placement in a corner
- Low opacity
- Neutral color that does not distract from the image
- Consistent placement across the set
The goal is to identify your work without damaging the viewing experience. Heavy-handed watermarks can make a submission feel less professional than a clean file with strong metadata and clear ownership information.
Metadata Is Your Silent Assistant
7. Add core IPTC metadata to every submission file
Metadata helps your image stay connected to you. Even when a file is downloaded, forwarded, or archived, embedded information can preserve authorship and usage details. At minimum, consider including:
- Creator name
- Copyright notice
- Contact email or website
- Image title
- Caption or description
- Keywords
This is one of the easiest professional habits to build, and it can save time later when clients, editors, or agencies need to identify files quickly.
8. Write captions and keywords that are useful, not vague
Keyword stuffing does not help much if the terms are too broad. Instead, use specific, searchable language. Include relevant subject matter, location, event type, people, concepts, and technical notes when needed. A photo tagged only as “portrait” is much less useful than one tagged with details like “environmental portrait, chef, restaurant kitchen, editorial, Newark.”
Good metadata also supports stronger business practices overall. Resources like Best Business Practices for Photographers by John Harrington can be valuable for photographers who want to refine not just their file prep, but their full professional workflow.

9. Include copyright information consistently
Your copyright field should be completed on every image, even if a visible watermark is not used. This creates a cleaner, more professional file package and helps reinforce ownership. A basic copyright line with your name and current year is far better than leaving the field blank.
Pay Attention to File Naming and Organization
10. Use simple, readable file names
Rename exports so they make sense to the recipient. Avoid generic camera-generated names if possible. A good file name might include:
- Your name or studio name
- Project or subject
- Sequence number
- Version if needed
Example: Smith_EditorialPortrait_01.jpg
Clear naming reduces confusion and makes it easier for editors and clients to sort your work.
11. Keep versions organized
Separate folders for full-resolution masters, web exports, client proofs, and submission-ready files will help prevent mistakes. You do not want to accidentally send the wrong size, wrong watermark version, or a file with unfinished retouching.
Double-Check Technical Quality Before Sending
12. Review color, cropping, and compression one final time
Before submission, open the actual exported files, not just the originals in your editing software. Check for:
- Unexpected color shifts
- Compression artifacts
- Cropping errors
- Misspelled metadata fields
- Incorrect orientation
- File size compliance
This final review is especially important for carefully staged work where lighting, shadow detail, and shape matter. Tools such as gobos and controlled lighting modifiers can create intricate visual effects in-camera, and those details should remain intact in the delivered file. Even specialty accessories like the Aputure Gobo (B-Size) x 10 are a reminder that the final image often depends on precision from capture through submission.
Create a Repeatable Submission Workflow
13. Build presets to save time
If you regularly submit work to the same types of clients or platforms, create export presets for common requirements. You can build presets for:
- Contest entries
- Editorial JPEG delivery
- Client proof galleries
- High-resolution print delivery
This helps reduce errors, speeds up your process, and keeps your work consistent from one project to the next.
Conclusion
Preparing images for submission is about more than reducing file size. It is a professional finishing step that protects image quality, presents your work cleanly, and helps clients or judges focus on the photography itself. By sizing files correctly, using watermarks thoughtfully, and embedding strong metadata, you give every image its best chance to make the right impression.
If you're refining your workflow or building a more polished photography business, Unique Photo offers tools, cameras, lighting, and educational resources to help you present your work at its best.