Bring your landscapes to life with a clean, repeatable editing workflow. Whether you prefer Lightroom Classic, Photoshop, or other editors, the right sequence of steps, calibrated tools, and thoughtful finishing will help you create consistent, natural-looking images that still have impact. Here’s a comprehensive, SEO-friendly guide from the experts at Unique Photo to streamline your post-processing from RAW to final export.
Best Software for Landscape Photo Editing
Landscape photographers commonly rely on a few proven editors and plug-ins. Each excels in certain areas, so choose based on your style and gear:
- Adobe Lightroom Classic and Camera Raw: Non-destructive RAW editing, best-in-class file management, powerful masking, HDR/pano merges.
- Adobe Photoshop: Pixel-level control, focus stacking, advanced luminosity masking, compositing, precise color grading, finishing.
- Capture One Pro: Excellent color tools, tethering, refined local adjustments, favored by many pros.
- DxO PhotoLab with DeepPRIME XD: Class-leading lens corrections and AI denoise, great for high-ISO or long-exposure nightscapes.
- ON1 Photo RAW / Skylum Luminar Neo: Creative looks, AI-based tools, quick enhancements for stylized results.
Want hands-on learning? Unique Photo’s Unique University offers targeted classes for landscape editing, including Photoshop-based techniques tailored for nature scenes.
Build a Dependable RAW-to-Export Workflow
A reliable sequence eliminates guesswork and keeps your look consistent:
- Ingest and Backup: Offload cards, verify checksums, and maintain a 3–2–1 backup strategy.
- Catalog and Keyword: Use Lightroom’s catalog or a DAM tool to add keywords, IPTC metadata, and location data for fast retrieval.
- Cull and Rate Efficiently: Use flags/stars and Smart Previews to quickly separate keepers from maybes.
- Apply Lens/Camera Profiles: Start with lens corrections and a suitable camera profile to set a neutral baseline.
- Global, then Local: Make exposure/contrast/white balance changes first; refine with masks second.
- Finish and Export: Soft-proof for print, apply output sharpening, then export with naming/preset consistency.
Calibrate From the Start
Color accuracy supports every edit that follows:
- Monitor Calibration: Calibrate monthly with a hardware colorimeter; aim for a D65 white point and 100–120 cd/m² luminance for print-centric workflows.
- Camera and Lens Profiles: Use Adobe or DxO lens profiles to neutralize distortion, vignetting, and chromatic aberration.
- White Balance Anchors: Use a gray card in the field when possible; otherwise, sample from neutrals in the scene.
Global Adjustments: Establish Balance First
Start broad before refining:
- White Balance and Tint: Correct color casts; cooler WB often enhances alpine scenes, warmer tones suit sunsets.
- Exposure and Contrast: Balance histogram midtones; fine-tune with the Tone Curve for nuanced contrast.
- Highlights and Shadows: Recover detail carefully to avoid a flat, HDR-ish look; keep blacks anchored for depth.
- Presence Controls: Texture for fine detail, Clarity for midtone punch, Dehaze for backlit haze—use sparingly to avoid halos.
Local Adjustments: Direct the Viewer’s Eye
Use masks to emphasize subject matter and create depth:
- Linear and Radial Gradients: Shape light; add subtle edge vignettes or enhance the sky-to-foreground transition.
- Subject/Sky Masks: Quick AI selections for targeted exposure and color adjustments.
- Color and Luminance Range Masks: Isolate foliage greens or bright clouds without affecting other tones.
- Dodging and Burning: Lightly brighten leading lines and dim distractions. Keep adjustments under a stop for realism.
Natural Color Grading for Landscapes
Preserve believability while boosting mood:
- HSL Panel: Subtly separate similar greens/yellows for cleaner foliage; keep saturation tasteful.
- Color Grading Wheels: Nudge cool tones into shadows and warm tones into highlights for dawn/dusk ambience.
- Selective Color/Channel Mixer (Photoshop): Advanced balance of skies and foliage without banding.
- Soft Proofing: Simulate paper/ink to avoid over-saturated prints; tweak with perceptual intent if necessary.
Sharpening and Noise Reduction
Maximize detail without artifacts:
- Input Sharpening: In Lightroom, start with Amount 40–70, Radius 0.7–1.2, Masking to restrict sharpening to edges.
- Noise Reduction: Use Lightroom Denoise AI or DxO DeepPRIME XD for high-ISO astro or woodland shadows; apply before final sharpening.
- Output Sharpening: Choose Standard or High for print; Low to Standard for web, accounting for downscaling.
HDR and Exposure Blending
Handle dynamic range gracefully:
- Bracket in the Field: 2–3 stops spacing (±2 EV) covers most sunrise/sunset scenes.
- Lightroom HDR Merge: Natural results with automatic de-ghosting for moving foliage/water.
- Photoshop Blend-If/Luminosity Masks: Hand-blend highlights/shadows to avoid halos and preserve micro-contrast.
Focus Stacking for Edge-to-Edge Sharpness
For near-to-far compositions, stack slices:
- Capture: Use a sturdy tripod, manual focus, and 4–10 frames from foreground to infinity.
- Photoshop Auto-Align/Auto-Blend: Clean results for static scenes; mask out artifacts manually as needed.
- Dedicated Tools: Helicon Focus or Zerene Stacker can handle complex edges and foliage better.
Panorama Stitching
Expand your scene without ultra-wide distortion:
- Shoot with 30–40% overlap; lock exposure and white balance to avoid seams.
- Lightroom/Ps Stitch: Choose Spherical for wide sweeps, Cylindrical for long horizontals, Perspective for moderate fields of view.
- Watch the Nodal Point: A pano head reduces parallax with near foreground subjects.
Creative Finishing in Photoshop
Polish without overdoing it:
- Curves for Dodge/Burn: Use luminance masks to target tonal ranges.
- Selective Orton Effect: Add glow to midtones only; reduce clarity locally to avoid mushy detail.
- Gradient Maps/Color Lookup: Cohesive toning for series or print sets—keep opacity low.

Preparing for Print and Web Export
A strong finish deserves the right output settings:
- Color Space: sRGB for web/social; Adobe RGB or ProPhoto RGB for a print-managed workflow.
- Resolution: 300 ppi for photo prints; 240 ppi can suffice for larger wall art viewed from distance.
- Soft Proof: Use paper ICC profiles to preview gamut; adjust saturation and shadows as needed.
- Output Sharpening: Match to paper surface—slightly stronger for matte, lighter for glossy/metal.
Printing your landscapes for albums and portfolios? Unique Photo carries albums and accessories to present and preserve your best work.

Non-Destructive Editing and Version Control
Protect your master files and keep creative flexibility:
- Virtual Copies/Snapshots: Explore multiple looks without duplicating RAWs.
- Smart Objects in Photoshop: Re-edit Camera Raw settings any time; stack filters non-destructively.
- Presets and Export Templates: Standardize your style and delivery specs for clients or print labs.
Speed Tips and Presets
- GPU Acceleration: Enable in Preferences; keep drivers updated for faster masking and denoise.
- Auto-Sync for Batches: Apply baseline corrections across a sequence shot under the same light.
- Adaptive Presets: Create scene-specific presets (golden hour, blue hour, woodland) to accelerate edits.
Common Mistakes to Avoid
- Over-saturation and heavy dehaze that causes halos and color shifts.
- Excessive clarity/texture that makes foliage crunchy and skies noisy.
- Flat tonality from too much shadow recovery—keep blacks anchored.
- Inconsistent white balance across a series intended for print.
Learn More with Unique University
Level up your landscape post-processing with in-person and online classes at Unique Photo’s Unique University:
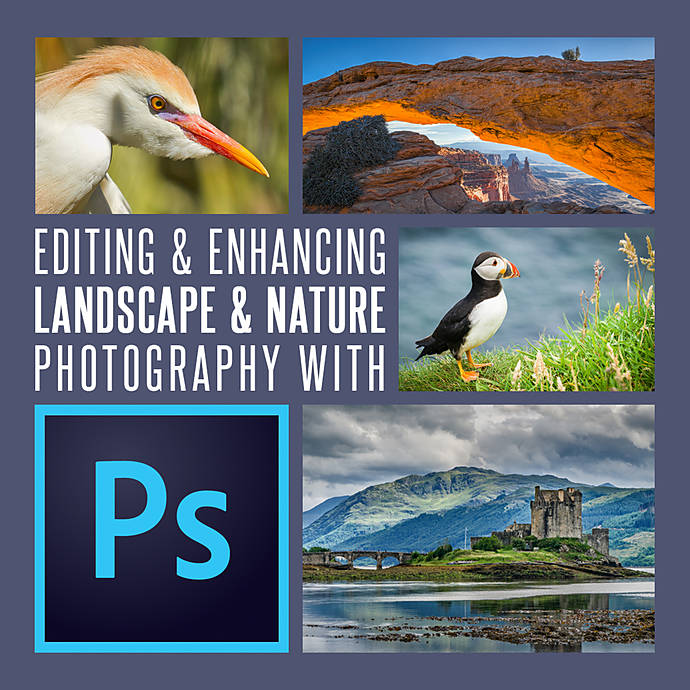
- Editing and Enhancing Landscape and Nature Photography with Photoshop — A focused class to master nature-specific techniques and finishing.
- Macro and Landscape Photography at Duke Farms with Michael Downey — Practice field techniques that set up smoother edits later.
- Product Photography and Post Production Editing with Blake Taylor — Strengthen your Photoshop fundamentals for any genre.

Conclusion: A Repeatable Workflow for Stronger Landscapes
The best landscape edits blend technical accuracy with artistic intent. Calibrate early, correct globally, refine locally, and finish deliberately for print or web. With a consistent process, you’ll spend less time fixing and more time creating. For guided learning, gear, printing, and presentation, the team at Unique Photo is here to help.
Internal linking suggestions:
- Link to Unique University: Editing and Enhancing Landscape and Nature Photography with Photoshop (SKU UUU237).
- Link to Unique University: Macro and Landscape Photography at Duke Farms with Michael Downey (SKU UUU406).
- Link to Unique University: Product Photography and Post Production Editing with Blake Taylor (SKU UUU332).
- Link to Albums category and specific products like the Pioneer 4 x 6 In. Bi-Directional Memo Photo Album (SKU P5XBDP246BK) for presenting prints.
- Link to photo printing services, paper and ink categories, and color management accessories.
- Link to blog resources on HDR, focus stacking, panorama workflows, and color grading.