Portrait Photography FAQ: Natural Skin Tones and Flattering Light
Great portraits depend on two things working together: believable skin tone and light that flatters your subject. Whether you prefer window light, a portable flash kit, or a full studio setup, a few practical choices in camera settings, white balance, and light shaping can make portraits look more polished straight out of camera.
Below, the team at Unique Photo answers some of the most common portrait questions we hear from photographers who want cleaner color, softer indoor light, and more consistent results.
What camera settings are best for accurate skin tones in portraits?
Start with exposure consistency. For portraits, many photographers work in manual exposure so skin brightness does not shift from frame to frame as backgrounds change. A solid starting point for natural-light portraits is an aperture between f/1.8 and f/4 for subject separation, a shutter speed fast enough to avoid motion blur, and the lowest practical ISO for clean files. If you are using flash, choose a shutter speed at or below your camera's sync speed and let the flash control the main exposure on your subject.
Meter for the face, not the clothing or background. Slight underexposure can make skin look muddy, while overexposure can wash out tone and texture. If your camera offers highlight alerts or zebras, use them to protect bright areas on the forehead, cheeks, and nose. Shooting RAW is especially important for portraits because it gives you more room to fine-tune white balance and color later without degrading the image.
What white balance tricks help produce natural-looking skin?
The most reliable approach is to match white balance to the dominant light source and avoid mixing drastically different colors of light whenever possible. Daylight or shade presets often work well outdoors, while a custom white balance can be helpful indoors under window light, LEDs, or flash. If your subject is lit by flash, using a flash white balance preset or dialing in a Kelvin value that matches your strobe can create more repeatable color.
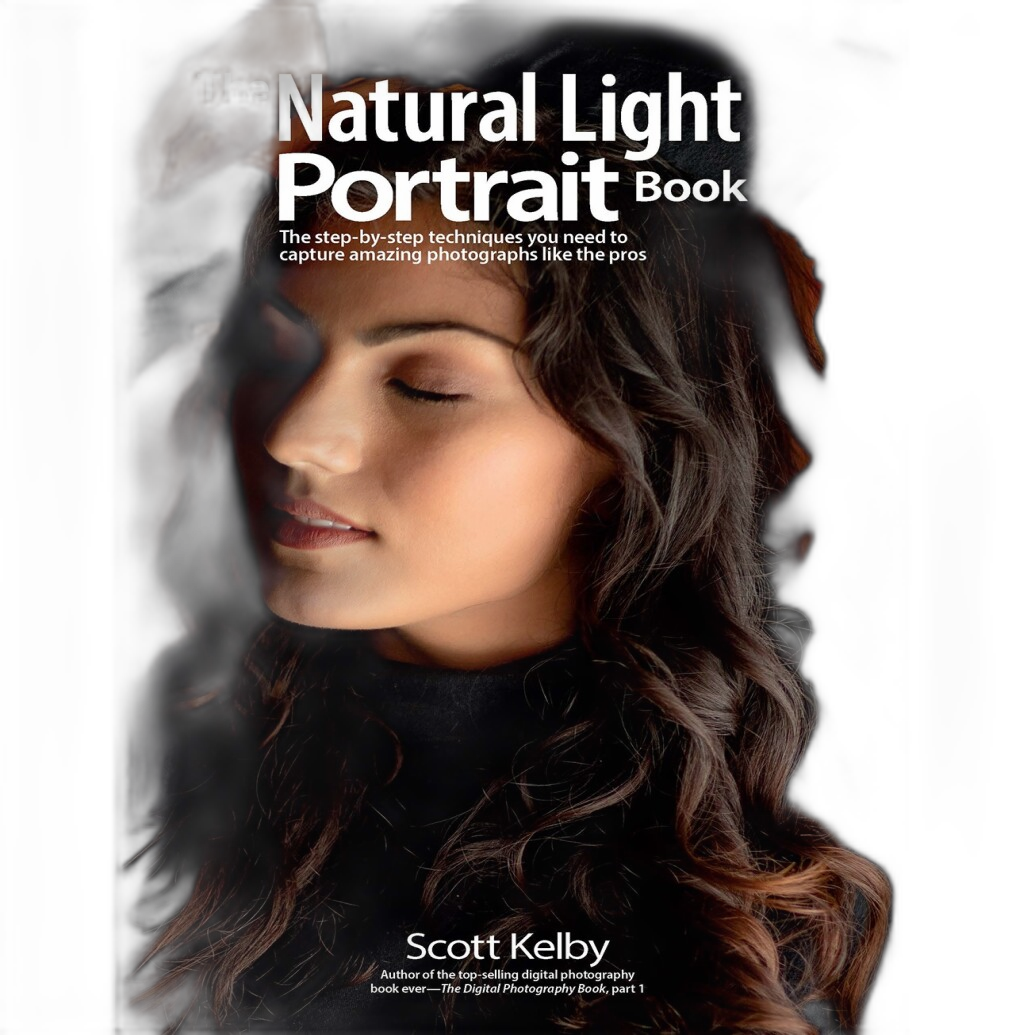
One of the biggest causes of poor skin tone is mixed lighting, such as warm room lamps combined with cool window light. In that situation, either turn off one source, reposition your subject, or use flash to establish a single dominant color temperature. For photographers refining their technique, educational resources can be incredibly helpful. Rocky Nook's Mastering the Natural Light Portrait is a strong choice for understanding how available light affects skin and mood in real portrait scenarios.
Another excellent learning resource is Crafting the Natural Light Look, which explores how to shape window light and other soft sources for more flattering portraits with lifelike color.
Is natural light or off-camera flash better for portraits?
Neither is universally better; the best choice depends on control, consistency, and the look you want. Natural light can be beautiful, especially when you place your subject near a large window, under open shade, or in soft late-day light. It is simple, approachable, and often ideal for relaxed portraits with gentle transitions in tone.
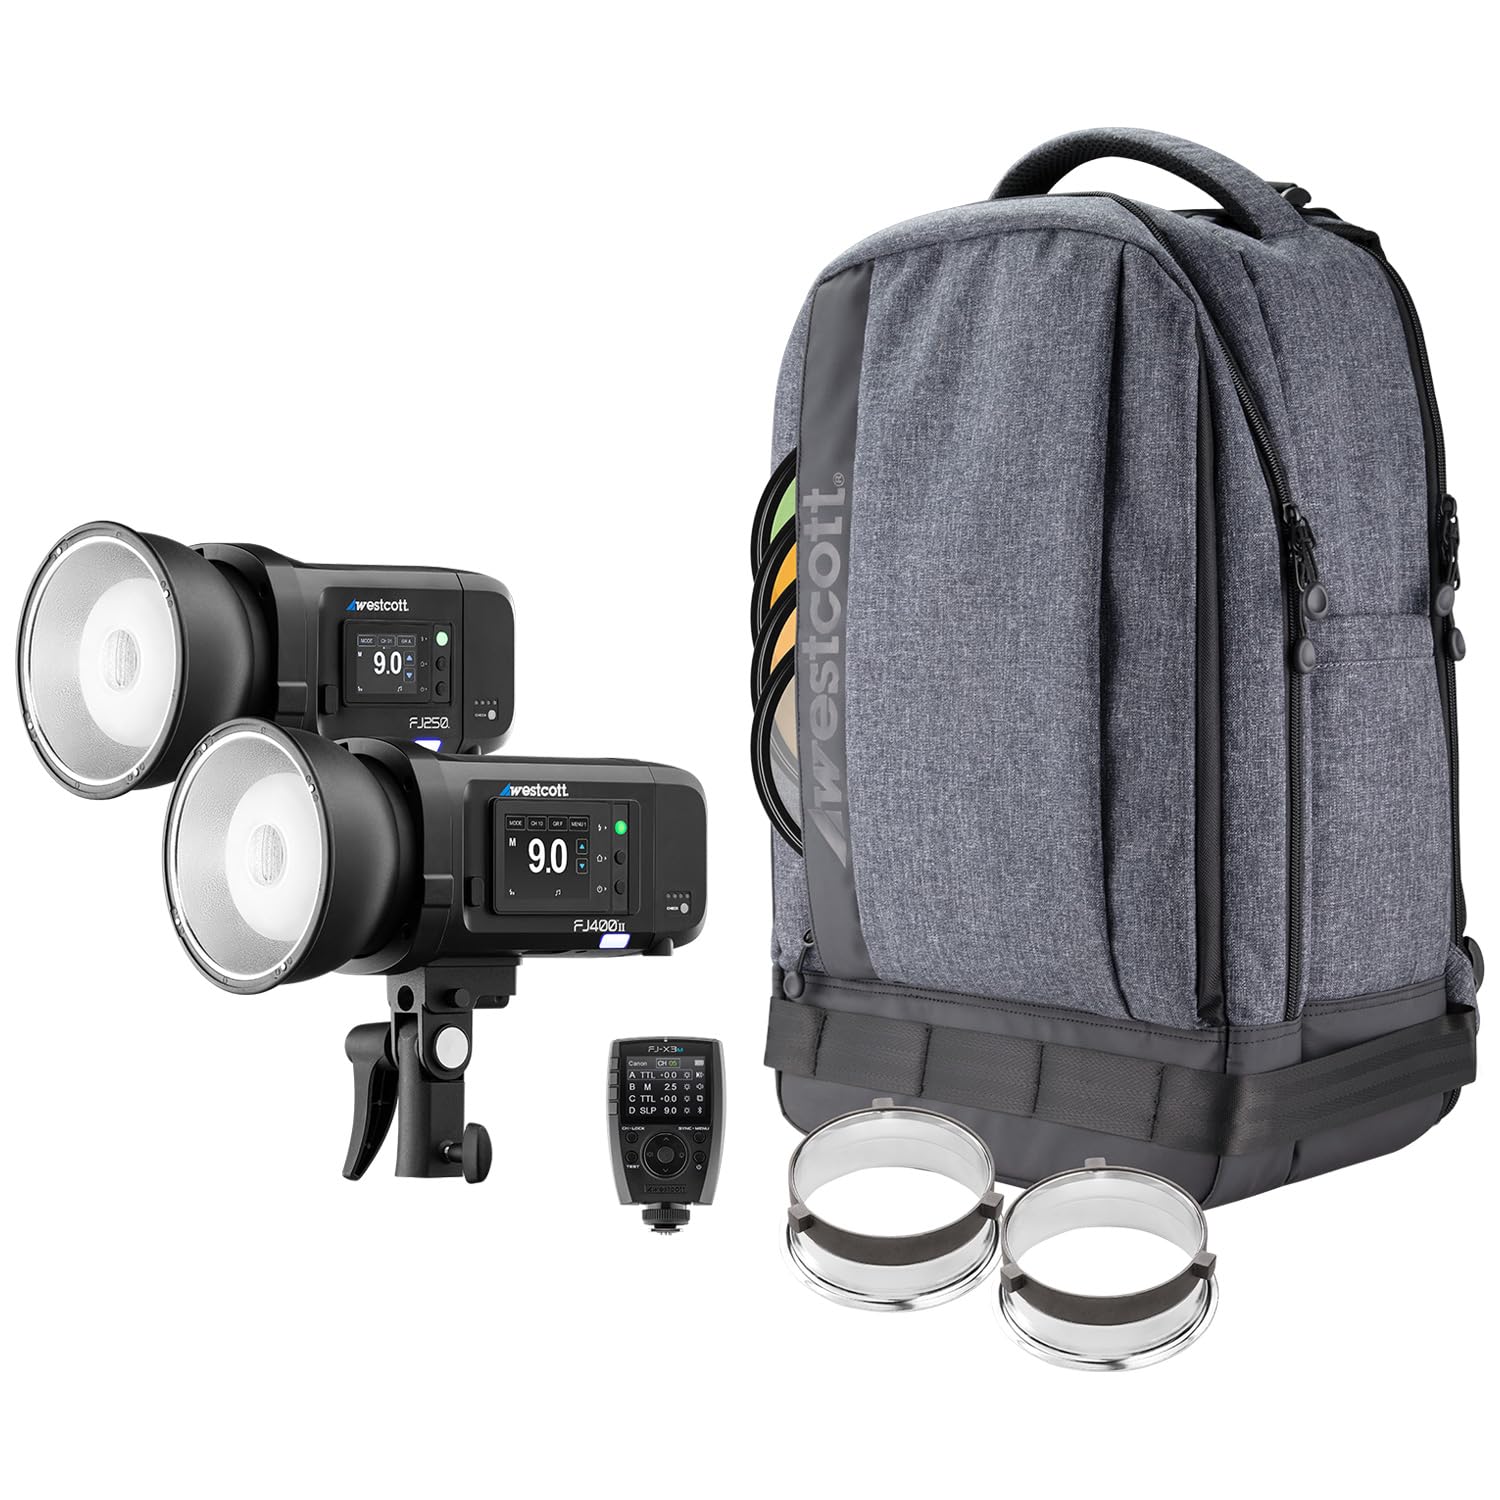
Off-camera flash becomes the better tool when you need repeatable results, more control over direction and intensity, or the ability to shoot regardless of weather or time of day. Flash also helps you shape skin tone by overpowering color contamination from indoor ambient light. For photographers who want a portable setup with room to grow, the Westcott FJ Wireless 2-Light Portable Portrait Flash Kit is a very practical option for creating consistent portrait lighting on location or at home.
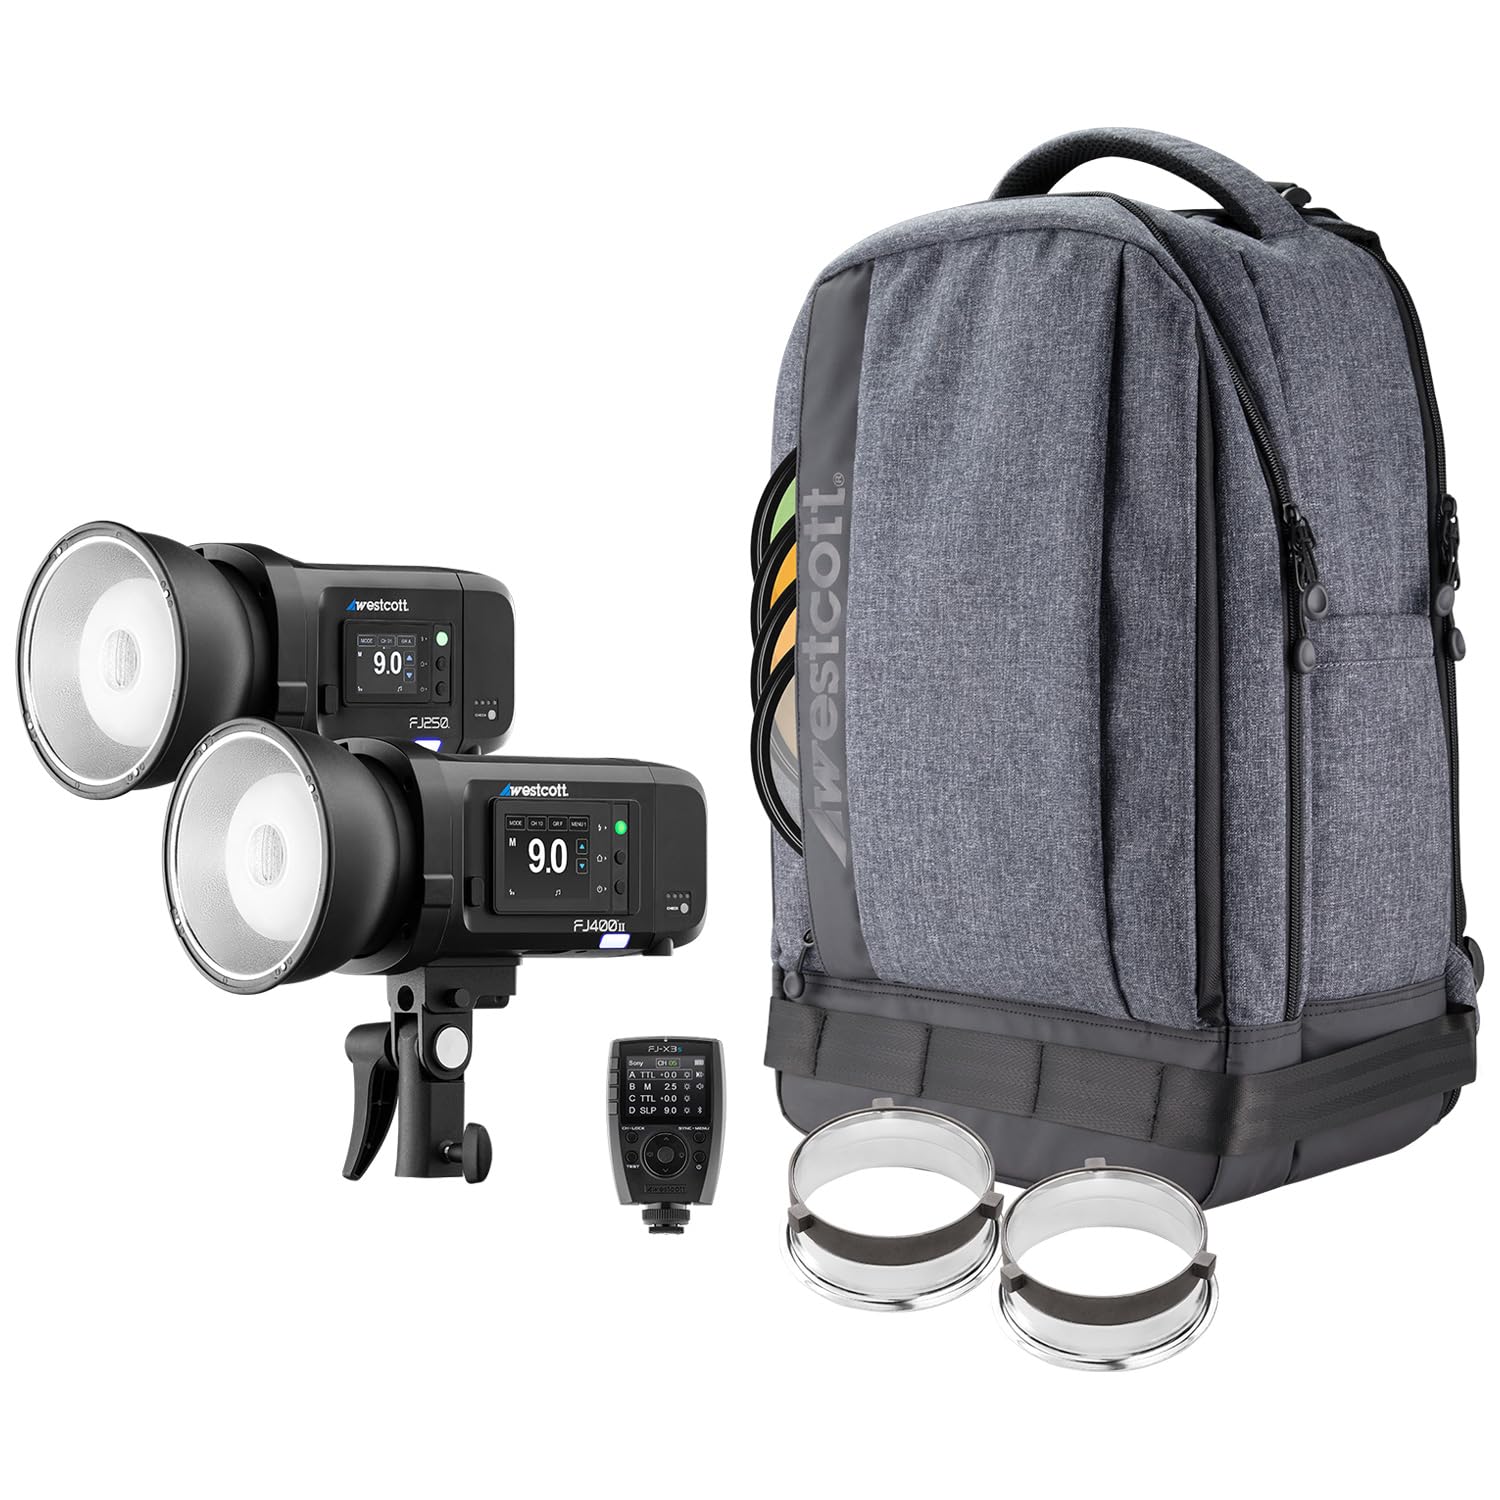
If you shoot Sony, the version with the FJ-X3S trigger offers the same flexible two-light workflow tailored to your system.
How can I get softer indoor portrait lighting on a budget?
The key to softness is apparent light-source size relative to your subject. A larger source placed closer will generally create softer, more flattering light with smoother skin transitions. Indoors, this can be as simple as placing your subject close to a north-facing window and using a light-colored wall or reflector on the opposite side to lift shadows.
If you want more consistency than window light can offer, an affordable two-light flash setup lets you create a soft key light and a subtle fill or rim light. Position the main light slightly above eye level and off to one side, then diffuse it with the largest modifier your space allows. Even a compact home setup can produce professional-looking skin if the source is broad and close enough. The Westcott FJ Wireless 2-Light Portable Portrait Flash Kit is especially useful for photographers building a flexible indoor portrait setup without jumping immediately into a larger studio system.
What lighting pattern is most flattering for faces?
A classic starting point is loop lighting: place your key light about 30 to 45 degrees to the side of the subject and slightly above eye level so the nose casts a small shadow that does not touch the cheek. This setup flatters many face shapes and creates dimension without looking harsh. Rembrandt lighting, butterfly lighting, and clamshell lighting can also be excellent, depending on bone structure and the mood of the portrait.
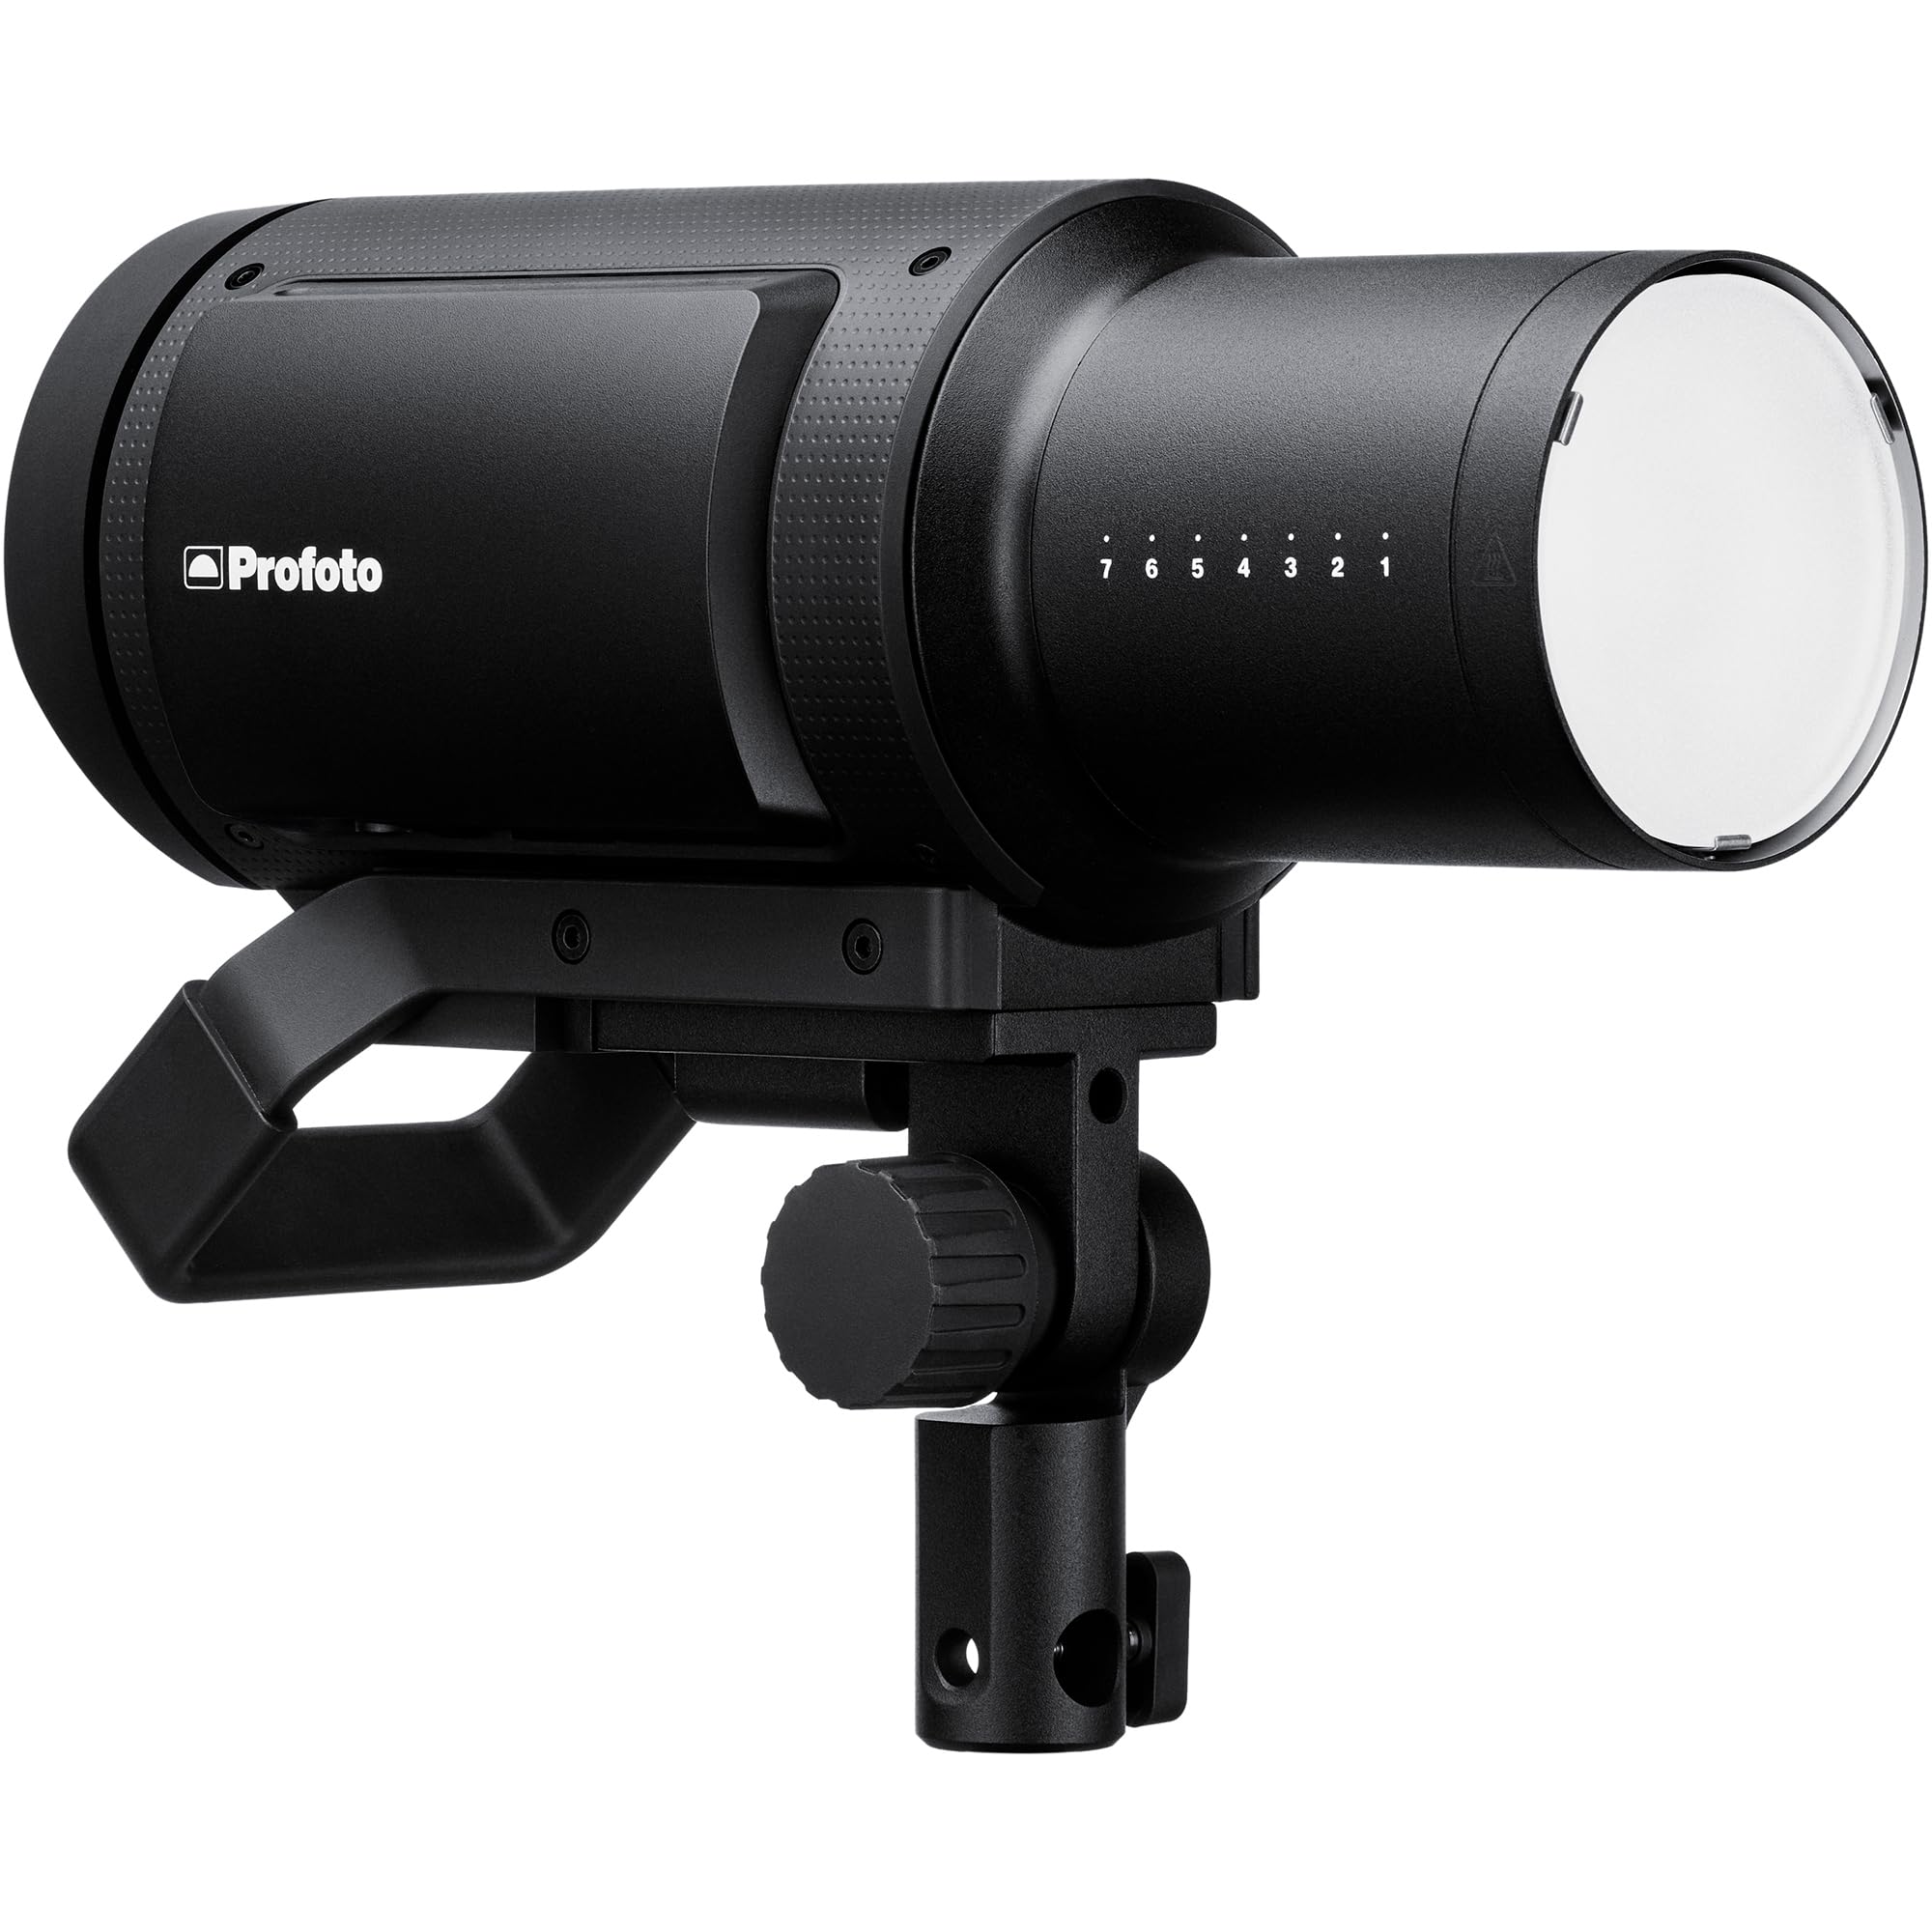
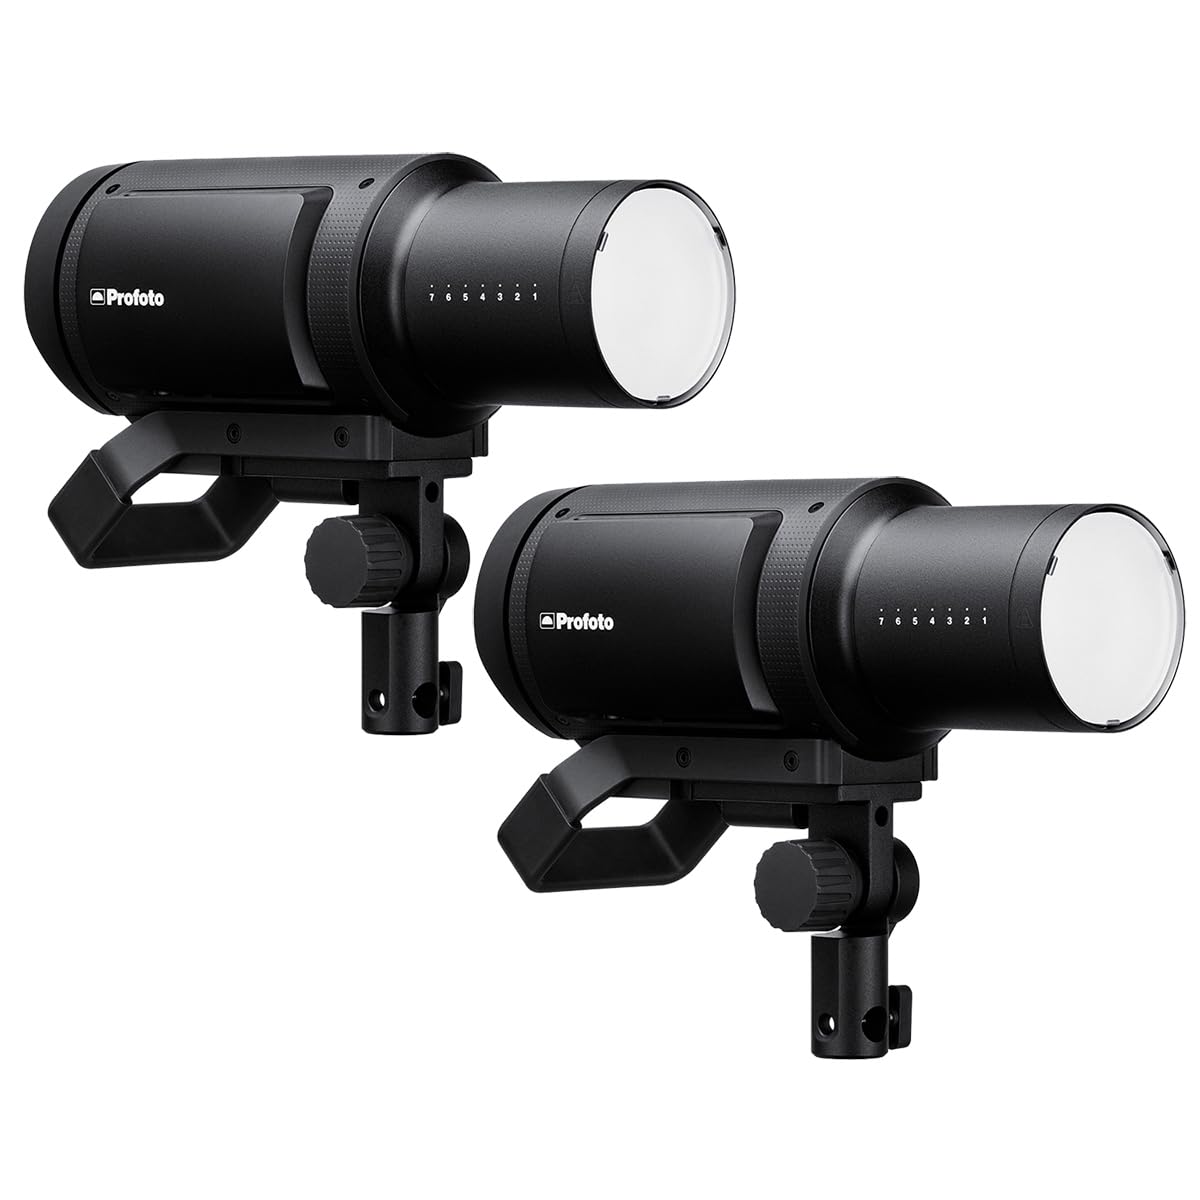
For softer beauty-oriented portraits, keep the light broad and controlled, and avoid placing it too high or too far to the side unless you want stronger sculpting. For more advanced studio work where output, consistency, and portability matter, the Profoto Pro-B3 750Ws Monolight offers powerful location-friendly lighting, while the Pro-B3 Duo 750Ws Monolight 2-Light Kit gives photographers a highly capable dual-light setup for key-and-fill, key-and-rim, or background separation.
How do I avoid color casts from walls, clothing, and indoor spaces?
Color casts often come from the environment rather than your camera. Brightly colored walls, ceilings, and even nearby clothing can bounce unwanted color back into skin. If you notice green, yellow, or magenta contamination, move your subject away from reflective surfaces, rotate your shooting angle, or introduce a neutral key light that dominates the scene.
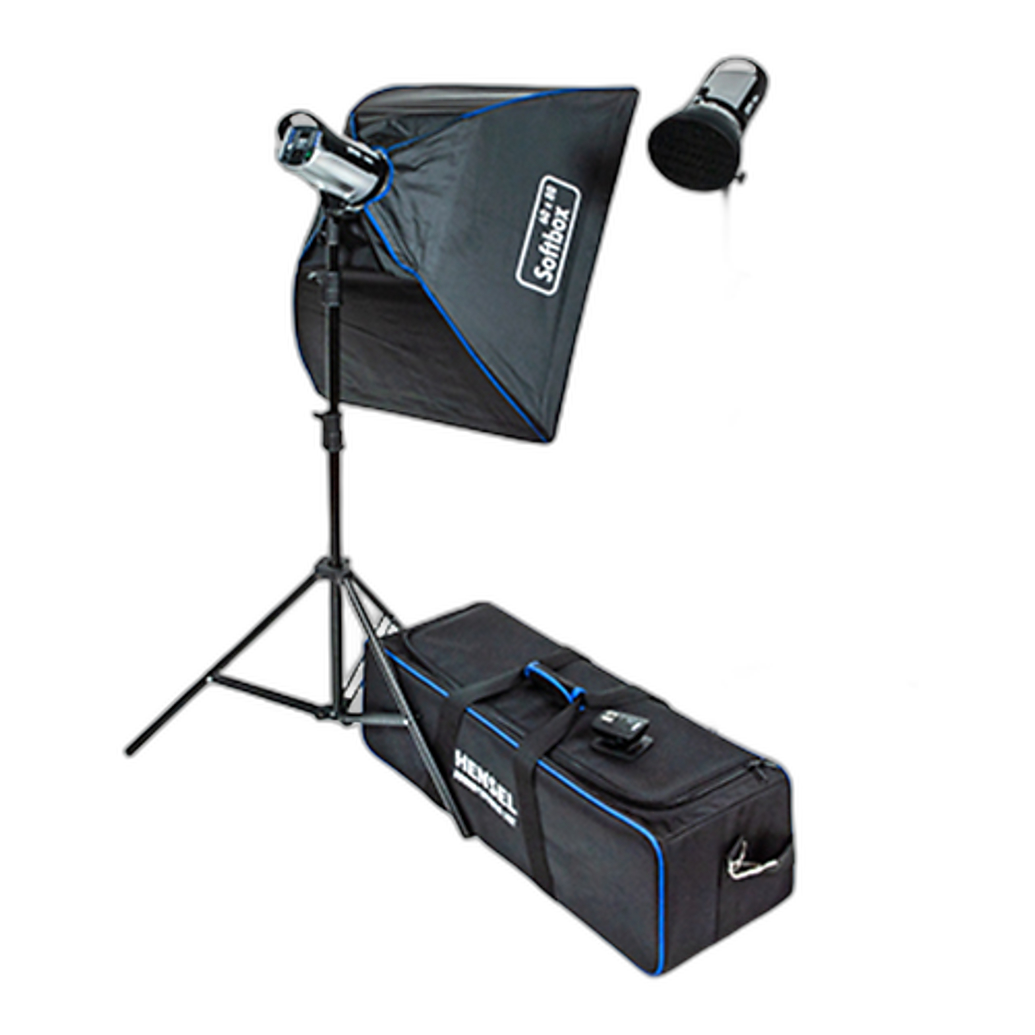
This is one area where studio lighting is especially helpful. A controlled kit lets you reduce the impact of room color and maintain cleaner, more predictable skin tones. The Hensel Certo Portrait Kit is a strong option for photographers who want a more dedicated portrait lighting system with a studio-oriented approach to consistency and light shaping.
Should I fix skin tone in camera or in post-processing?
The best workflow is to get as close as possible in camera, then refine in post. Accurate exposure, a sensible white balance choice, and controlled lighting will save time and preserve quality. Post-processing should be used to fine-tune tint, warmth, and local color rather than rescue major mistakes caused by mixed light or poor exposure.
When editing portraits, watch for oversaturation in reds and oranges, especially in cheeks and lips. Small adjustments usually look more realistic than aggressive global changes. Calibrated monitors and consistent lighting during editing also help ensure the skin you see on screen translates well in prints and online delivery.
What is a good beginner-to-advanced path for portrait lighting gear?
If you are just starting out, begin by mastering window light and learning how subject placement changes contrast, catchlights, and skin color. Adding educational materials such as Mastering the Natural Light Portrait or Crafting the Natural Light Look can accelerate that process and help you understand why some light feels flattering while other light does not.
From there, a portable two-light flash kit is often the smartest first lighting investment because it gives you enough control to practice key, fill, rim, and background lighting. As your work grows into client sessions, studio portraits, or location work where output matters, stepping up to systems like the Hensel Certo Portrait Kit or Profoto Pro-B3 lineup can deliver more power and broader creative flexibility.
What is the single most important tip for better portrait skin tones and light?
Keep your lighting simple and intentional. Choose one main light source, make it soft, place it carefully, and ensure your white balance matches that source. Once the face is lit cleanly and evenly, skin tones become much easier to render naturally both in camera and during editing.
If you are ready to improve your portraits with better education or lighting tools, Unique Photo has books, portable flash kits, and professional studio solutions to help you build a setup that matches your style and budget.