Getting started with photo editing can feel overwhelming. There are countless apps, sliders, presets, and workflows to choose from, and many beginners worry they need pro-level software right away. The good news is that the best editing software for beginners is usually the one that helps you learn the fundamentals without making the process frustrating. If you’re looking for something user-friendly yet powerful, these tips will help you narrow down your options and build a workflow that grows with your photography.
Start With Software That Makes Basic Adjustments Easy
1. Look for clean layouts and simple global tools
For beginners, software with an intuitive interface is often more important than having every advanced feature imaginable. Programs that make it easy to adjust exposure, contrast, white balance, highlights, and shadows are ideal because those are the tools you’ll use most often. If you can quickly brighten an image, recover detail, and improve color without digging through menus, you’re on the right track.
Many new photographers learn faster when they pair editing practice with real-world shooting experience. A hands-on class like Macro and Landscape Photography at Duke Farms with Michael Downey can help you create stronger source images to edit later, making software practice far more rewarding.
Choose Software That Can Grow With You
2. Pick a program that offers beginner tools now and advanced tools later
Some editing platforms are easy to start with but still include masking, local adjustments, retouching, layer support, or RAW processing when you’re ready. That’s the sweet spot. You don’t want to outgrow your software too quickly, especially as your skills improve and your camera files become more demanding.
If your goal is to move from basic corrections to more intentional creative edits, look for software that supports non-destructive editing and organized catalogs or folders. That way, you can revisit earlier work and keep improving it over time.
Prioritize RAW File Support
3. Make sure the software works well with RAW images
Even if you’re currently shooting JPEG, there’s a good chance you’ll want to try RAW once you realize how much editing flexibility it gives you. User-friendly editing software should make RAW files feel approachable, not intimidating. Good RAW support helps beginners recover highlights, fine-tune white balance, and preserve detail more effectively than many JPEG-only workflows.
This becomes especially important if you photograph high-contrast or unusual lighting situations, such as excursion-style shoots like Photograph Fluorescent Zinc Ore at Sterling Hill Mine, where color and exposure can be more challenging and editing latitude really matters.

Don’t Underestimate Built-In Learning Tools
4. Tutorials, guided edits, and presets can speed up the learning curve
Beginner-friendly software often includes guided workflows, AI-assisted adjustments, or preset looks that help you understand what different edits actually do. These features aren’t shortcuts in a bad sense; they can be excellent teaching tools. Use them to see how tone, color, sharpness, and cropping affect the final image, then start making those changes yourself.
Another great way to improve your visual storytelling and editing sense is by studying the work of experienced photographers. Events like EXPO: Stories from the Road - Photography Across Worlds w. Matthew Borowick can inspire the kind of intentional image-making that leads to better editing decisions later.
Think About Your End Goal: Screen, Prints, or Albums
5. The best software depends partly on how you’ll share your photos
If you mainly post online, almost any solid beginner editor can work. But if you want to print your images, your software should offer reliable color management, sharpening controls, and export settings. Editing for print helps you learn faster because you’ll notice details on paper that you might miss on a screen.
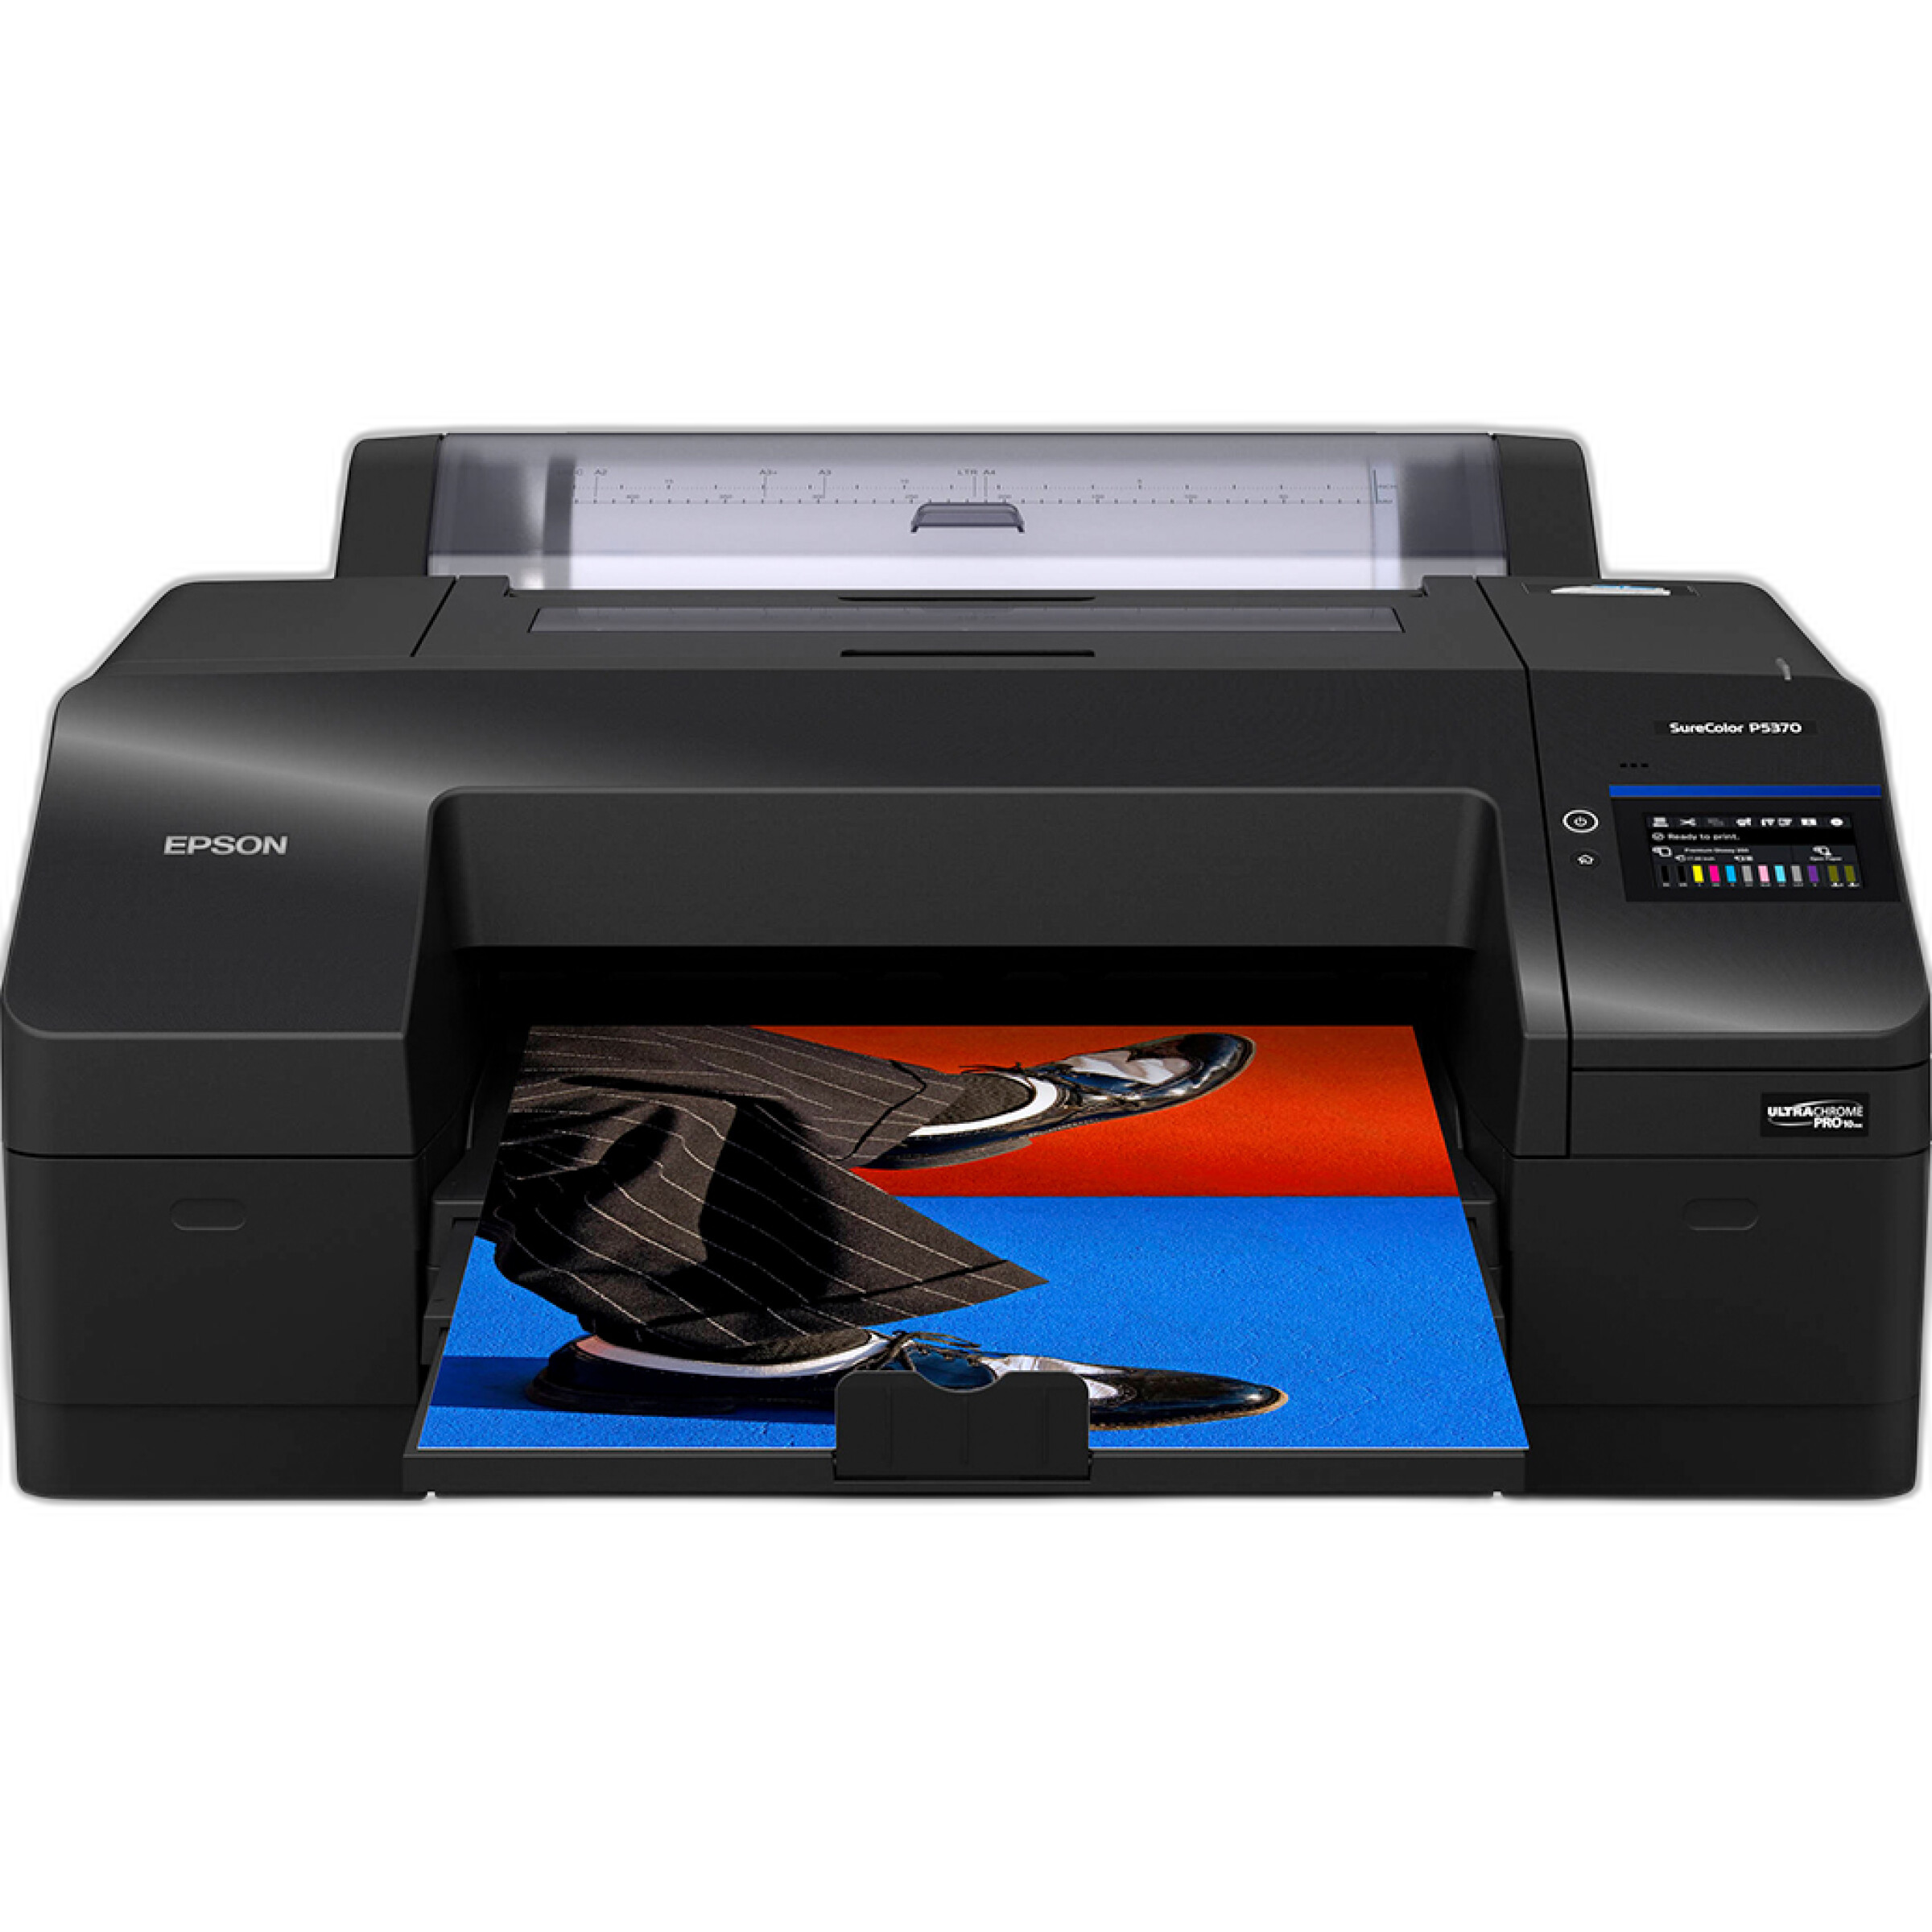
For photographers interested in making exhibition-quality prints at home, a printer like the Epson SureColor P5370 17-Inch Professional Photographic Printer opens the door to a more complete workflow. Pairing strong editing habits with capable output can make your learning process much more tangible.
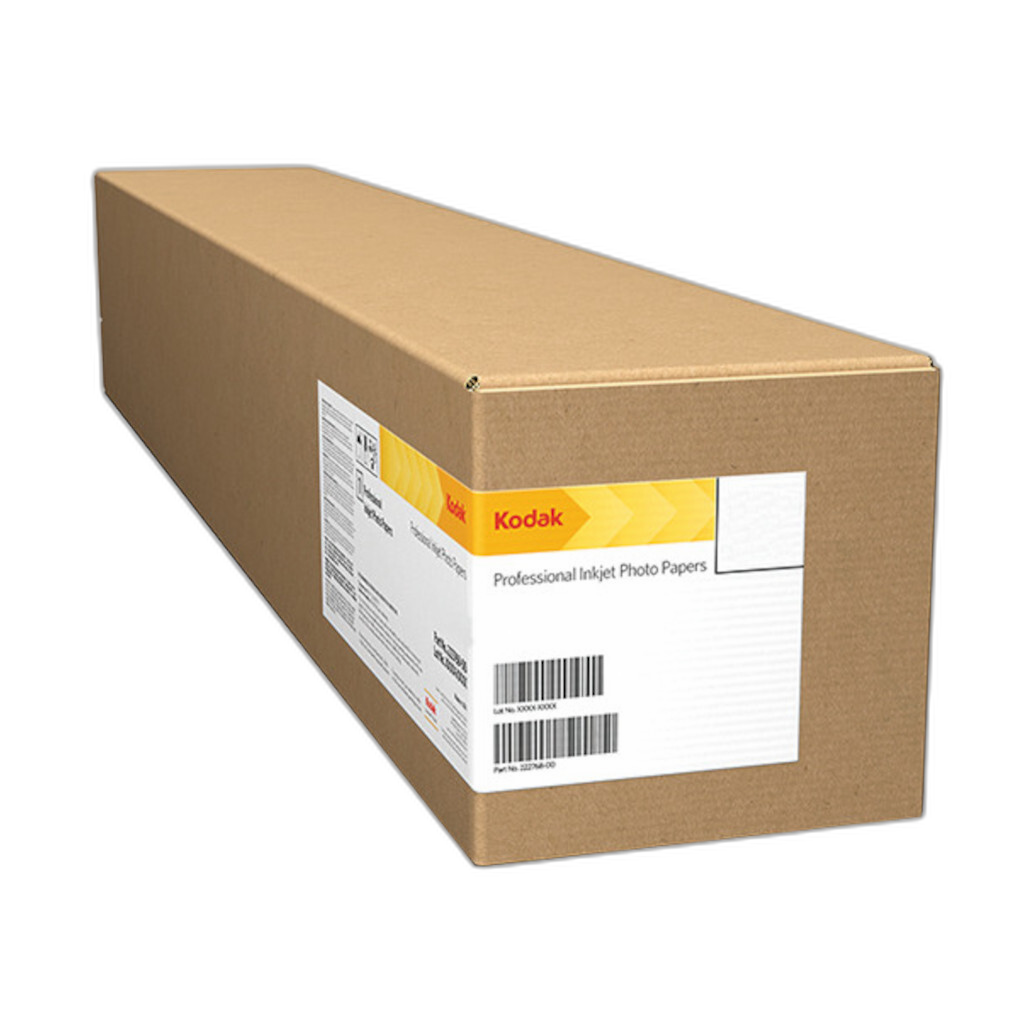
And if you want striking surface finish and visual depth, media like Kodak Professional Metallic Photo Inkjet Paper 44 x 100 Roll can make your edited images look especially dynamic. Seeing your edits on quality paper often teaches you more about tone and color than endless screen adjustments.
Keep Your Workflow Organized From Day One
6. Use software with good file management or pair it with a simple storage system
Editing gets much easier when you can actually find your images. Software that includes keywording, folders, albums, ratings, or collections is especially helpful for beginners. Even if your editing needs are basic, organization saves time and reduces stress.
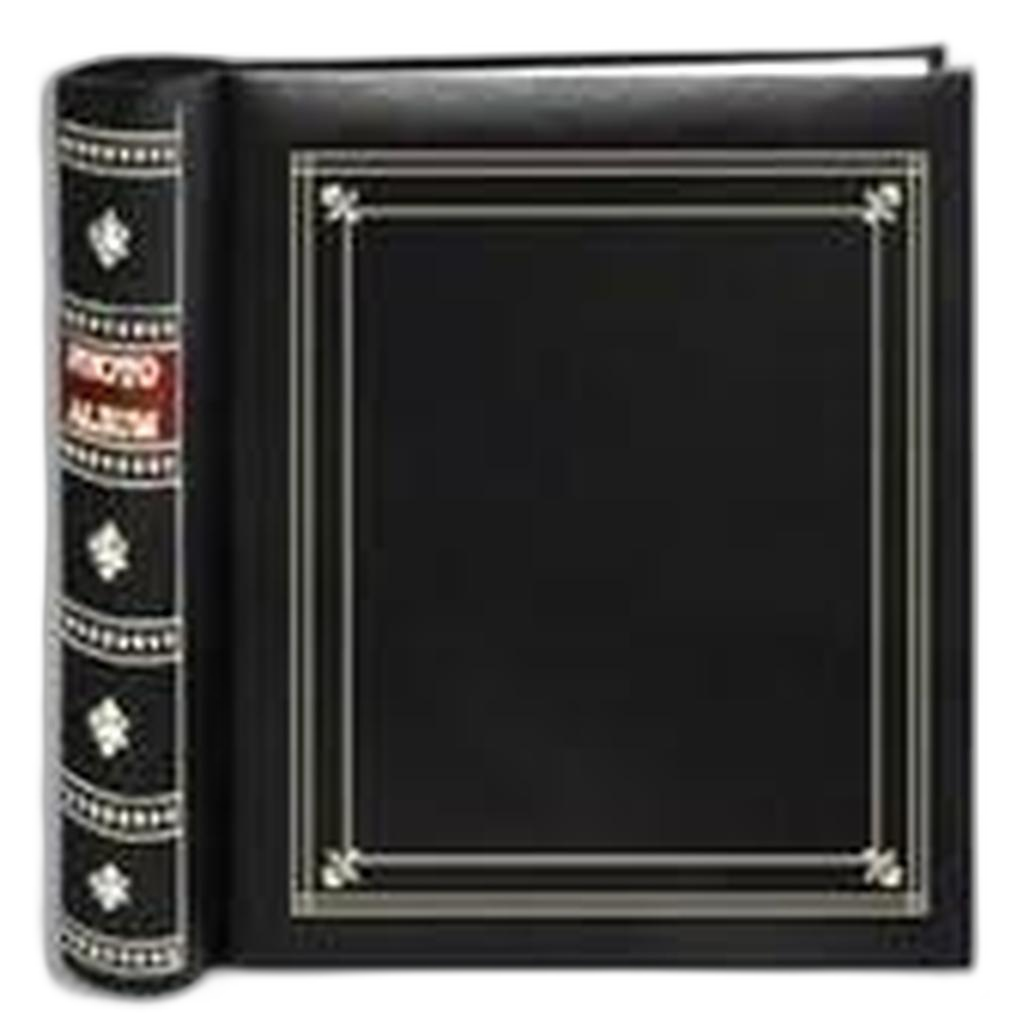
Once you’ve edited favorite images, it’s worth keeping printed versions in an album so you can track your progress over time. A product like the Pioneer 4 x 6 In. Bi-Directional Memo Photo Album is a simple way to keep finished photos accessible, and the memo area can be surprisingly useful for noting editing settings, locations, or what you learned from the image.
Try Before You Commit
7. Free trials are one of the smartest tools a beginner has
The “best” software is personal. Some photographers love streamlined, minimal editors, while others prefer more traditional pro-style interfaces. Before you subscribe or buy, test a few programs using the same set of images. Compare how easy it is to crop, fix exposure, adjust color, export files, and stay organized.
Pay attention to how the program feels after 20 or 30 minutes of use. If the workflow makes sense and encourages experimentation, that’s a good sign you’ll stick with it long enough to improve.
Print and Review Your Progress Regularly
8. Printing reveals what your screen can hide
One of the fastest ways to get better at editing is to print your work. Prints can reveal over-sharpening, blocked shadows, unnatural saturation, or poor cropping choices. They also make your progress feel real. Even simple 4x6 prints can be valuable learning tools.
As your collection grows, accessories like Pioneer Album Refill Pages for BP-200 Album can help you expand a physical archive of your favorite images. That kind of review process is especially useful for beginners because it encourages reflection, comparison, and consistency.
Conclusion
For beginners, the best photo editing software is usually the one that makes core adjustments easy, supports growth, and fits your personal workflow. Focus on ease of use first, then look for tools that let you expand into RAW editing, local adjustments, and printing as your confidence builds. Most importantly, keep practicing with images you care about. Whether you’re learning through classes, creating prints, or building a physical portfolio, Unique Photo has the tools and inspiration to help you move from beginner edits to images you’re proud to share.