On-Location Portrait Lighting: Pro FAQs for Sun Control and Fast Setups
Shooting feature portraits on location means reading the light fast, shaping it safely, and delivering consistent results under pressure. Here’s our expert playbook for managing harsh sun, building a nimble kit, and blending ambient with artificial light so your subject—and story—shine.
How do I tame harsh midday sun without bringing a truckload of gear?
Start with placement: move your subject into open shade or turn them so the sun becomes a backlight, then expose for the face with a touch of fill. When shade isn’t possible, use a small diffusion panel or even a translucent umbrella to soften top-down light. If you want shallow depth of field in bright sun, enable high-speed sync (HSS) on your flash or use an ND filter to keep shutter speeds within sync limits. Keep contrast in check with negative fill: a black flag or even a black collapsible panel on the shadow side to add shape without adding power.
Want to polish these fundamentals with hands-on guidance? Explore our lighting programs like Portrait Lighting Made Easy with Joel Grimes, where you’ll learn how to sculpt faces quickly in tough light. 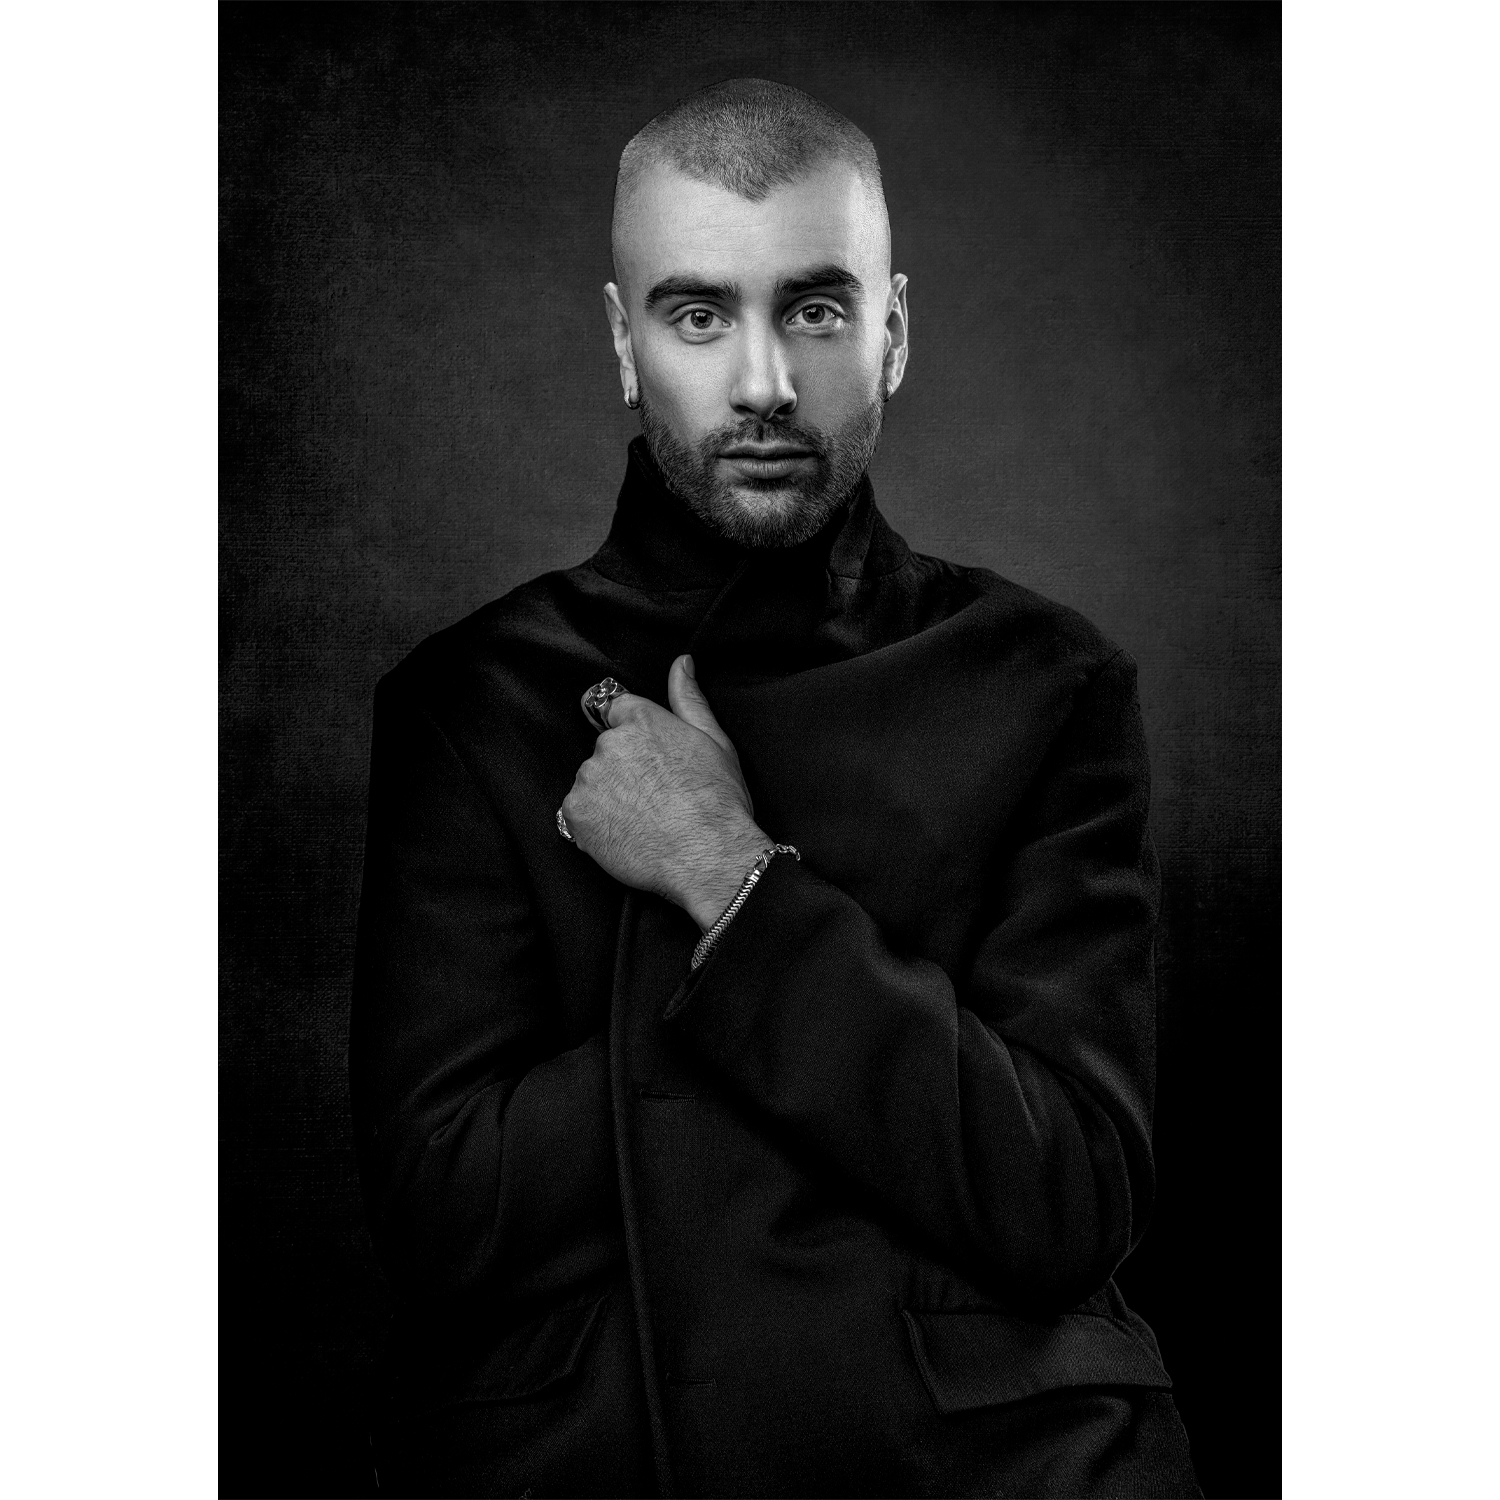
What portable lighting kit should I pack for fast, flexible setups?
Keep it lightweight and modular: one or two speedlights or a 200–300 Ws battery strobe, a 24–36 inch umbrella or softbox, a 5-in-1 reflector, two compact stands, a tilting swivel, radio triggers, extra batteries, and a roll of gaffer tape. Add one small grid or flag for controlling spill, and a full/half CTO gel for warming your key at sunset.
For rugged organization and quick access, pack it all in a protective hard case. The SKB iSeries 3i-4213-12 with Think Tank–designed dividers keeps stands, heads, and modifiers secure and ready to deploy in seconds. 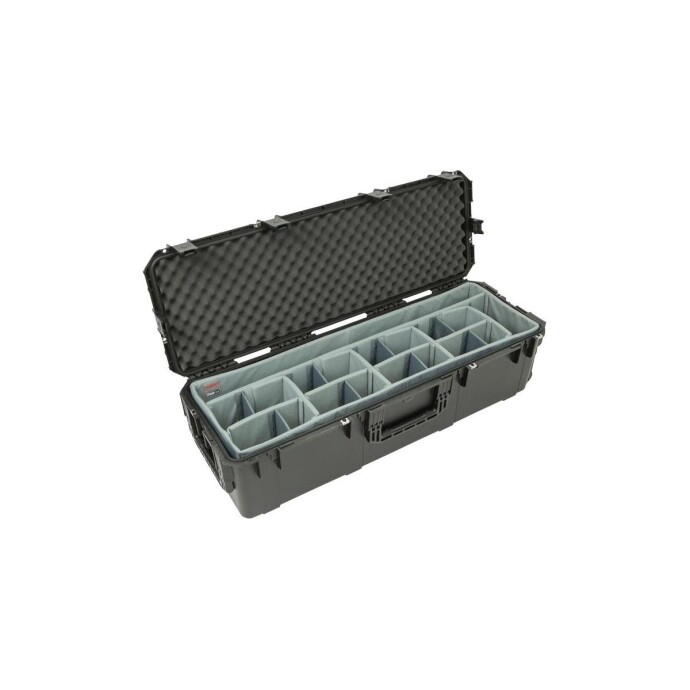
How do I balance ambient light with flash or continuous lights for environmental portraits?
Think of it as two exposures you control separately. First, set your ambient exposure for the background mood you want—often 1/3 to 1 stop under for richer color and depth. Next, add your key light to bring your subject up to taste. With flash, start around –1 to +1 EV relative to the ambient midtones for a natural blend; with continuous lights, adjust output until the subject reads clean while the background stays where you set it. Match color temperature with gels (e.g., CTO for warm dusk or tungsten interiors) and fine-tune white balance in-camera.
If you lean toward constant light and want to master quality and direction quickly, our CS: Key Lighting Methods with Mark Raker (Nanlite) breaks down fast, repeatable setups for mixed light scenarios. 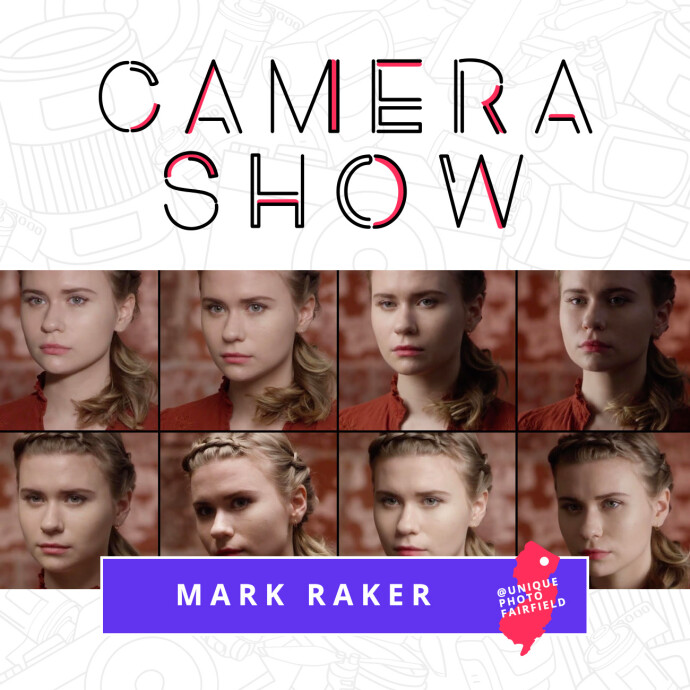
When should I choose reflectors, diffusers, or lights?
- Reflectors: Great when the ambient quality is already pleasing—bounce a silver or white panel to open shadows, or use black for negative fill. Fast and battery-free.
- Diffusers: Midday or top-light? A 1–2 stop scrim or translucent umbrella overhead softens drastically. Add a small fill to keep eyes bright.
- Lights: Windy conditions, complex backgrounds, or when you need repeatable direction and contrast—use strobes/speedlights or compact LED panels with a small softbox or umbrella for control.
Sharpen your decision-making with our advanced sessions: NJCS: Advanced Creative Lighting with Robert Harrington and ExpoImaging dives into gels, grids, and fast modifier swaps. 
Newer to shaping light? The Stunning Portraits Workshop with David Maynard and ExpoImaging focuses on simple, repeatable approaches that travel well. 
How do I handle backlit scenes without washed-out skin tones or flare?
Use the sun as a rim light and expose your background slightly under. Then bring in a key at the subject’s eye level—either a small softbox or a bounced speedlight—for clean skin and catchlights. Keep a flag or lens hood between your lens and the backlight to minimize haze. If the ambient is warm (sunset, sodium vapor), add a 1/4–1/2 CTO gel to your key and set a warm white balance to unify the palette.
For location portraits while traveling, NJCS: Travel Portraits with Bobbi Lane (Fujifilm and Profoto) demonstrates fast backlight management and fill strategies you can deploy anywhere. 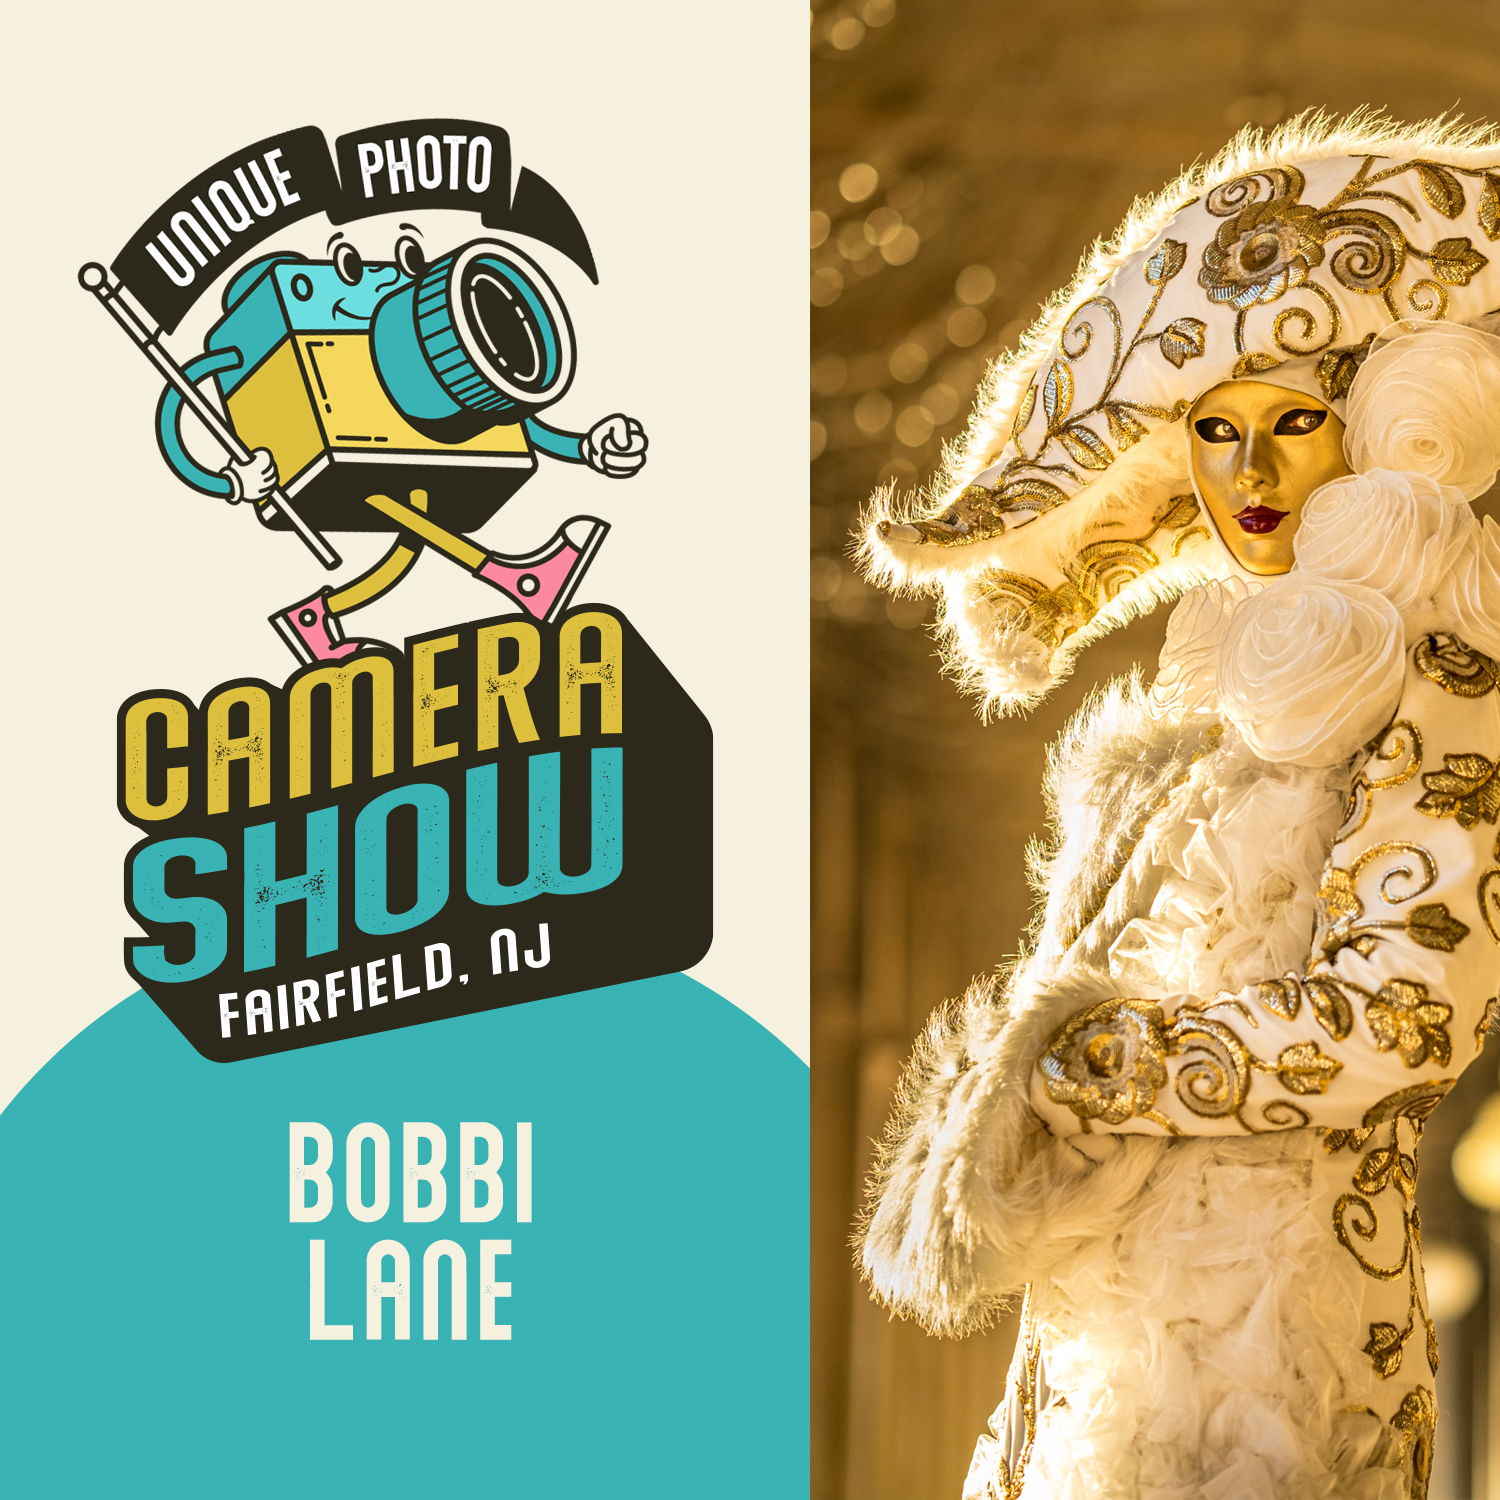
What camera settings and sync techniques work best outdoors?
- Classic sync: Keep shutter at or below your camera’s X-sync (often 1/200–1/250). Use aperture/ISO for exposure and flash power/distance for subject brightness—great for crisp, punchy looks.
- High-speed sync (HSS): Ideal for shallow depth of field in bright sun. Remember HSS reduces effective flash output; move lights closer or use higher power.
- ND filters: An alternative to HSS that preserves full flash punch. A 3–6 stop ND lets you stay under sync while shooting wide open.
If you work fast in dynamic environments (events, editorial, receptions), our Posing and Lighting Bootcamp: Reception Lighting with Magda and Simon covers real-world HSS, gel use, and rapid transitions between lighting scenarios. 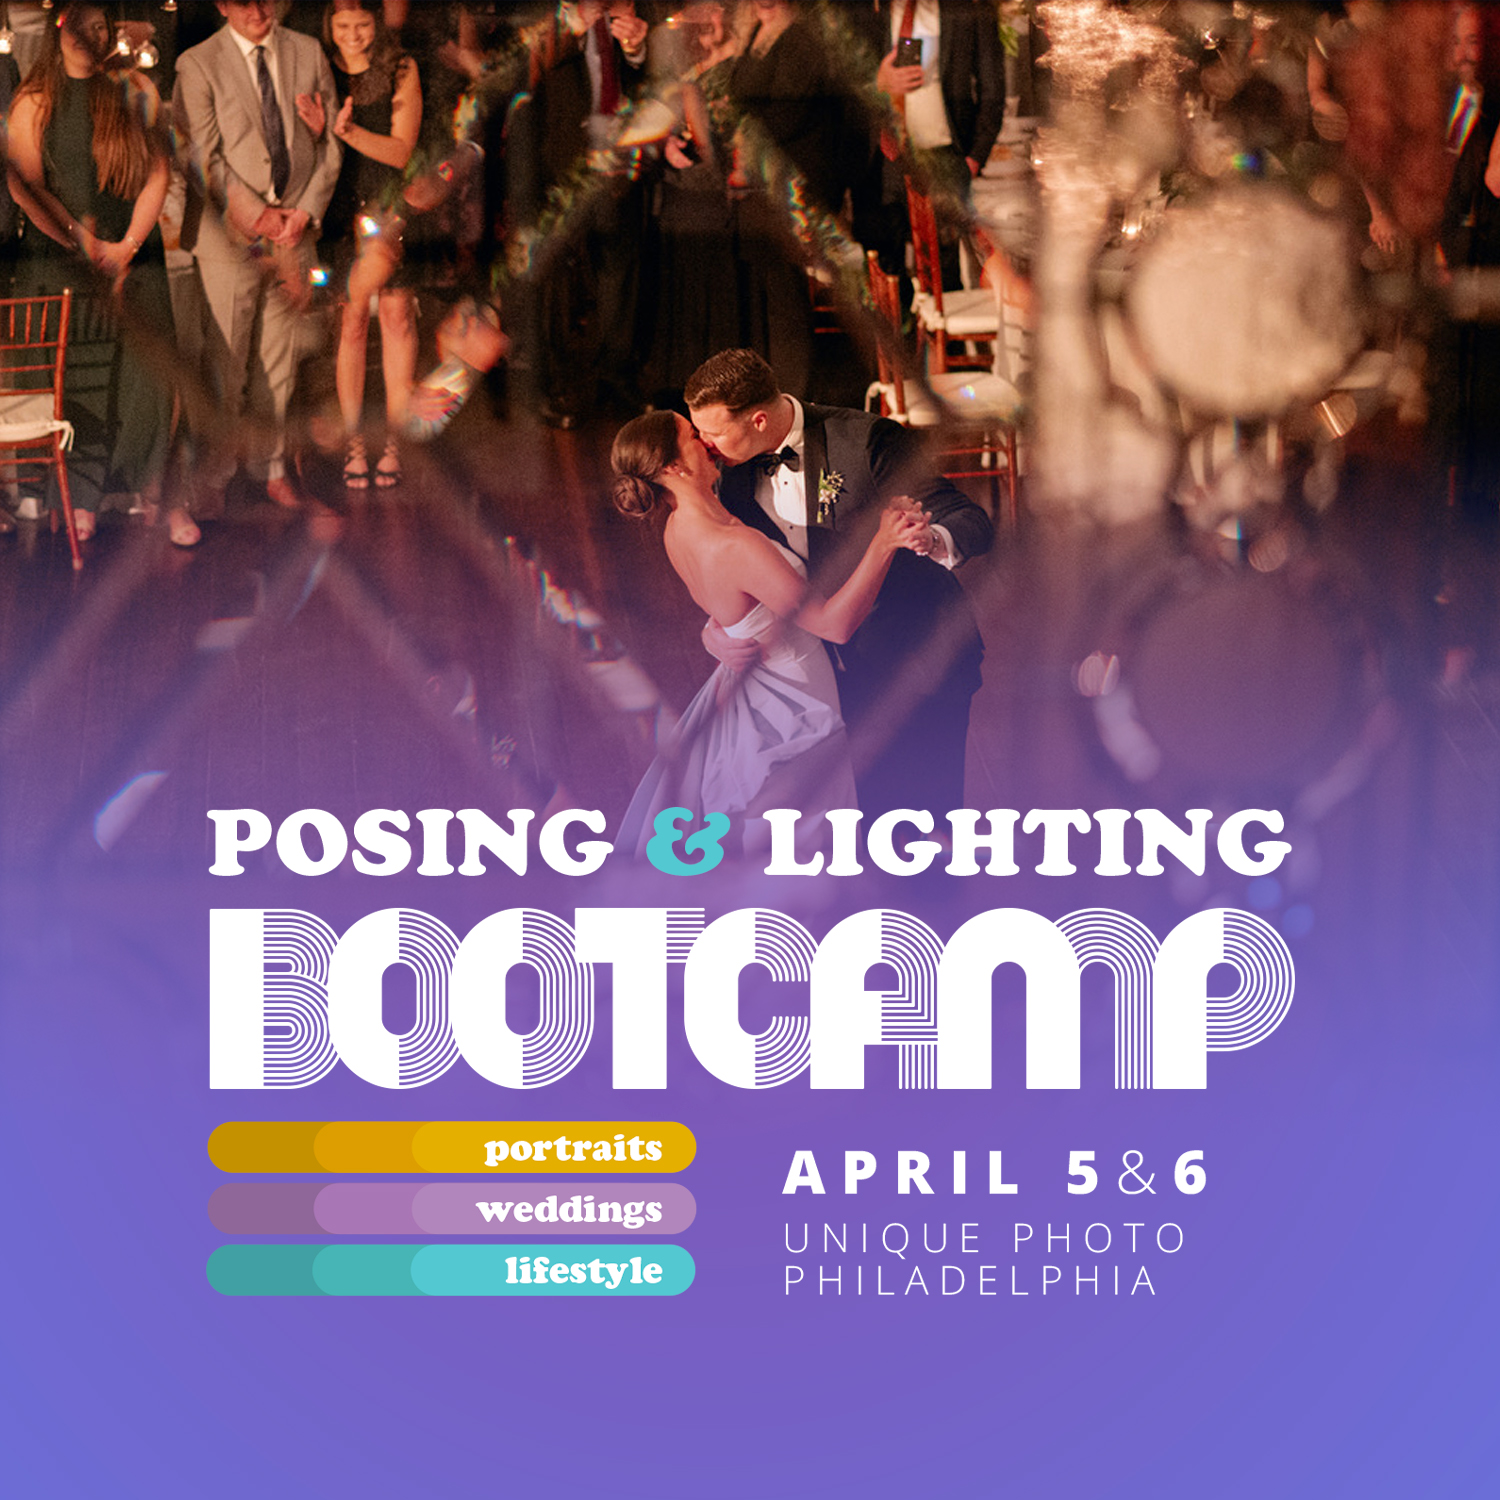
Any tips for hybrid assignments where I need quick video sound bites too?
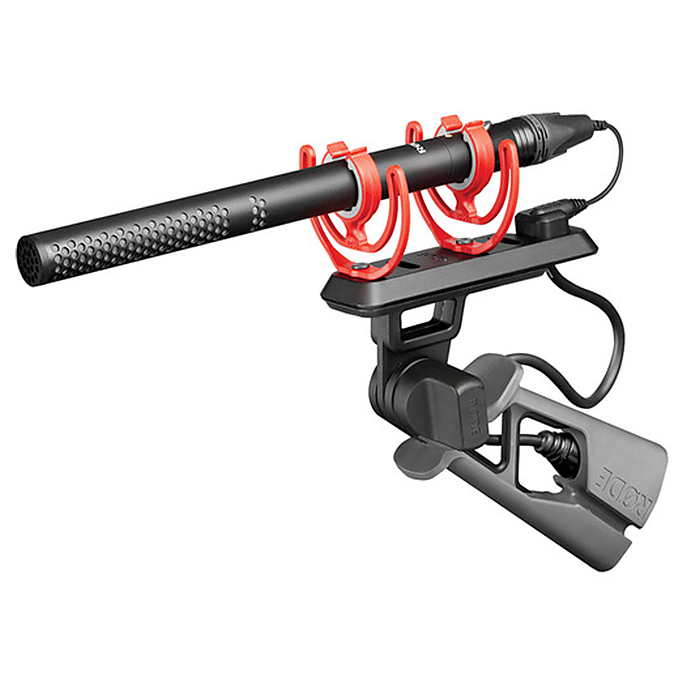
Favor continuous lights for video segments so your look matches stills. Keep a compact shotgun mic handy to record clean dialog even in challenging environments. The Rode NTG5 Location Recording Kit is lightweight, moisture-resistant, and fast to deploy—perfect for a quick interview after your portrait set. Monitor levels, isolate the mic from handling noise, and always carry a small deadcat/windscreen.
How do I pack safely and work efficiently on tight timelines?
Pre-pack in zones: lights and triggers in one compartment, modifiers in another, stands together, and a small pouch for batteries, gels, and tools. Use color-coded straps or pouches so you can grab what you need without digging. On location, keep stands weighted, cables managed, and modifiers sized for the wind. A hard case like the SKB iSeries speeds load-in/out and protects gear between assignments.
Ready to level up? From beginner-friendly lighting to advanced on-location techniques, Unique Photo’s classes and workshops help you build confident, repeatable workflows you can trust on assignment. Visit us in Fairfield or Philadelphia, or explore online to gear up and enroll today.