Noise Reduction FAQ for Photographers: Better Results in Capture and Editing
Noise reduction is one of the most discussed parts of a modern photo workflow because it affects sharpness, detail, color, and overall image quality. At Unique Photo, we recommend treating noise reduction as both a capture issue and an editing issue: the best results usually come from cleaner files in-camera, followed by careful, selective processing in post.
Below, we answer common questions photographers ask when comparing noise reduction tools, building an efficient workflow, and deciding when to fix noise during capture rather than relying entirely on software.
What causes image noise in the first place?
Image noise is most noticeable when you shoot at higher ISO settings, brighten underexposed files, or work in low light with limited control over contrast. Small exposure errors can make noise appear much worse, especially in shadows and flat color areas like skies, walls, and backgrounds. That is why strong exposure technique often does more for image quality than aggressive post-processing alone.
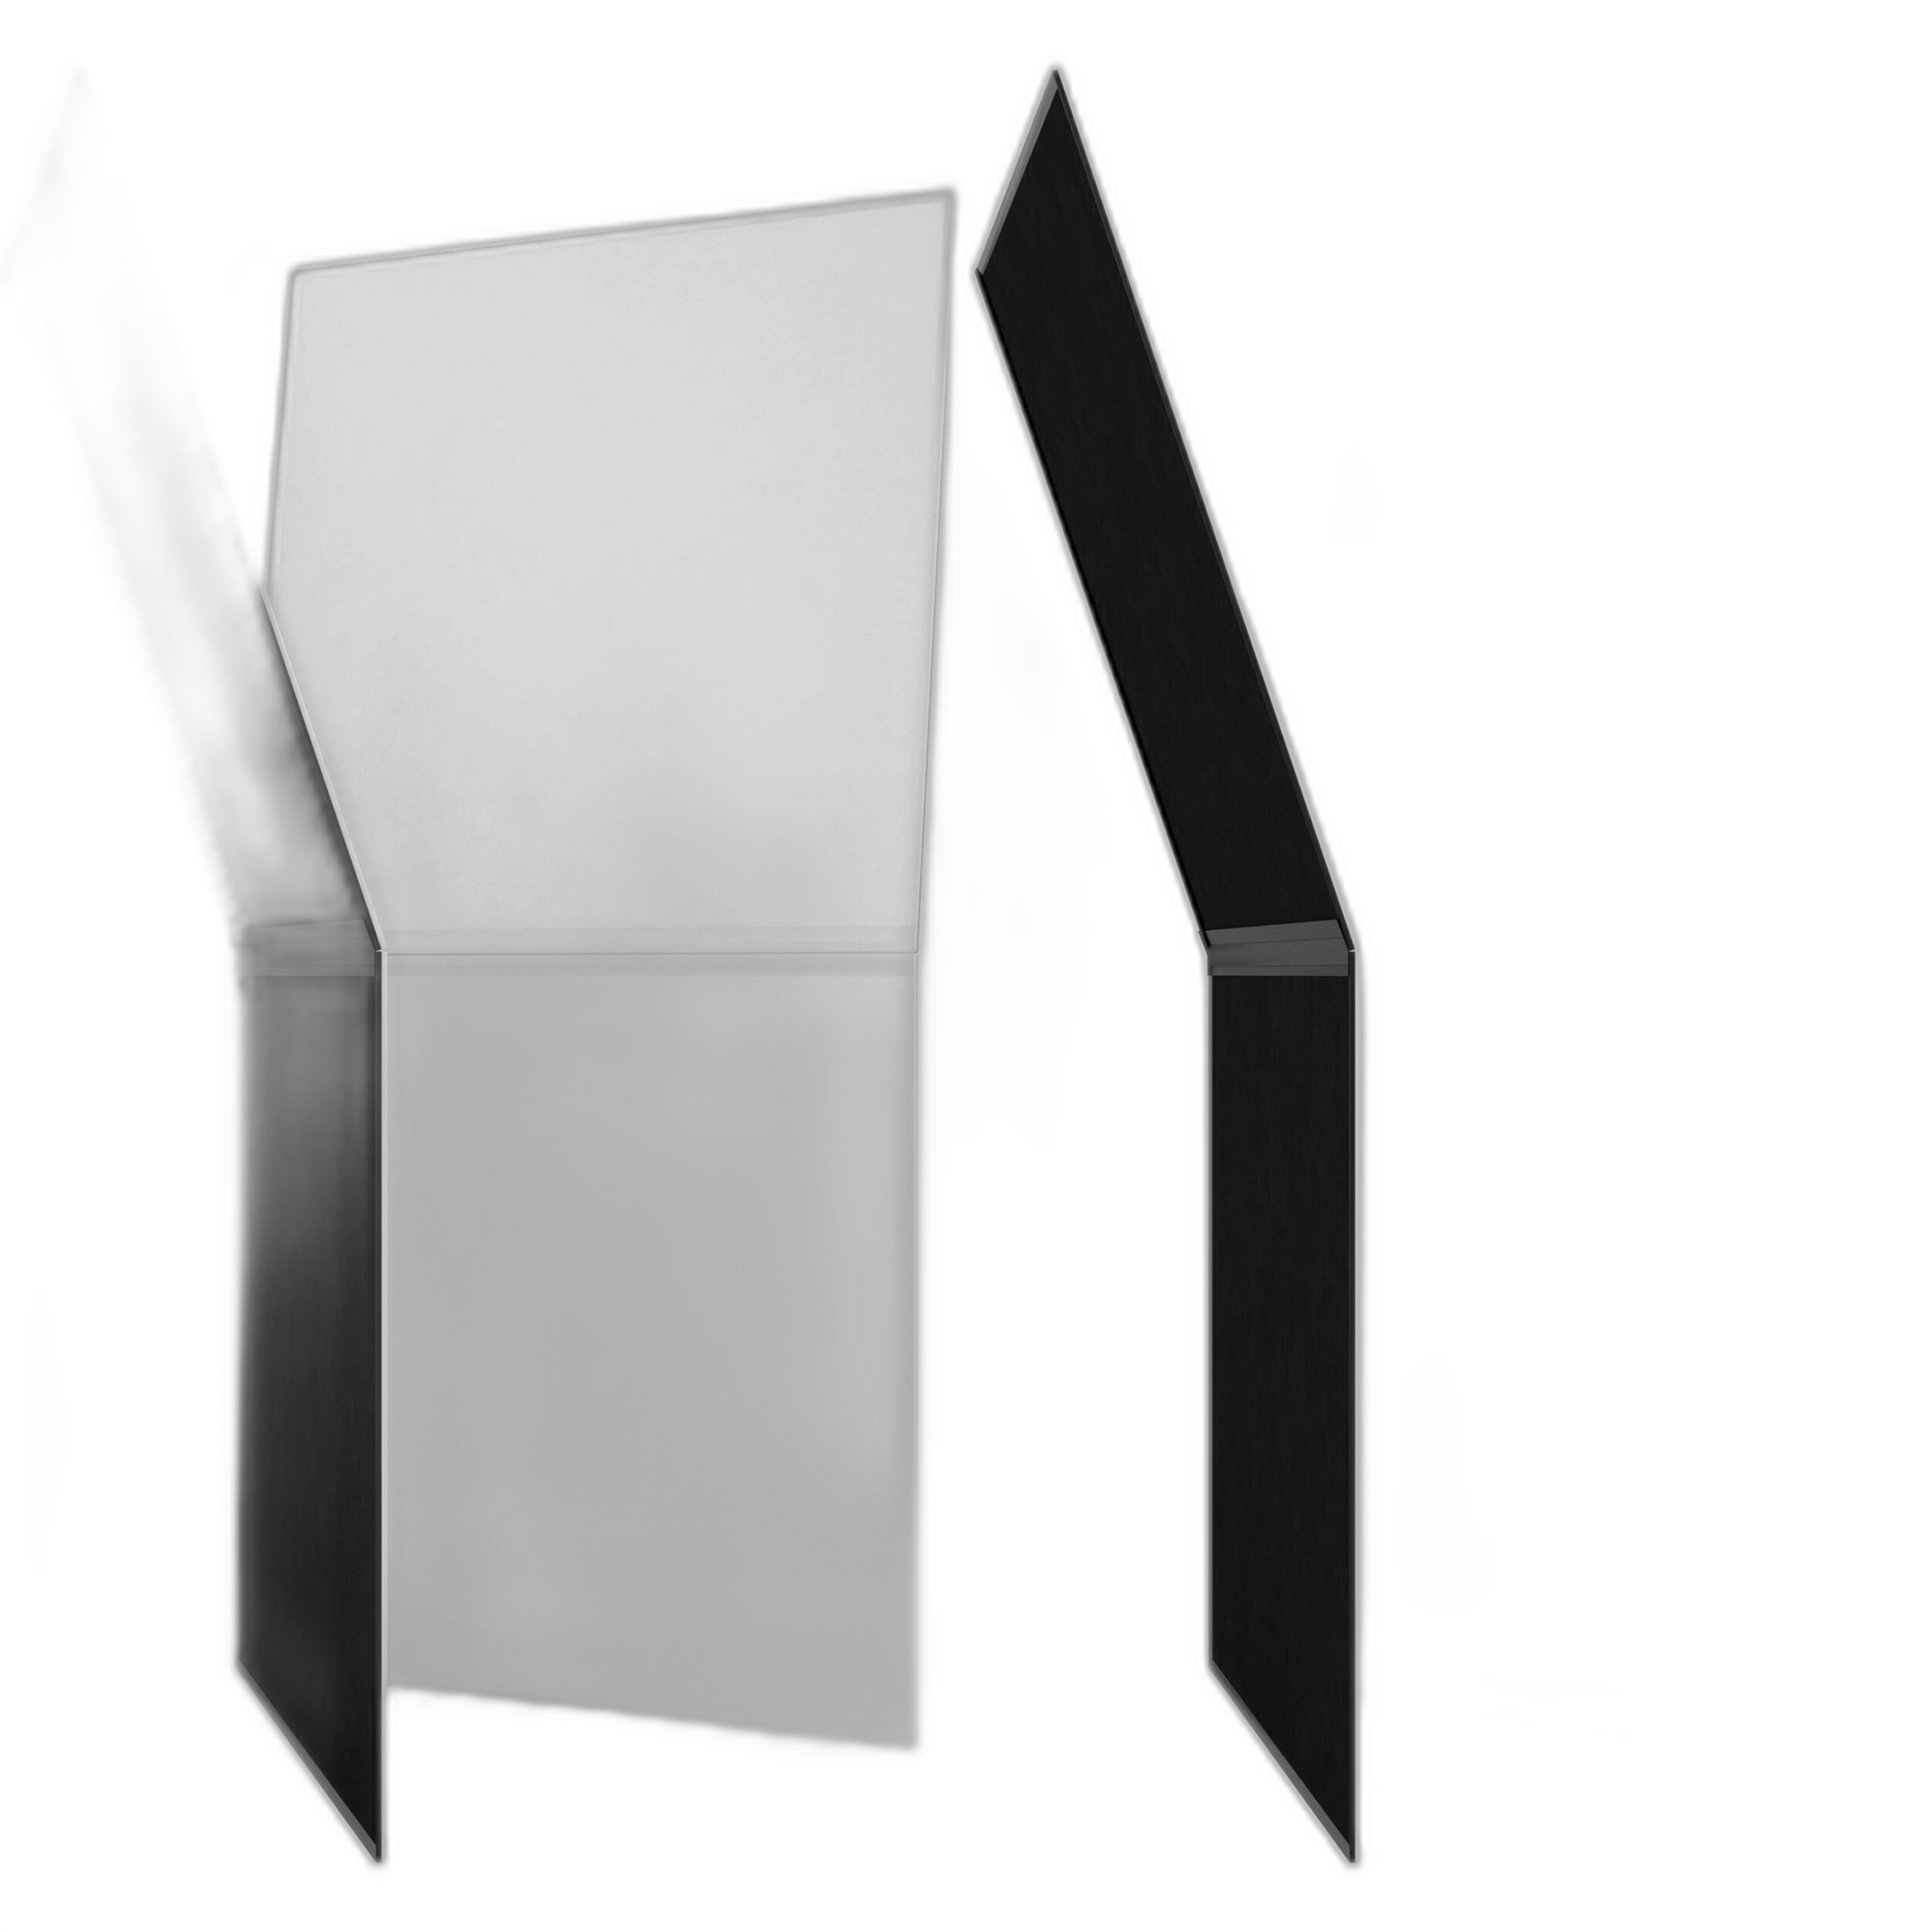
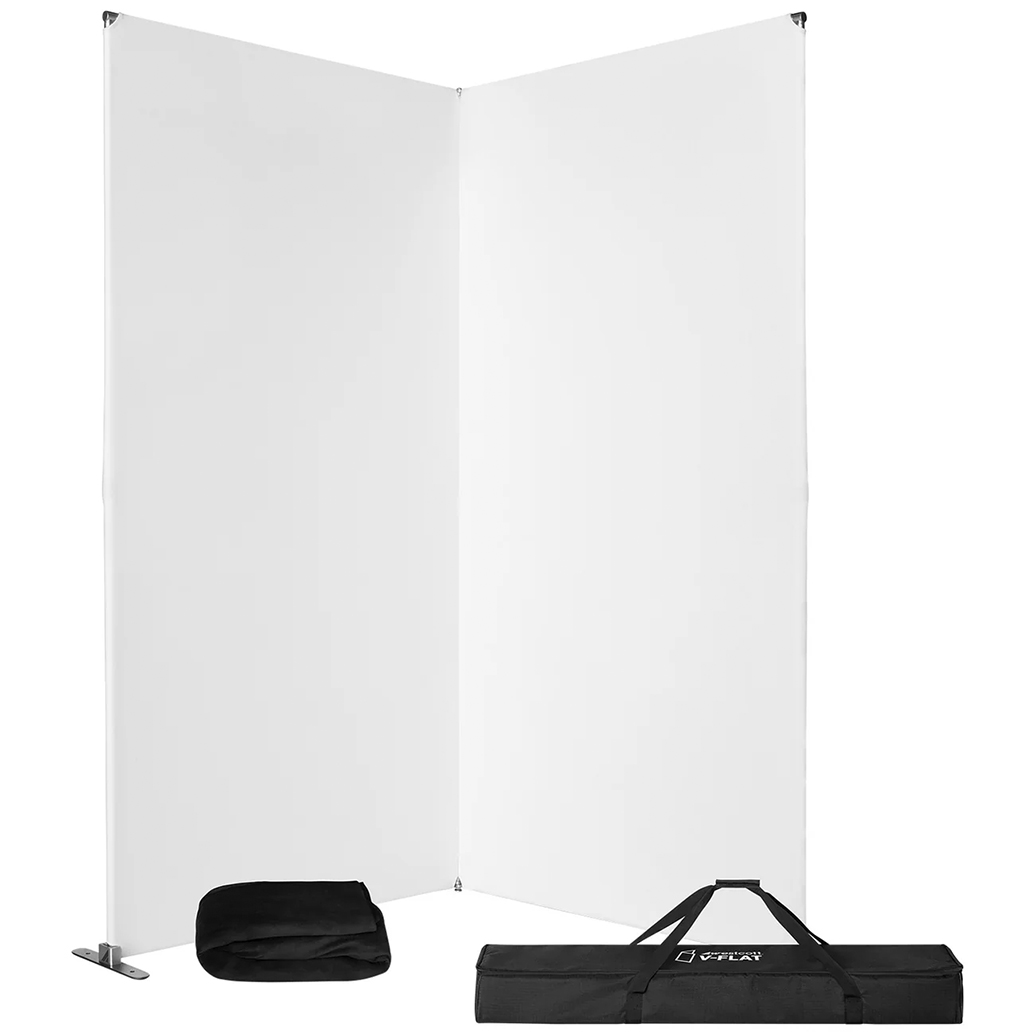
In practical terms, anything that helps you add better light control at capture can reduce how hard your software has to work later. For studio, portrait, and product photographers, shaping light with a controllable background or reflector setup can help you keep ISO lower and files cleaner. A foldable solution like the V-Flat World Foldable V-Flat 2.0 2-Pack Bundle is especially useful for managing contrast and bounce in small spaces.
Should I rely on noise reduction software or try to prevent noise during capture?
The answer is both, but prevention should come first whenever possible. Even excellent noise reduction software can soften fine textures, reduce micro-contrast, or create an unnatural look if pushed too far. A well-exposed RAW file almost always gives better final results than a noisy file rescued aggressively in post.
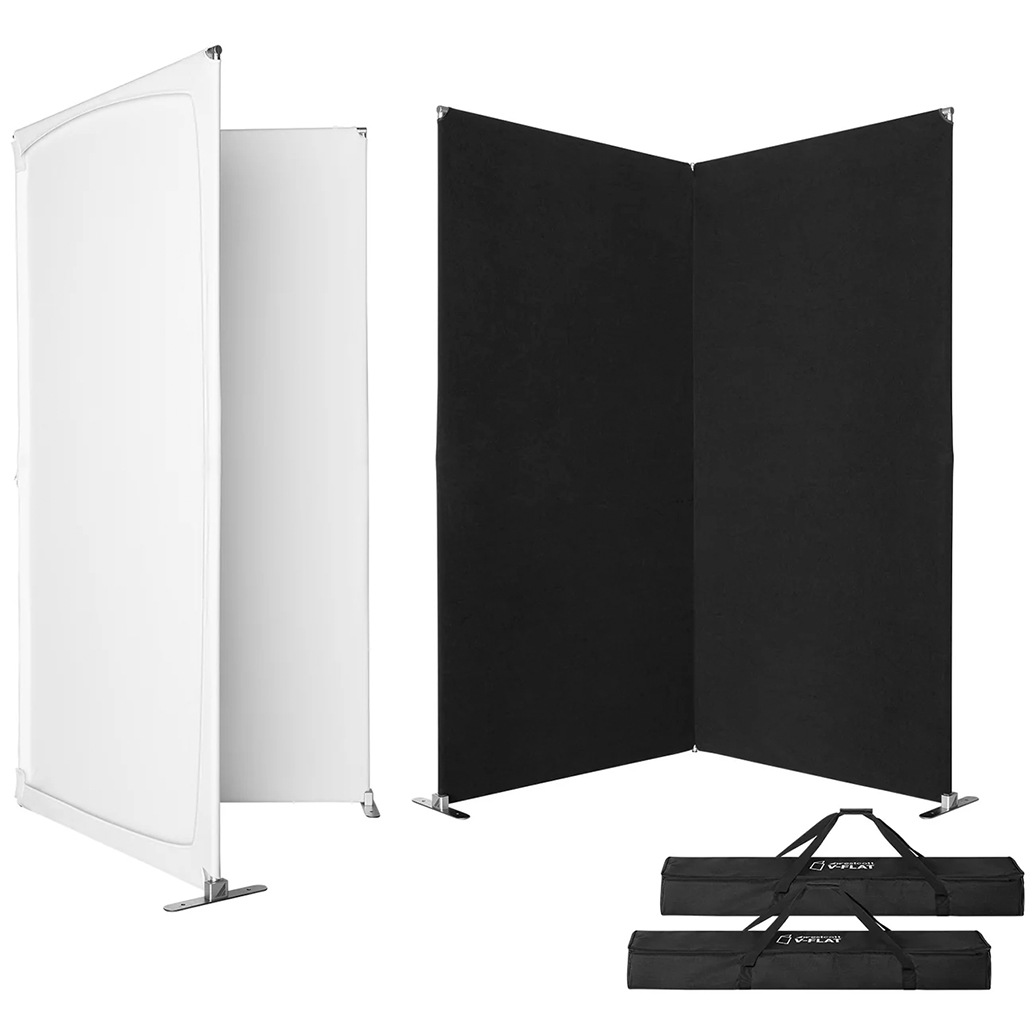
If you shoot indoors, using light-shaping tools to improve exposure efficiency can make a meaningful difference. Products like the Westcott V-Flat 2-Pack with White and Black Fabric can help you bounce or subtract light, improve subject separation, and cut down on deep shadow noise by controlling how light falls across the scene.
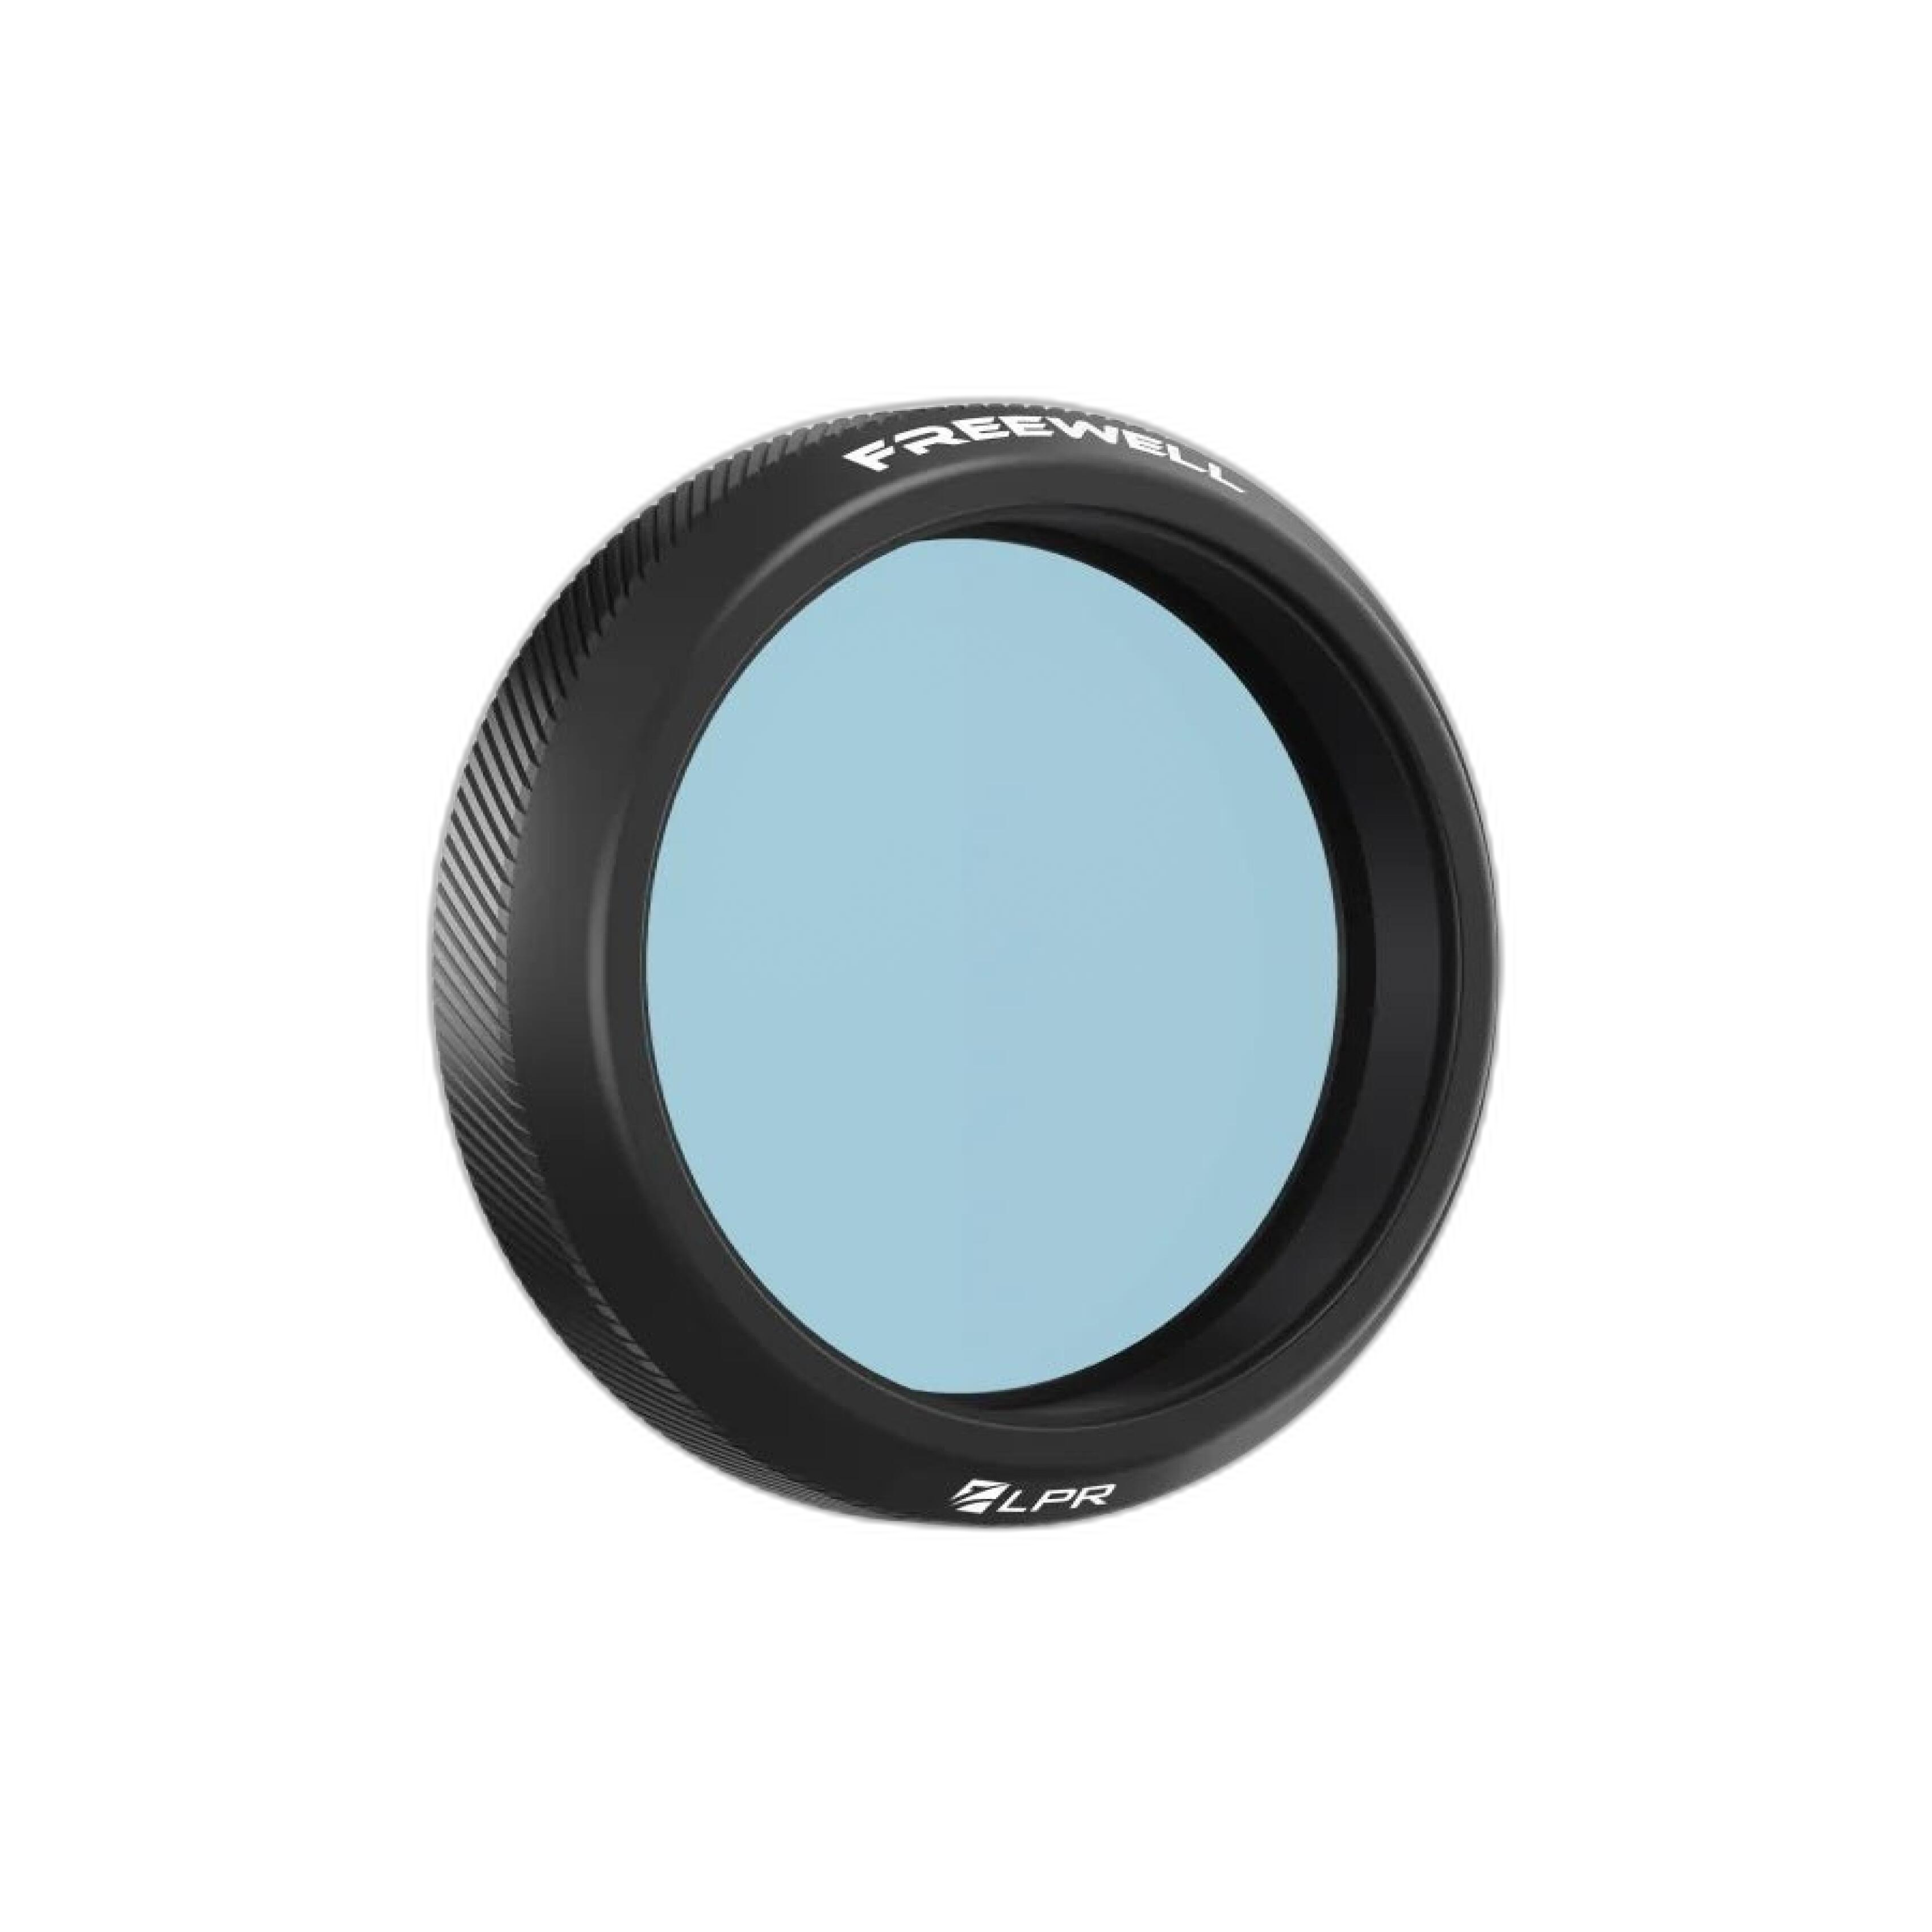
For video or action-camera work outdoors at night, controlling environmental contamination matters too. The Freewell Light Pollution Reduction Filter for select DJI Osmo Action cameras is a specialized example of solving a capture problem before editing. By reducing unwanted color cast from city lighting, it can help you produce footage that needs less aggressive cleanup later.
How much noise reduction is too much?
Too much noise reduction usually shows up as waxy skin, smeared hair, muddy foliage, or a loss of fine texture in fabrics and architectural detail. The goal is not to eliminate every trace of grain; it is to preserve important detail while reducing distracting artifacts. In many cases, a modest amount of luminance noise is preferable to a plastic-looking image.
A smart approach is to evaluate your file at several zoom levels. Check the full image for overall impression, then inspect critical detail areas like eyes, eyelashes, text, and edges. Apply only the amount of reduction needed to make noise less distracting in the final intended output, whether that is social media, prints, client delivery, or video.
What is the best workflow for applying noise reduction in editing?
For most photographers, the cleanest workflow is to start with exposure and white balance corrections, then apply noise reduction before heavy sharpening. This order helps you judge the real character of the file and avoid sharpening noise that you plan to remove. After that, you can fine-tune detail, contrast, local masks, and output sharpening.
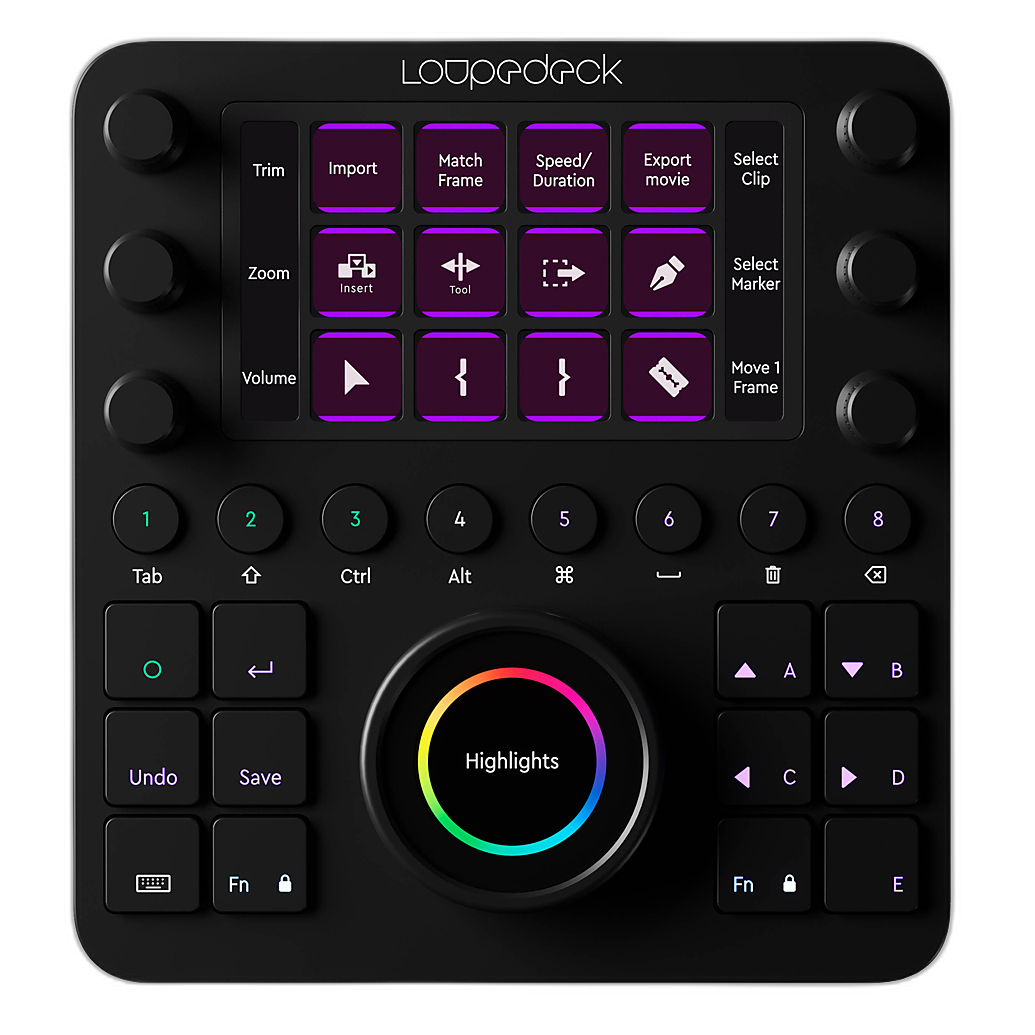
If your workflow includes repeated adjustments across Lightroom, Photoshop, or video editing software, a dedicated control surface can make the process much faster and more precise. The Loupedeck Creative Tool is a great option for photographers and hybrid creators who want tactile control over sliders, presets, and timeline functions. That kind of hands-on workflow is especially useful when comparing subtle noise reduction settings across multiple files.
Should I use global noise reduction or selective noise reduction?
Selective noise reduction is often the better choice. Not every part of an image needs the same treatment. Backgrounds, skies, and deep shadows can usually tolerate stronger reduction, while faces, product textures, and fine detail areas benefit from a lighter touch. Selective adjustments help you maintain realism and keep your subject looking crisp.
This is particularly important for portraits and commercial work. If your background is made cleaner and more evenly lit during capture, you may need far less masking later. A single-panel option like the Westcott V-Flat with White and Black Fabric can be useful in tighter studios or for solo shooters who want quick control over fill and negative fill without overcomplicating the setup.
How do I reduce noise in low-light video footage?
Low-light video is challenging because you have less freedom to lengthen shutter speed, and raising ISO can quickly introduce noise and color instability. The best solution is to maximize capture quality with stable support, careful exposure, and controlled lighting. If you can keep the camera steady, you may be able to use more deliberate exposure choices and avoid pushing the image too far in post.
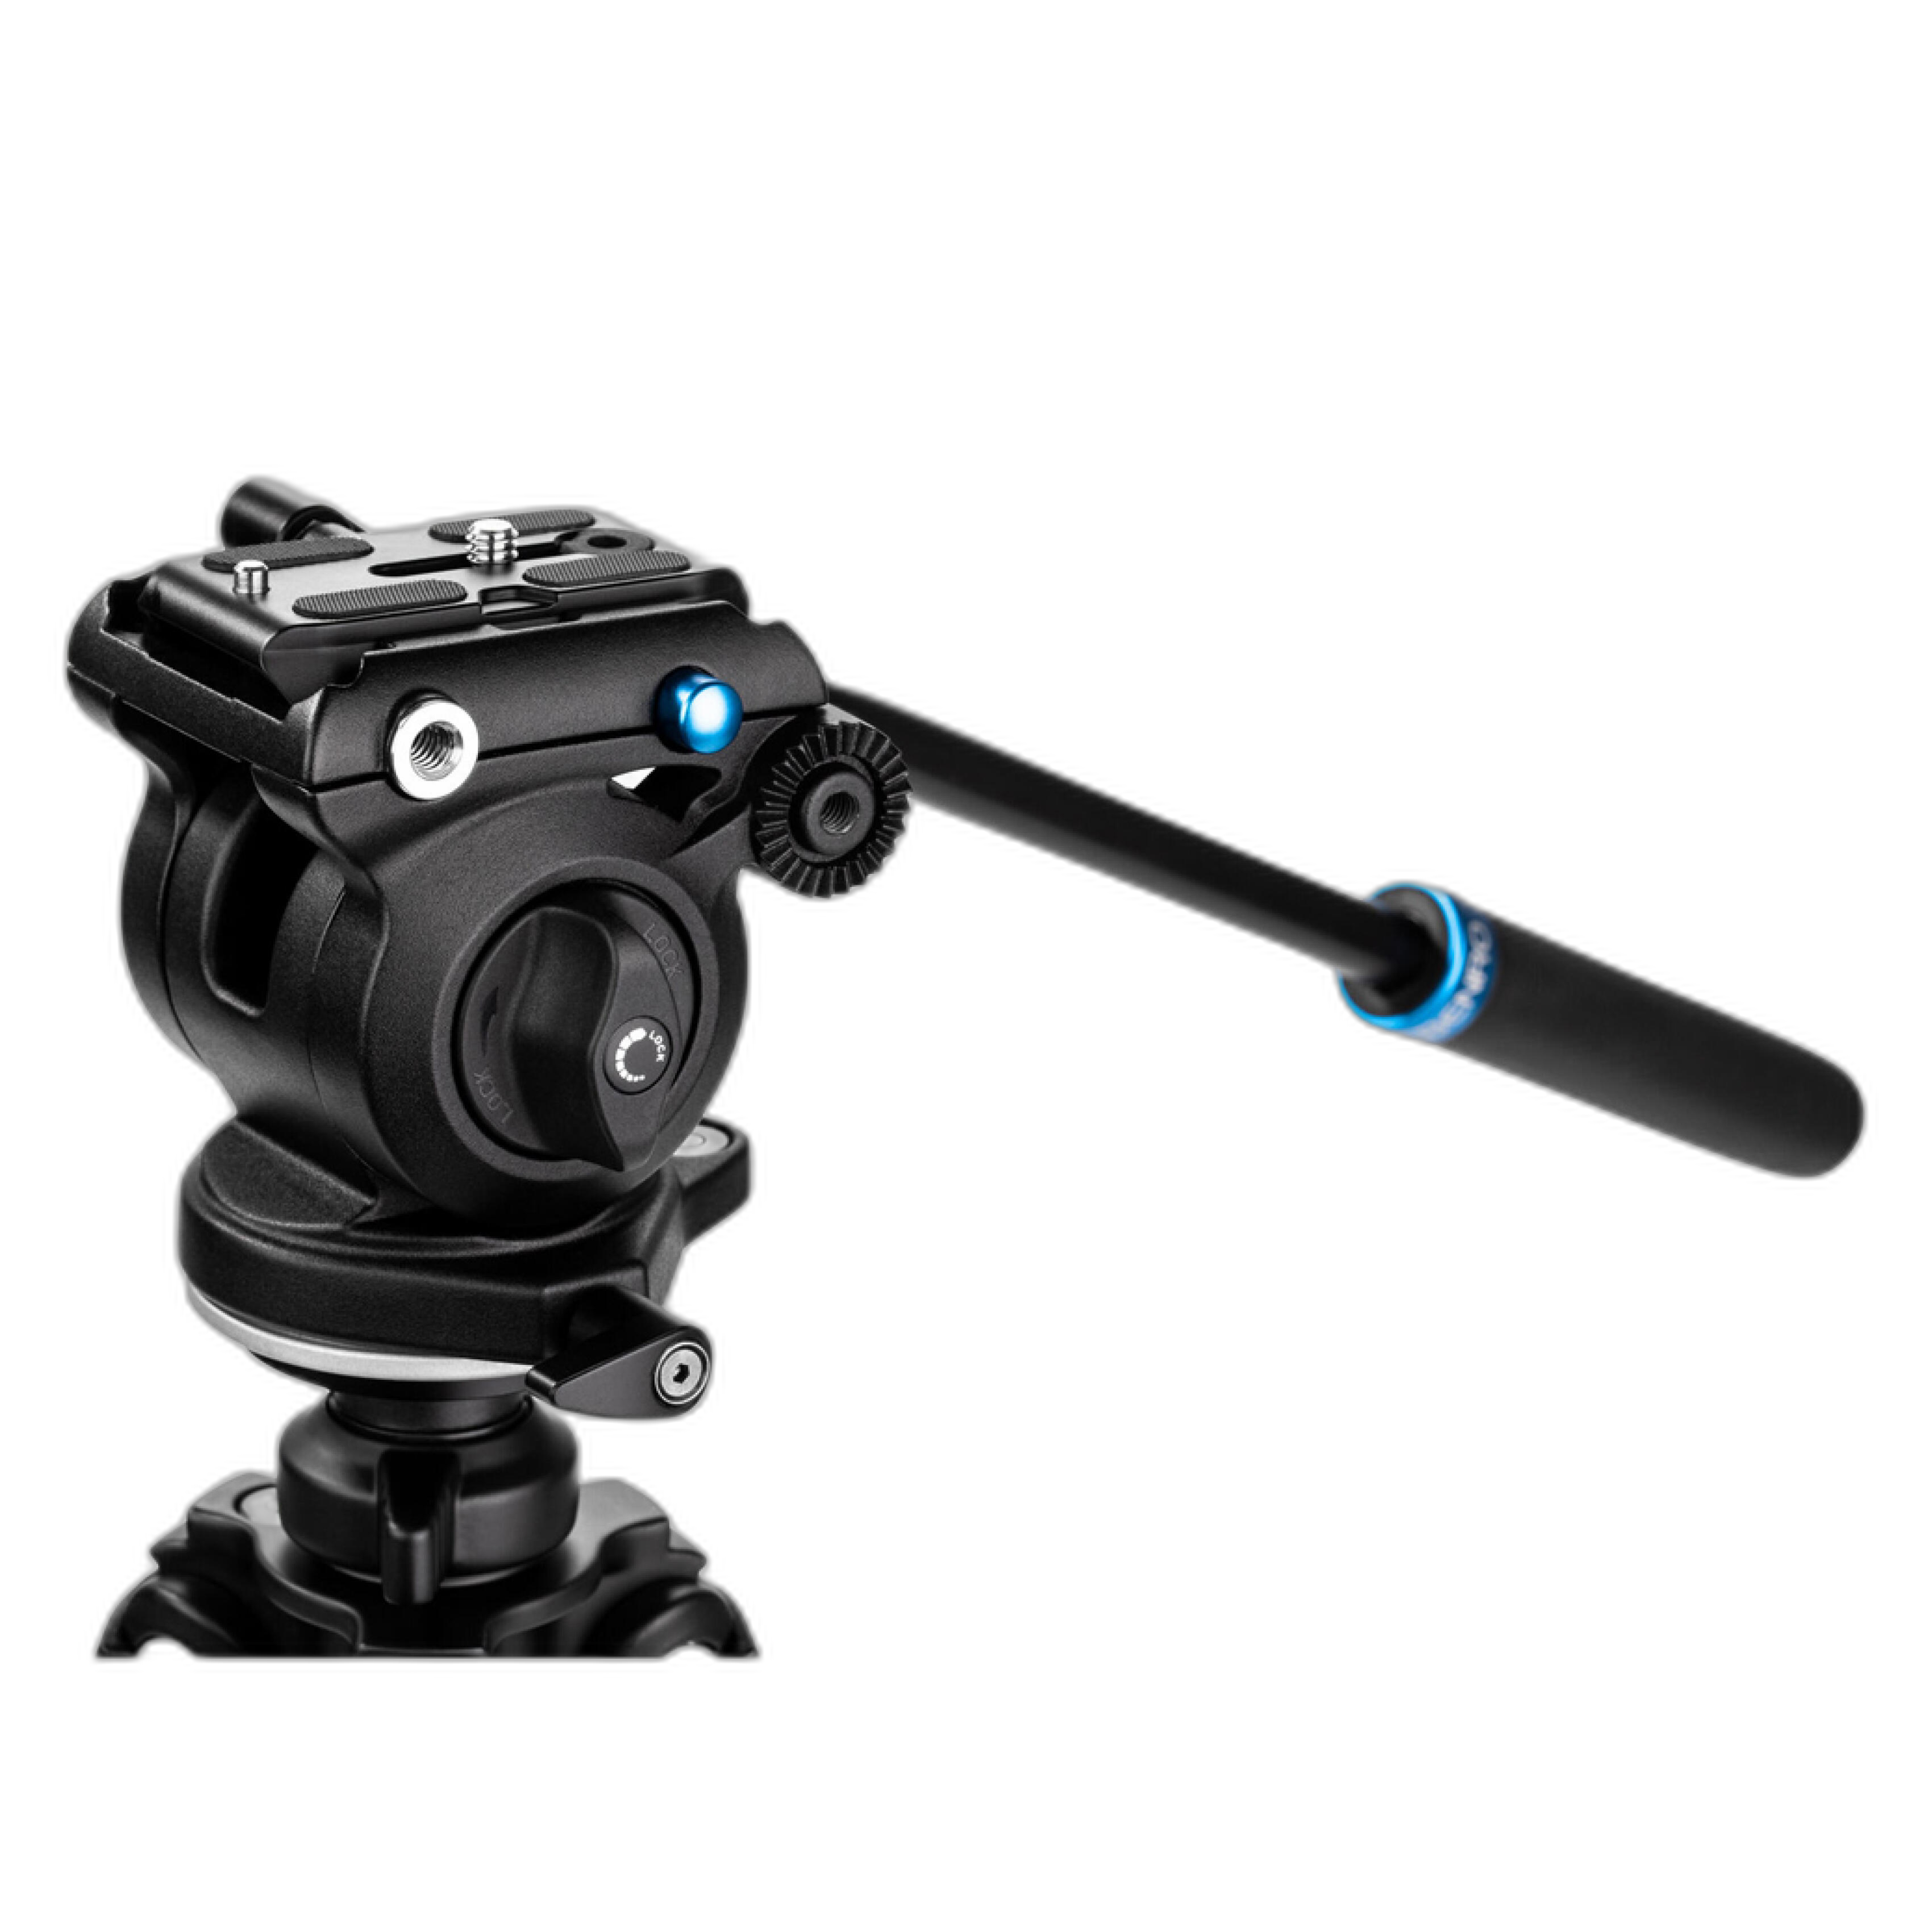
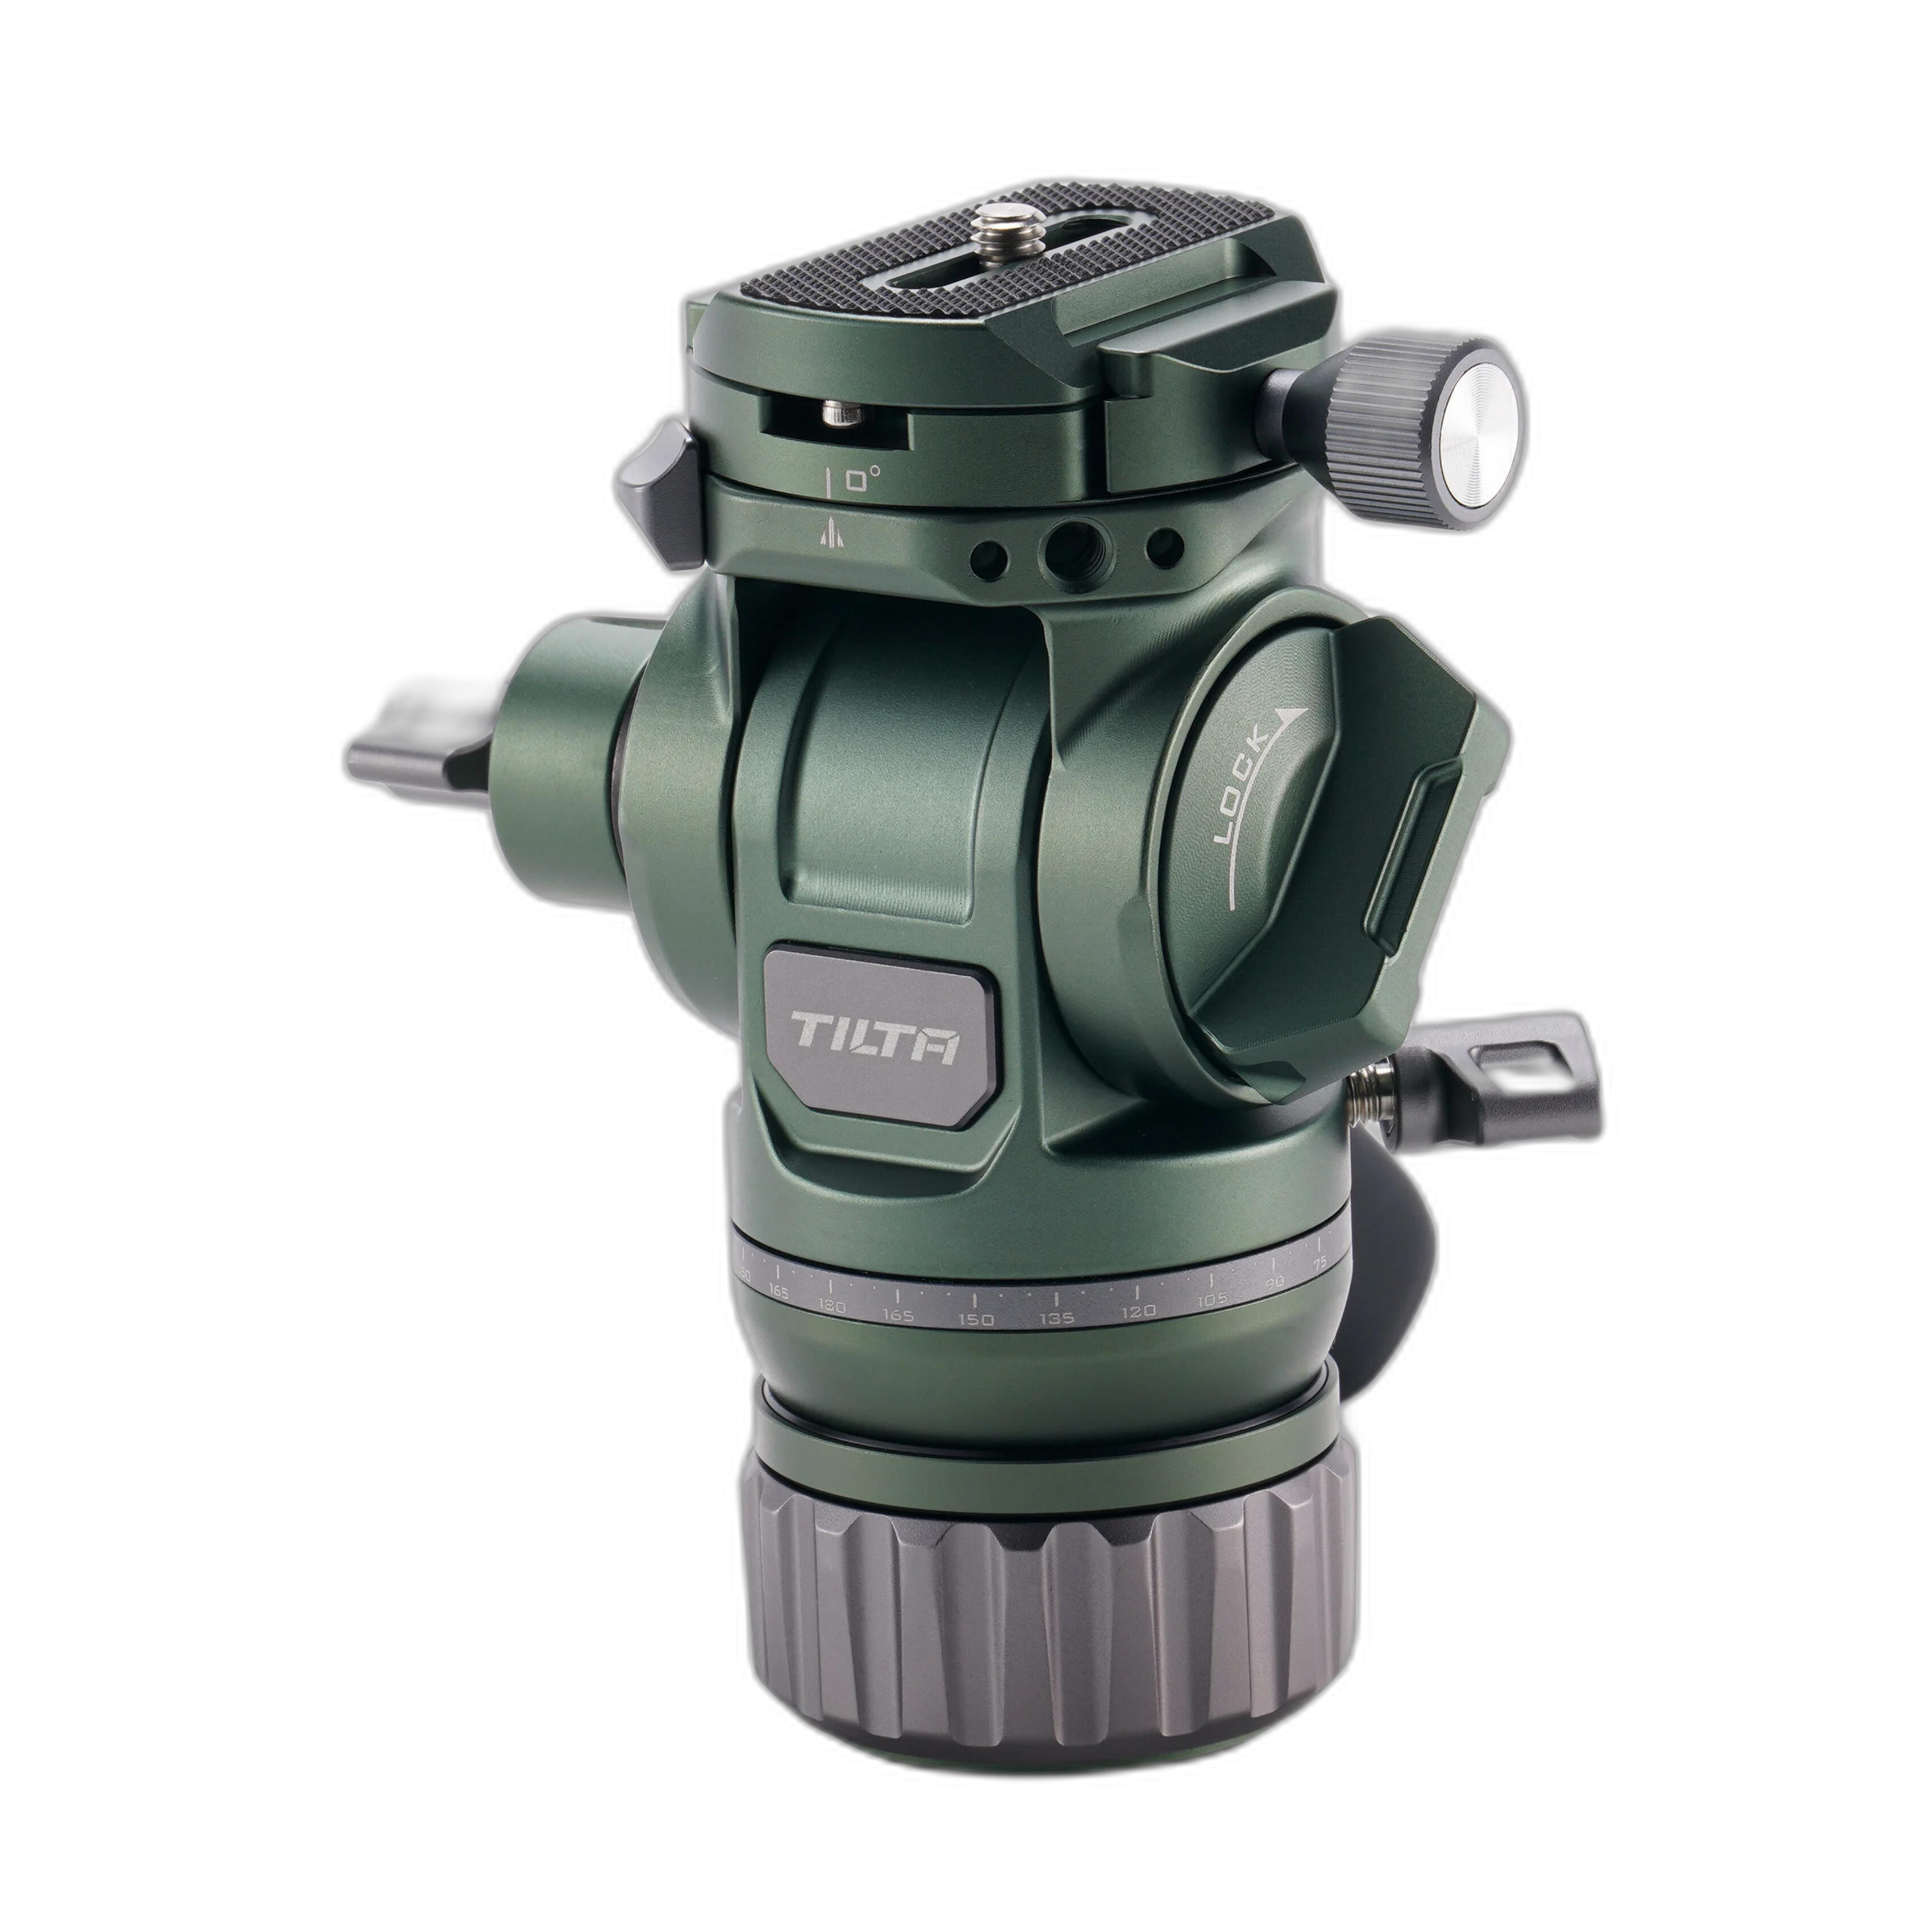
For smoother, controlled video support, a quality fluid head can improve your shooting consistency and help you work more deliberately in dark conditions. The Benro S2 PRO Flat Base Fluid Video Head is a strong choice for compact video setups, while the Tilta Travel Video Fluid Head with Flat Base is another portable option for creators who want stable movement in a lightweight kit.
Once in post, apply noise reduction conservatively, then restore perceived sharpness with selective contrast or sharpening only where needed. Overprocessing video can create distracting temporal artifacts, so subtle settings generally look more professional.
Do different types of images need different noise reduction settings?
Absolutely. Portraits, wildlife, landscapes, events, and night scenes all respond differently to noise reduction. Portraits usually need a balanced approach that preserves skin texture and eyes. Landscapes can tolerate stronger reduction in skies but need care around trees and distant detail. Event images often require compromise because capturing the moment matters more than technical perfection.
The right setting depends on subject matter, final output size, and how much detail truly matters in the frame. A print viewed at normal distance may look excellent even if a 100% crop reveals some grain. Conversely, product photography often demands cleaner files and more controlled backgrounds from the start, which is where studio tools like foldable V-flats can make your editing easier.
Is noise reduction still necessary if I shoot RAW and expose correctly?
Yes, but usually less of it. RAW files preserve more tonal information and generally respond better to correction, but they do not eliminate sensor noise. Even properly exposed RAW files shot in difficult light can benefit from mild luminance and color noise cleanup. The advantage is that a stronger original file gives you more room to preserve detail while reducing artifacts.
The key takeaway is that good capture technique reduces the need for extreme software fixes. Better lighting control, stable support, and efficient editing hardware all contribute to cleaner final images and a faster workflow.
What is the most practical way to improve my results right now?
Start by improving exposure consistency, then refine your editing workflow. If you photograph people, products, or content in controlled environments, adding light-shaping tools such as the V-Flat World Foldable V-Flat 2.0 2-Pack Bundle or Westcott V-Flat options can help you produce cleaner source files. If you spend a lot of time fine-tuning sliders, a control solution like the Loupedeck Creative Tool can speed up repetitive adjustments and make comparisons easier. For video creators, stable support from Benro or Tilta can help you capture more usable low-light footage before noise reduction is ever needed.
At Unique Photo, we believe the best noise reduction workflow starts before you open your editing software. Explore our lighting control tools, editing accessories, and video support solutions to build a smarter setup that delivers cleaner files and better-looking results every time.