Shooting slide (E‑6) film outdoors rewards precision. Chrome stocks render brilliant color and contrast, but their narrow exposure latitude means your metering has to be on point—especially under harsh sun or tricky backlight. This guide from Unique Photo covers proven outdoor metering techniques, highlight placement, filter factors, and practical recipes you can trust in the field.
Why metering for slide film outdoors is different
Unlike color negative film, slide film compresses shadows quickly and clips highlights abruptly. The rule of thumb is expose for the highlights and let the shadows fall where they may. In practice, that means you should:
- Prioritize highlight protection—slight underexposure (−1/3 to −2/3 stop) is usually safer than overexposure.
- Expect usable latitude of roughly ±1 stop around the ideal exposure, much tighter than color negative film.
- Favor consistent, repeatable metering methods over evaluative automation when the light is contrasty.
Best metering methods for E‑6 outdoors: incident vs. spot vs. matrix
Three approaches work well in daylight. Each has tradeoffs—choose based on your scene and gear.
- Spot metering (1° recommended): Meter the brightest important highlight where you still want texture (e.g., sunlit skin, bright cloud edge, white shirt). Open your meter reading by +2.0 stops as a starting point to place that area on a detail‑holding zone. Many photographers use:
• Velvia 50: +1.5 to +2.0 stops
• Provia 100F: +2.0 to +2.5 stops
• Ektachrome E100: ~+2.0 stops
Test your stock and meter to refine this placement. - Incident metering: With the dome out, stand where the subject is and point the meter toward the camera. In low‑contrast light, use the reading as is. In high‑contrast sun, bias the exposure −1/3 to −2/3 stop to protect highlights.
- Matrix/evaluative through the camera: Useful for speed, but can err on the bright side. Dial −0.3 to −0.7 EV when scenes contain bright skies, speculars, or sand/snow. Verify with a handheld meter when possible.
Sunny 16 for slide film: when it works (and when it doesn’t)
Sunny 16 is still excellent in clear midday sun and mid‑latitudes:
- Full sun, front‑lit subject: f/16 at 1/ISO (e.g., ISO 100 → 1/125 s). For slide film, consider −1/3 EV if highlights are critical.
- Hazy sun: f/11 at 1/ISO.
- Open shade/overcast: f/5.6–f/8 at 1/ISO.
- Backlit subject: Open 1–2 stops from the base Sunny 16 reading or spot‑meter the face and keep highlights in check via placement.
Sunny 16 breaks down in very high‑contrast scenes (beach/snow, extreme backlight). Switch to spot or calibrated incident metering in those cases.
Handling high‑contrast scenes: practical tactics
- Backlight with rim light: Spot‑meter the brightest rim where you want detail, place it at +2 stops. Let deep shadows fall to near‑black for drama.
- Snow or beach at noon: Spot the brightest textured area of snow/sand and place at +2. Reduce overall exposure another −1/3 stop if the frame is dominated by speculars.
- Forests and waterfalls: Meter bright water highlights and place at +2; use a polarizer to tame glare (subtract 1.5–2 stops for the filter).
- Cloudscapes and skies: Meter a bright cloud with detail and place at +2; consider a soft grad ND to hold the sky without affecting the foreground exposure.
Quick outdoor exposure recipes (ISO 100 slide film)
- Golden hour, front‑lit portrait: Incident reading as is, or −1/3 stop for richer color. Typical: f/4 at 1/250 s.
- Midday city street, mixed light: Base Sunny 16; bias −1/3 EV to protect highlights. Typical: f/16 at 1/125 s (−0.3).
- Open shade with skylight fill: f/5.6 at 1/125 s; add reflector rather than overexposing.
- Beach at noon: f/22 at 1/125 s; bracket −1/3 and +1/3 if unsure.
- Backlit foliage: Spot bright leaf detail and place +2; expect deep shadows. Typical: f/8 at 1/250 s (after placement).
Filters and how they affect your meter
- Polarizer (CPL): Subtract 1.5–2 stops from your base exposure. Check through the lens for maximum effect and meter after dialing in the rotation.
- Neutral density (ND): Subtract the rated strength (e.g., ND0.9 = −3 stops). Variable ND can add color shifts—use fixed ND for slide work when possible.
- Warming filters (81 series): 81A ≈ −1/3 stop, 81B ≈ −2/3 stop. These can gently warm high‑altitude or blue‑skylight scenes without overexposure.
- Grad ND: Meter foreground normally, then place the sky highlight via a spot reading, choosing a grad strength that brings the sky within range without over‑darkening.
Bracketing for slide film: smart strategies
- Use 1/3‑stop steps around your base exposure.
- Standard scenes: 3 frames (−1/3, 0, +1/3).
- Complex highlights (beach, snow, specular water): 5 frames centered around a highlight‑placement base (e.g., −2/3, −1/3, 0, +1/3, +2/3).
- When exposure is critical (slide shows, projection): Bias the bracket slightly toward underexposure.
Calibrating your meter and effective ISO (EI)
Run a short, controlled test to align your meter, film stock, and lab process. Shoot a high‑contrast scene and a mid‑contrast portrait at different EIs, then evaluate the transparencies on a light table.
- Starting EIs (common baselines): Velvia 50 → EI 40–50; Provia 100F → EI 80–100; Ektachrome E100 → EI 80–100.
- Choose the EI that gives you consistent highlight detail at your preferred placement (e.g., +2 stops).
- If you regularly use a particular lab, keep your EI consistent with their process for repeatable results.
Workflow tips: from field to scan/print
Keep the whole chain consistent—exposure, development, and output—so your metering decisions pay off on the light table and in final prints.
- In the field: Carry a reliable handheld meter and keep batteries charged. If you reference a digital camera for scouting exposures or camera‑scan your slides, ensure your batteries are topped off.
- After development: Inspect on a calibrated light table. For prints from slide scans, quality papers help preserve chrome color and contrast.

Unique Photo’s lab pros can guide you on paper choice and chemistry for lab workflows.
Recommended gear for learning and practicing metering
- A 1° spot meter: The most precise way to place highlights outdoors.
- Incident meter with dome: Fast and consistent, especially for portraits and open shade.
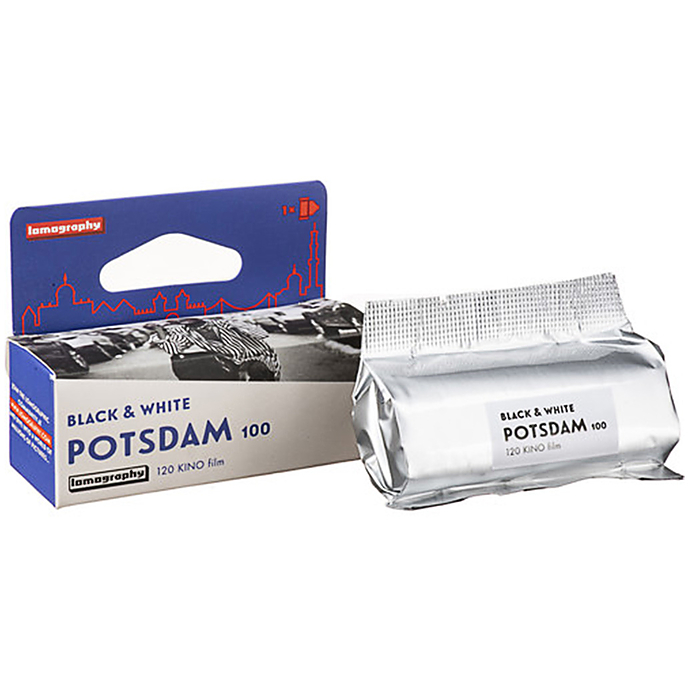
- Medium format practice film: To hone technique without burning chrome, try a forgiving stock. For example, Lomography Potsdam Kino 100 (B&W negative) in 120 is a great way to practice spot‑meter placement and shadow management before you switch to slides.
- Keep your kit tidy: Don’t lose a great shot to dust or damage. Simple accessories, like a proper rear lens cap, help your lenses stay clean and ready.
Unique Photo carries slide films, meters, filters, used film cameras, and lab supplies—plus E‑6 processing services in select locations—so you can build a dependable slide workflow end to end.
Common pitfalls (and easy fixes)
- Overexposed highlights: Place bright areas at +2 (not +3) and consider −1/3 EV bias with matrix metering.
- Flat color in haze: Use a polarizer and deduct 1.5–2 stops. Keep the sun 90° to your lens for maximum effect.
- Color casts at altitude: Add an 81A (−1/3 stop) to warm the scene slightly.
- Underexposed shadows with people: Don’t over‑open for faces under backlight. Use a reflector or fill flash rather than adding exposure that will blow the background.
Conclusion: put it all together
Meter for highlights, keep a consistent EI, and bracket smartly when the light gets tough. With a calibrated method and reliable gear from Unique Photo, your outdoor slide film will sing—on the light table, in scans, and in prints.
Suggested internal links on Unique Photo:
- E‑6 Slide Film category (Velvia, Provia, Ektachrome)
- Handheld Light Meters (1° spot and incident)
- Filters: Polarizers, Fixed ND, and Graduated ND
- E‑6 Film Processing Services
- Used Film Cameras and Lenses
- Darkroom & Lab Supplies for Printing from Slides