Developing black and white film at home is easier than you think—and incredibly rewarding. With a small kit, a little practice, and a reliable workflow, you can turn exposed rolls into beautiful, archival negatives in under an hour. This beginner-focused guide from Unique Photo answers the most common questions about B&W processing, chemistry, timing, scanning, and storage so you can start confidently.
What equipment do I need to develop black and white film at home?
You can start with a compact setup that fits in a bathroom or kitchen. Essentials include:
- Light-tight way to load film: a changing bag or fully dark room
- Developing tank with reels (35mm and/or 120)
- Thermometer (range around 60–80°F / 15–27°C)
- Timers (phone app or dedicated lab timer)
- Graduated cylinders and beakers for mixing chemistry
- Stirring rod or clean spoon, funnel, and storage bottles
- Film clips and a dust-free place to hang-dry
- Wetting agent for spot-free drying (e.g., Photo-Flo)
- Nitrile gloves and safety glasses
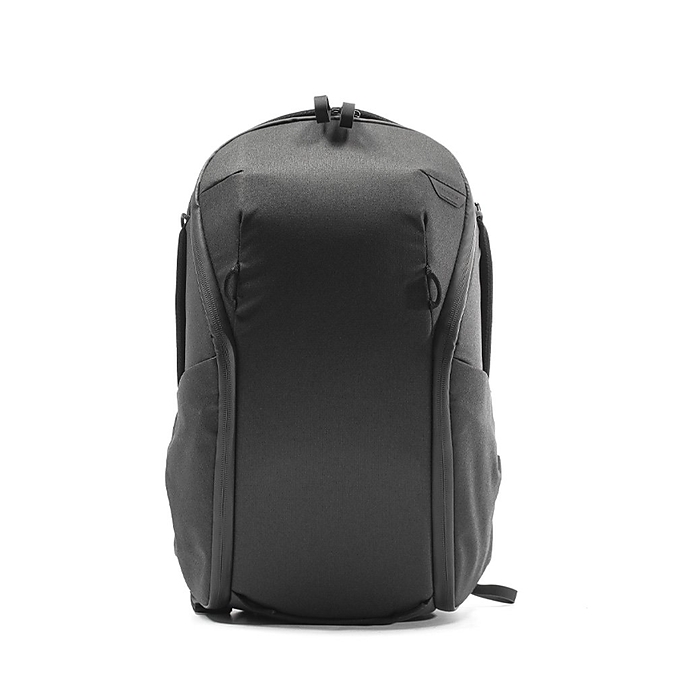
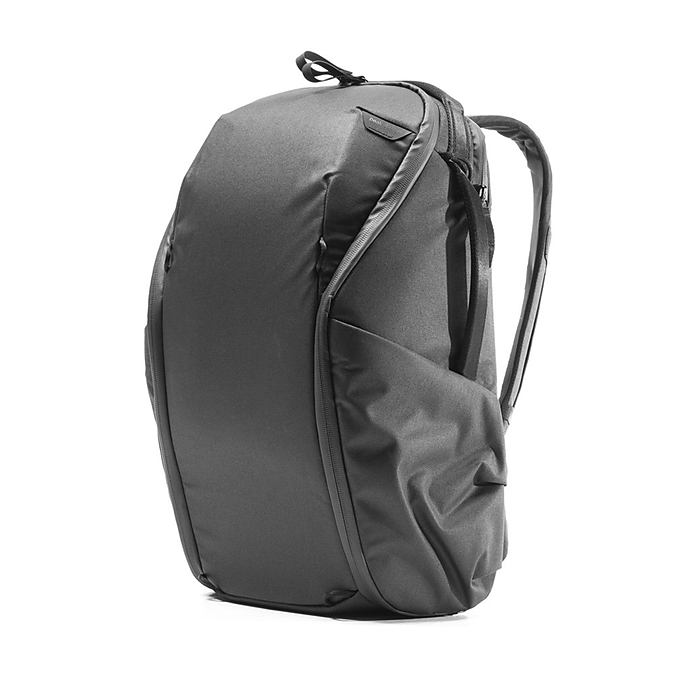
Unique Photo carries tanks, reels, thermometers, and darkroom tools to build a reliable starter kit. If you’re taking your film kit on the go, a streamlined pack helps keep gear organized between shoots and home processing.
Which chemicals do I need? How long do they last?
For standard B&W processing you need three basics: developer, stop bath, and fixer. Add a wetting agent for the final rinse. Optional: hypo clear (wash aid) to reduce wash time with fiber-based papers or when using hardening fixers.
- Developer: Common choices include Kodak D-76/Ilford ID-11 (powder, versatile), HC-110 and Rodinal (liquid concentrates with long shelf life), and Ilfotec/XTOL-type developers (fine grain, excellent tonality).
- Stop bath: Briefly halts development. You can use water as a stop, but a proper stop bath keeps fixer fresher longer.
- Fixer: Removes unexposed silver halides to make the image permanent. Choose rapid fixer for speed and convenience.
- Wetting agent: Minimizes drying marks.
Shelf life tips:
- Liquid concentrates (HC-110, Rodinal) can last years when sealed; decant into smaller bottles to reduce air space.
- Powder developers last a long time unopened; once mixed, store in full, airtight bottles.
- Fixer’s capacity is limited by the amount of film processed; use a clip test (fix a leader) to track clearing time. When clearing time doubles, replace fixer.
Unique Photo stocks a wide range of developers, stop baths, and fixers so you can choose a single-bottle concentrate for simplicity or a powder for classic results.
What temperature and times should I use?
The industry standard for B&W film is 68°F/20°C. Always consult the film and developer data sheets for exact times. As a starting point:
- Pre-soak (optional): 1 minute at 68°F to help even development.
- Develop: Pour in developer, start timer, and agitate. A common pattern is 30 seconds of continuous inversion at start, then 10 seconds every minute.
- Stop bath: 30 seconds.
- Fix: 3–5 minutes with fresh rapid fixer (check data sheet; some films and fixers recommend longer).
- Wash: 5–10 minutes. The Ilford method (fill, invert 5x, drain; fill, invert 10x; fill, invert 20x) conserves water.
- Final rinse: 30–60 seconds with wetting agent.
- Dry: Hang in a dust-free area; avoid touching the emulsion. Allow 2–4 hours.
Note: Warmer developer increases activity (shorter times, more grain/contrast); cooler slows it down. Maintain consistent 68°F/20°C for repeatable results.
Can I develop different films together in one tank?
Yes—if they share the same development time, temperature, and developer. Mix formats (35mm and 120) only when reels fit your tank comfortably and you’re confident in loading. Avoid combining pushed and non-pushed rolls in the same run, and do not mix color or chromogenic (C-41) films with traditional B&W films.
How do I avoid scratches, dust, and water spots?
- Practice loading: Use a sacrificial roll in daylight to learn your reels. Dry reels thoroughly and keep them oil-free.
- Handle by edges: Keep fingernails trimmed; never drag film across the reel lips.
- Rinse and wetting agent: Use a drop or two of wetting agent in distilled water for the final rinse.
- Drying space: Run a hot shower in a bathroom to knock down dust, then hang film to dry with weighted clips.
- Squeegees: If used, ensure they’re perfectly clean; many prefer the “two clean fingers” method to avoid scratches.
Why are my negatives too thin or too dense?
- Thin (light) negatives: Underexposure, too-short development, weak/oxidized developer, too-cold chemistry.
- Dense (dark) negatives: Overexposure, too-long development, too-warm chemistry, or excessive agitation.
- Streaks/Unevenness: Inconsistent agitation or pouring; ensure immediate, even inversion and adequate solution volume.
Keep notes: film, EI, developer dilution, time, temp, agitation. A consistent log helps you dial in results quickly.
Is it safe to develop film at home? How do I dispose of chemistry?
Yes—with basic safety:
- Wear gloves and eye protection; avoid ingestion and skin contact.
- Label all containers clearly; never reuse food/drink bottles.
- Ventilate your workspace; avoid mixing powders in poorly ventilated areas.
Disposal: Many developers/stop baths can go down the drain in small home-quantities where permitted; fixer must be treated for silver before disposal. Collect used fixer and take it to a silver recovery facility or follow local regulations. Always check your municipality’s guidelines.
How do I scan or digitize black and white negatives at home?
You have three main options:
- Dedicated film scanners: Highest convenience for 35mm/120 with good dust handling.
- Flatbed scanners: Cost-effective for multiple formats and contact sheets.
- Camera scanning (DSLR/Mirrorless): Mount a macro-capable camera over a light source and film holder for exceptional sharpness and speed.
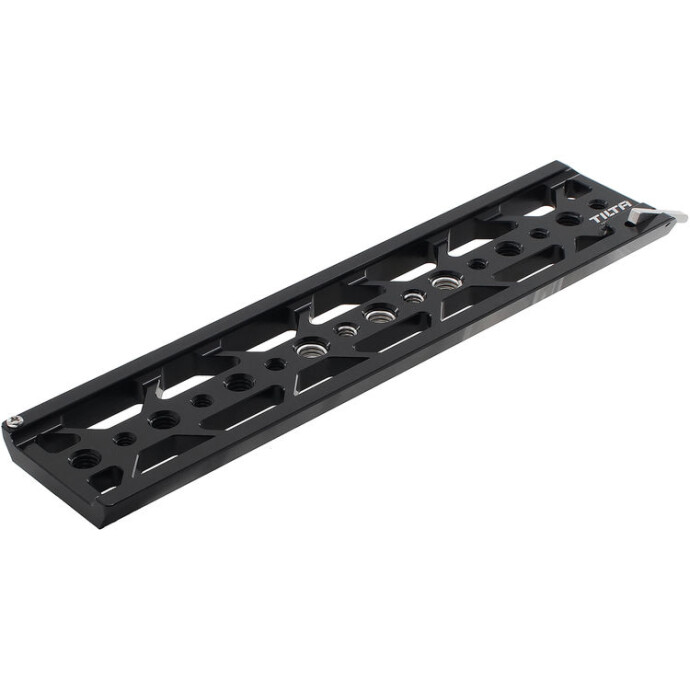
For camera scanning, stability is key. A rigid mounting solution helps maintain perfect alignment for sharp, repeatable captures.
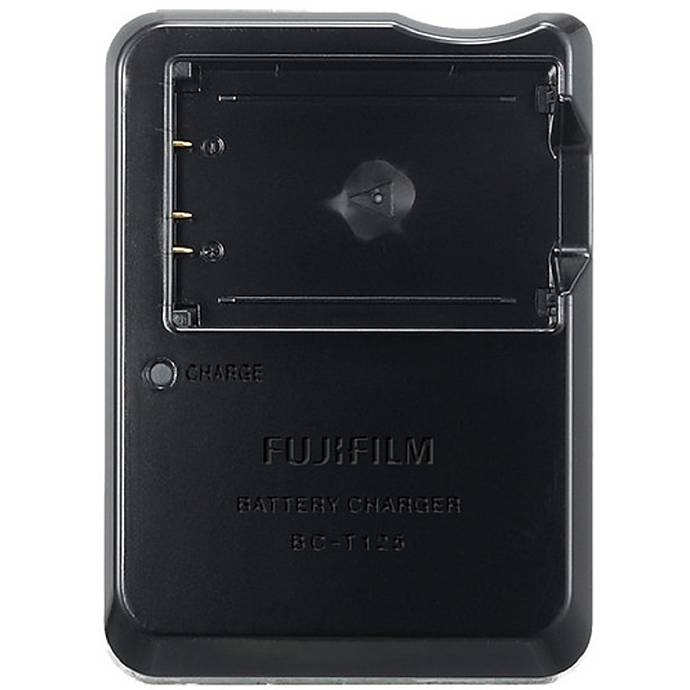
If you’re digitizing medium format negatives with a mirrorless like the Fujifilm GFX series, keep your power situation steady for long sessions.
Unique Photo carries scanners, copy-stand accessories, macro lenses, light panels, and archival storage to complete your digitizing workflow.
How do I make black and white prints at home?
Most beginners start with inkjet printing from scans. Tips for clean, neutral B&W:
- Use high-quality paper profiles or dedicated B&W modes where available.
- Choose papers designed for monochrome tonality (matte or baryta-style for classic look).
- Maintain fresh inks for consistent density and tone.
Unique Photo stocks OEM and third-party papers and inks for reliable, long-term prints.
How should I store negatives and prints?
Archival storage protects your work for decades:
- Negatives: Use acid-free, PAT-tested sleeves and store in binders or archival boxes in a cool, dry place. Unique Photo offers solutions like DF White Refill Pages (8.5×11in, 10-Pack) for organizing contact sheets and documents.
- Prints: Keep finished 4×6 images in a quality album. Options like the Pioneer TS-246 Oxford Album make it simple to organize and share.
For field shooting and transport, a clean, organized daypack helps protect exposed rolls until you’re back at your home lab.
Quick-start checklist for your first roll
- Mix chemistry per instructions; bring to 68°F/20°C.
- Load film on reel in total darkness; place into tank.
- Develop with correct time/agitation; use a timer.
- Stop, fix, and wash thoroughly.
- Final rinse with wetting agent; hang to dry in a dust-free space.
- Cut and sleeve negatives; scan or print.
Unique Photo’s knowledgeable staff can help you choose the best chemistry and tools for your specific film and style, and our classes cover B&W developing from loading to printing.
Conclusion: build your home B&W workflow with Unique Photo
Home developing unlocks creative control and saves time and money. Start simple, keep notes, and refine your process as you go. When you’re ready to expand—push/pull techniques, stand development, camera scanning rigs, or fine-art printing—Unique Photo has the gear and guidance to grow with you.
Internal linking suggestions for your next stop on uniquephoto.com:
- Film Developing Tanks & Reels
- Darkroom Chemicals (Developers, Stop, Fixer, Wetting Agents)
- Film Scanners & Camera Scanning Accessories
- Bags & Cases (Everyday Backpacks, Sling Bags)
- Photo Albums & Archival Pages
- Classes & Workshops: Film Developing and Printing
Need help? Visit Unique Photo in-store or online for expert advice and curated kits to jump-start your black and white film journey.