Low-light street photography is where atmosphere, timing, and technique come together. City glow, storefront reflections, headlights, and passing figures can turn ordinary scenes into dramatic images—but only if your gear and settings help you work fast and stay flexible. Below are practical tips to improve your low-light street photos, along with a few helpful tools and learning resources that can sharpen your approach.
Start with a Fast, Simple Setup
1. Keep your kit light and ready to react
Street photography at night rewards photographers who can move quickly. A compact camera body, a fast prime or zoom, and one thoughtfully chosen accessory will usually serve you better than a heavy bag full of options. If you want to experiment with controlling contrast in mixed lighting, a filter like the Tiffen 72mm Low Light Ultra Contrast series can be worth testing on compatible lenses, especially when bright highlights and deep shadows appear in the same frame.
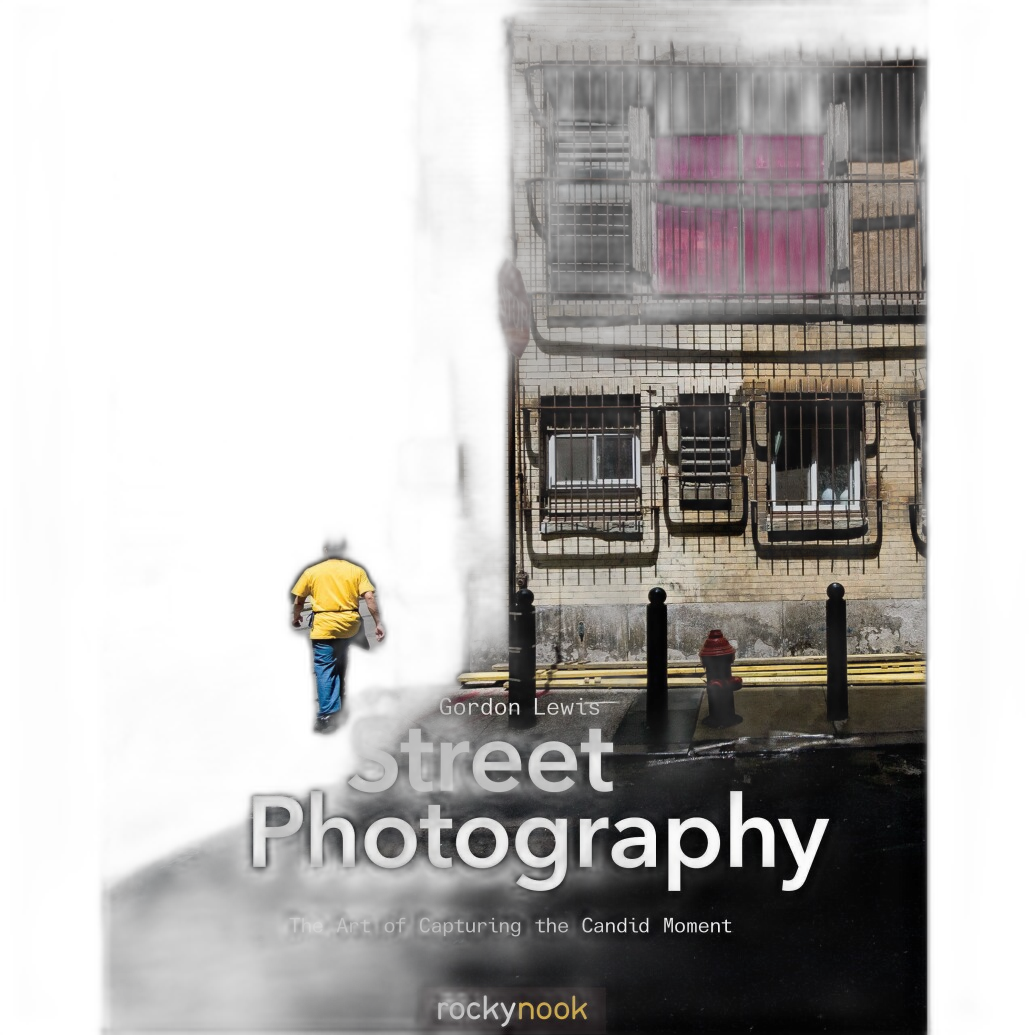
To build your eye before heading out, books like Street Photography by Gordon Lewis are excellent for understanding how to observe moments and compose under pressure.
Choose Exposure Settings That Balance Sharpness and Mood
2. Begin with a practical low-light baseline
A strong starting point for handheld low-light street photography is:
- Aperture: f/1.4 to f/2.8 for maximum light
- Shutter speed: 1/125 sec or faster for walking subjects
- ISO: 1600 to 6400 depending on your camera
If your subject is moving quickly, raise shutter speed first. If the scene is mostly static, you can slow down a bit to preserve image quality at lower ISO values. In street work, some grain is usually better than motion blur.
3. Use exposure compensation when bright signs trick the meter
Neon signs, headlights, and illuminated windows often fool your camera into underexposing people and darker areas. Try dialing in +1/3 to +1 stop of exposure compensation when your subject is backlit by city lights. Check highlights, but do not be afraid of deep shadows—night scenes should still feel like night.
Use Filters Carefully in High-Contrast Night Scenes
4. Test contrast-control filters for a gentler highlight roll-off
In urban night environments, harsh point light sources can create scenes with extreme contrast. A filter such as the Tiffen 72mm Low Light Ultra Contrast 1 can help subtly open shadow detail while keeping the overall scene natural. Stronger versions, like the Ultra Contrast 4 or 5, may create a more pronounced effect, so they are best tested intentionally depending on your style and subject matter.
These tools are especially useful if you like a cinematic, atmospheric look straight out of camera rather than relying entirely on post-processing.
Focus Smarter in the Dark
5. Pre-focus or use a single AF point
Autofocus can hunt badly in low light, especially with low-contrast subjects. Instead of letting the camera choose focus points automatically, select a single AF point and place it over an edge with contrast, like a jacket seam, a lit profile, or a storefront frame. Another great option is pre-focusing at a likely distance and waiting for a subject to enter the frame.
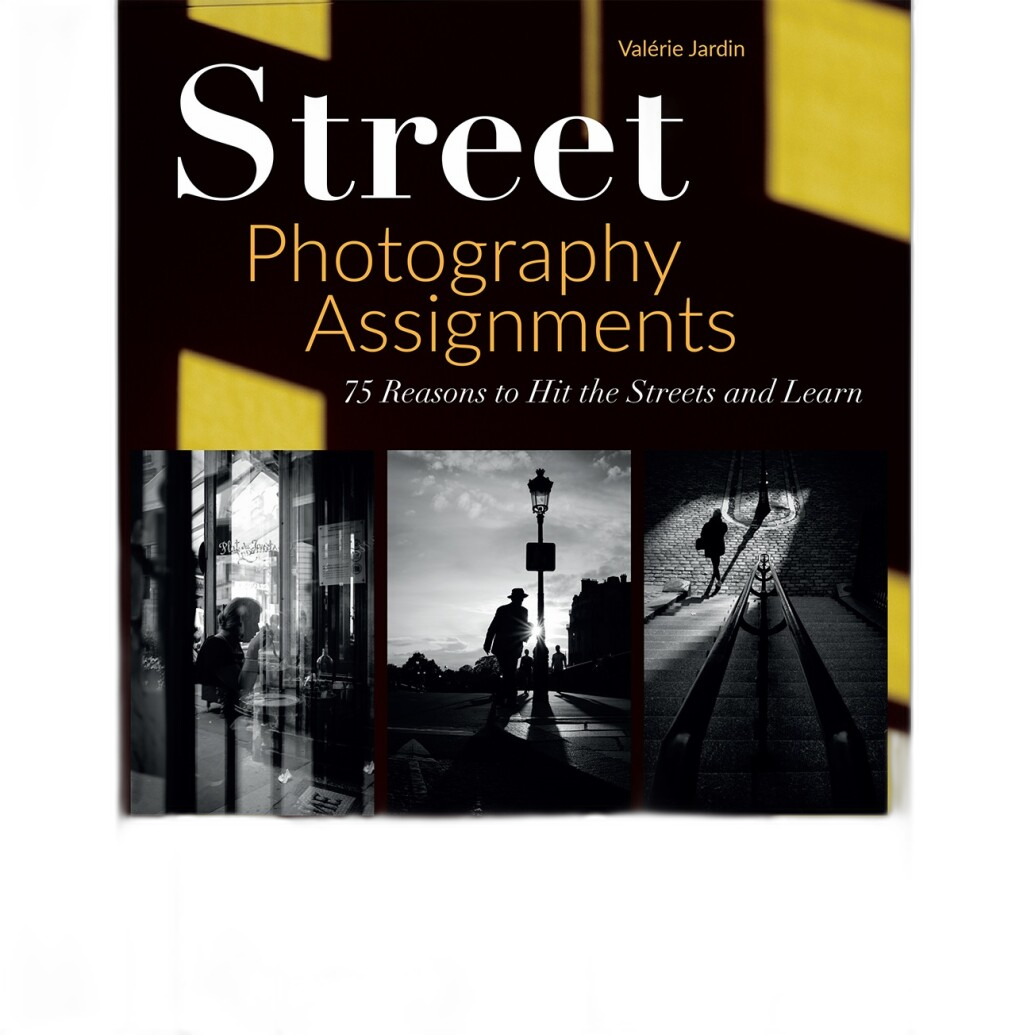
This technique becomes even more effective when combined with classic street timing exercises, the kind often explored in Street Photography Assignments by Valerie Jardin.
Use Light Sources as Part of the Composition
6. Look for reflections, side light, and pools of illumination
Great low-light street photography is not just about surviving darkness—it is about using available light creatively. Search for bus stops, convenience store windows, crosswalk signals, car headlights, and puddle reflections. Position yourself so your subject passes through these brighter zones, and your exposure becomes easier without losing the nighttime mood.
If you are studying how different types of night lighting affect your images, a practical reference like Enthusiast's Guide to Night and Low-Light Photo can help connect technical decisions with real-world shooting situations.
Embrace Motion When It Adds Energy
7. Try slower shutter speeds for intentional blur
Not every frame needs to be tack-sharp. If you want to show motion and atmosphere, experiment with shutter speeds around 1/15 to 1/60 sec while keeping your camera steady. A blurred passerby against a sharp background can communicate the pace of the city beautifully. This works especially well near traffic, trains, or busy intersections.
The key is to make the blur look intentional. Shoot several variations and review how movement affects the story of the frame.
Refine Your Skills Between Photo Walks
8. Learn from books, critique, and practice sessions
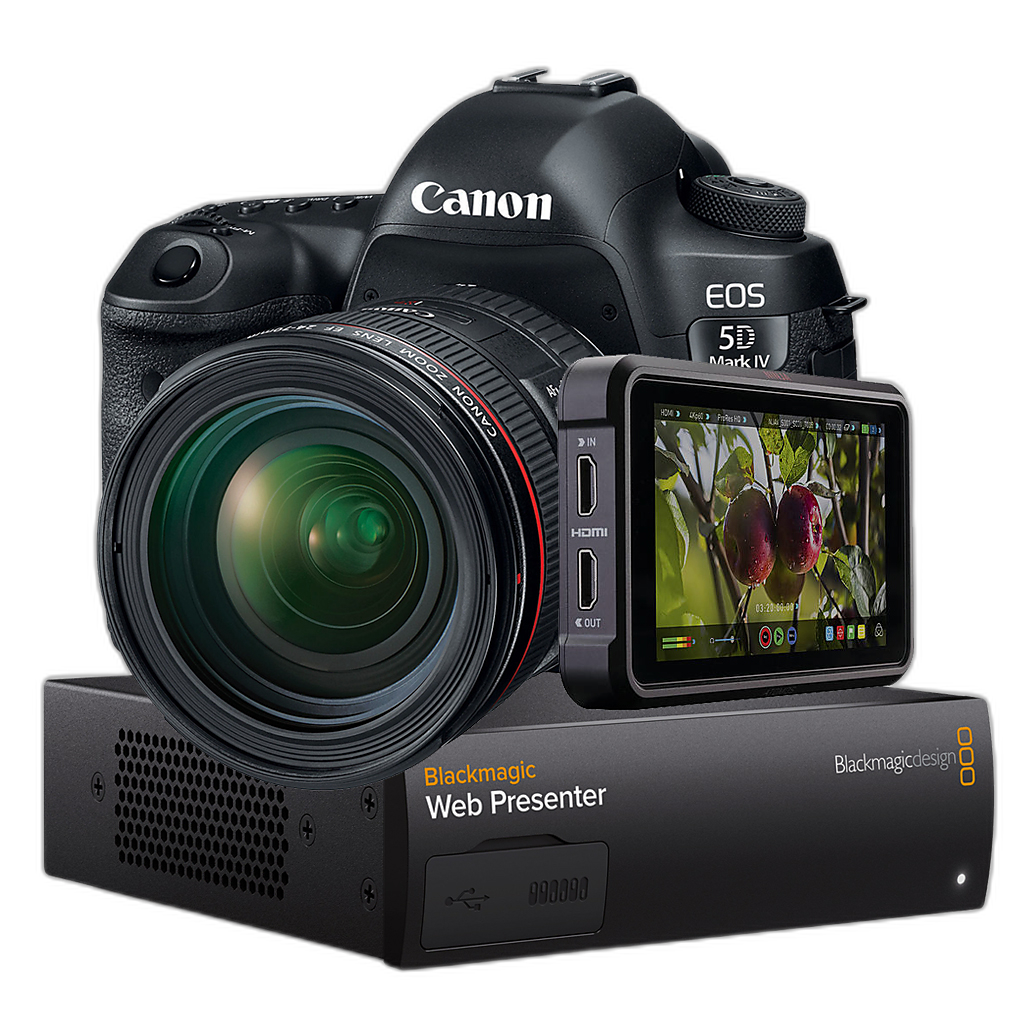
Low-light street photography improves quickly when you combine field practice with study. Reading a focused street photography title, reviewing your missed shots, and setting yourself small assignments can dramatically increase consistency. If you are creating content around your process or teaching others, tools and services such as a DSLR Live Stream Set-Up can also support workshops, critiques, or behind-the-scenes sessions.
Conclusion
The best low-light street photography gear is the gear that helps you stay responsive, confident, and creative after dark. Start with reliable exposure settings, learn to read the light already in the scene, and experiment with tools like contrast-control filters when you want a distinct look. Add in strong educational resources, steady practice, and a willingness to embrace imperfection, and your night images will become more expressive over time. For gear, inspiration, and photography learning tools, Unique Photo is a great place to keep building your kit and your skills.