How to Get Sharp Images in Low Light: Two Lighting Classes Compared
Low light doesn’t have to mean blurry, noisy photos or soft video. The most reliable way to get tack‑sharp results when the light drops is to control the light—so you can use faster shutter speeds, lower ISO, and confident autofocus. In this head‑to‑head, we compare two hands-on learning options available at Unique Photo that teach you to do exactly that:
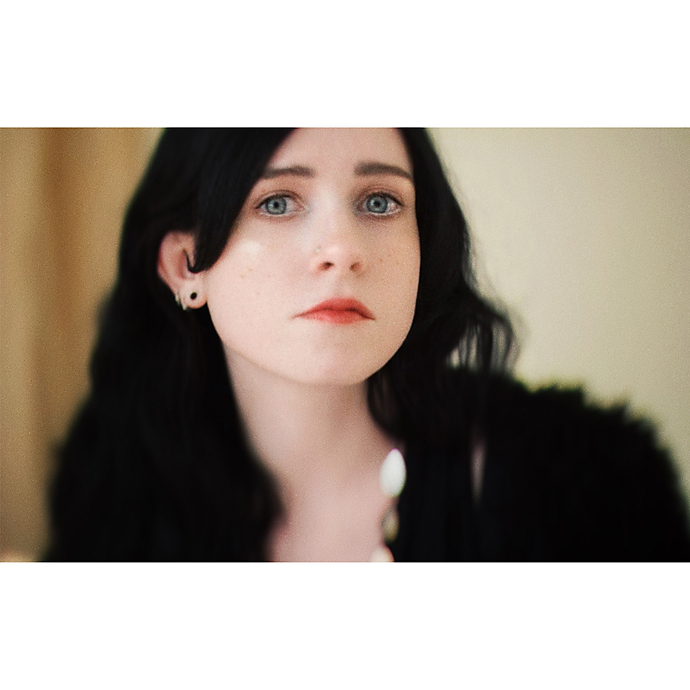
- Portrait Lighting Made Easy with Joel Grimes (Westcott)
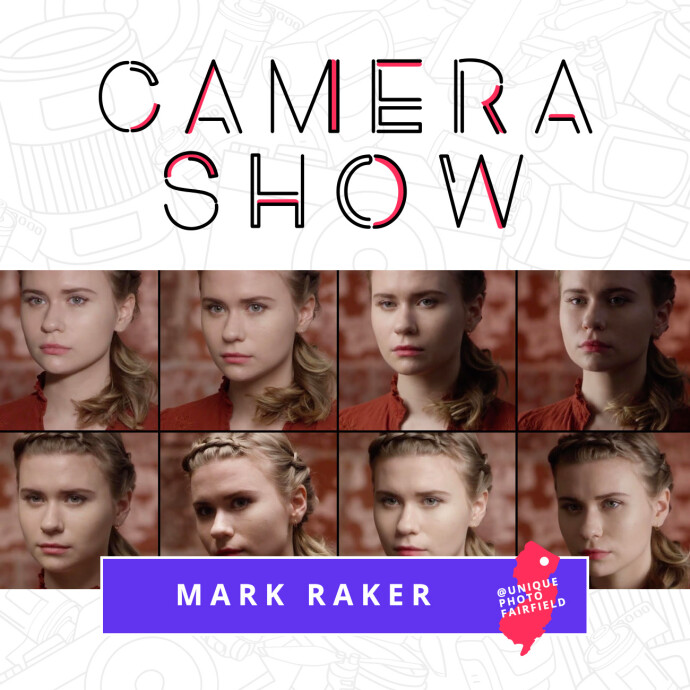
- CS: Key Lighting Methods with Mark Raker (Nanlite)
Both classes focus on building and shaping light, but they approach the craft from different angles. Here’s how they stack up for achieving sharp images in challenging, low-light scenarios.
Side-by-Side Comparison
| Feature | Portrait Lighting Made Easy with Joel Grimes (Westcott) | CS: Key Lighting Methods with Mark Raker (Nanlite) |
|---|---|---|
| Brand/Partner | Westcott / Unique Photo | Nanlite / Unique Photo |
| Core Focus | Making portrait lighting approachable and repeatable | Key light placement, intensity, and shaping for photo/video |
| Low-Light Goal | Create controlled, directional light to enable faster shutter speeds and cleaner ISO | Use continuous key light to stabilize exposure, aid AF, and maintain crisp detail |
| Lighting Emphasis | Portrait-centric modifiers and techniques | Continuous LED key light strategies for hybrid shooters |
| Best For | Photographers prioritizing sharp, polished portraits in dim or mixed light | Photo/video creators who need sharp results and consistent focus in low light |
| Takeaway for Sharpness | Control contrast and direction; raise effective light level to freeze motion | Dial exact output and positioning; improve AF reliability and reduce motion blur |
Category-by-Category Analysis
1) Raising Shutter Speed Without Raising Noise
Both classes teach you to add and shape light so you can keep shutter speeds high and ISO modest—two pillars of sharpness. Joel Grimes’ portrait approach emphasizes controlled, directional light that sculpts faces and lifts exposure, making it easier to freeze subject movement. Mark Raker’s Nanlite session leans into continuous LED key light, which gives you real-time exposure feedback and lets autofocus lock decisively in dim scenes, a big win for both stills and video.
2) Autofocus Confidence in Dim Environments
Continuous key light (Nanlite) keeps contrast high at the focus point, improving AF performance for mirrorless and DSLR systems. While portrait lighting techniques (Westcott) can be executed with either strobes or continuous sources, the emphasis on precise key placement similarly boosts AF reliability when using modeling or continuous light. For hybrid creators who shoot both photo and video in low light, the Nanlite-centric curriculum has an edge.
3) Motion Control and Subject Management
Sharpness isn’t just exposure—it’s managing motion. Joel Grimes’ portrait techniques help you light in a way that minimizes subject movement blur: controlled, forward key light and crisp falloff raise effective exposure on the face. Mark Raker’s key-light-centric methods focus on maintaining consistent, repeatable illumination so you can pick a shutter speed that freezes action and stick to it across takes.
4) Portability and Real-World Setups
Both classes address practical setups you can replicate anywhere. Portrait shooters get repeatable patterns they can scale from small rooms to studios. The Nanlite methods translate directly to on-location work with compact LEDs—ideal for events, interviews, or street portraits where ambient light is low but agility matters.
5) Workflow and Repeatability
Each class emphasizes a structured approach to lighting. Joel Grimes focuses on building portrait looks step by step, ensuring you can revisit them for consistent sharp results. Mark Raker’s session highlights how small changes in key angle, distance, and output affect texture and edge acuity—knowledge that keeps your images crisp shot after shot.
Practical Tips You’ll Apply Immediately
- Place your key light closer to the subject to increase effective intensity, allowing faster shutter speeds.
- Feather the light to control specular highlights and preserve micro-contrast for apparent sharpness.
- Use consistent, directional light to aid autofocus and reduce hunting in dim scenes.
- Balance ambient by lowering it 1–2 stops relative to your key, so subject edges render cleanly.
Our Pick
Best overall for low-light sharpness across photo and video: CS: Key Lighting Methods with Mark Raker (Nanlite). The continuous-light emphasis makes it easier to see and set exposure in real time, keep autofocus confident, and fine-tune output for faster shutter speeds—critical for crisp results in dim conditions. If your primary focus is portraiture and you want polished, repeatable looks, Portrait Lighting Made Easy with Joel Grimes (Westcott) is a fantastic choice.
Conclusion
Sharp images in low light start with controlled, intentional lighting. Whether you favor portrait-focused patterns (Westcott with Joel Grimes) or versatile continuous key strategies (Nanlite with Mark Raker), both classes at Unique Photo give you actionable methods to raise exposure, lock focus, and freeze motion for truly crisp results. Ready to put it into practice? Book a class and pair your new skills with compact LED kits and light modifiers available at Unique Photo.