Home film development has moved from niche darkroom ritual to a practical, rewarding part of many photographers’ workflow. For shooters who want more control over their negatives, faster turnaround, and a deeper understanding of the medium, processing film at home can be one of the most satisfying steps in analog photography. Based on the kinds of experiences photographers commonly share, the appeal is consistent: once the initial learning curve is behind you, developing your own film is often easier, more affordable over time, and more creatively engaging than many first expect.
This review-style guide looks at what photographers appreciate most about home film development, where beginners tend to struggle, what equipment is worth prioritizing, and which resources make the process more approachable. While the topic is broader than a single piece of gear, the experience often extends beyond developing tanks and chemicals into scanning, printing, and building a complete analog workflow. For photographers shopping for film, darkroom, and imaging supplies, Unique Photo is a strong place to buy the supporting tools and consumables needed to keep that workflow running.
Why Home Film Development Appeals to Photographers
The strongest feedback from photographers who process their own film is that it creates a closer connection to the final image. Instead of dropping rolls at a lab and waiting days or weeks, home development lets you see results on your schedule. That immediacy is especially valuable when testing exposure, learning a new camera, or experimenting with different film stocks.
Another recurring advantage is cost efficiency over the long term. The startup expense can feel significant if you need a tank, reels, thermometer, storage bottles, chemistry, and scanning or printing tools. But once those basics are in place, the per-roll cost can become quite reasonable, particularly for black-and-white film. Many photographers report that home processing becomes especially attractive when they shoot regularly.
There is also the quality-control factor. Home developers can fine-tune agitation, temperature, dilution, and timing to suit their preferences. That level of consistency matters to photographers who want predictable negatives for scanning or darkroom printing.
Key Features of the Home Development Experience
Accessible Entry Point for Black-and-White Film
Most experienced home processors recommend starting with black-and-white film because it is more forgiving than color. Temperature precision is still important, but black-and-white chemistry generally allows more flexibility and a slower, less stressful learning process. Photographers often describe their first successful black-and-white roll as the moment home development begins to feel truly attainable.
Basic equipment recommendations usually include a changing bag or dark space, developing tank, reels, graduate containers, clips for drying, a timer, and a reliable thermometer. A wetting agent and dust-free drying area are also frequently mentioned as small details that make a big difference in final results.
Color Processing Rewards Precision
Color negative film, especially C-41, is widely considered manageable at home once you are comfortable controlling temperature. Users often recommend a sous vide setup or tempered water bath for keeping chemistry stable. The common consensus is that color development is not necessarily difficult, but it is less forgiving than black-and-white and benefits from careful organization.
For photographers who want a complete analog-to-print workflow, output materials matter as much as development chemistry. Products related to darkroom and lab printing can become part of that next step.
Fujifilm paper products, such as glossy output media, represent the kind of lab-oriented supplies photographers may explore once they move beyond simply processing negatives and into printing or proofing work. For users building out a home or hybrid analog workflow, these materials can help complete the process from film to final image.
Scanning Is Often the Real Bottleneck
A common theme among photographers is that developing the film itself can become easier than digitizing it well. Scanning introduces a new set of variables: dust, Newton rings, color correction, flatness, software, and dynamic range. Many home developers discover that the film tank is only half the story. The quality of the scan often has as much impact on the final image as the quality of the development.
That means beginners should plan their workflow realistically. If your goal is sharing images online, a simple scan setup may be enough. If your goal is large prints, archiving, or client work, your scanning method deserves serious attention.
Printing and Output Become the Next Upgrade Path
Once photographers gain confidence in developing, many start thinking about presentation. Some move into darkroom printing, while others build hybrid workflows that combine home development with digital editing and inkjet or lab printing. This is where broader imaging supplies begin to matter, including paper and printer consumables.
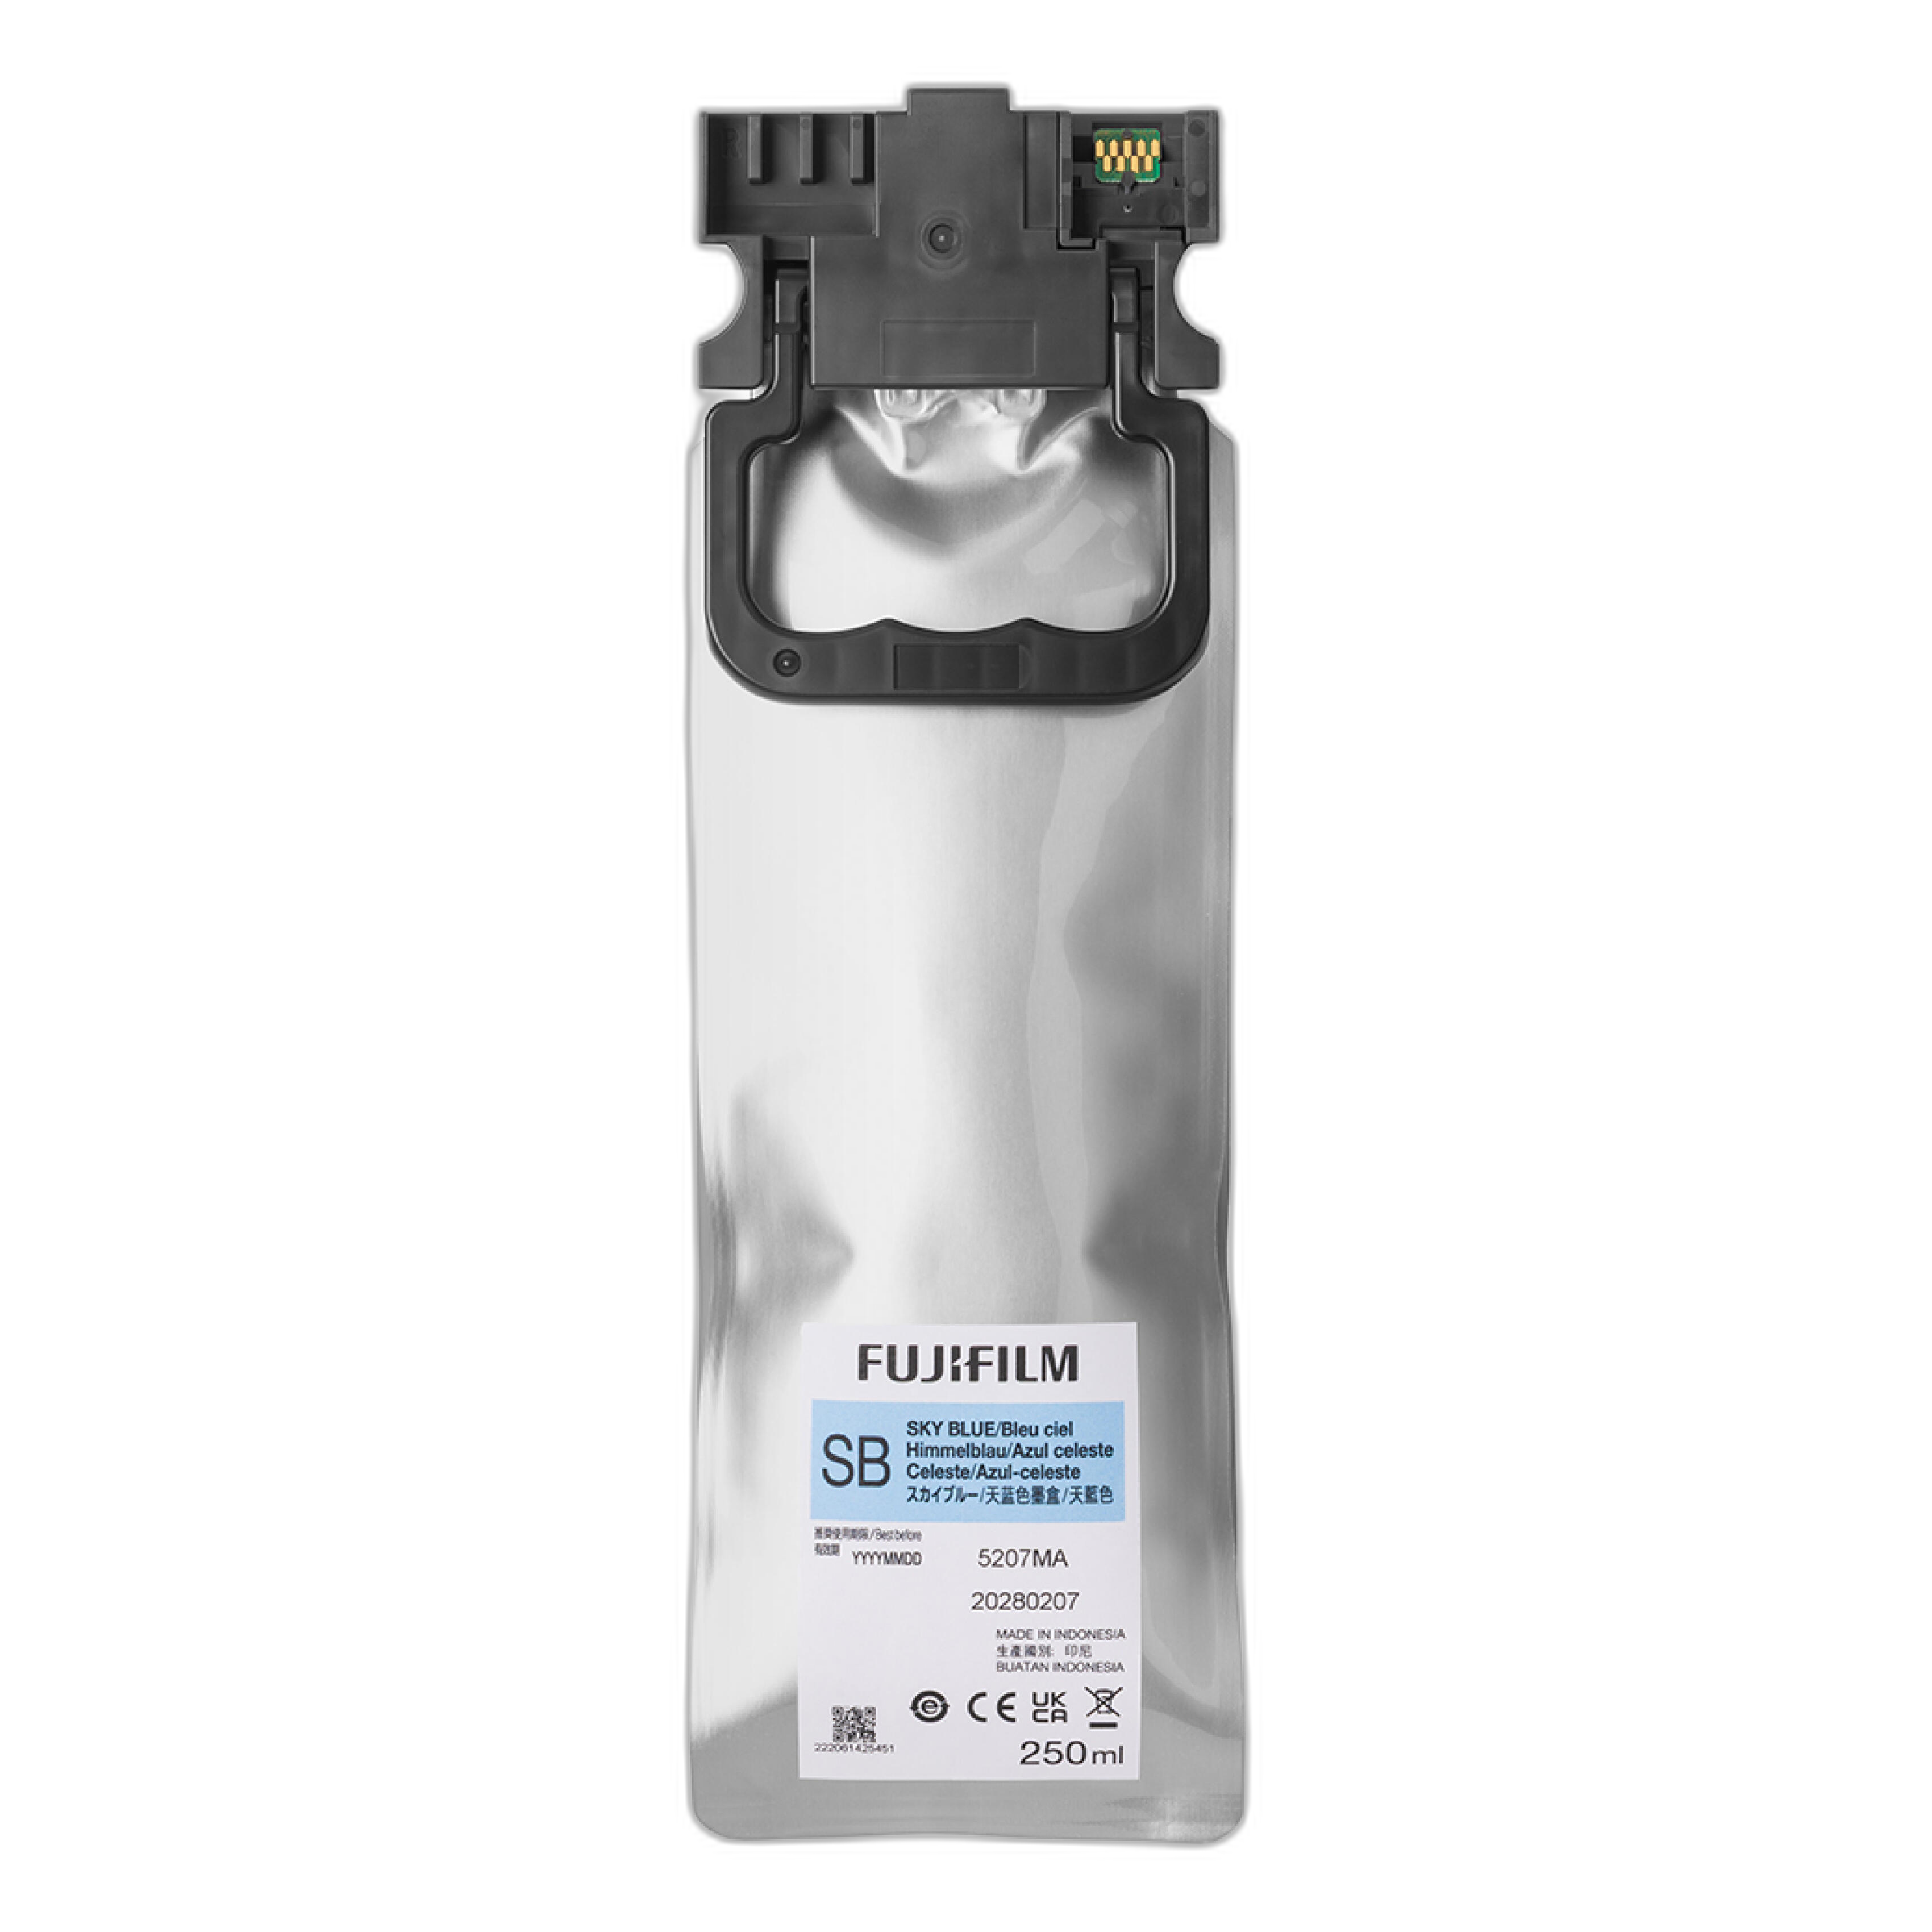
Products like Fujifilm printer ink are more relevant to photographers and labs who want dependable output after scanning and editing. While not part of chemical development itself, they fit naturally into the overall ecosystem of processing, reviewing, and delivering finished images.
Equipment Recommendations Photographers Commonly Endorse
Start Simple, Then Expand
The most practical recommendation from experienced home developers is to avoid overbuying at the start. A basic tank-and-reel setup, chemistry, thermometer, and drying supplies are enough to learn the fundamentals. Fancy automation can wait until your process is repeatable.
For those working in a broader camera system and managing batteries, scanning stations, or digital companions to their analog workflow, reliable accessories still matter.

While a battery charger like the Fujifilm BC-T125 is not a film developing tool, it reflects a practical reality of modern analog workflows: many photographers pair film shooting with digital scanning, copy-stand setups, and mirrorless camera capture. Keeping support gear powered and ready is part of an efficient home process.
Useful Add-Ons for Close Inspection and Digitization
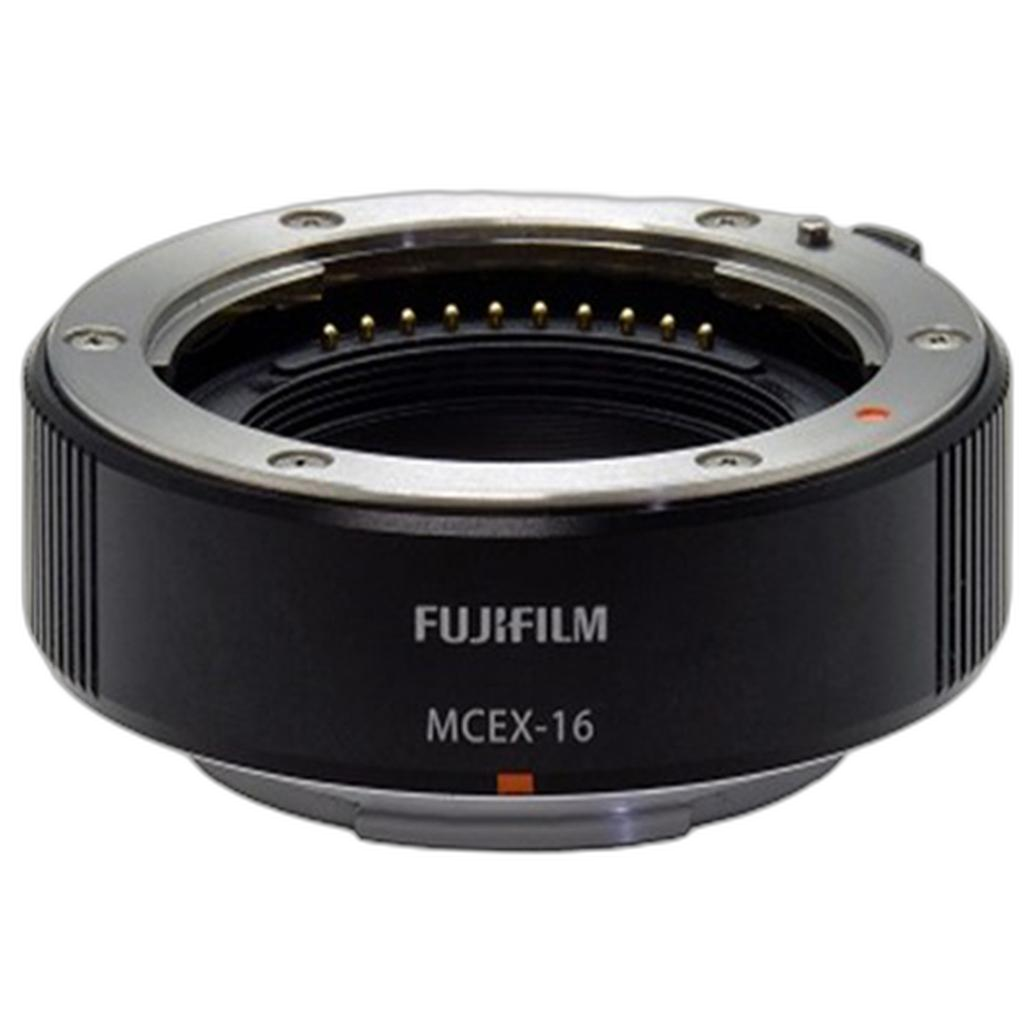
Photographers who digitize negatives using a camera rather than a flatbed scanner often prioritize copy stands, macro-capable lenses, and stable lighting. In some setups, extension tubes can be a budget-friendly route to closer focusing distances.
The Fujifilm MCEX-16 extension tube is an example of an accessory that could support close-up capture in a camera-scanning workflow, depending on lens compatibility and setup. For photographers building a hybrid home lab, accessories like this may prove more useful than expected once negative digitization becomes a priority.
Troubleshooting Advice from Real-World Use
Streaks, Uneven Development, and Agitation Problems
One of the most common early frustrations is uneven development, often traced back to inconsistent agitation, too little chemistry, or loading errors on the reel. Photographers usually solve this by simplifying their process: standardize inversion counts, tap the tank after agitation to dislodge bubbles, and confirm the reels are loaded smoothly before starting.
Temperature Control Is Critical for Color
If color negatives look thin, oddly shifted, or inconsistent from roll to roll, temperature drift is often the culprit. Photographers repeatedly stress the value of testing your water bath and chemistry temperatures before processing important film. Consistency matters more than speed.
Dust Is the Universal Enemy
Nearly everyone processing and scanning at home runs into dust. The best advice is simple but effective: use a clean drying area, allow film to dry fully before cutting, store negatives properly, and clean scanning surfaces often. Many image-quality complaints blamed on development are actually dust problems introduced later.
Do Not Judge a Process by the First Roll
A recurring sentiment from experienced photographers is that the first roll can feel intimidating, but the third or fourth is where confidence begins. Small mistakes are part of the learning process. Keep notes on chemistry age, temperature, development time, and agitation. That log becomes one of the most valuable troubleshooting tools you can have.
Resources That Help Beginners Succeed
Photographers consistently recommend a mix of written guides, manufacturer datasheets, timer apps, and online communities. Datasheets are especially important because they provide the baseline for dilution and development times. Community forums and video tutorials can help translate those numbers into a real working process, but the chemical instructions should remain the authority.
Many users also suggest practicing with noncritical rolls first. A test roll shot in stable lighting can reveal a lot about your process without the pressure of losing important images.
Pros and Cons of Home Film Development
Pros
- Greater control over the look and consistency of your negatives
- Faster turnaround than sending film to a lab
- Lower long-term cost for regular shooters
- Deepens understanding of exposure, film stock behavior, and workflow
- Highly rewarding hands-on experience
- Easy entry point with black-and-white film
- Can expand into scanning, editing, and printing for a full creative process
Cons
- Initial setup cost can be intimidating
- Color processing requires tighter temperature control
- Scanning and dust management can be more challenging than development itself
- Chemistry storage and disposal require care
- Mistakes are more likely during the first few rolls
- Space limitations can make drying and organizing materials harder at home
Verdict
Home film development earns its strong reputation because it genuinely delivers on control, cost efficiency, and creative satisfaction. For photographers willing to learn a repeatable process, it is less mysterious than it first appears and far more practical than many expect. Black-and-white is the best starting point, color is a logical next step, and scanning or printing can gradually turn the practice into a complete personal lab workflow.
The biggest lesson photographers tend to share is that success comes from consistency more than complexity. Start with dependable basics, keep careful notes, and improve one part of the workflow at a time. If you are ready to build or expand your setup, Unique Photo is a smart place to buy the film, darkroom supplies, output media, and accessories that support home processing from development through final presentation.
For photographers who love being involved in every stage of image-making, home film development is not just a process. It is part of the reason shooting film remains so compelling.