Getting Started with Home Film Developing
For beginners curious about processing film at home, the biggest challenge is not whether it can be done—it absolutely can—but choosing the right gear without overcomplicating the process. The best beginner setup is one that keeps the workflow simple, repeatable, and affordable while leaving room to grow. For most new darkroom users, that means starting with a practical black-and-white kit, adding a reliable developing tank, and learning the small handling details that prevent ruined rolls.
If you are building your first home lab, a few products stand out as especially useful. The Unique Black and White Film Developing Kit is one of the strongest starting points because it packages the essentials into an approachable setup for first-time users.
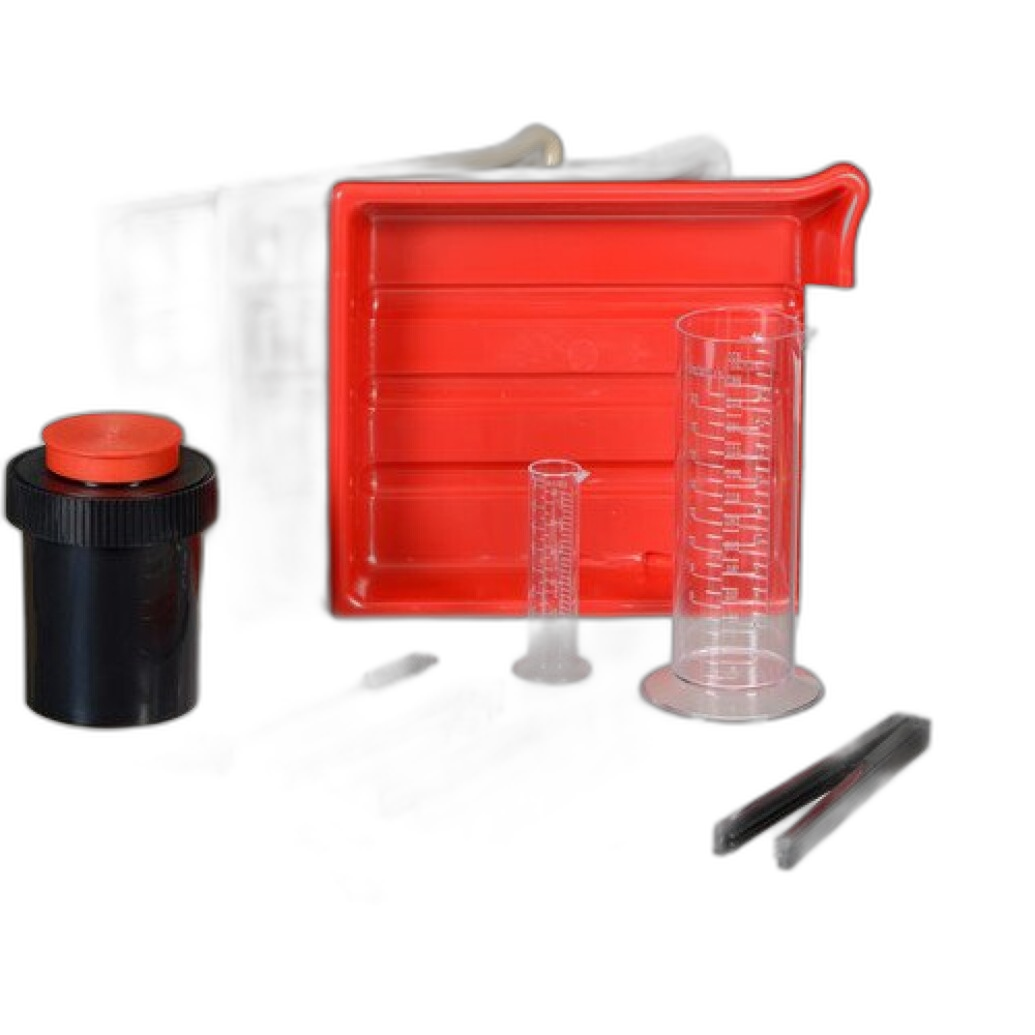
More traditional all-in-one darkroom bundles like the Photographic Darkroom Film and Paper Developing Kit can also appeal to users who want a broader foundation.
And for those assembling a custom workflow, the Samigon Universal Plastic Developing Tank with 2 Reels, Paterson Film Clip Set, and chemistry options such as Flic Film Black, White, and Green Film Developer 250ML all fill important roles.
This review-style guide looks at the must-haves for beginner home film developing, where each product fits, and the most common mistakes new users should avoid.
Best Entry Point for Most Beginners
Unique Black and White Film Developing Kit
The Unique Black and White Film Developing Kit is the most logical recommendation for many first-time home developers because it focuses on the most beginner-friendly process: black-and-white film. Black-and-white development is generally more forgiving than color, less temperature-sensitive, and easier to troubleshoot. That makes this kit well positioned for hobbyists who want early success rather than frustration.
Its biggest strength is convenience. Instead of piecing together chemistry and tools one item at a time, this kit gives beginners a more direct path from exposed roll to finished negatives. For photographers who have never loaded reels, mixed chemistry, or timed inversions before, that simplification matters.
In practical use, a beginner-oriented black-and-white kit reduces the chance of purchasing mismatched supplies and provides a clearer workflow to follow. That alone can save money and prevent the common early mistake of abandoning home development because the first session felt too chaotic.
Why It Works for Beginners
Black-and-white is where most home darkroom users should begin. It is easier to learn agitation patterns, dilution, timing discipline, and drying technique when you are not also managing the tighter temperature demands of C-41 color chemistry. A kit built specifically around that learning curve is often a better investment than a broader but more intimidating setup.
For a Broader Traditional Setup
Photographic Darkroom Film and Paper Developing Kit
The Photographic Darkroom Film and Paper Developing Kit is a better match for users who want to step beyond just developing negatives and begin exploring a more classic darkroom workflow. For beginners, that can be exciting—but it can also be more than necessary if the immediate goal is simply to process film at home.
As a starter option, this type of kit has value because it introduces a more complete darkroom mindset. Instead of only teaching chemical processing, it helps users understand the broader ecosystem of trays, tools, and workflow organization. If you already know that darkroom printing is part of your plan, this kind of package may be the more future-proof choice.
The tradeoff is that broader kits can feel less focused for the total beginner. If your only immediate need is to develop a few rolls of black-and-white film, a specialized kit is usually easier to learn and less overwhelming.
The Core Tool Every Home Developer Needs
Samigon Universal Plastic Developing Tank with 2 Reels
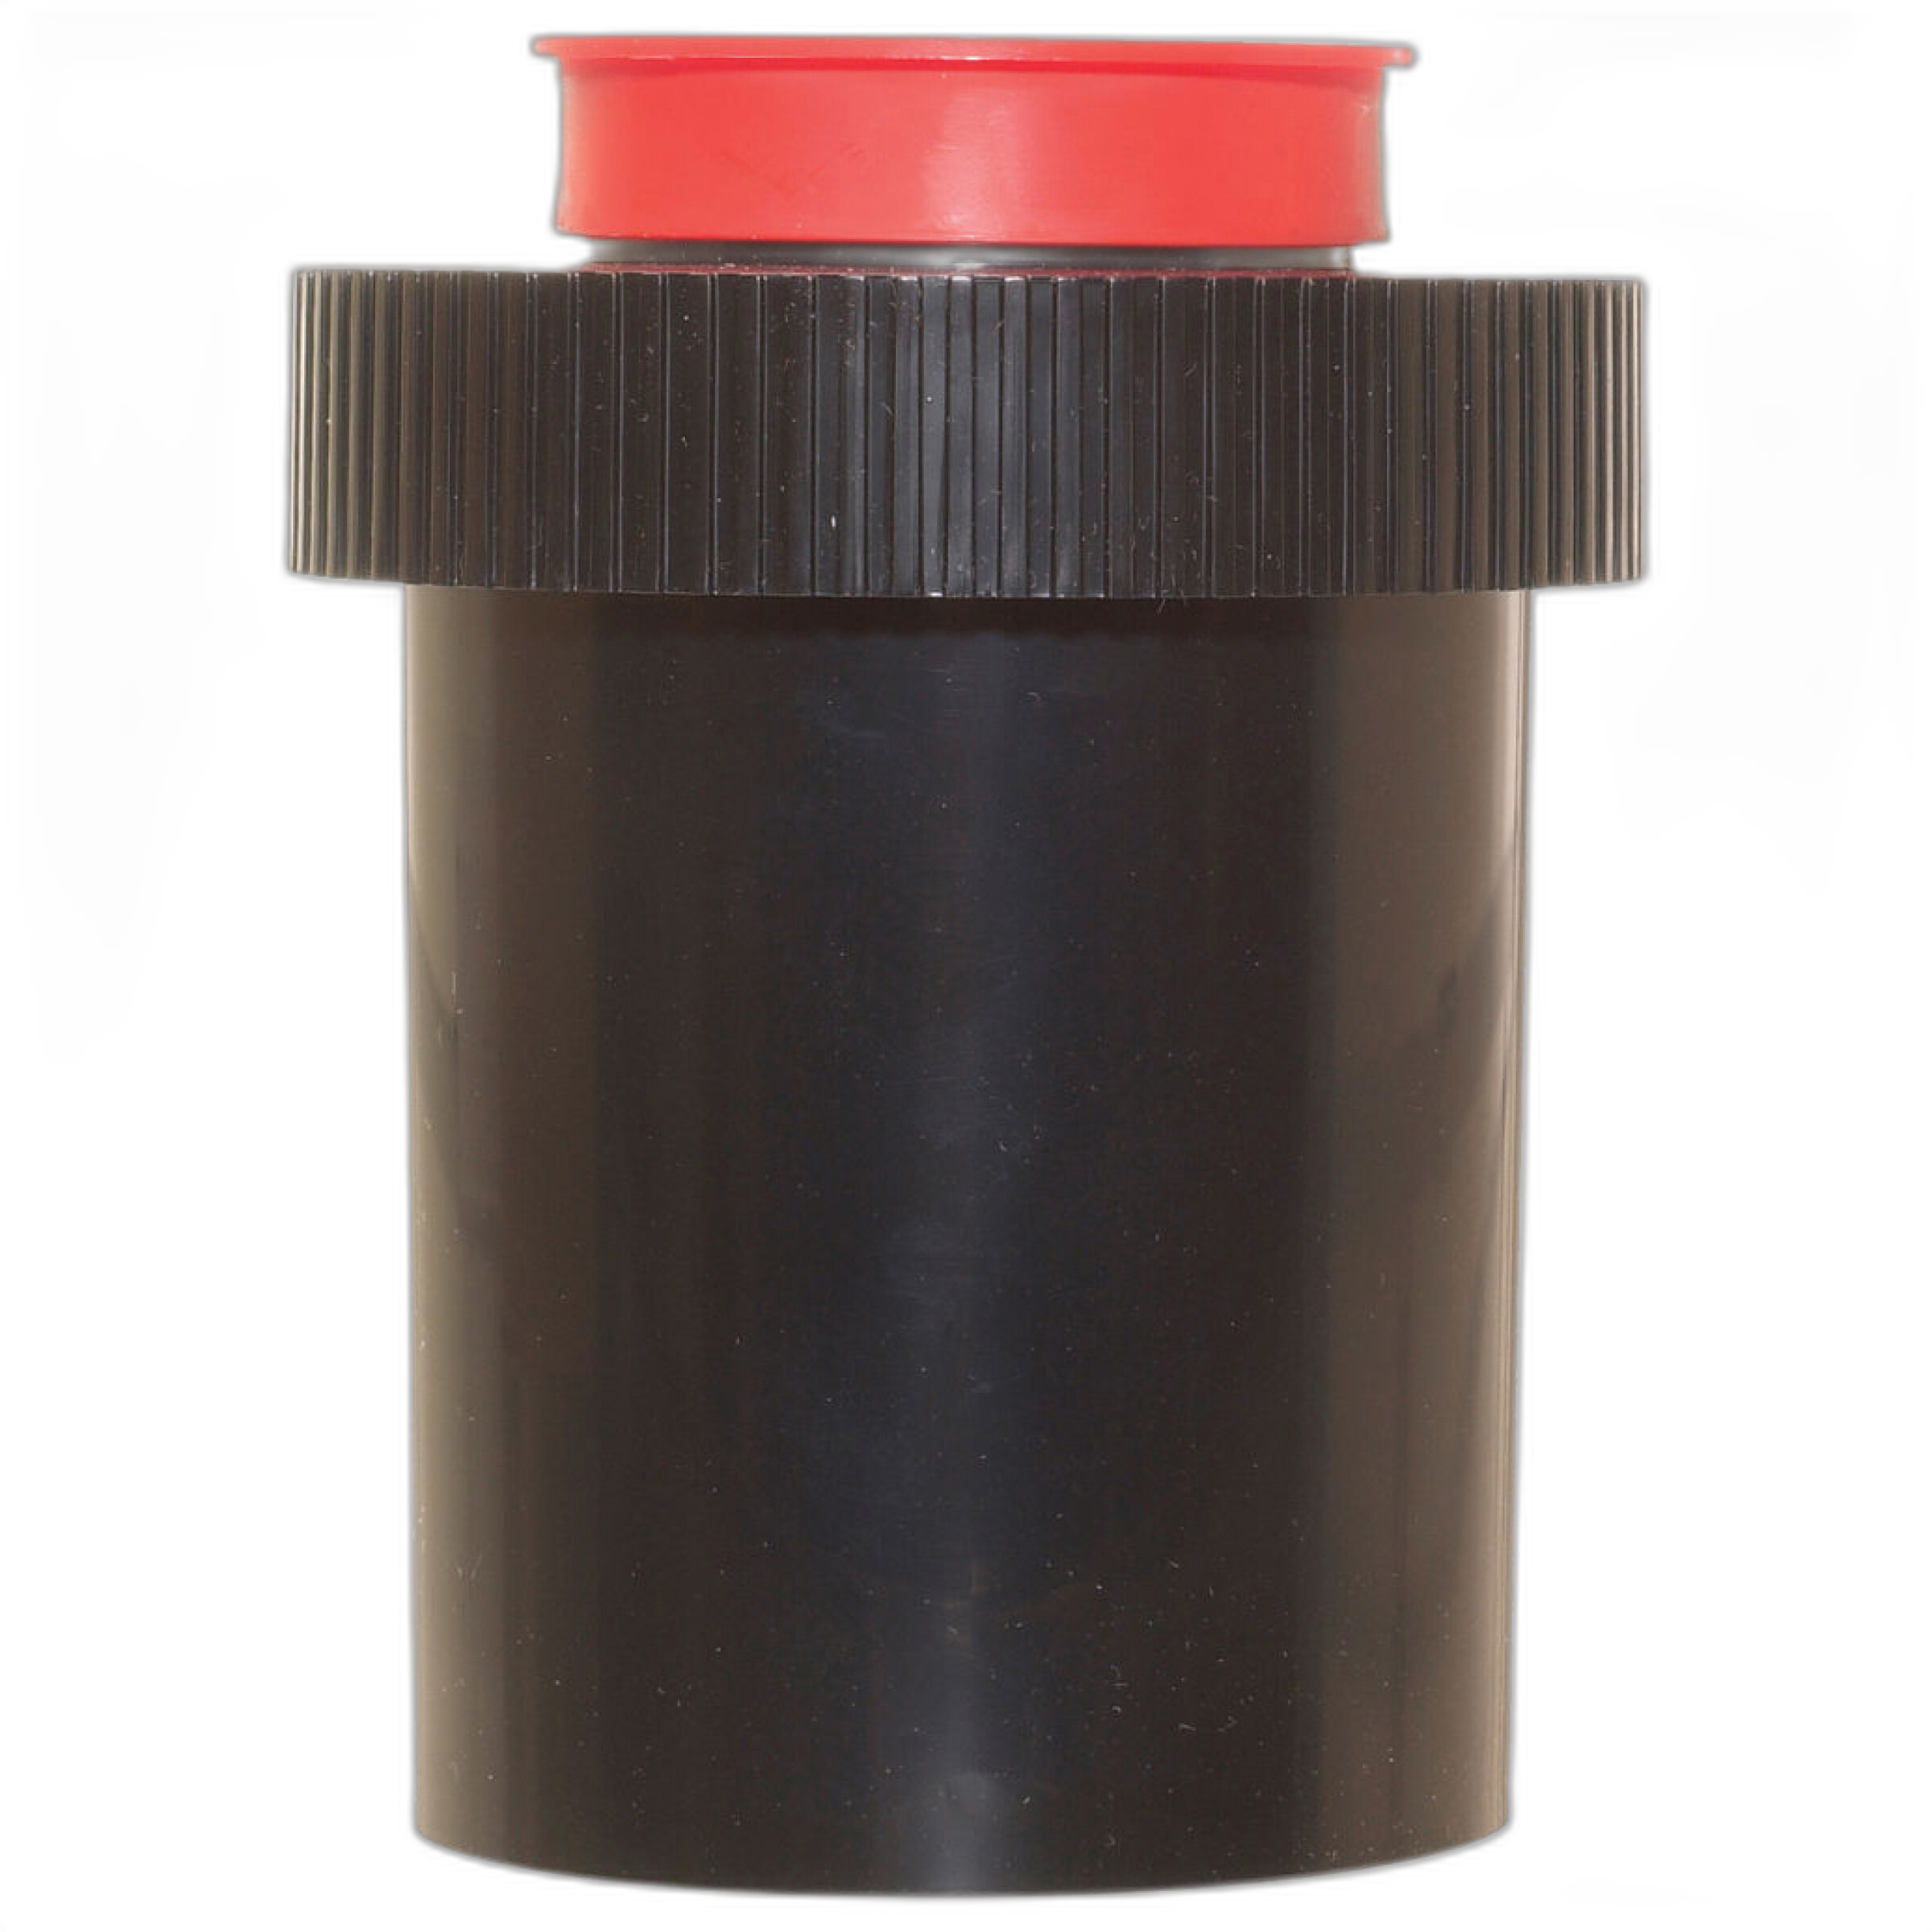
If there is one standalone piece of gear every new home developer should understand, it is the developing tank. The Samigon Universal Plastic Developing Tank with 2 Reels is a very practical example of the kind of tool that makes home processing possible without a full darkroom. Once film is loaded onto the reels and sealed in the tank, the rest of the process can be done in normal room light.
For beginners, a two-reel tank is especially useful. It gives you flexibility for processing one or two rolls, and it leaves room to grow as you become more comfortable with the workflow. Plastic tanks are also popular because they are approachable, relatively straightforward to use, and well suited to home setups where consistency matters more than speed.
Common Beginner Pitfall: Improper Reel Loading
The most common failure point in home film developing is not the chemistry—it is loading the film onto the reel incorrectly. If the film binds, overlaps, or kinks, chemistry cannot reach the emulsion evenly. That leads to uneven development, undeveloped patches, or scratched negatives. Beginners should practice loading a sacrificial roll in daylight before trying it in a changing bag or dark room.
Small Accessory, Big Difference
Paterson Film Clip Set
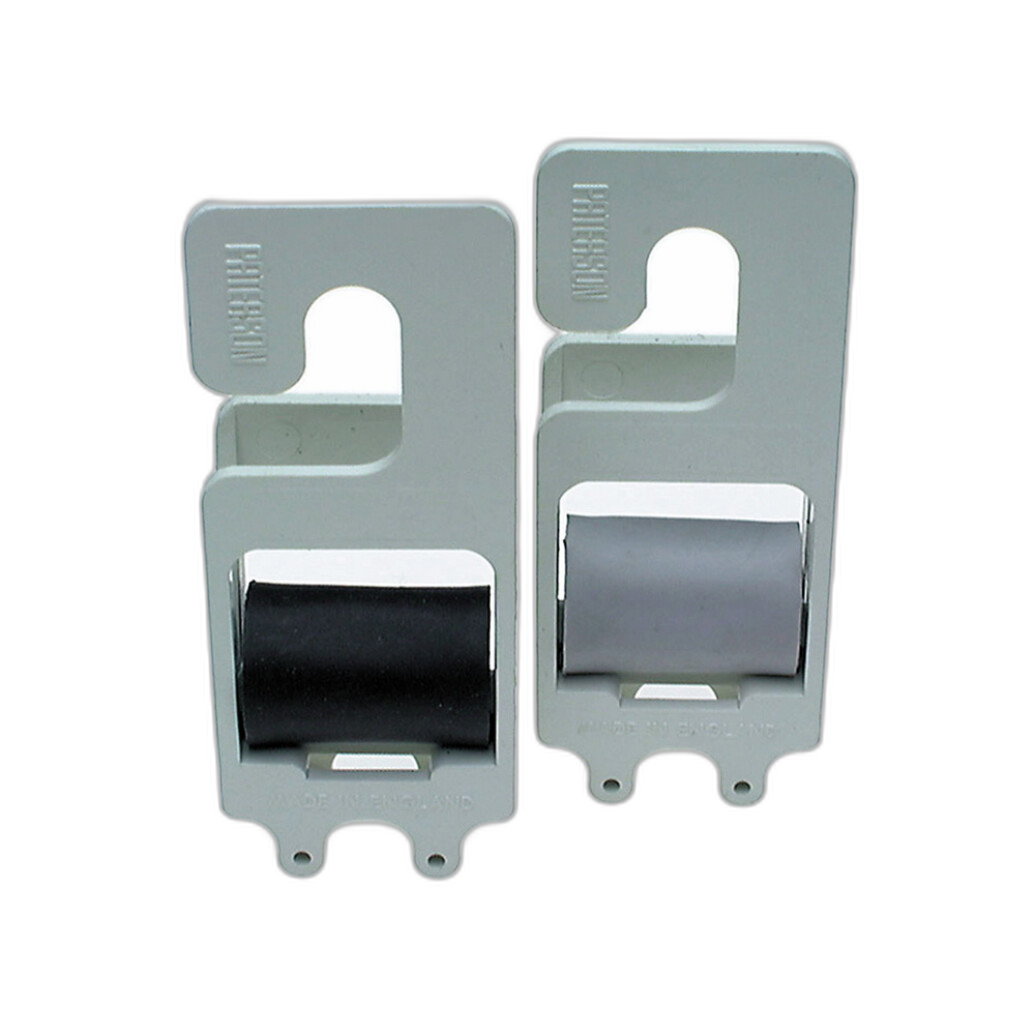
After development and washing, drying becomes the next critical stage. The Paterson Film Clip Set is the kind of accessory that many beginners underestimate until they hang film with improvised clips and end up with curled, dusty, or marked negatives.
Dedicated film clips help keep strips secure while drying and add weight to the bottom so the film hangs straighter. That makes scanning and sleeving easier later. This is not the flashiest purchase in a starter setup, but it is one of the smartest.
Common Beginner Pitfall: Drying in a Dusty Space
Many first-time developers do everything right until the final stage, then hang wet negatives in a dusty room, near airflow, or in a bathroom that is not actually clean. The result is dried-on dust and marks that show up during scanning or printing. A clean, low-draft drying area and proper clips are simple but essential.
Chemistry Choices and Learning Curve
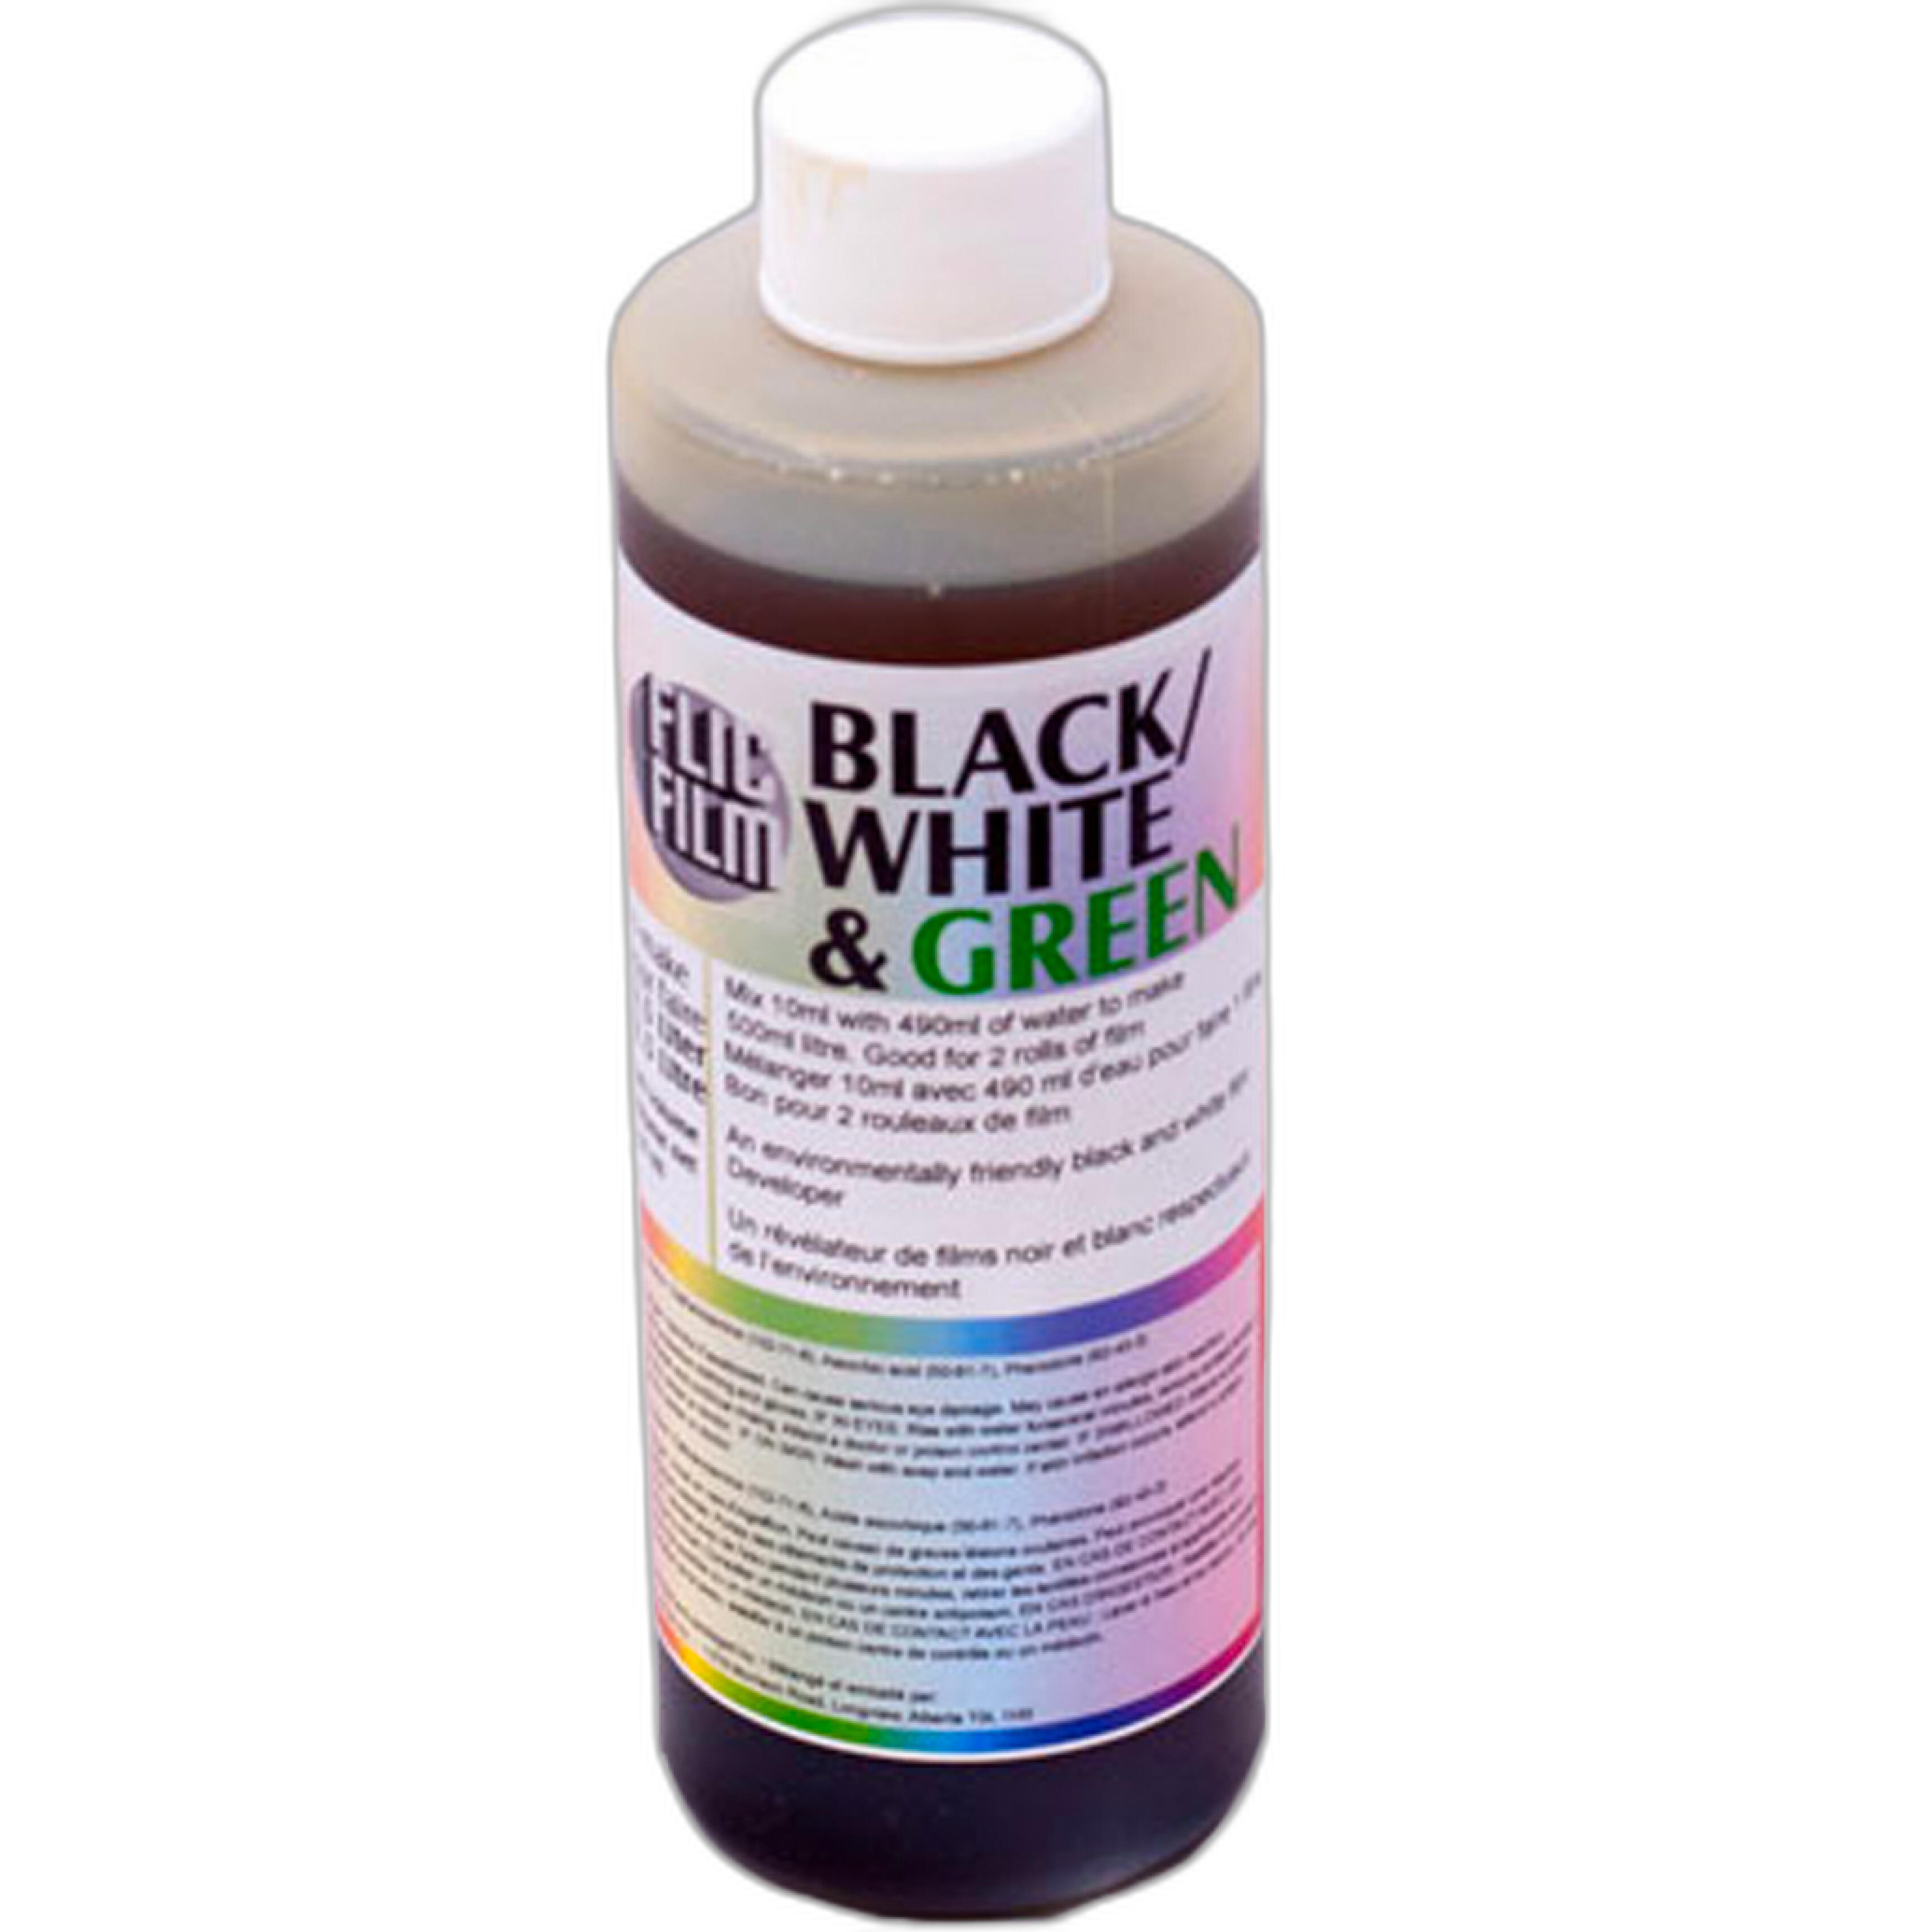
Flic Film Black, White, and Green Film Developer 250ML
The Flic Film Black, White, and Green Film Developer 250ML represents the chemical side of the equation for black-and-white shooters who are building their own workflow. For beginners not buying a complete kit, a developer like this can be part of a flexible custom setup. It is especially relevant for users who want more control over their process or who are experimenting with different films and looks.
What matters most for the beginner is not just which developer they choose, but whether they can follow a consistent process with it. Accurate dilution, correct development time, and stable temperature are far more important than chasing a “perfect” formula too early.
Common Beginner Pitfall: Inconsistent Measurements
Guessing chemical quantities, eyeballing water temperature, or casually extending times is one of the quickest ways to get inconsistent negatives. Beginners should use measuring tools, follow the manufacturer instructions, and keep written notes. Repeatability is the real foundation of good developing.
What About Full Darkroom Kits?
Beseler Printmaker Darkroom Kit
The Beseler Printmaker Darkroom Kit is more expansive than what most beginners need for simple home film developing, but it is worth mentioning because some users are not just interested in processing negatives—they want the traditional darkroom experience. If that is your goal, a larger kit like this can become the backbone of a more serious setup.
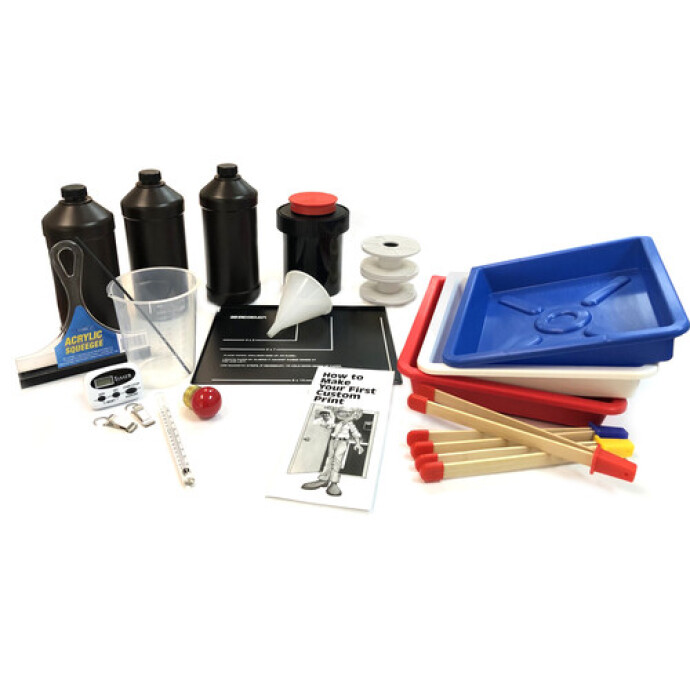
Still, for the narrow topic of beginner home film developing, this category is usually a second-step purchase rather than a first-step necessity. Learn to process and dry film consistently before investing in a more involved printing environment.
Must-Haves for Beginner Home Film Developing
1. A Beginner-Friendly Developing Kit
A focused starter kit such as the Unique Black and White Film Developing Kit gives new users the most approachable entry point.
2. A Reliable Developing Tank and Reels
A dedicated tank like the Samigon Universal Plastic Developing Tank with 2 Reels is the heart of the process.
3. Proper Chemistry
Black-and-white developers such as Flic Film Black, White, and Green Film Developer 250ML are ideal for learning before moving to more demanding color workflows.
4. Drying Accessories
The Paterson Film Clip Set helps protect your results after all the chemical work is done.
5. A Clean, Organized Workspace
This is not a product, but it is essential. The more organized your setup, the lower your chances of contamination, spills, or timing mistakes.
Common Pitfalls Beginners Should Avoid
Starting with Color Before Learning the Basics
Color negative processing can be rewarding, but black-and-white is usually the better training ground. Learn loading, timing, agitation, washing, and drying first.
Rushing Reel Loading
Most beginner frustration starts here. Practice before using real exposed film.
Ignoring Temperature and Timing
Even forgiving black-and-white chemistry benefits from discipline. Small inconsistencies become visible in the negatives.
Using a Poor Drying Area
Dust, steam residue, and airflow can all damage otherwise well-developed film.
Buying Too Much Gear Too Early
A basic, proven setup is better than a cluttered one. Start simple and upgrade once your technique is consistent.
Pros and Cons
Pros
- Home film developing is very achievable for beginners with the right gear
- Black-and-white kits offer the easiest and most forgiving starting point
- A dedicated tank and reel system makes home processing practical without a full darkroom
- Small accessories like film clips meaningfully improve final results
- Starter kits from Unique Photo simplify purchasing and reduce setup confusion
Cons
- Reel loading has a real learning curve for first-time users
- Chemistry handling requires attention to detail and safe storage
- Drying negatives cleanly is harder than many beginners expect
- Broader darkroom kits can be excessive if you only want to develop film
- Inconsistent technique can lead to wasted rolls during the learning phase
Verdict
For most people entering home film developing, the smartest move is to start with a straightforward black-and-white workflow built around a beginner-friendly kit, a dependable tank, and a few simple accessories. Among the products covered here, the Unique Black and White Film Developing Kit stands out as the best overall starting point because it matches the needs of true beginners: simplicity, accessibility, and a lower chance of early mistakes. Pairing that approach with a solid tank like the Samigon Universal Plastic Developing Tank with 2 Reels and a practical finishing accessory like the Paterson Film Clip Set creates a dependable first home setup.
If you know you want to build a broader darkroom over time, the Photographic Darkroom Film and Paper Developing Kit and Beseler Printmaker Darkroom Kit may be worth considering later. But for learning the fundamentals and avoiding common pitfalls, keeping your first setup focused is the better strategy.
If you are ready to buy, Unique Photo is an excellent place to pick up home film developing gear, whether you want a complete beginner kit or the individual essentials to build your own workflow.