Home Film Developing FAQ: Avoid Common Processing Mistakes
Developing film at home is one of the most rewarding parts of analog photography, but small errors can quickly affect your negatives. With the right workflow, reliable equipment, and a clean workspace, you can get more consistent black-and-white and color results right from your home darkroom or kitchen setup.
Below, our team at Unique Photo answers some of the most common questions photographers have about avoiding processing mistakes, controlling temperature, and keeping negatives clean and scratch-free.
What are the most common pitfalls when developing black-and-white film at home?
The biggest mistakes usually come down to inconsistency. Common issues include incorrect chemical dilution, poor timing, uneven agitation, loading film incorrectly onto reels, and using chemistry that is exhausted or contaminated. Black-and-white film is forgiving compared to color, but it still benefits from a repeatable process. Label your chemicals clearly, measure carefully, pre-set your timer, and use the same agitation pattern every roll so your results are easier to predict.
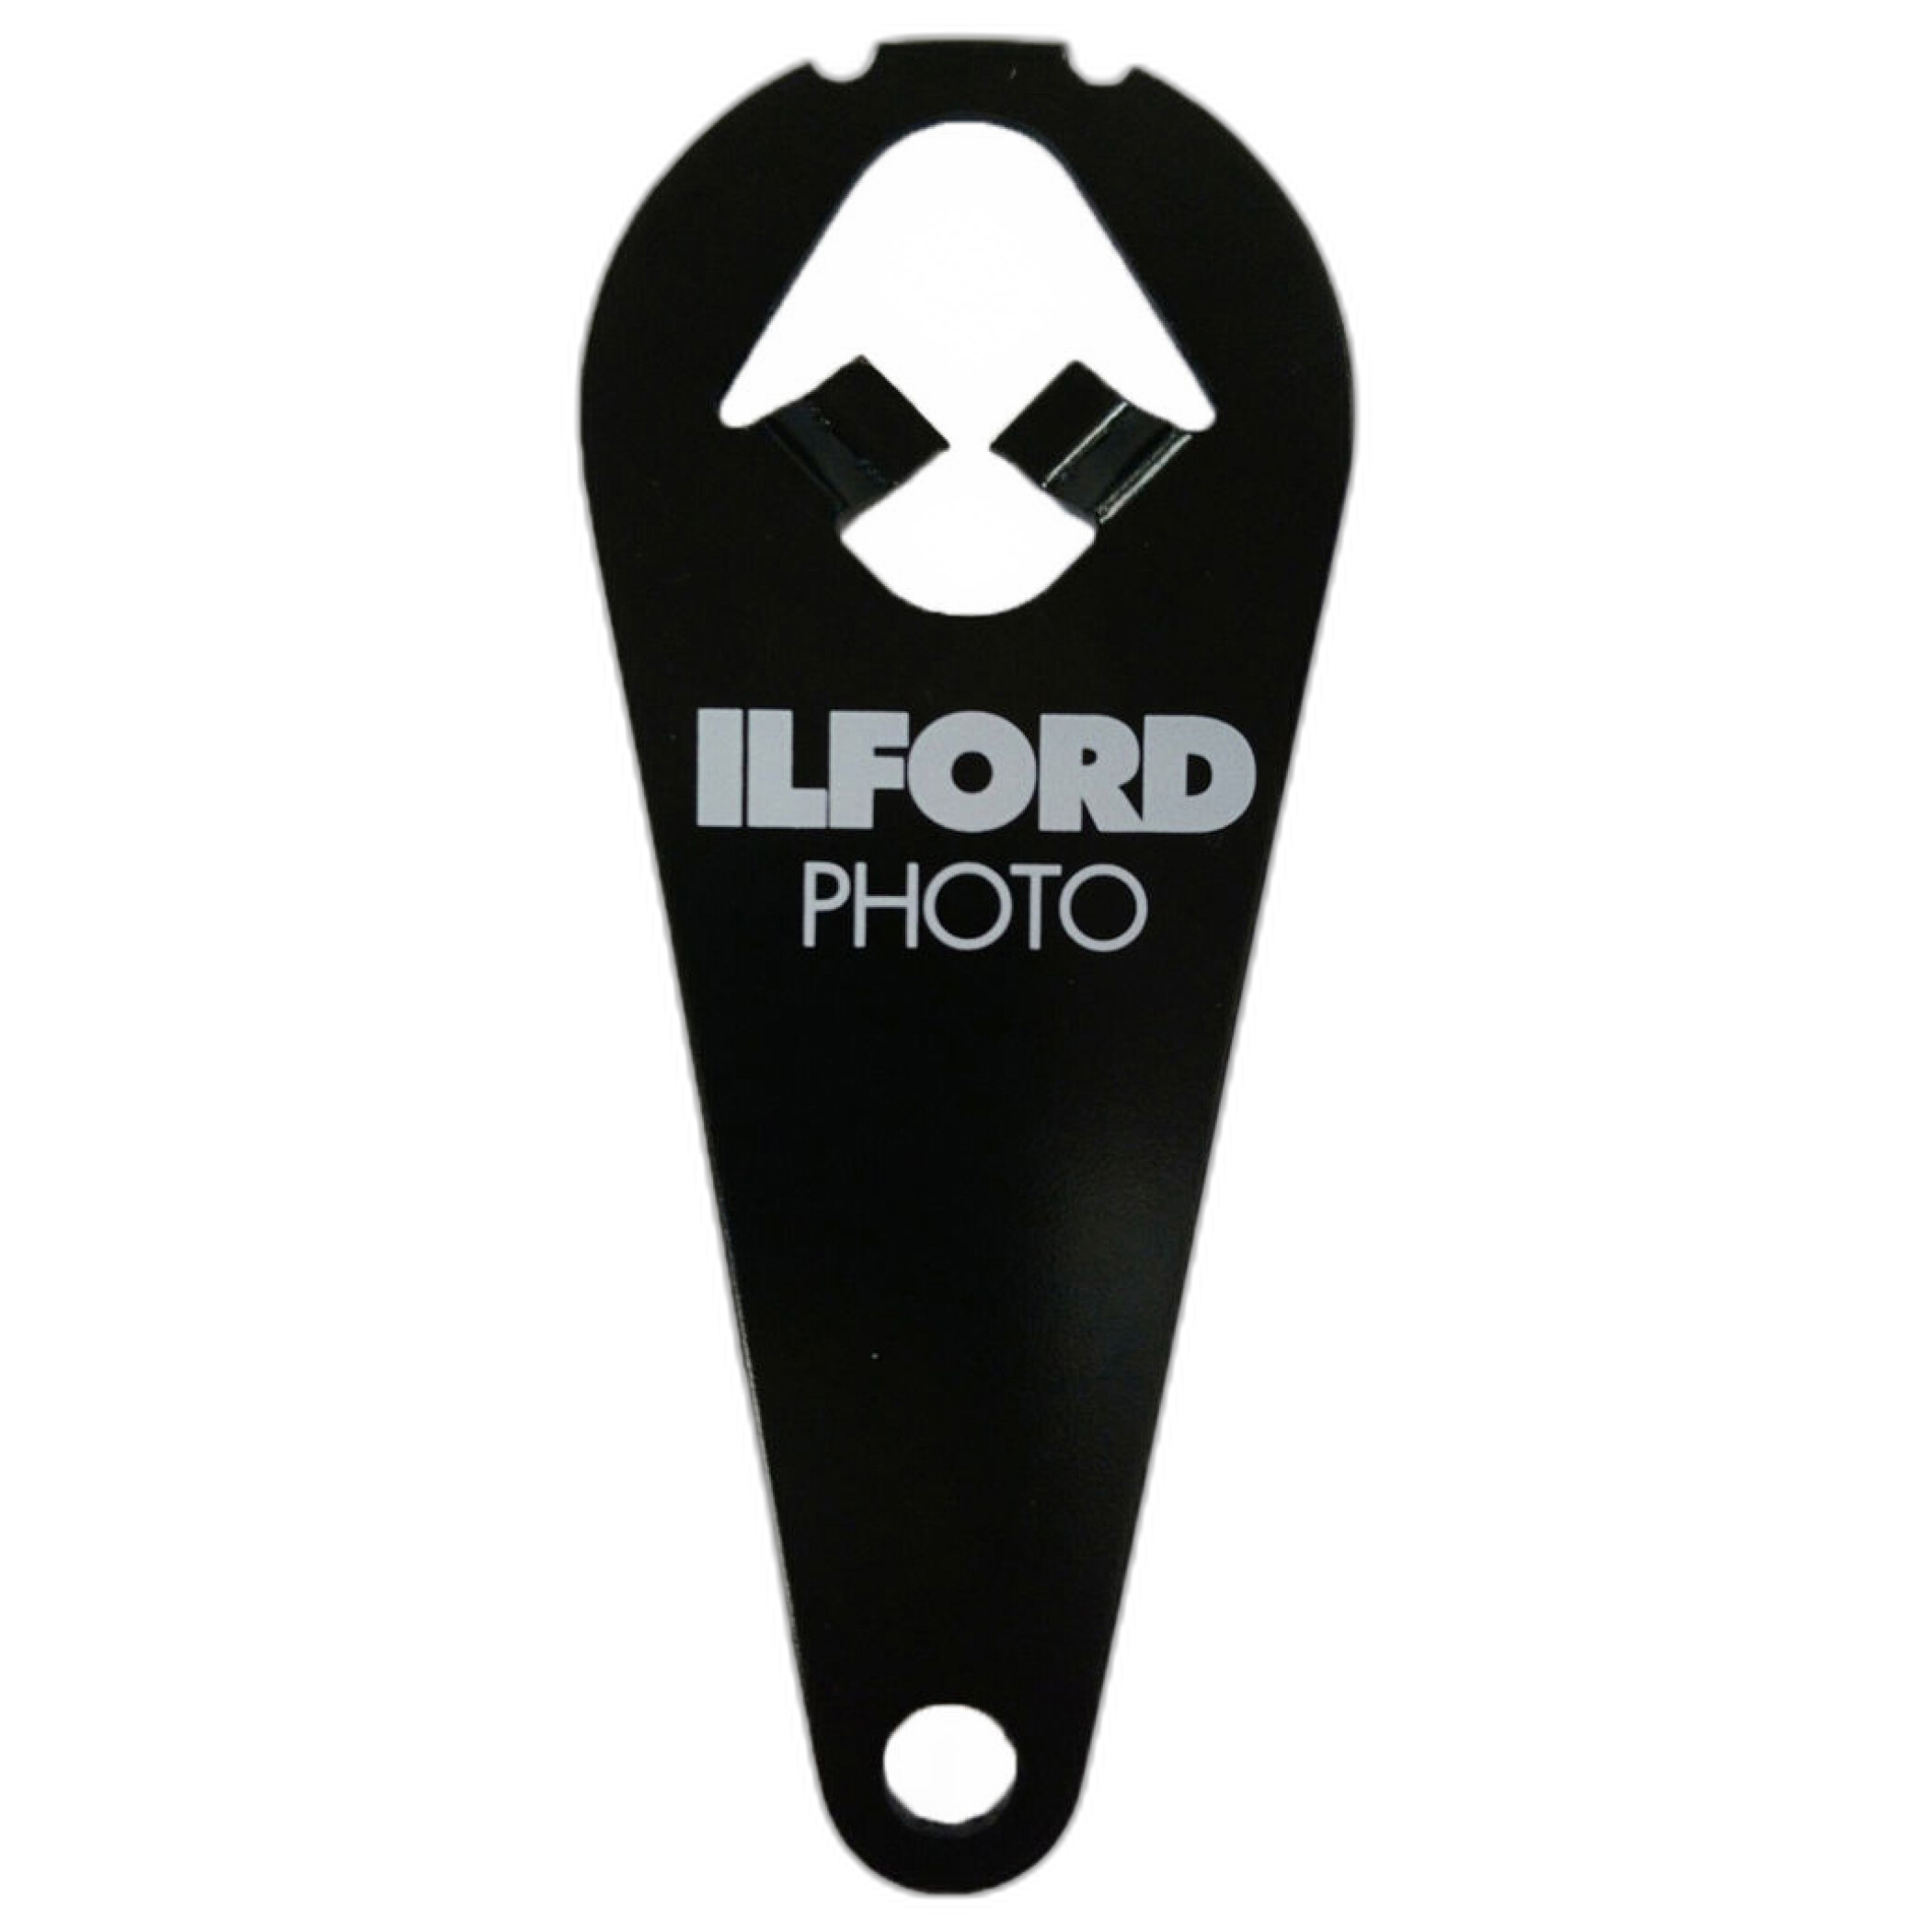
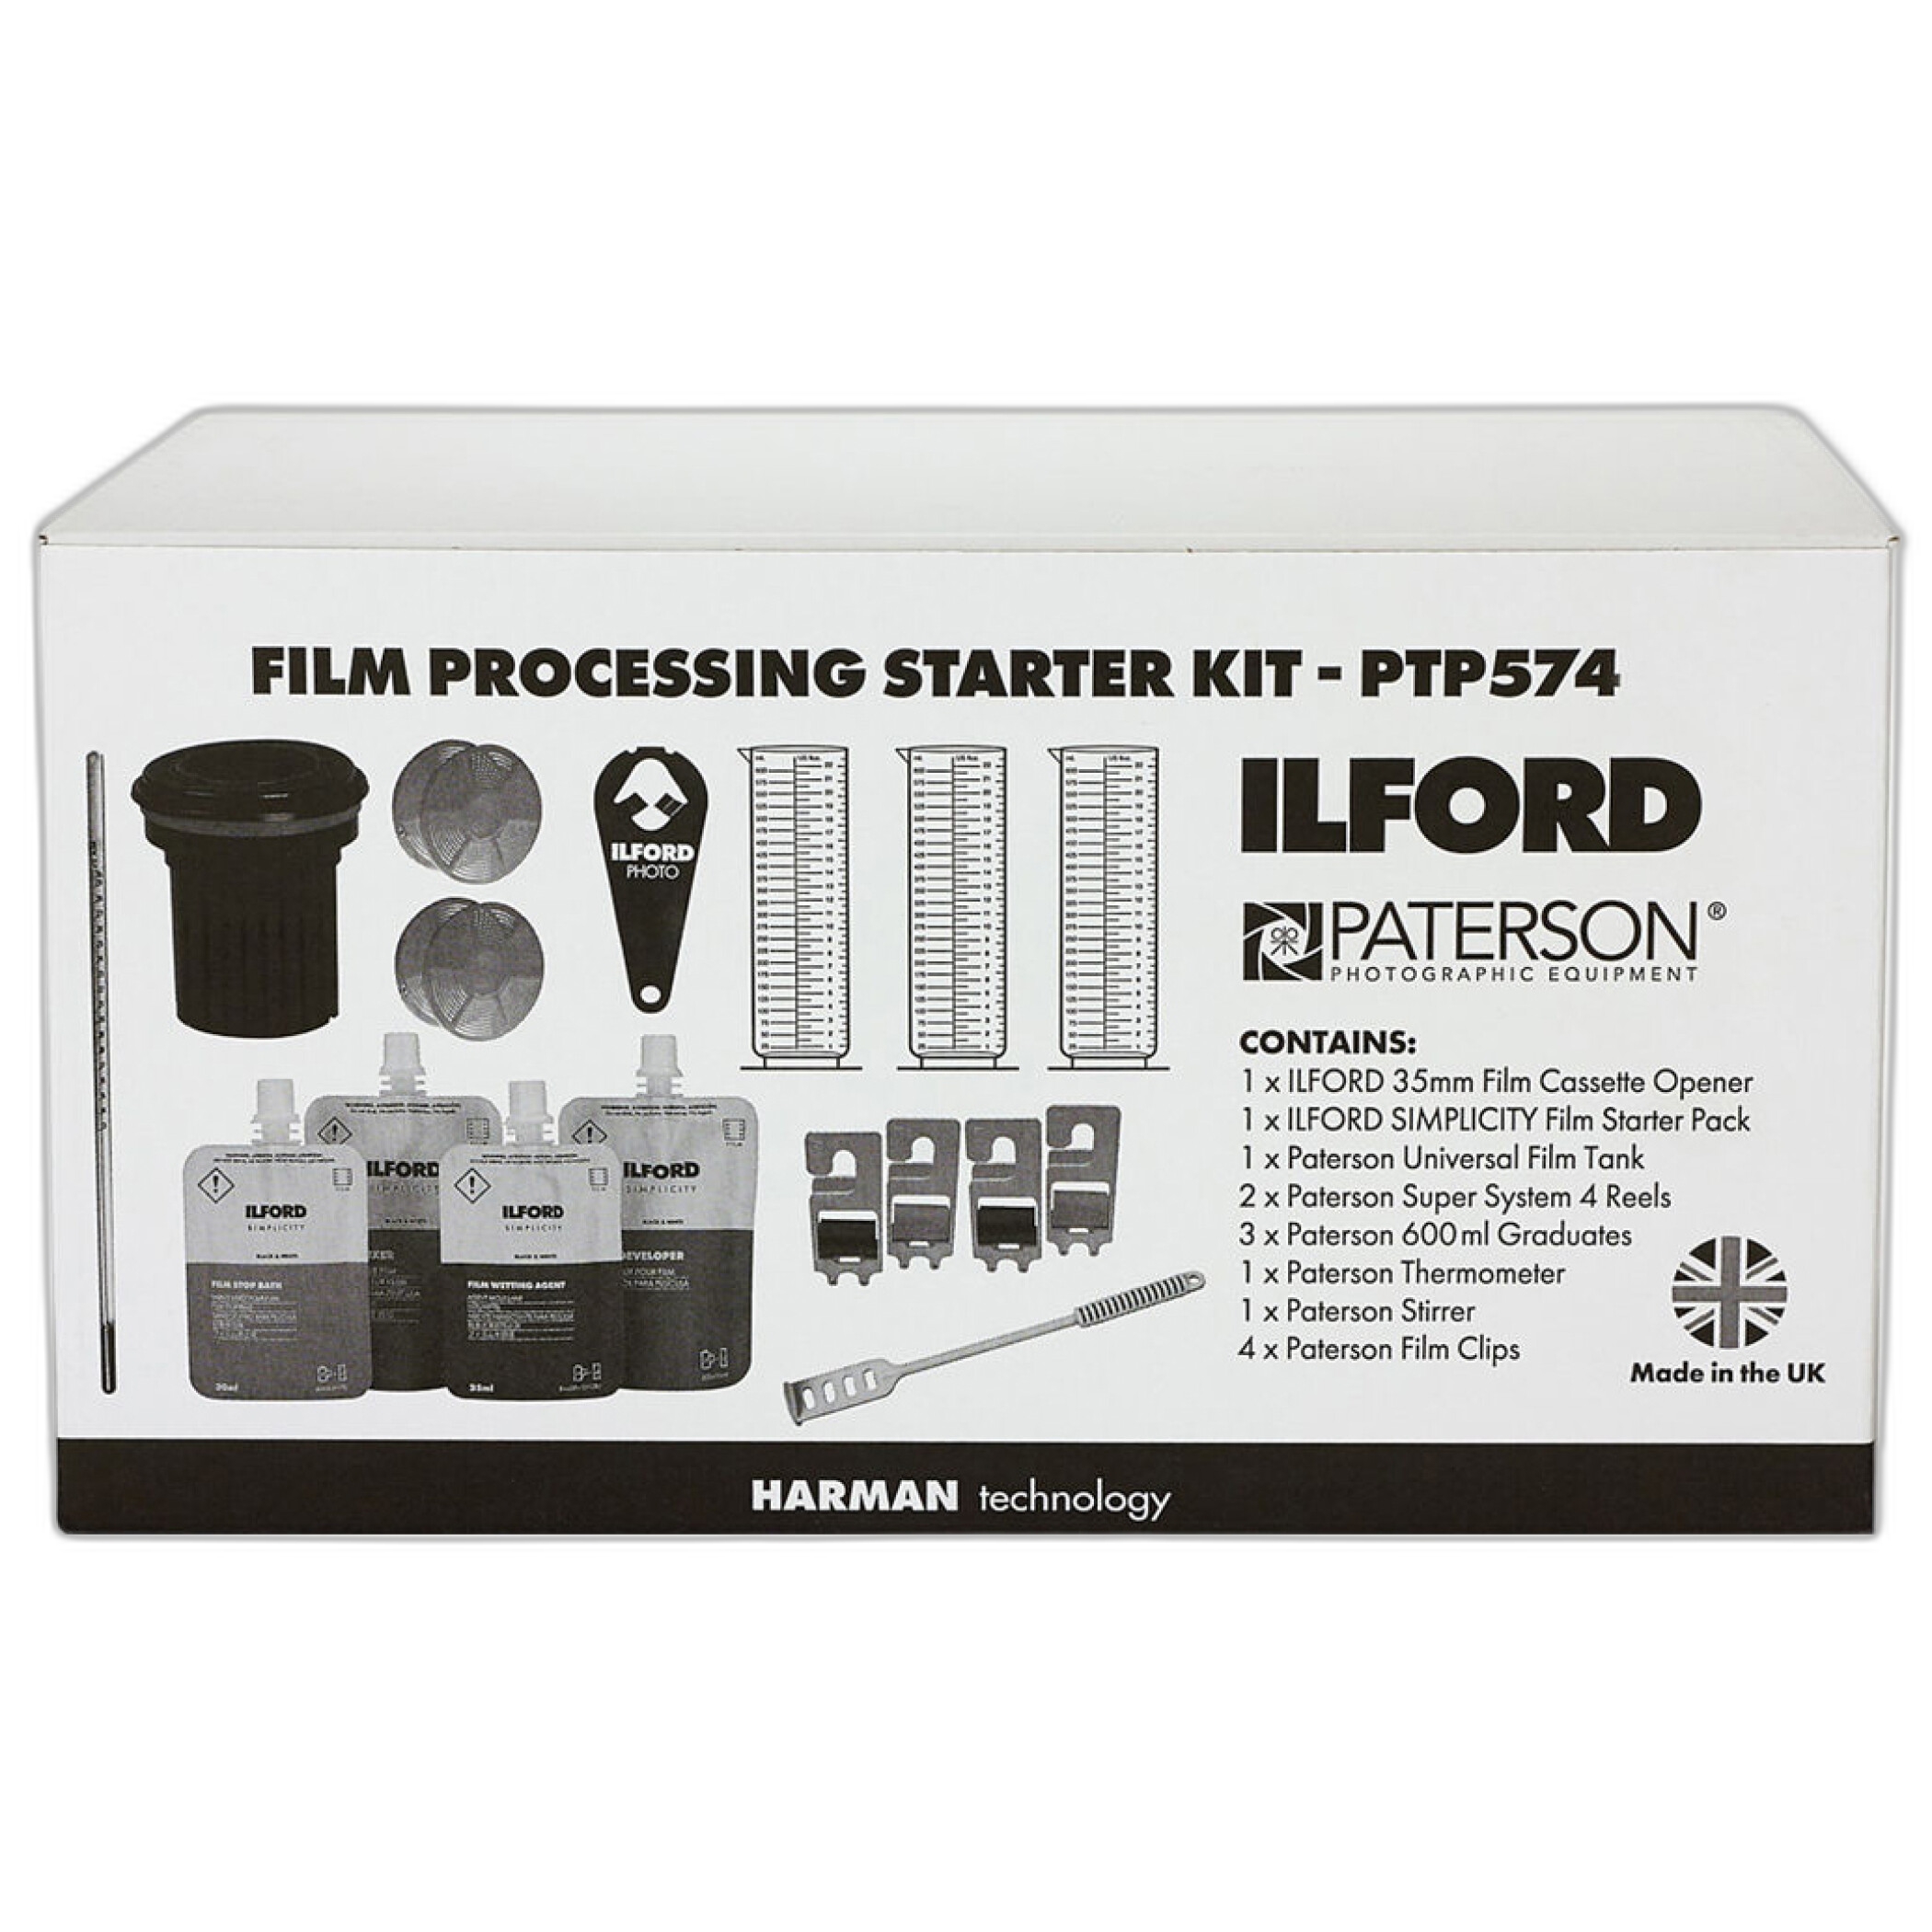
For beginners, a complete starter setup can make a big difference because it removes some guesswork from the process. A kit like the Paterson Ilford Film Processing Starter Kit is a practical option for building a dependable home workflow.
How important is proper film loading, and how can I avoid loading mistakes?
Proper loading is critical because if the film binds, overlaps, or kinks on the reel, developer may not reach the emulsion evenly. That can lead to streaks, undeveloped patches, or crescent-shaped marks. Practice loading with a sacrificial roll in daylight before trying it in the dark or inside a changing bag. Make sure the reel is completely dry, because moisture can make film harder to feed smoothly.
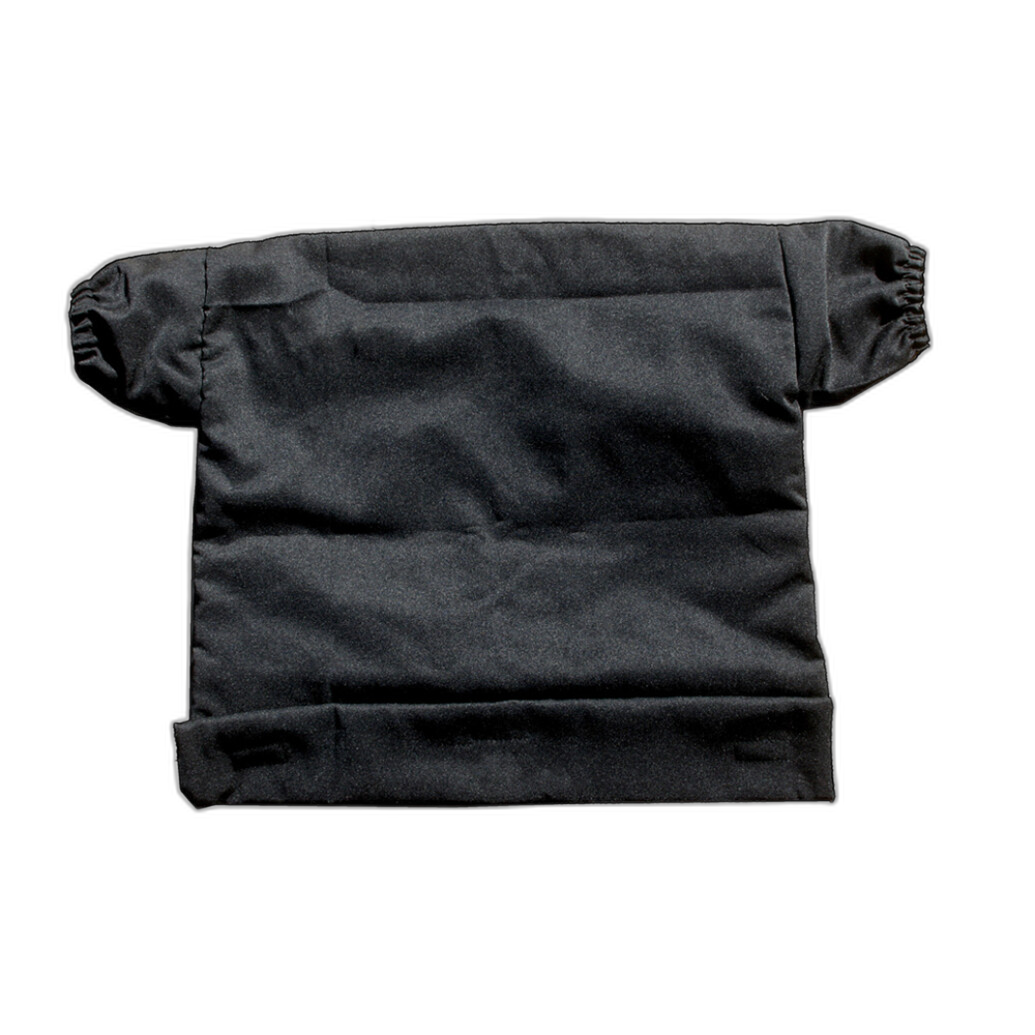
If you do not have a dedicated darkroom, a reliable changing bag is one of the safest ways to load film while keeping it protected from light. The Paterson Changing Bag 27.5x27.5 is a useful choice for home users who want flexibility without needing a fully dark room.
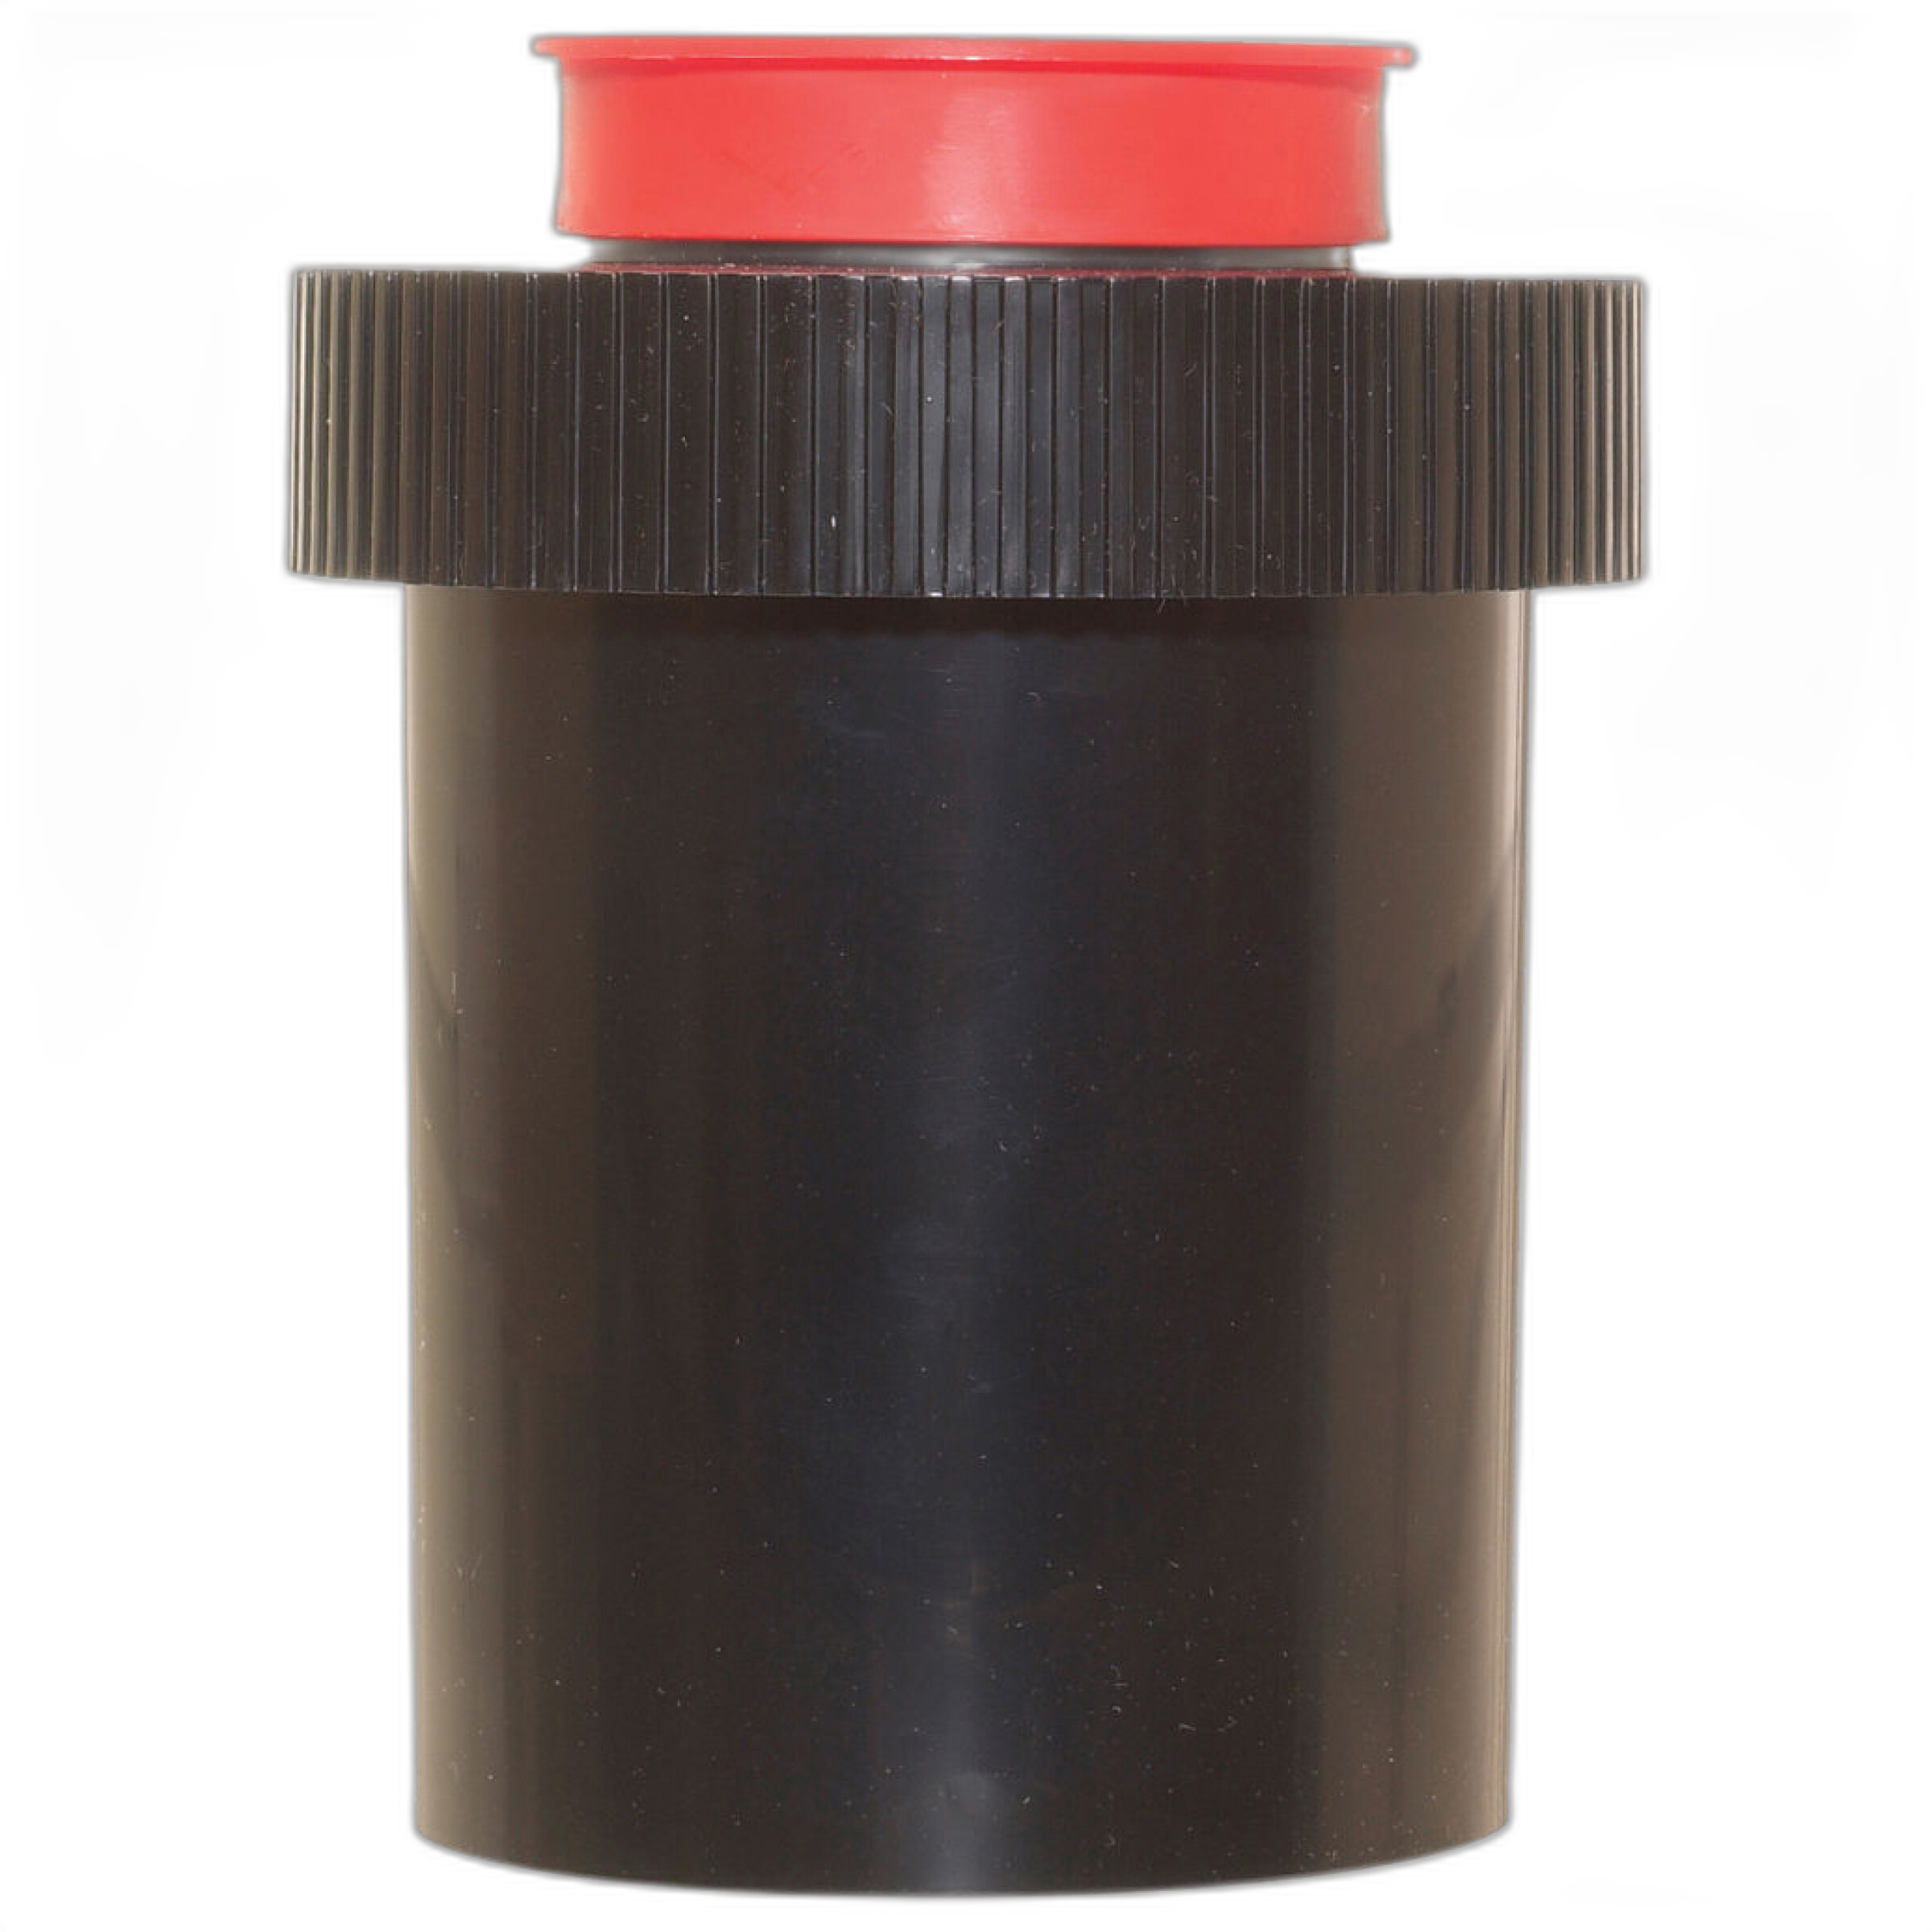
A dependable tank matters too. The Samigon Universal Plastic Developing Tank with 2 Reels is a straightforward option for processing multiple rolls, while photographers looking for an easy-loading daylight-style approach may also consider compact tank systems for 35mm workflows.
How do you control temperature accurately during C-41 color development?
C-41 color processing is much less forgiving than black-and-white because the chemistry is designed to work at a very specific temperature. Even small deviations can shift color, contrast, and density. The best approach is to use a water bath to stabilize both your chemical bottles and your developing tank before you begin. Bring everything to target temperature first, then maintain it throughout development as closely as possible.
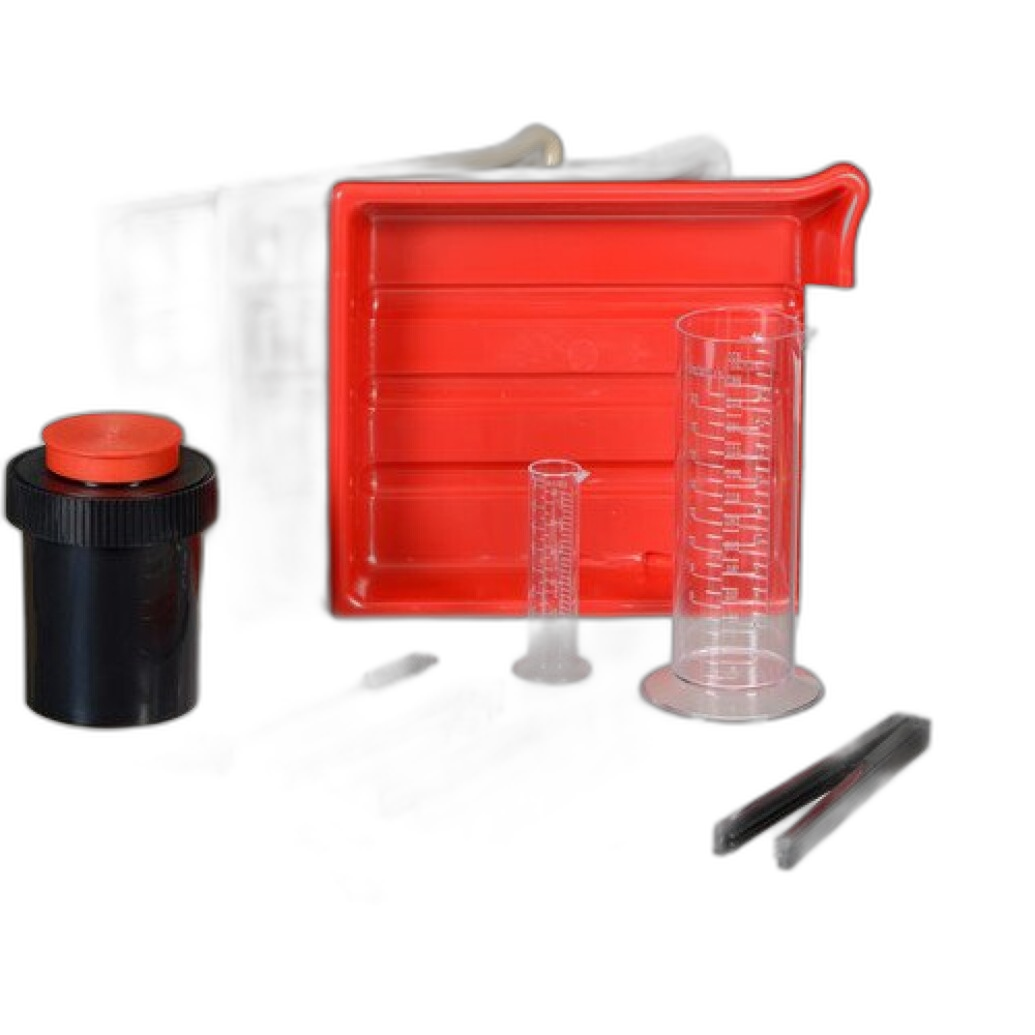
Use an accurate thermometer, allow enough time for chemistry to equilibrate, and avoid rushing the process. It also helps to organize your sequence in advance so you are not scrambling between steps while the tank cools. If you are assembling a first home setup, a broader package like the Photographic Darkroom Film and Paper Developing Kit can help centralize your workspace and reduce preventable errors.
What causes uneven development, streaks, or blotchy negatives?
Uneven development is often tied to agitation problems, insufficient developer volume, or film that was not seated properly on the reel. Inversion agitation should be smooth and consistent, not violent. Too little agitation can cause bromide drag or uneven density, while overly aggressive agitation can increase grain or create surge marks. Another common issue is pouring chemicals too slowly, especially at the start of development when timing is most critical.
Use a tank that matches your film format and confirm the correct chemistry volume every time. Starter systems from Paterson are popular because they help standardize the process and make repeatability easier for home users.
How can I keep dust off my negatives during drying and handling?
Dust control starts before the film comes out of the tank. Clean your workspace, avoid lint-heavy towels, and let your film dry in a low-draft environment. A bathroom after a hot shower can sometimes work well because the humidity helps settle airborne dust. Handle negatives only by the edges, and once they are dry, store them promptly in archival sleeves rather than leaving strips exposed on a tabletop.
Your loading and unloading area matters too. A clean changing bag can help reduce accidental contamination during the most sensitive handling stages. Keeping tanks, reels, clips, and drying space clean will do more for your final scans and prints than many people expect.
What are the best ways to avoid scratches on film negatives?
Most scratches happen from careless handling, dirty reels, or wiping film with the wrong materials. Never force film onto a reel, and inspect plastic reels regularly for rough spots or residue. After washing, avoid touching the emulsion side. If you use a squeegee or your fingers to remove water, do so cautiously, because trapped grit can leave permanent lines. Many photographers prefer a final rinse and then simply hang the film to drip dry.
Keeping your process orderly helps here as well. Using a dedicated tank system like the Samigon Universal Plastic Developing Tank with 2 Reels or a well-organized starter kit can minimize unnecessary handling between steps.
How should I wash and dry film to prevent water spots and residue?
Insufficient washing can leave chemical residue on negatives, while hard water can create drying marks. Follow the wash recommendations for your chemistry and finish with a proper wetting agent in distilled water if your tap water is mineral-heavy. Hang film vertically with enough weight at the bottom to reduce curling, and let it dry fully before cutting or sleeving.
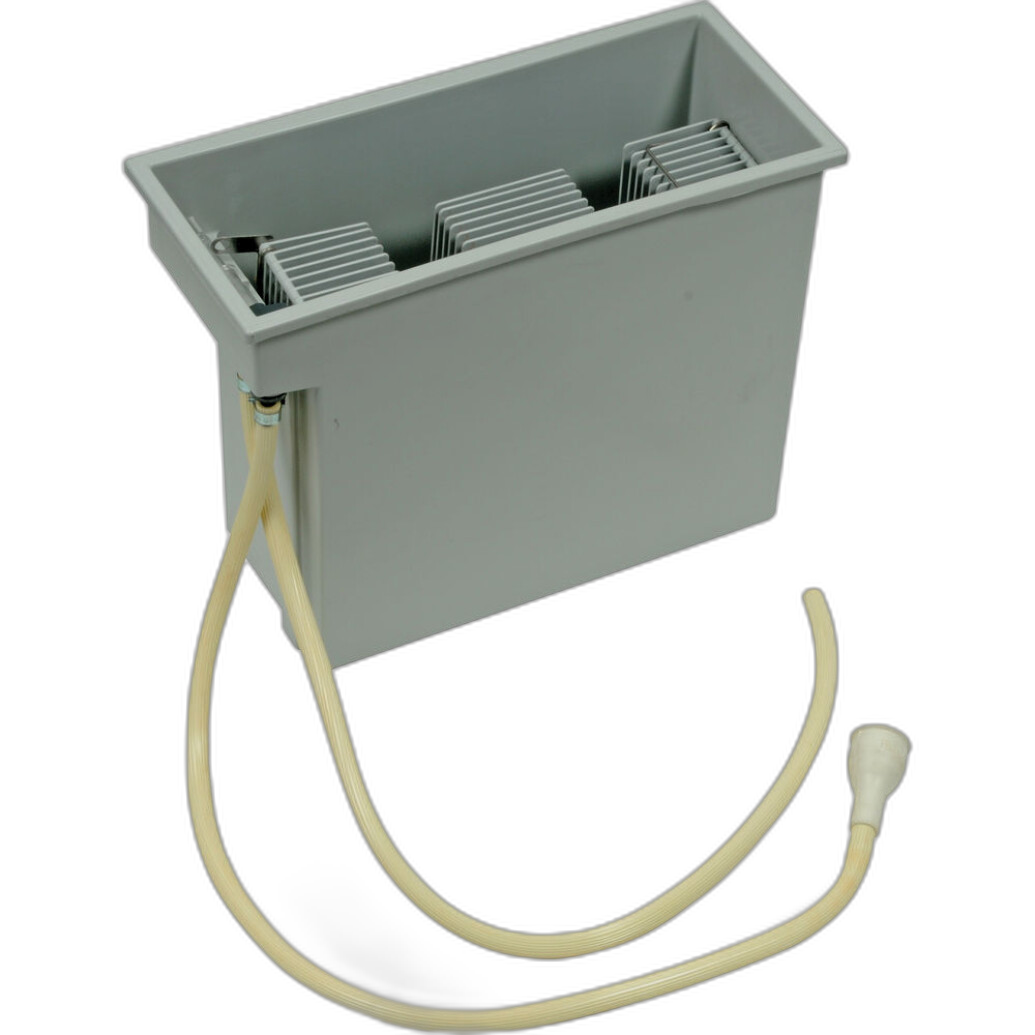
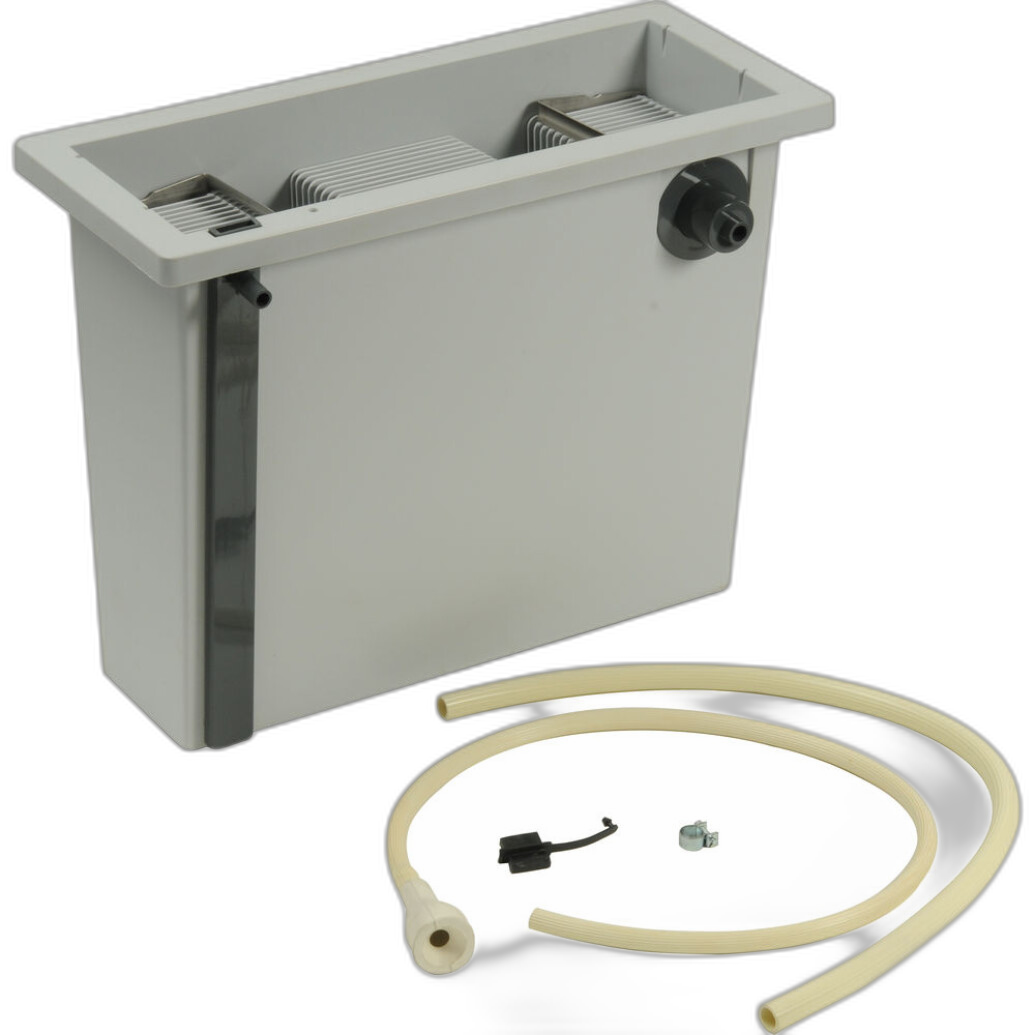
For photographers who also make darkroom prints, wash consistency matters across the whole workflow. Paterson print washers such as the Paterson Auto Print Washer Standard and Paterson Auto Print Washer Major 12x16 can help maintain a cleaner, more controlled print-processing setup.
How do I know if my chemistry is causing problems?
Old, oxidized, or contaminated chemistry can cause weak negatives, color shifts, staining, and inconsistent roll-to-roll results. Always mix chemistry exactly as directed, store it in properly sealed containers, and keep track of how many rolls have been processed. If results suddenly become unpredictable, chemistry age is one of the first things to check. It is also important not to cross-contaminate solutions by using the same graduates or stirring tools without rinsing thoroughly.
A repeatable setup helps you identify whether the problem is your chemicals, your timing, or your technique. When your tools and process stay consistent, troubleshooting becomes much easier.
What equipment is most helpful for beginners starting home development?
Beginners benefit most from a reliable tank, reels, a light-safe loading solution, measuring tools, and an organized workspace. A bundled option like the Paterson Ilford Film Processing Starter Kit is a strong place to begin because it simplifies the shopping list and gives you core tools built around a proven home-processing workflow. If you need a broader darkroom starter package, the Photographic Darkroom Film and Paper Developing Kit can also be a helpful all-in-one option.
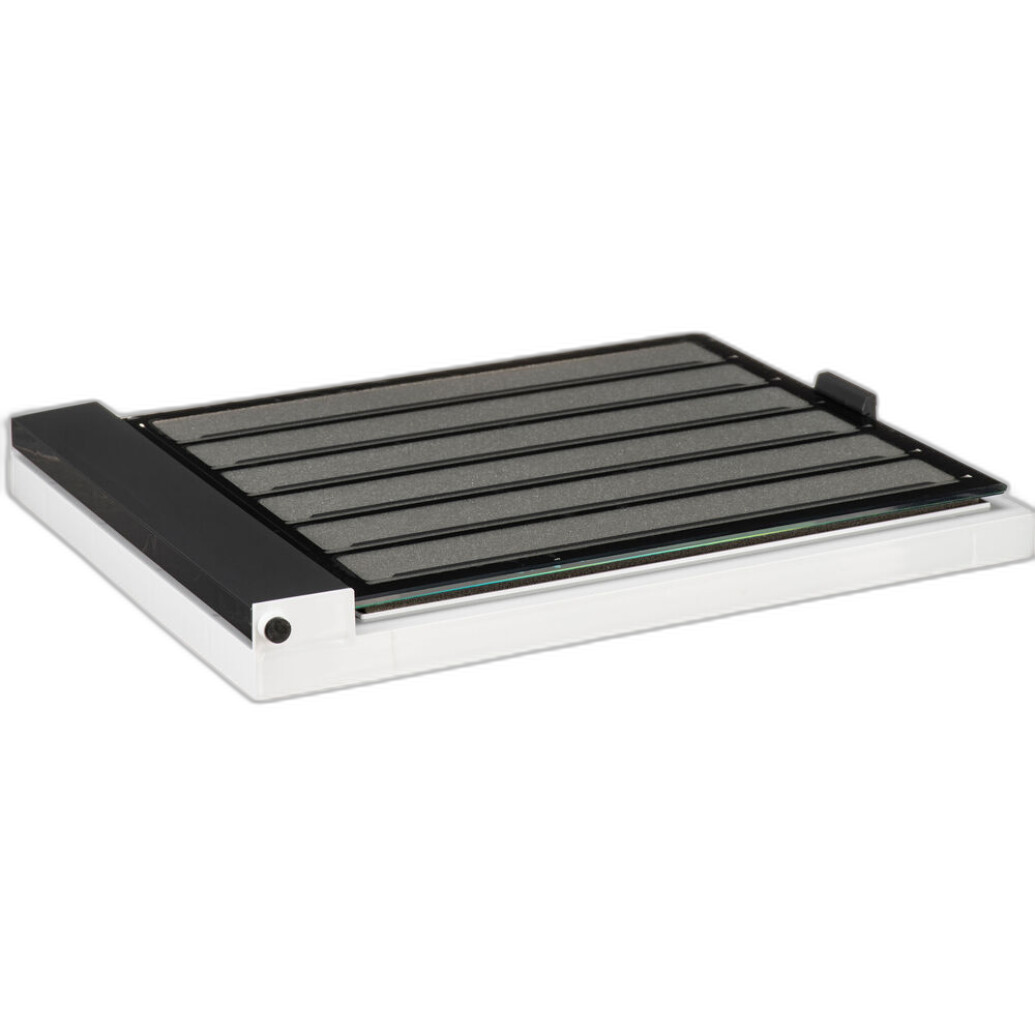
Once your negatives are processed, accessories such as the Paterson Proof Printer 35mm 8x10 can be useful for evaluating strips and planning your next printing or scanning steps.
Home developing gets easier and more consistent once you build good habits and use dependable gear. Whether you are refining your black-and-white process, tackling C-41 temperature control, or upgrading your darkroom setup, Unique Photo has the film developing essentials to help you process with more confidence. Explore our selection of tanks, changing bags, starter kits, and darkroom accessories to build a workflow that works for you.