Film Scanning FAQ: Best Ways to Digitize Negatives at Home
Digitizing film can be as simple as making quick shareable files or as refined as creating archival scans for large prints. The right workflow depends on your film format, output needs, budget, and how much time you want to spend on each frame.
At Unique Photo, we help photographers build practical digitizing setups that fit real-world needs—from preserving family negatives to extracting maximum detail from medium format film. Below are answers to the most common questions about scanning and digitizing negatives at home.
What is the best way to scan film negatives at home?
The best method depends on your priorities. Flatbed scanners are often the most approachable choice for photographers working with prints, 35mm strips, and medium format film in moderate volume. Dedicated film scanners can offer better efficiency and detail for smaller formats, especially 35mm. Camera scanning has also become a favorite for photographers who want speed, flexibility, and excellent image quality when paired with a high-resolution camera, stable copy setup, and proper film holder.
If your goal is high-end reproduction quality, a camera-based workflow built around a high-resolution sensor can be especially effective for film archiving and large-format output. For example, a medium format digital camera can capture exceptional detail and tonal separation from negatives, making it a strong option for advanced users digitizing important film originals.
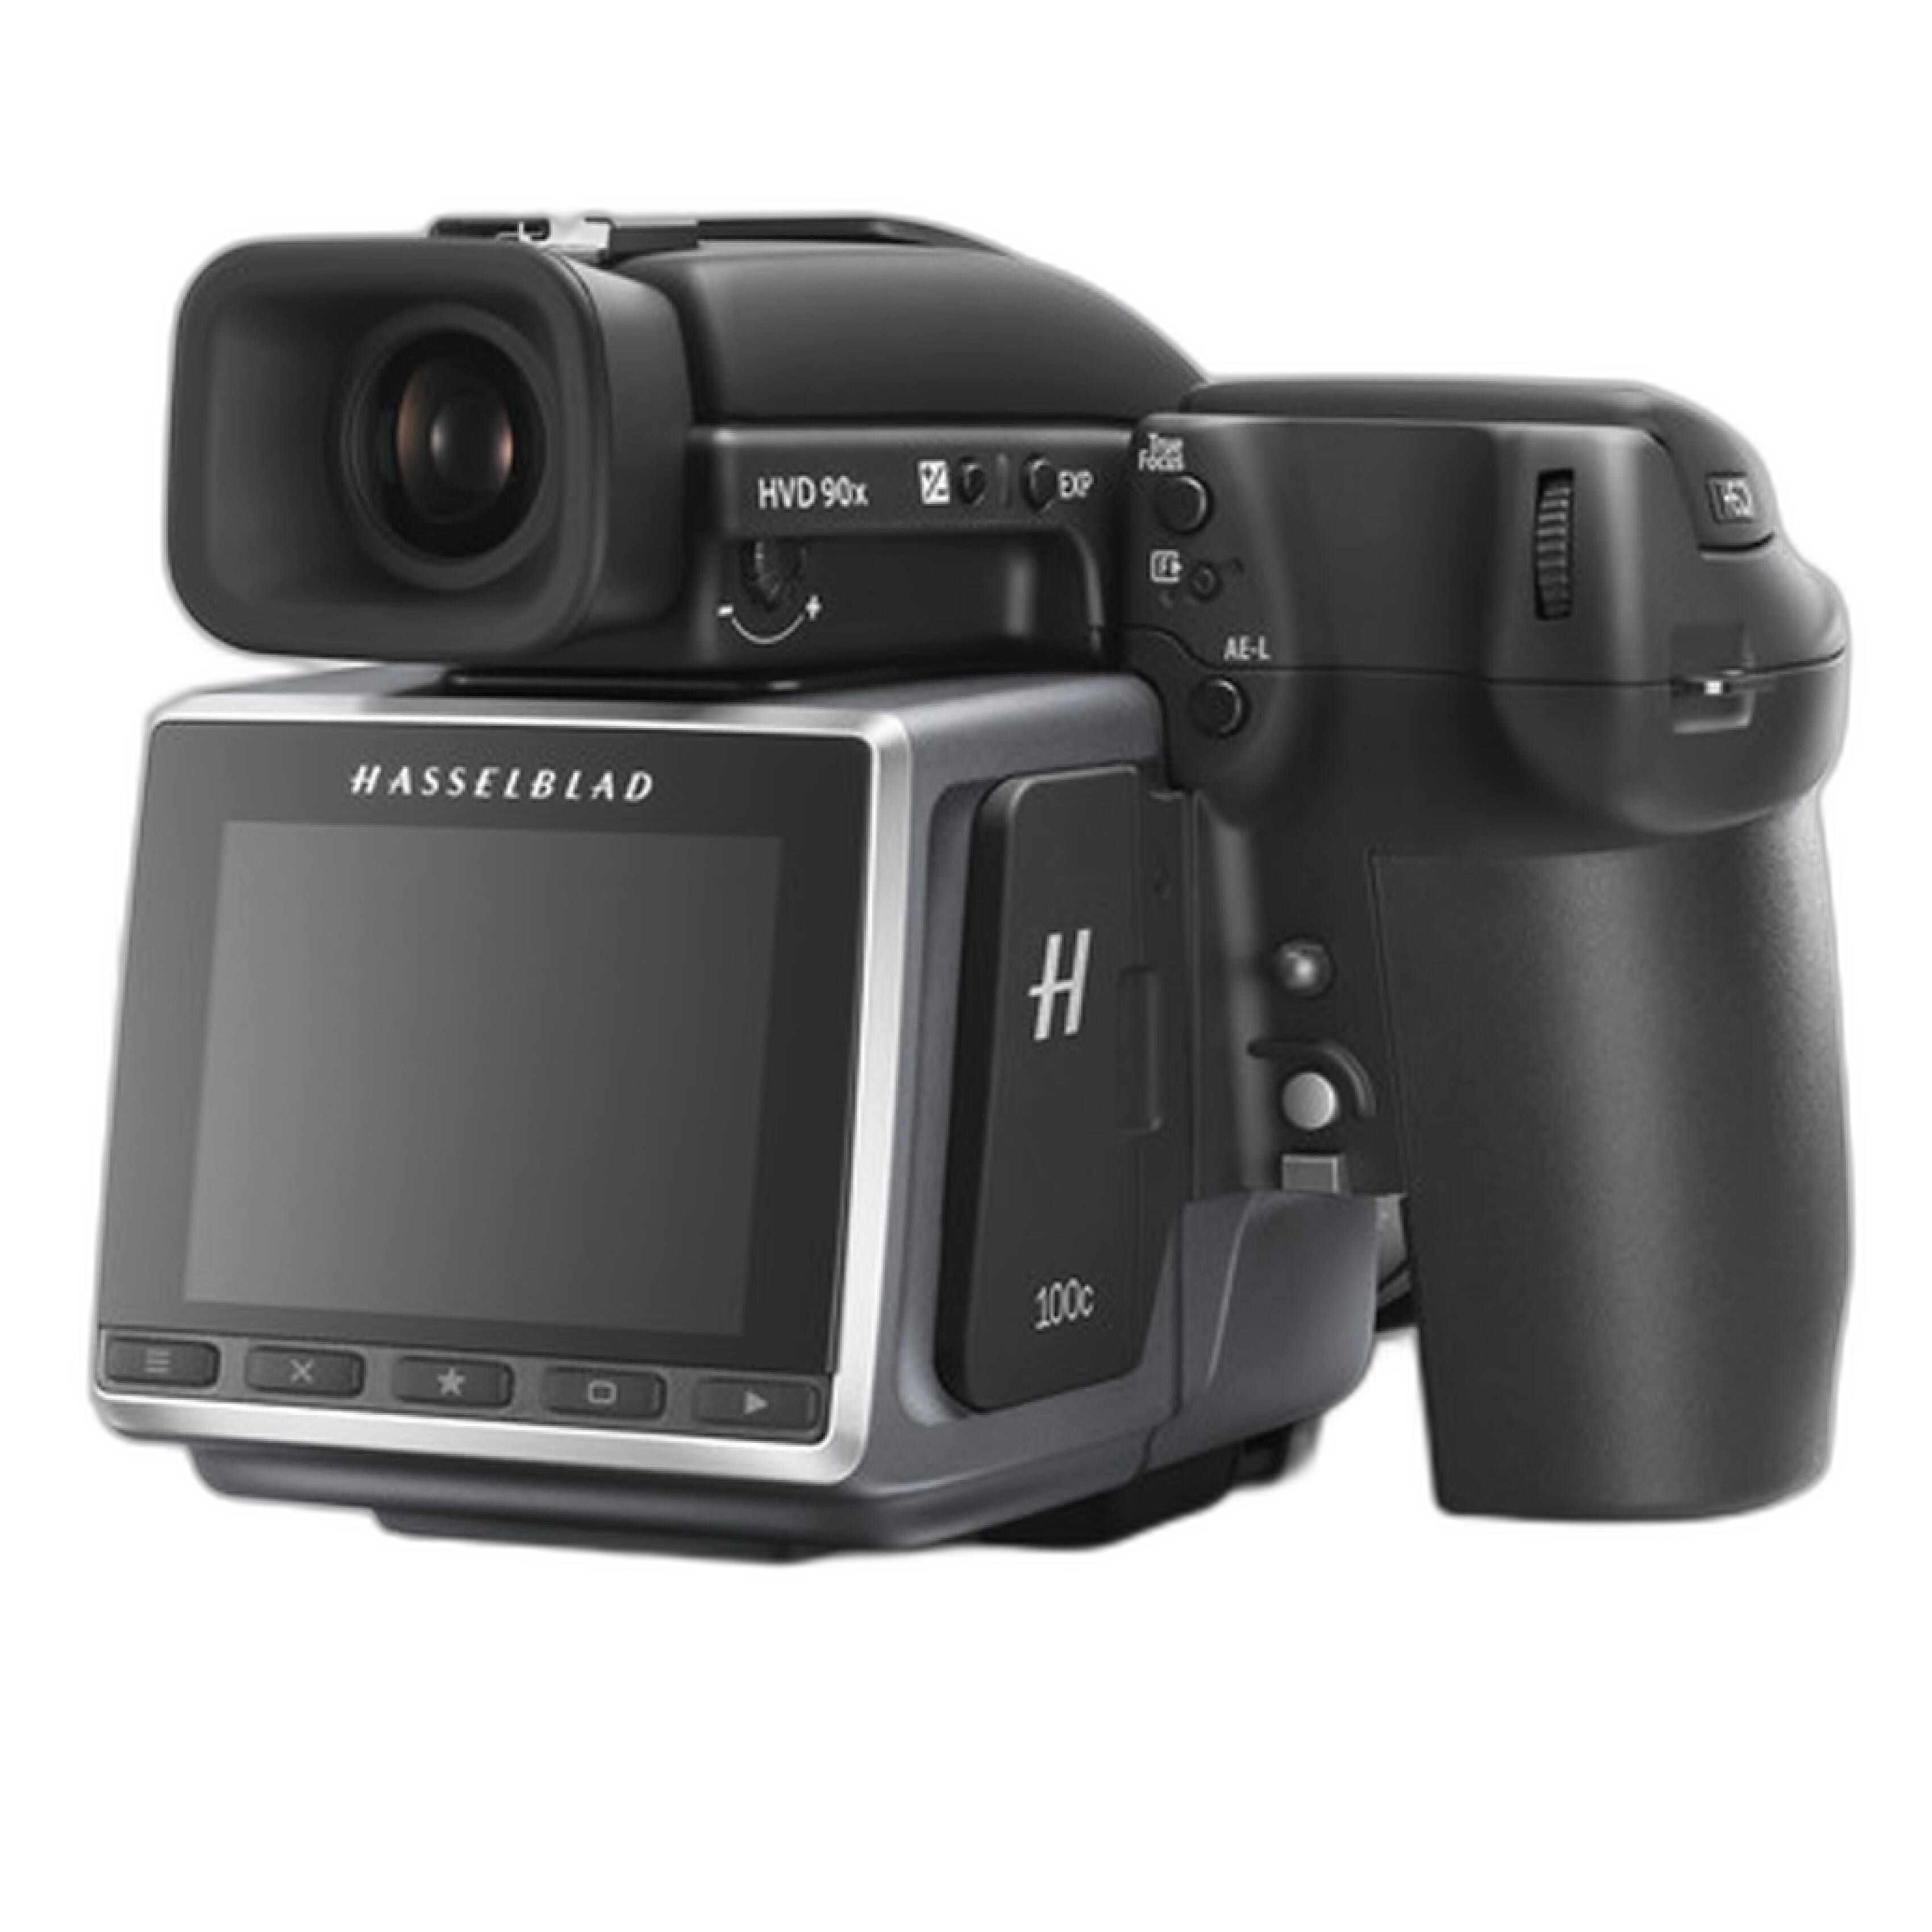
For photographers looking at ultra-high-resolution capture solutions, the Hasselblad H6D-100c is the kind of tool that can anchor a premium camera-scanning workflow when image quality is the top priority.
Is a flatbed scanner good enough for 35mm and medium format film?
For many users, yes. A flatbed can be a practical and affordable solution for contact sheets, sharing online, making modest prints, and organizing an archive. Medium format film often fares better on flatbeds than 35mm because the larger negative gives you more usable detail even if the scanner is not extracting every bit of resolution available.
For 35mm, expectations matter. If you want the sharpest possible files or plan to make large prints, you may find a flatbed limiting. In that case, either a dedicated film scanner or a camera-scanning setup usually offers better results. Flatbeds still remain useful because they are easy to operate and can handle multiple film sizes in one device.
What is camera scanning, and why do so many photographers prefer it?
Camera scanning is the process of photographing a backlit negative with a digital camera rather than using a traditional scanner. It has become popular because it can be faster than conventional scanning, especially for large batches of film, and because modern digital sensors can capture tremendous detail.
The biggest advantages are speed, control, and upgrade flexibility. You can tailor the setup to different film formats, adjust lighting and lens choice, and process files with your preferred inversion and color workflow. For photographers with larger negatives or demanding output needs, this method can be extremely effective.
At the high end, cameras designed for extraordinary resolving power can be used for copy work and film digitization. The Hasselblad H6D-400c MS, for instance, represents the kind of ultra-detailed capture system serious archival and reproduction specialists consider when they need maximum precision from film originals.
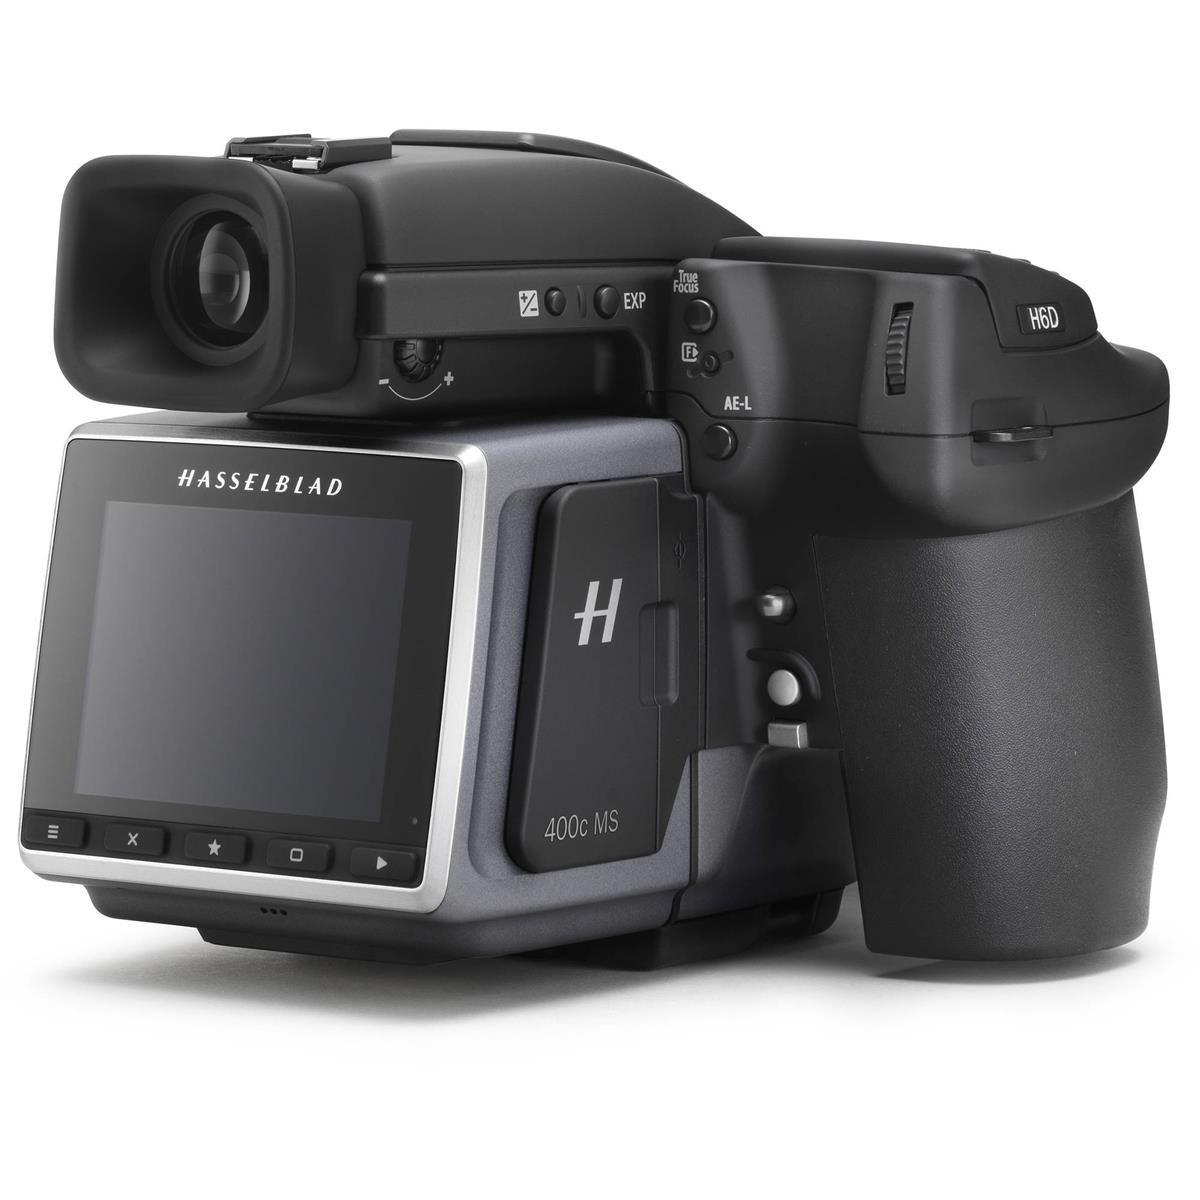
While this level of equipment is not necessary for every home workflow, it illustrates how far camera scanning can go when fidelity is the primary concern.
How do I get the best image quality from my negatives?
Start with clean film. Dust, fingerprints, and scratches are the fastest way to lose quality and add editing time. Use proper film handling, anti-static cleaning tools, and a clean workspace. Next, make sure your film is held flat. Curved negatives can soften parts of the frame and create inconsistent results.
Exposure and color consistency are also critical. If you are camera scanning, use an even light source and keep the camera perfectly parallel to the film plane. If you are using a scanner, take time to learn its software settings rather than relying only on automatic modes. For color negative film, accurate inversion and white balance adjustments make a huge difference. For black-and-white, preserving highlight and shadow detail during capture is especially important.
Finally, scan or capture at a quality level appropriate for your final use. Social sharing, small prints, and archival masters all call for different file sizes and time investments. There is no reason to overcomplicate casual snapshots, but important negatives deserve a more careful approach.
Should I scan film myself or use a lab?
If you have occasional rolls, a good lab can save time and deliver consistent results. Labs are especially appealing when you want quick turnaround, do not want to maintain equipment, or have delicate originals you would rather not handle repeatedly.
Home scanning makes more sense when you shoot film regularly, want full control over color and contrast, or enjoy refining your own workflow. It can also be more economical over time if you are digitizing a large archive. Many photographers eventually use both approaches: a lab for convenience and home digitization for important frames or projects that need custom treatment.
Can I use a digital camera I already own for scanning film?
In many cases, yes. If your digital camera offers good resolution, dependable live view, and support for a suitable close-focusing or macro lens, it can be the foundation of a very capable digitizing setup. Stability matters just as much as sensor quality, so a rigid support system and consistent backlighting are essential.
A modern high-resolution camera can work very well for negatives intended for web use, books, and prints. Some photographers also choose premium compact cameras with excellent sensors and lenses when they want an efficient all-in-one tool for copy work and general photography. A model like the Leica Q3, for example, offers impressive image quality in a streamlined package, though dedicated macro-friendly setups are still preferable for specialized film digitization.
What if I shoot medium format film and want a hybrid workflow?
A hybrid workflow combines the look of film capture with the flexibility of digital output. Medium format shooters often gravitate to this approach because larger negatives reward careful digitization with excellent tonality and detail. If you enjoy the process of shooting film but want digital files for editing, sharing, and printing, building a repeatable scan workflow is a smart investment.
One interesting bridge between film and digital is a modular system that supports both capture styles. For photographers exploring medium format across both mediums, a used kit such as the Mamiya 645AFD with digital and film back can reflect the kind of flexible ecosystem that makes hybrid photography so appealing. It is not a scanner, but it speaks directly to the needs of photographers who want to move between film origination and digital finishing.
How should I organize and archive my scanned negatives?
Create a simple folder structure from the start. Organize by year, project, roll, or film type, and use consistent file naming so you can find images later. Save a high-quality master file and make smaller edited copies for sharing. Include metadata where possible, such as film stock, camera, lens, development notes, and scan date.
Backups are essential. Keep your primary archive on a reliable drive and maintain at least one additional backup, ideally in a separate physical location or cloud service. Your negatives are the original source, but your digital files become far more useful when they are easy to search, edit, and protect.
What resolution or file type should I use for sharing versus printing?
For social media, web galleries, and quick client previews, smaller JPEGs are usually enough. They upload faster, take less storage space, and are easy to manage. For editing, reprints, and long-term preservation, save high-resolution TIFFs or maximum-quality files from your preferred workflow.
If you plan to print large, leave yourself room. Capture or scan at the highest practical quality your setup can reliably produce, especially for standout images. A careful, high-resolution workflow gives you more freedom for cropping, tonal adjustments, and future output needs.
When photographers are building premium reproduction workflows around maximum detail, high-resolution systems remain the benchmark. For projects where every nuance matters, a camera platform designed for exceptional image capture can elevate what is possible from a film original.
What is the most practical film digitizing setup for beginners?
For most beginners, practicality beats perfection. Start with a solution you will actually use consistently. That may mean a flatbed if you want simplicity, or a modest camera-scanning setup if you value speed and already own a digital camera. Focus first on cleanliness, film flatness, basic color correction, and file organization. Those factors usually matter more than chasing the most complex hardware right away.
As your needs grow, you can refine the system with better holders, lighting, software, and higher-resolution capture tools. The best setup is the one that helps you turn film into usable digital files efficiently and repeatedly.
Whether you are building a first home digitization workflow or upgrading to a more advanced hybrid setup, Unique Photo can help you choose the right gear for your film and digital goals. Explore our camera selection and talk with our team to find the tools that fit the way you actually shoot and scan.