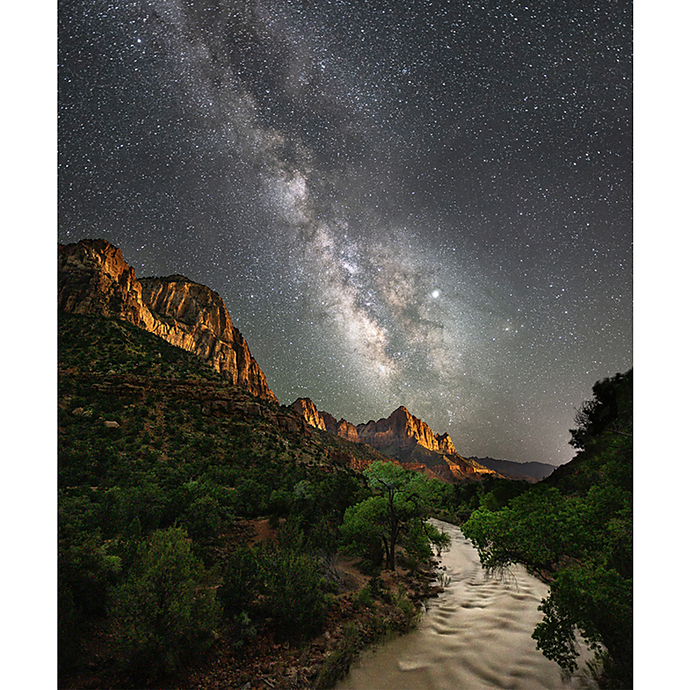
Sharp landscape photography is all about control: control of camera movement, focus, exposure, and timing. Even the most dramatic scene can fall flat if fine details in the rocks, trees, or distant peaks look soft. The good news is that a few practical habits can make a huge difference. Whether you're photographing sweeping vistas in daylight or experimenting after sunset, these tips will help you come home with cleaner, crisper files you’ll be excited to edit, print, and share.

Start With a Stable Setup
1. Eliminate camera shake before you press the shutter
One of the biggest causes of soft landscape images is camera movement. If you're shooting at slower shutter speeds during golden hour, under tree cover, or at sunrise, even slight vibration can reduce sharpness. Use a tripod whenever possible, and if you're working handheld, brace yourself carefully and use a faster shutter speed than you think you need.
It also helps to use a timer, remote release, or your camera’s self-timer to avoid introducing movement during the exposure. If you’re learning how different techniques affect sharpness in the field, a class like Unique Photo’s Macro and Landscape Photography at Duke Farms with Michael Downey can be a great way to practice real-world landscape shooting with guidance.
Choose the Right Aperture
2. Don’t assume the smallest aperture is the sharpest
Many photographers stop all the way down to f/16 or f/22 expecting maximum sharpness across the frame, but diffraction can actually soften your image at very small apertures. For most landscape lenses, the sharpest results often come somewhere around f/8 to f/11, depending on your focal length and subject distance.
If you need front-to-back sharpness, try balancing aperture with careful focus placement rather than automatically choosing the narrowest setting. This approach often gives better detail in the final image.
Focus With Intention
3. Focus about one-third into the scene when depth matters
Landscape sharpness is not just about whether focus locks; it’s about where you place it. If your composition includes foreground interest and distant background detail, focusing too close or too far can leave part of the scene soft. A good starting point is to focus roughly one-third into the frame, then review your image at high magnification.
Using single-point autofocus or manual focus can give you more control than letting the camera decide. If your camera offers focus peaking or magnified live view, take advantage of it when precision matters.

Keep Shutter Speed in Check
4. Watch for motion in the scene, not just motion from the camera
Even with perfect tripod technique, landscapes can still lose sharpness when the scene itself is moving. Wind can blur leaves, grass, and wildflowers, while waves and drifting clouds can soften important elements if your shutter speed is too long.
For daylight landscapes, raise ISO slightly if needed to preserve detail in moving subjects. If you’re photographing starscapes or low-light terrain, specialized instruction like UUOnline: Photographing the Nighttime Landscape with Roman Kurywczak can help you balance shutter speed, ISO, and focal length for better nighttime sharpness.
Use Filters Carefully
5. Add filters for control, but keep your optics clean
Filters can be useful in landscapes, especially when you want to manage reflections, cut haze, or protect your front element in changing conditions. Options like the Tiffen 46mm Photo Essentials Kit/TPK1 or the Tiffen 49mm Digital Essentials Kit can be helpful additions to a landscape bag, depending on your lens size.
Just make sure your filters are clean and properly mounted. Smudges, dust, or stacked low-quality filters can reduce contrast and apparent sharpness. A quick lens and filter check before each setup goes a long way.
Use Live View and Image Review
6. Zoom in and inspect your files in the field
Don’t wait until you get home to discover that your best composition is slightly soft. Use live view to compose carefully, then review captured images at 100% magnification on your camera screen. Check the foreground, midground, and distant details to confirm that the sharpness is where you want it.
This habit is especially important when working with changing light, where you may not get a second chance at the same scene.
Refine Sharpness in Post-Processing
7. Finish your image with thoughtful editing
Even a well-captured landscape file usually benefits from selective sharpening in post. The key is to enhance detail without making the image look crunchy or unnatural. Applying sharpening carefully to textured areas while controlling noise in skies and shadows can make your images look polished and professional.
If you want to improve your editing workflow, Editing and Enhancing Landscape and Nature Photography with Photoshop is a useful way to build confidence in bringing out the best in your files after the shoot.

Think Beyond the Capture
8. Print or book your best work to evaluate real detail
One of the best ways to judge sharpness is to see your images off-screen. Printing reveals whether your technique is really delivering the detail you want. Turning a favorite series into something tangible, such as the MediaClip Small Landscape Book with a Printable Cover, can also help you curate your strongest landscape work and spot patterns in what works best.
The more intentionally you review your results, the faster your field technique improves.
Conclusion
Getting sharp landscape shots is usually less about expensive gear and more about consistent technique. Stabilize the camera, focus carefully, choose the right aperture, and review your files before leaving the scene. As your skills grow, classes, workshops, and editing education can help you sharpen both your images and your process. Explore more inspiration and learning opportunities at Unique Photo, and get out there to make your next landscape your sharpest yet.