A fast editing workflow starts long before you move a single slider. If your files are scattered across cards, folders, and desktop shortcuts, culling can feel slow and frustrating. A few smart habits—and the right storage tools—can help you move from import to final selects with less guesswork, fewer duplicates, and a much cleaner archive.
Below are practical tips to make photo culling and organizing more efficient, whether you are handling a quick portrait session, a full wedding day, or a high-volume commercial shoot.
Start With a Consistent Ingest Station
1. Build one place where every shoot begins
The easiest way to speed up culling is to remove decision-making from the import stage. Create a repeatable ingest setup at your desk so every card, drive, and folder follows the same path. A hub like the Lexar Professional Workflow Dock Station - 6-Bays makes this especially practical if you regularly manage multiple media sources and backup devices in one session.
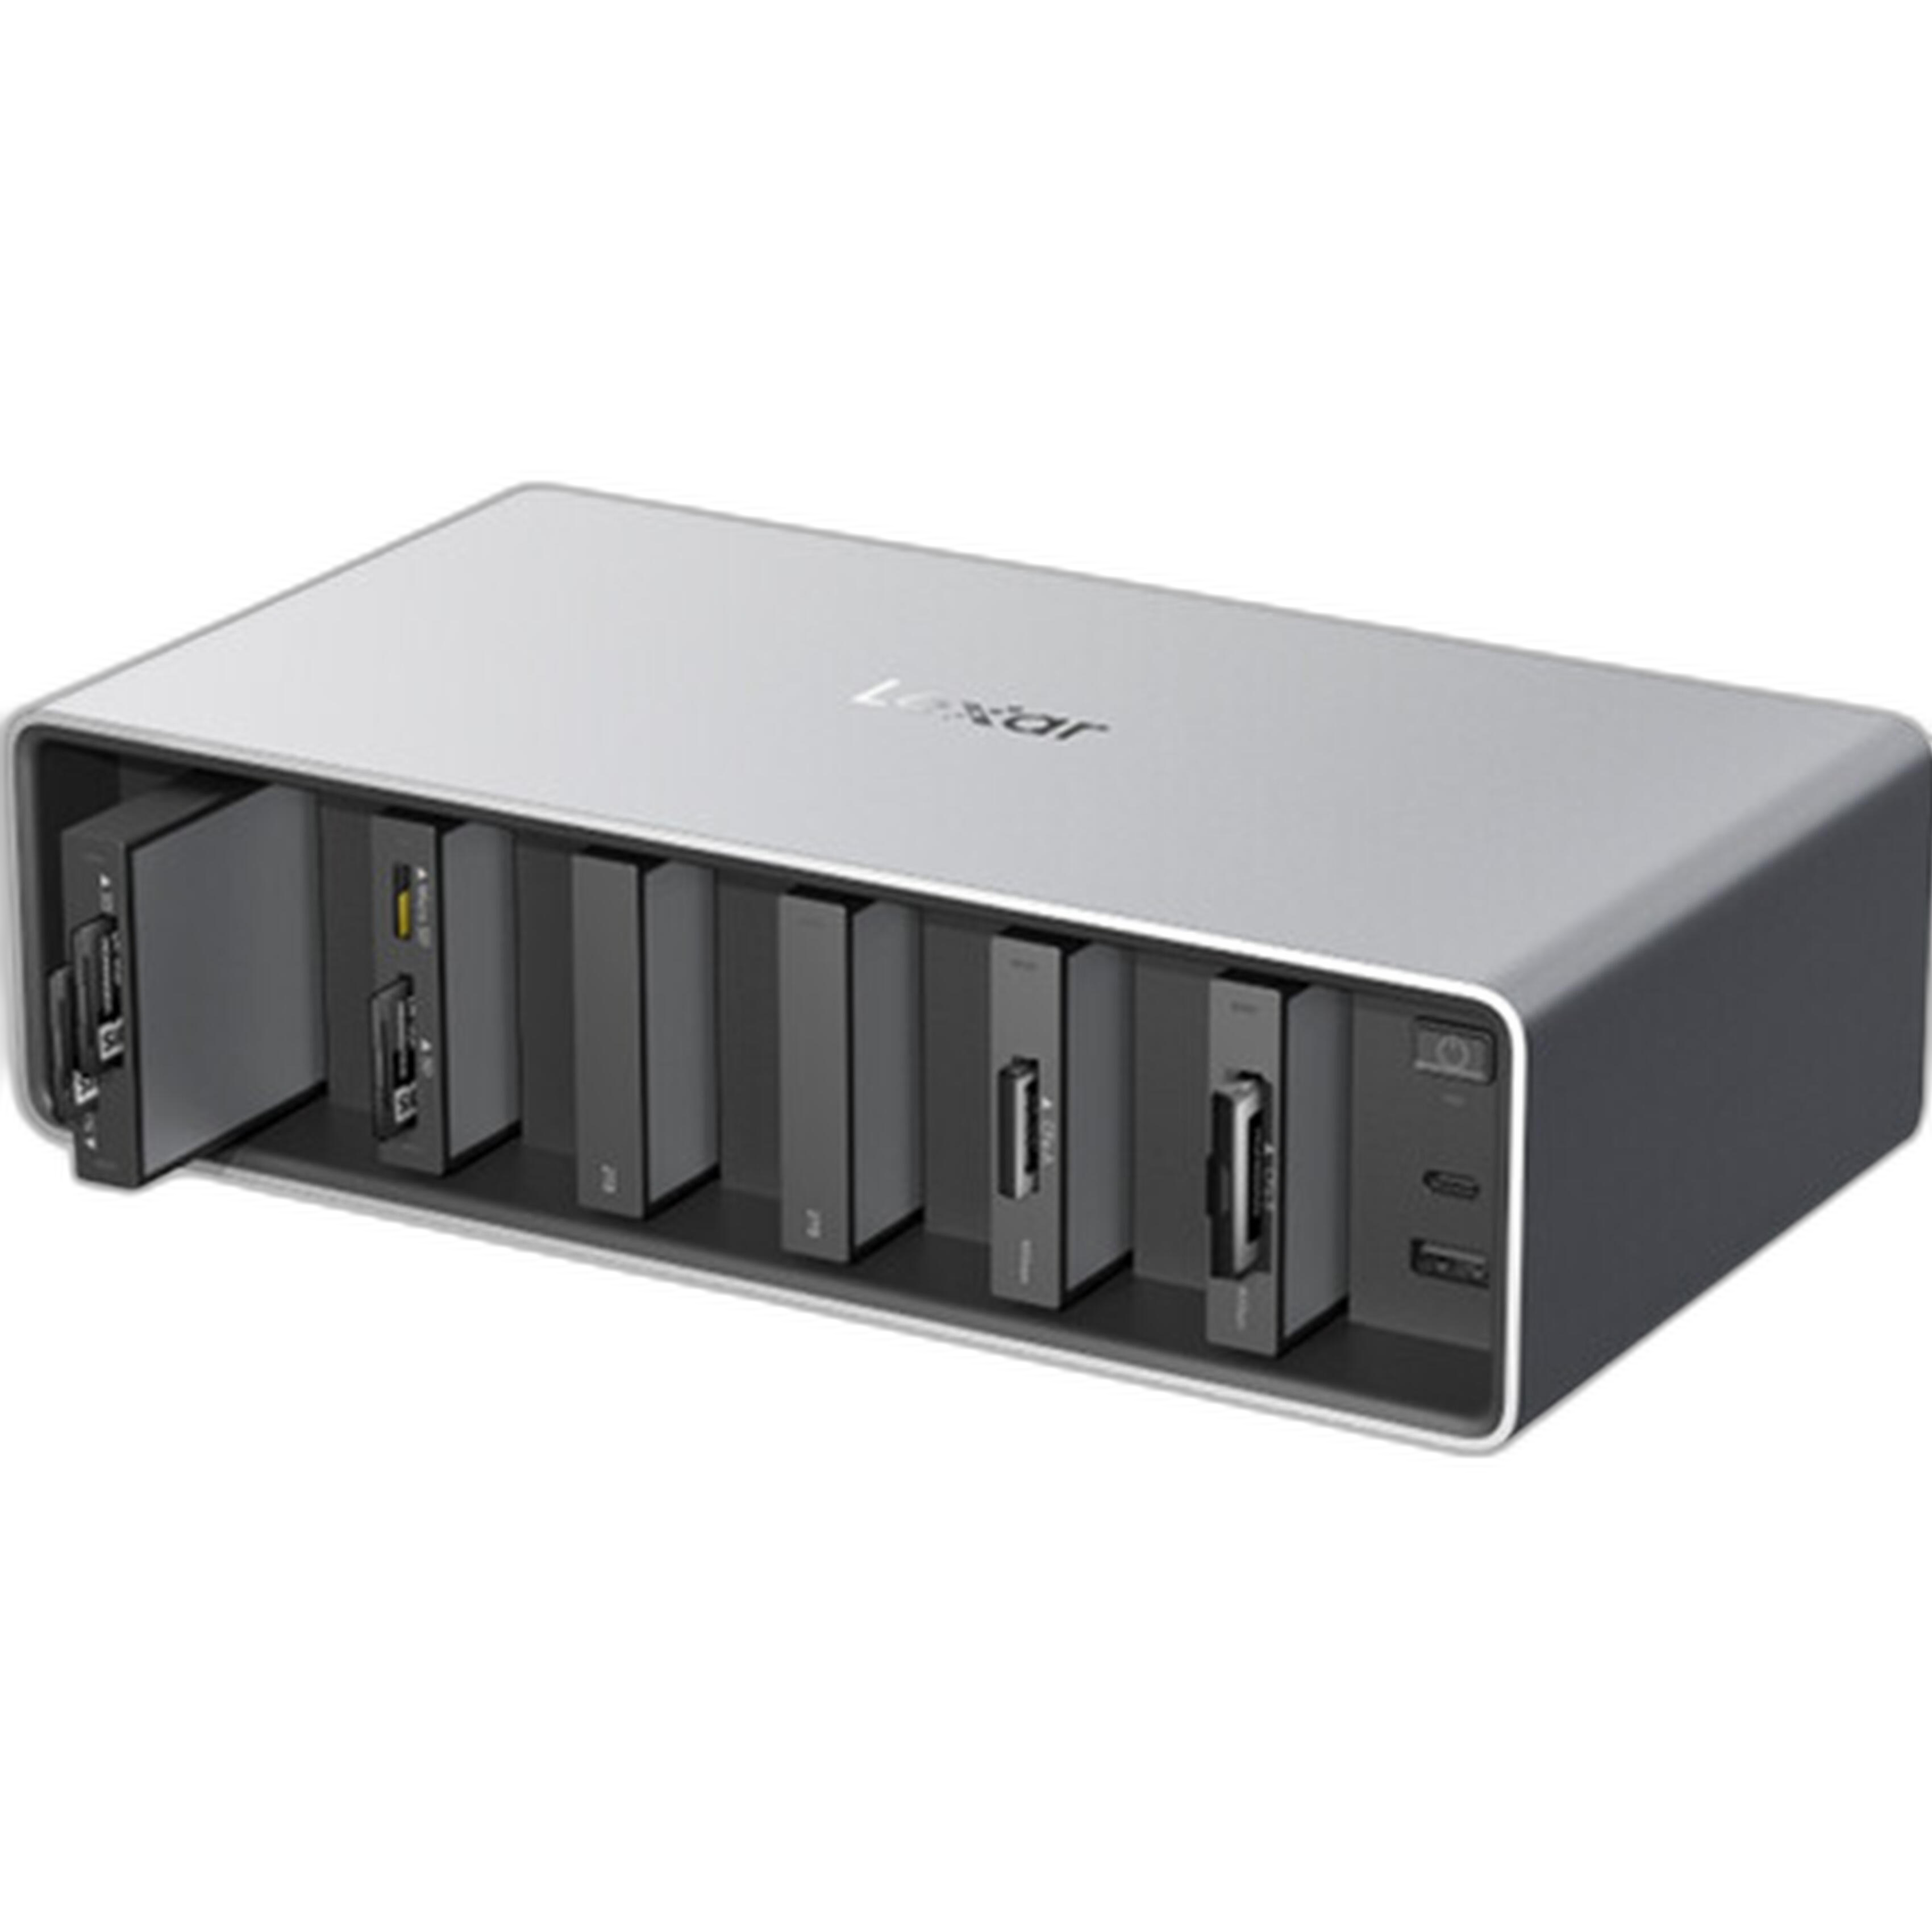
- Create a master folder structure by year, month, and shoot name.
- Rename files during import if your software allows it.
- Copy to a working drive first, then back up immediately to a secondary location.
- Use the same process every time so nothing gets skipped.
Separate Working Storage From Long-Term Archive
2. Cull from fast SSDs, archive to larger desktop drives
One of the biggest workflow upgrades is choosing the right storage for each stage. Fast portable SSDs help previews load quickly and keep lag to a minimum while you review hundreds or thousands of images. For active projects, the Lexar Professional Workflow Portable SSD 2TB or Lexar Professional Workflow Portable SSD 4TB are easy fits for working files that need speed and portability.
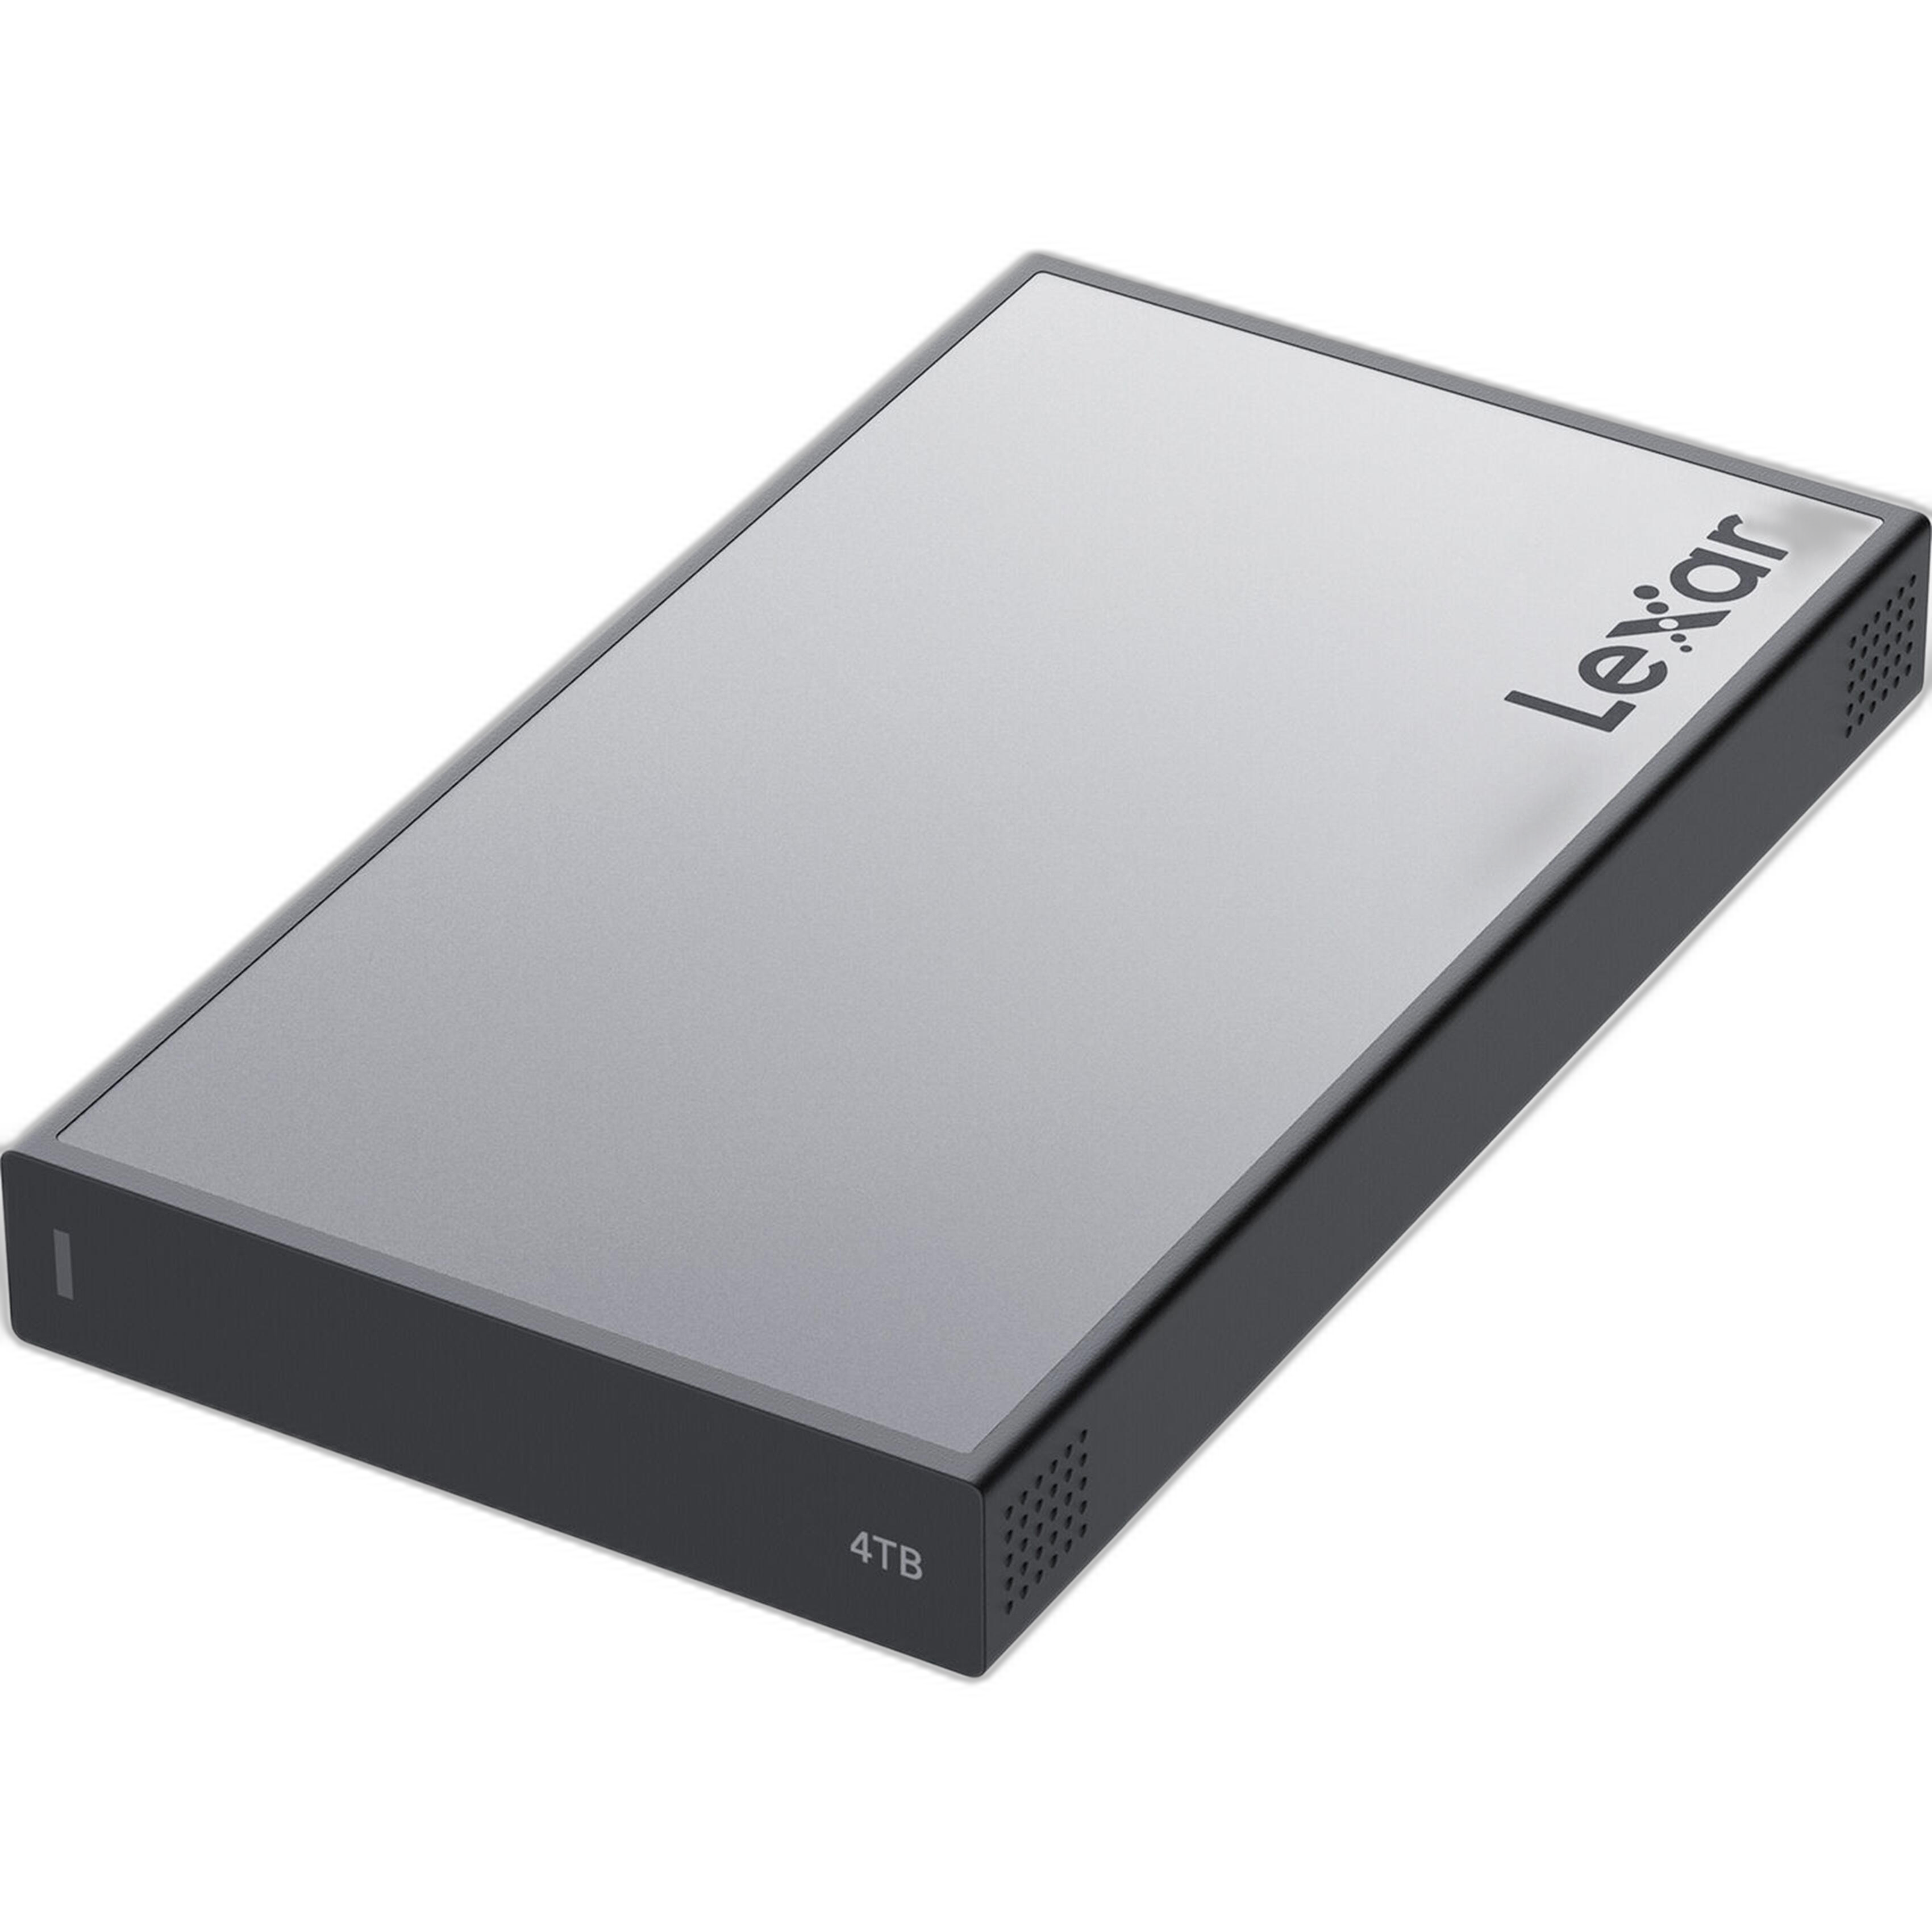

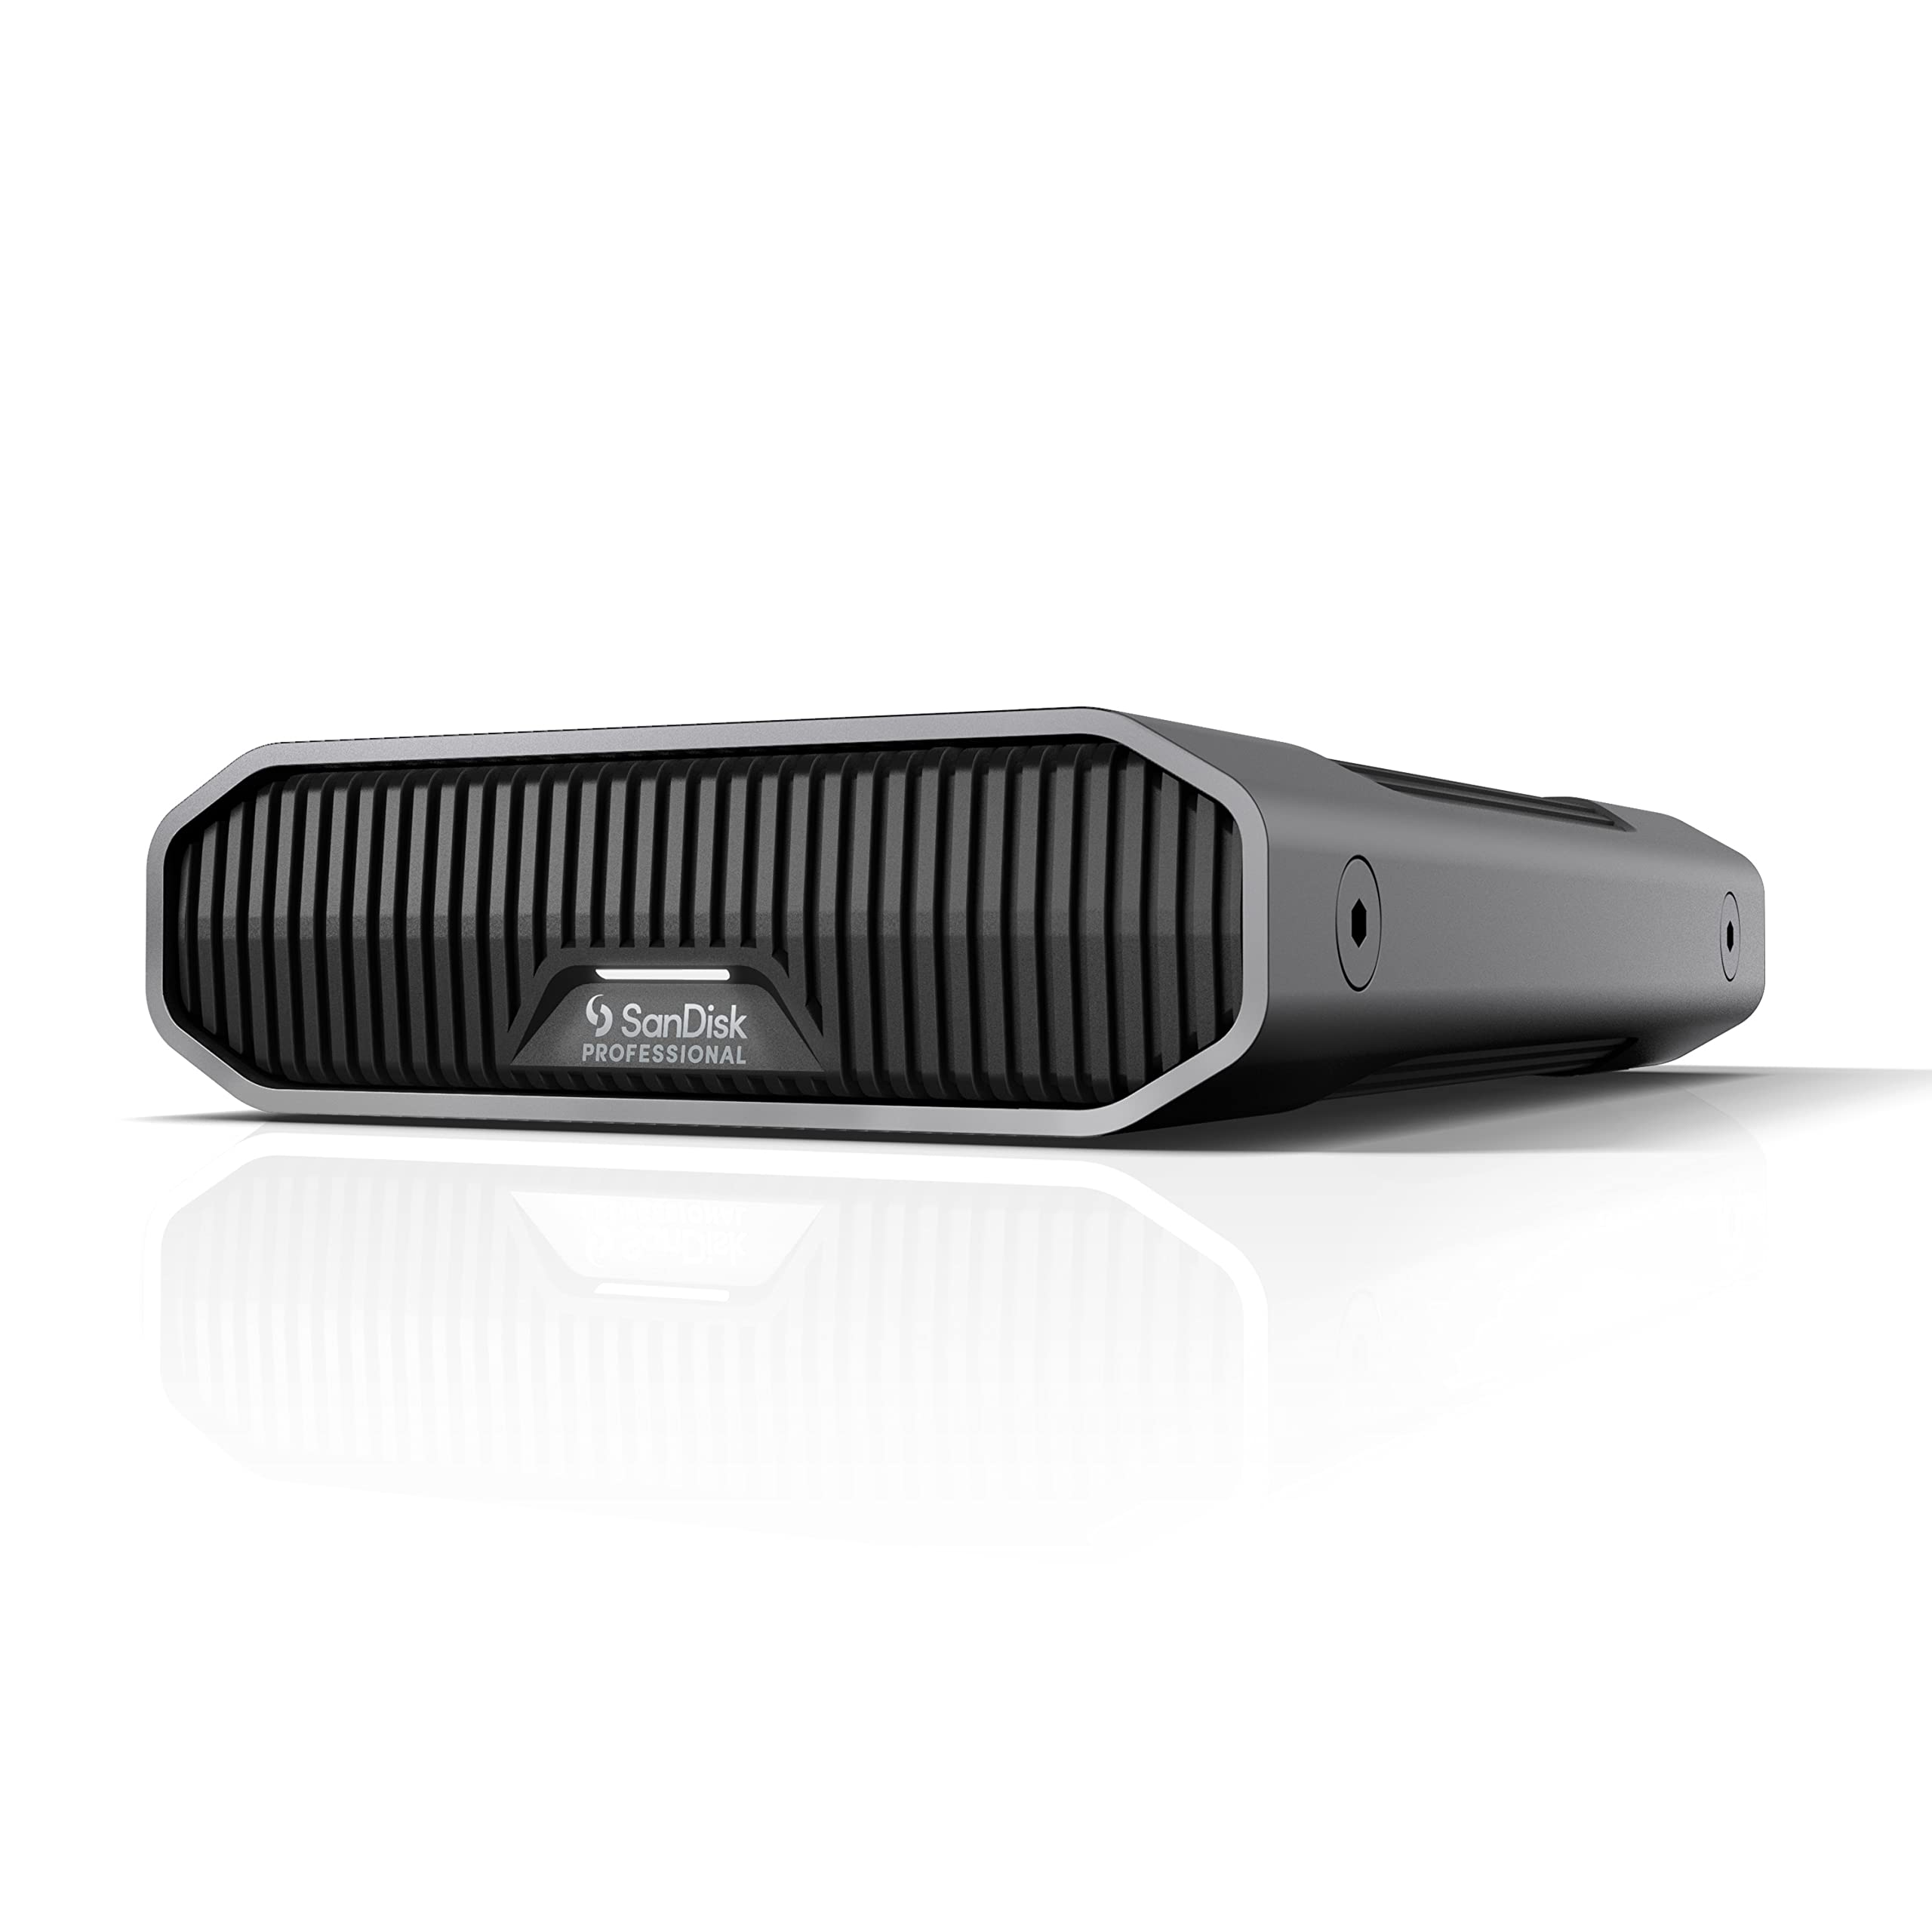
Once the job is culled, edited, and delivered, move the final project to a higher-capacity archive drive such as the G-DRIVE 8TB Enterprise-Class USB 3.2 Gen 2 External Hard Drive. That approach keeps your fast drives available for current work while your finished jobs remain organized and accessible.
Cull in Passes, Not All at Once
3. Use a three-pass system to reduce fatigue
Trying to make every decision in one long sitting usually slows you down. Instead, break culling into short, intentional passes:
- First pass: remove obvious misses like blinks, missed focus, duplicates, and accidental frames.
- Second pass: compare similar images and narrow down to the strongest compositions and expressions.
- Third pass: mark final selects for editing, album use, delivery, or social media.
This method keeps momentum high and reduces the temptation to overthink every frame too early.
Use Ratings and Labels With Clear Meaning
4. Keep your selection system simple
A complicated rating system often creates more confusion than it solves. Stick to a method you can remember instantly. For example:
- Reject flag: delete later
- 1 star: possible keepers
- 3 stars: strong selects
- 5 stars: final edited or delivery-ready images
- Color labels: use for album, blog, client picks, or retouching status
The goal is not to use every available label in your software. The goal is to make decisions quickly and know what each mark means at a glance.
Speed Up Repetitive Tasks With Physical Controls
5. Reduce mouse travel during culling and editing
If you spend hours rating, flagging, zooming, and adjusting images, a dedicated controller can save real time over the course of a week. The Loupedeck Creative Tool can be useful for photographers who want hands-on control for repetitive actions in editing software, helping keep your workflow moving without constantly hunting through menus.
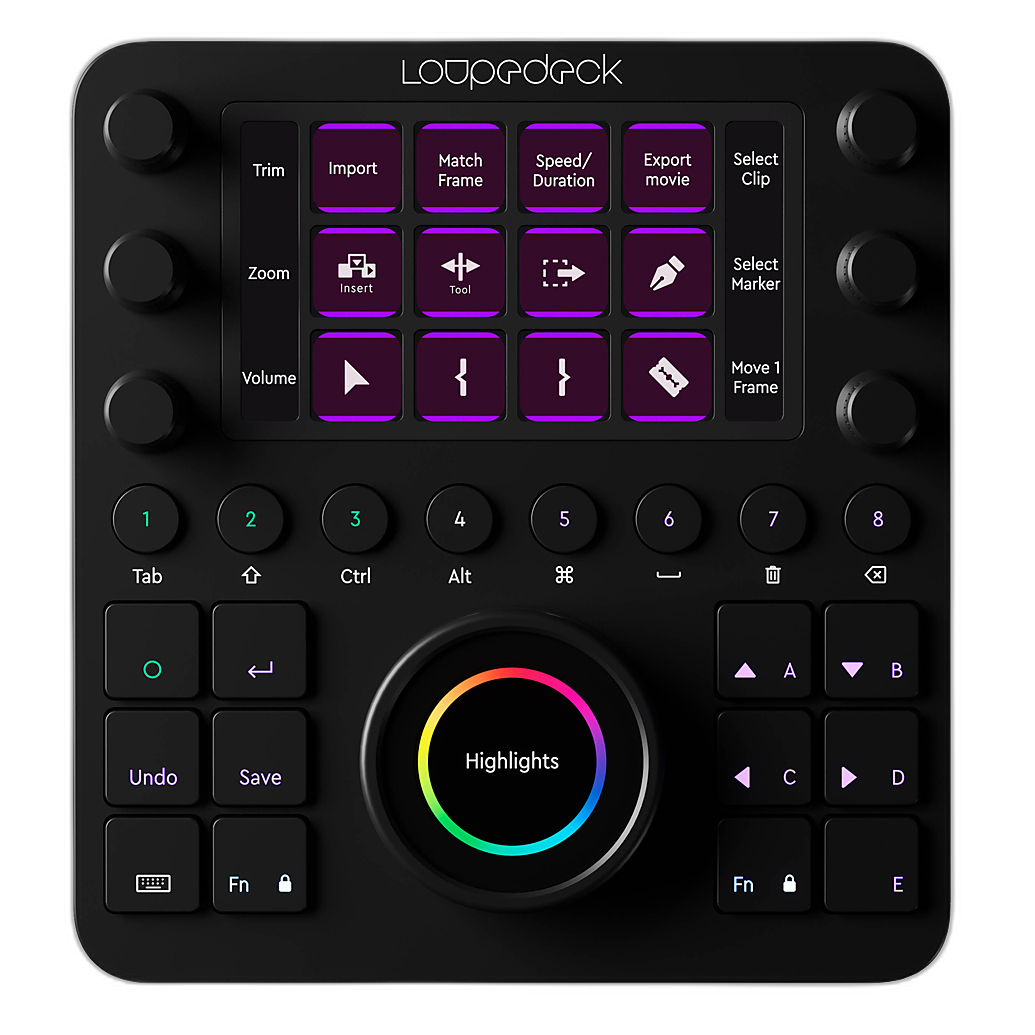
Even small gains matter here. A few seconds saved on each image can add up quickly across large shoots.
Name Folders for Searchability, Not Creativity
6. Use folder names that tell you exactly what is inside
Descriptive naming helps you find older work fast. Instead of vague folder names like “Final Picks” or “Best Photos,” use names such as:
- 2026-08-Engagement-Smith
- 2026-08-Branding-JonesStudio
- 2026-08-Travel-Iceland-Day03
This becomes even more valuable once your archive grows across multiple drives. Clear folder naming pairs nicely with a larger archive solution like the G-DRIVE 8TB, where many completed shoots may live together over time.
Keep Cards, Drives, and Accessories Physically Organized Too
7. A tidy physical setup prevents digital mistakes
Digital organization starts with physical organization. If memory cards, SSDs, cables, and readers are loose in different bags, it becomes easier to misplace media or accidentally overwrite files. Protective storage like the SKB iSeries 3i-2217-10 Case with Think Tank Dividers and Lid Organizer or the SKB iSeries 3i-2217-12 Case with Think Tank Designed Dividers and Lid Organize can help keep your workflow accessories in one dependable place.
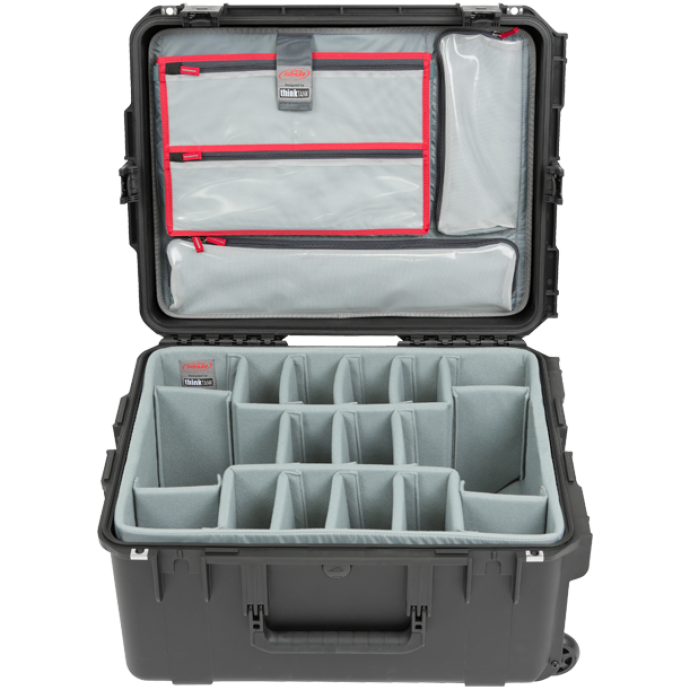
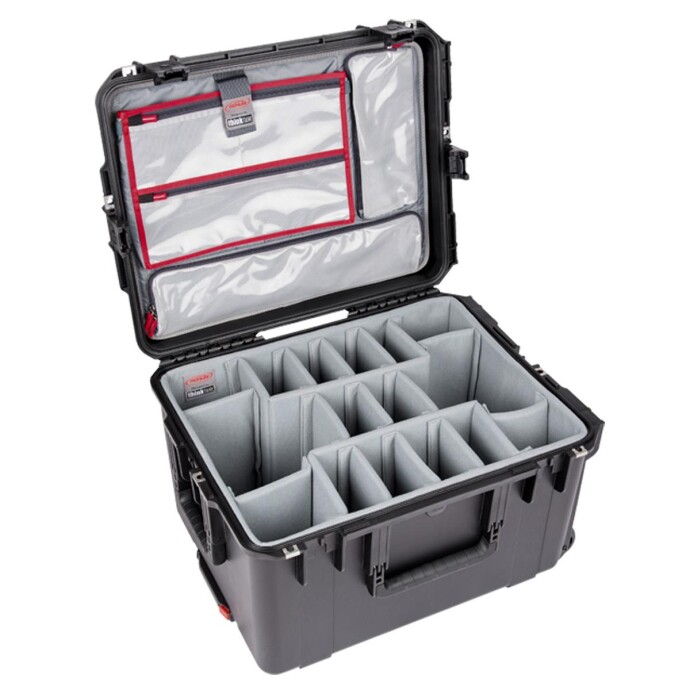
- Store blank and full cards separately.
- Keep label makers or colored tabs for quick ID.
- Dedicate compartments for readers, SSDs, and charging accessories.
- Use one case for your ingest kit so your process is portable.
Back Up Before You Begin Serious Editing
8. Never wait until the end of the day
Before culling deeply or starting edits, make sure your files exist in at least two places. A practical approach is to import to a fast working SSD and copy immediately to a second drive. For photographers handling larger jobs, combining a fast Lexar Professional Workflow Portable SSD with a high-capacity archive option can create a simple and reliable routine.
This protects you from drive failure, accidental deletion, and the stress of editing without a safety net.
Create a Final Delivery and Archive Checklist
9. Finish each project the same way
A project feels complete only when everything is easy to locate later. Before closing out a job, run through a short checklist:
- Confirm final selects are exported.
- Move RAW files and catalogs into the correct master folder.
- Back up finals and source files.
- Archive to long-term storage.
- Clear working SSD space only after verifying backup copies.
Using a consistent finish line keeps your drives cleaner and prevents half-completed projects from piling up.
Conclusion
Efficient photo culling and organizing is really about consistency: consistent imports, consistent naming, consistent backups, and consistent storage choices. With a faster working drive, a dependable dock, a solid archive plan, and a cleaner desk setup, you can spend less time hunting for files and more time refining your best images. If you are ready to upgrade your editing workflow, Unique Photo offers practical storage and organization tools to help streamline every step.