Why This Guide (and Who It’s For)
If you love the look of black & white and want full creative control, developing at home is affordable, repeatable, and surprisingly space‑friendly. This guide is for first‑timers building a simple bathroom "darkroom" and for returning film shooters refining their workflow. We’ll cover the essential gear and chemistry, a step‑by‑step process, plus a few helpful accessories you can get from Unique Photo to organize, carry, and share your work.
The Essential B&W Home-Developing Kit
- Daylight developing tank with reels (35mm/120): plastic (easier to load) or stainless (faster to dry).
- Changing bag: a light‑tight bag that lets you load film onto reels without a darkroom.
- Chemistry: developer, stop (or water), fixer, and wetting agent.
- Thermometer: precise to 0.5 °C/1 °F for consistent results.
- Graduated cylinders/beakers: separate ones for developer and fixer.
- Timer: phone app, dedicated darkroom timer, or watch with seconds.
- Storage bottles: amber or opaque, labeled for each chemical.
- Film clips, a clean line or shower rod, and a dust‑free drying spot.
- Nitrile gloves and good ventilation; protective glasses are a plus.
- Optional but handy: squeegee or soft, clean fingers for final rinse, archival sleeves for negatives, and a scanner or camera scanning setup.
Choosing Black & White Chemistry
Pick a developer that suits your pace and look. Powder standards like Kodak D‑76/Ilford ID‑11 are versatile and economical. Liquid concentrates (e.g., Kodak HC‑110/Ilford Ilfotec) store well and mix quickly. Use water or an indicator stop bath to halt development. A rapid fixer (non‑hardening) is ideal for most modern films. Finish with a wetting agent to reduce drying marks.
Always follow the manufacturer’s datasheet for dilution, temperature (usually 20 °C/68 °F), and time. Consistency is king.
Step-by-Step: A Reliable First Roll
- Load in darkness: Place film, reels, and tank in a changing bag or darkroom. Open the canister, trim the leader (35mm), and feed onto the reel. Assemble the tank fully light‑tight.
- Mix chemicals: Prepare developer, stop, and fixer at the right dilutions and bring to 20 °C/68 °F.
- Pre‑wet (optional): 1 minute with water for some films/tanks to stabilize temperature.
- Develop: Pour in developer, start timer. Agitate per instructions (e.g., 30s initial, then 5–10s each minute). Maintain temperature.
- Stop: 30s water rinse or 30–60s stop bath with gentle agitation.
- Fix: Typically 3–5 minutes, agitating intermittently. Do a clip test if unsure.
- Wash: Running water 5–10 minutes, or use the Ilford method (fill/invert cycles).
- Rinse with wetting agent: 30s in distilled water + a drop of wetting agent. No vigorous agitation.
- Dry: Hang with film clips in a dust‑free space. Avoid heat. Let dry fully before cutting into strips.
Drying, Archiving, and Sharing
After drying, cut and file negatives in archival sleeves. Label them with film, date, and exposure notes. If you’re hybrid (scan + share/print), keep a tidy digital workflow and consider a dedicated bag for your developing tools so setup/teardown is painless in small spaces.
Product Recommendations
While tanks, reels, and chemistry form the core, these accessories help you carry, organize, and share your newly developed work—especially if you’re working in an apartment or hybrid (scan/print) setup.
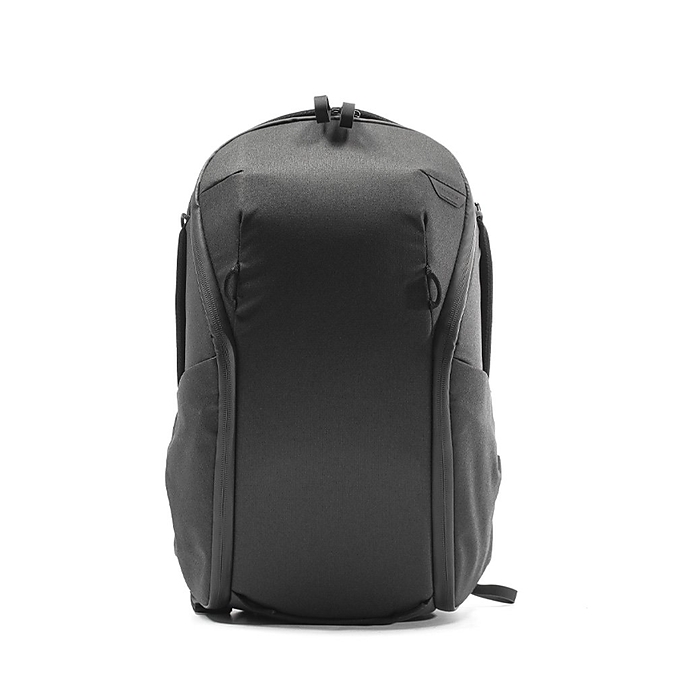
Peak Design Everyday Backpack 20L Zip - Black
A compact, rigid backpack that stands up on its own and keeps developing gear, changing bag, and notes organized. Internal dividers tame cylinders, thermometers, and reels; weatherproof fabric is great for bathroom-to-closet commuting.
PGYTECH OneMo Sling 11L (Space Black)
Minimalist carry for a small tank, a couple of graduates, gloves, and your thermometer. Perfect if you want a grab‑and‑go kit that lives on a shelf and deploys to the sink in seconds.
DF White Refill Pages (8.5x11in, 10-Pack)
Keep contact prints, exposure notes, and process recipes together. Filing your results alongside print tests speeds learning and makes future printing sessions more consistent.
Pioneer TS-246 Oxford Brass Corner Photo Album (Black, Holds 208 4x6in Photo
Once you start printing your favorites, a dedicated album preserves your work and helps you review progress. Great for sharing finished silver or inkjet prints with friends and clients.
Canon PGI-35 Black Ink Cartridge
For hybrid darkroom workflows, fresh ink matters. Use this cartridge with compatible Canon printers to make crisp black‑only contact sheets or proofs before committing to darkroom prints.
Fujifilm BC-T125 Battery Charger for GFX 50S 50R GFX100
Camera scanning converts your negatives with a digital camera and macro lens. If you’re a Fujifilm GFX user, this dedicated charger keeps batteries topped off so your scanning sessions are uninterrupted.
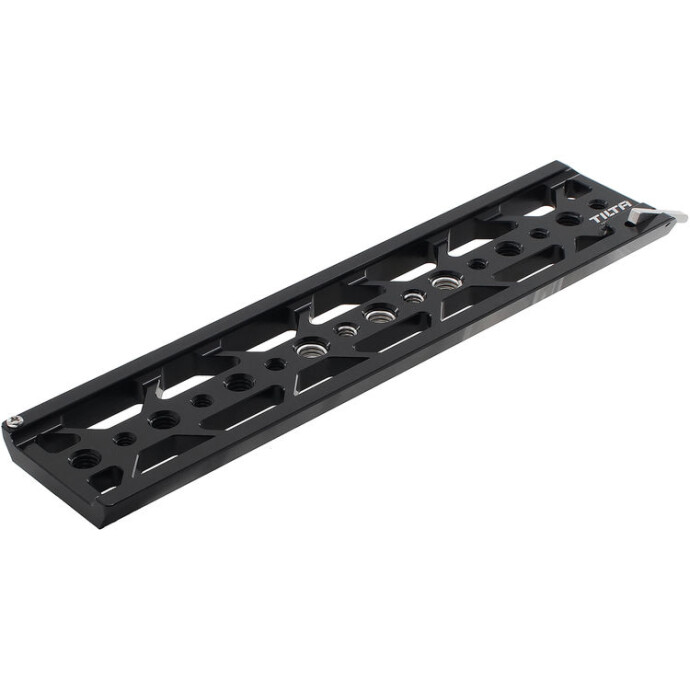
Tilta 10 Lightweight Dovetail Plate (Black)
Building a stable camera‑scanning rig? If your setup uses an ARRI‑standard dovetail/clamp system, this lightweight plate can serve as a solid, repeatable base for your copy‑stand or rail configuration.
Carry Options Compared
| Bag | Capacity | Best For | Fits Dev Essentials | Pros | Consider |
|---|---|---|---|---|---|
| Peak Design Everyday Backpack 20L Zip | 20L | Apartment darkroom kits; commuting to community labs | Tank, reels, changing bag, 3–4 graduates, thermometer, notes | Structured, weatherproof, loads from top/side, stands upright | Overkill if you only carry a very small kit |
| PGYTECH OneMo Sling 11L | 11L | Minimal setups; quick bathroom sessions | Small tank, 2 graduates, gloves, thermometer | Lightweight, fast access, compact footprint | Less protective and less expandable than a backpack |
Our Pick
Safety & Consistency Tips
- Label every bottle clearly (DEV/STOP/FIX) and never mix tools between fixer and developer.
- Control temperature: 20 °C/68 °F is the standard; a water bath helps stabilize.
- Agitate consistently; more agitation increases contrast and can amplify grain.
- Test fixer: clear a film leader in fixer; fixing time is about 2× the clearing time.
- Ventilate and wear gloves; consult safety data sheets for each chemical.
- Keep dust down when drying; use wetting agent and avoid squeegee scratches.
Conclusion: A Clear Path to Your First Perfect Negatives
Start with a reliable tank, reels, and a forgiving developer; practice consistent temperature and agitation; then refine times to taste. To make life easier, organize your "darkroom to-go" with a dedicated bag and keep prints and notes in order. Unique Photo carries the chemistry, tanks, and helpful accessories you need—plus carry and archiving solutions like the Peak Design Everyday Backpack, PGYTECH OneMo Sling, and DF pages. Visit Unique Photo online or in store, and our team will help you build a kit that fits your space, budget, and creative goals.