
Start Here: A Guide for Film Fans Ready to Go DIY
If you’re excited by the magic of turning exposed film into finished images, this buying guide is for you. We’ll lay out the essential gear and chemistry for at‑home black‑and‑white and color film workflows, explain a step‑by‑step process, and recommend a few Unique Photo products that support a reliable, repeatable setup—from camera scanning to wet printing. Whether you’re just starting or refining your routine, you’ll find tips to help you get consistent results.
What You Need to Begin
- Light-tight loading solution: changing bag or darkroom
- Developing tank with reels sized for your film format
- Thermometer and timer
- Measuring cylinders and storage bottles
- Black‑and‑white chemistry: developer, stop, fixer, wetting agent
- Color C‑41 chemistry (for color negatives) and tight temperature control
- Drying line and clips; dust-free space
- Digitizing or printing path: camera-scanning rig or RA‑4 darkroom printing
Core Workflow Basics
Black‑and‑White Film
- Load film onto reels in complete darkness; place into tank.
- Developer: Mix per instructions, agitate consistently. Common ranges are 6–12 minutes at 20°C/68°F depending on film/developer.
- Stop bath: 30–60 seconds (or water rinses).
- Fixer: Typically 3–5 minutes; test and replace when exhausted.
- Wash: 5–10 minutes; use efficient methods (e.g., Ilford method).
- Final rinse: Diluted wetting agent; hang to dry in a dust‑free area.
Color C‑41 (Color Negatives)
- Critical: Maintain target temperature (usually ~38°C/100°F) for developer and bleach/fix, with tight tolerances.
- Use a water bath or sous‑vide device to stabilize chemistry and tank.
- Follow kit times precisely; avoid cross‑contamination and keep caps sealed.
Consistency Tips and Troubleshooting
- Standardize agitation: same inversions, same intervals, every roll.
- Calibrate your thermometer; 1–2°C off can shift density and color.
- Keep notes: film stock, EI, developer dilution, time, temp, agitation.
- Uneven development? Check reel loading and ensure enough solution volume.
- Spots/streaks? Use fresh wetting agent and filtered water for final rinse.
- Color shifts in C‑41? Verify temperature stability and chemistry freshness.
Recommended Products from Unique Photo
Fujifilm MCEX-16 16mm Extension Tube for Fujifilm X‑Mount (Camera Scanning Aid)
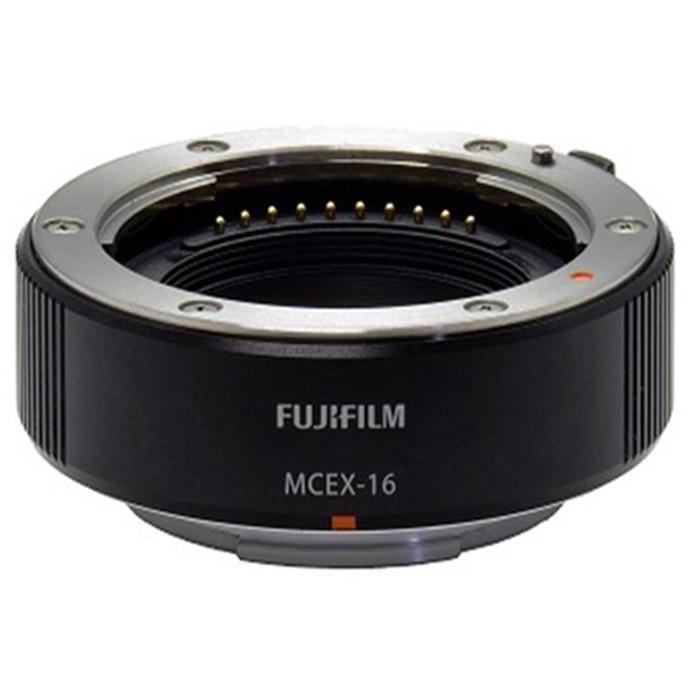
If you plan to digitize your negatives with a Fujifilm X‑mount camera, an extension tube helps you focus closer with many primes, making high‑quality camera scanning easier without a dedicated macro lens. Pair with a stable copy stand and negative carrier for sharp, consistent captures.
Fujifilm DIGITAL PRO 12x354 Glossy (RA‑4 Color Paper Roll)

Ready to try wet printing after you’ve developed and scanned? This 12 in x 354 ft glossy RA‑4 paper roll is designed for color darkroom printing with RA‑4 chemistry. Great for high‑volume or minilab-style workflows.
Fujifilm Paper Super Type Cn 4x610 NBP Matte (RA‑4 Color Paper Roll)
A 4 in x 610 ft matte finish RA‑4 paper option ideal for smaller prints and a less reflective look. Works in RA‑4 color paper processors. Note: RA‑4 paper is for printing from negatives (optically or digitally), not for developing film.
Fujifilm Digital RA PRO Developer/Replenisher Part B (200L) — RA‑4 Paper Chemistry
High‑volume RA‑4 developer component intended for minilab paper processing, not for C‑41 film development. If you are setting up a dedicated RA‑4 printing line, this aligns with professional replenishment workflows. Most home users will prefer smaller‑volume kits.
Used Voigtlander Perkeo I 6x6 120 Film Camera — Good
If you’re starting with medium‑format film, a classic 6x6 camera like the Perkeo I gets you the negatives you’ll develop. Check shutter function and light seals before critical use; pair with a reliable light meter for consistent exposures.
Fujifilm BC‑T125 Battery Charger for GFX 50S/50R/GFX100
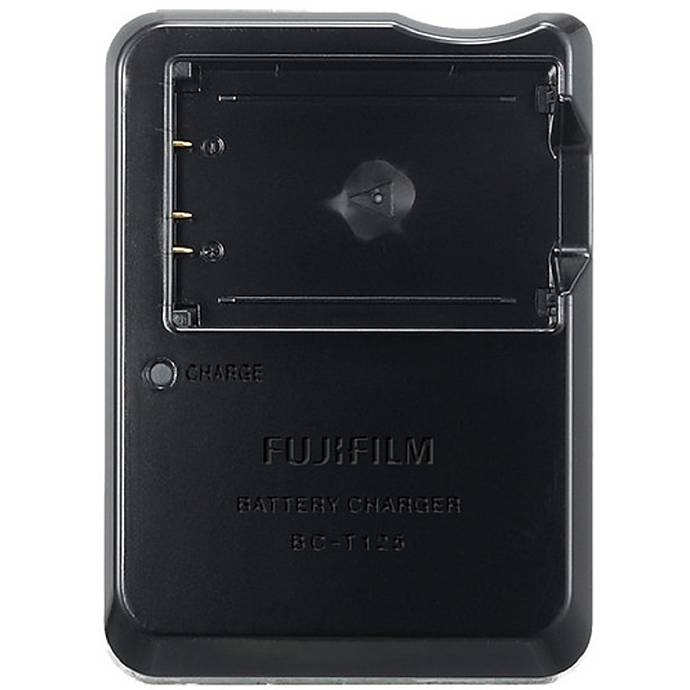
Running a GFX body for camera scanning sessions? Keep high‑capacity batteries topped up so you can maintain consistent light and white balance through long digitizing runs.
Tamron RMC‑FUJI Rear Lens Cap for Fujifilm X Mount
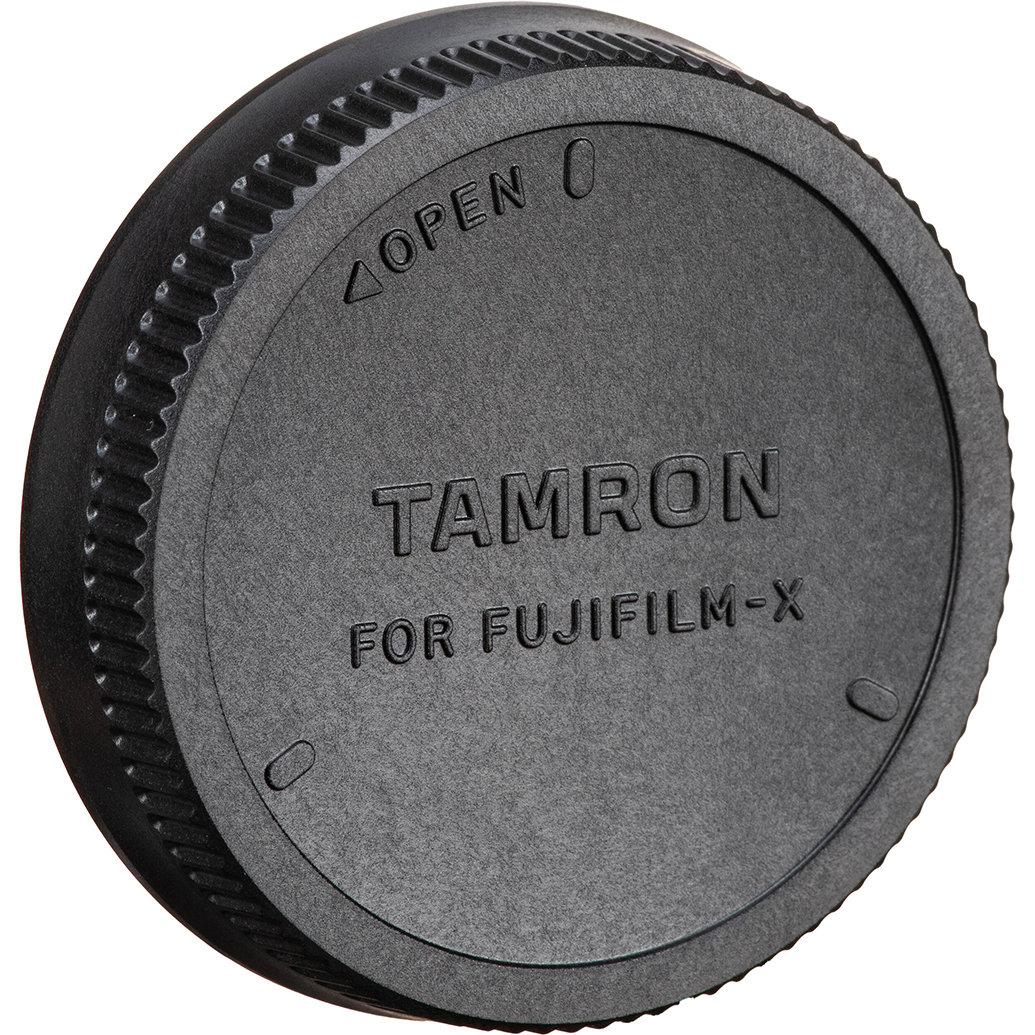
Protect your X‑mount lenses when they’re off the camera in a scanning rig. Good hygiene in the scanning chain (clean optics, covered lenses) helps minimize dust and retouching time.
Fujifilm Sky Blue Ink for DX400W (Hybrid Output)
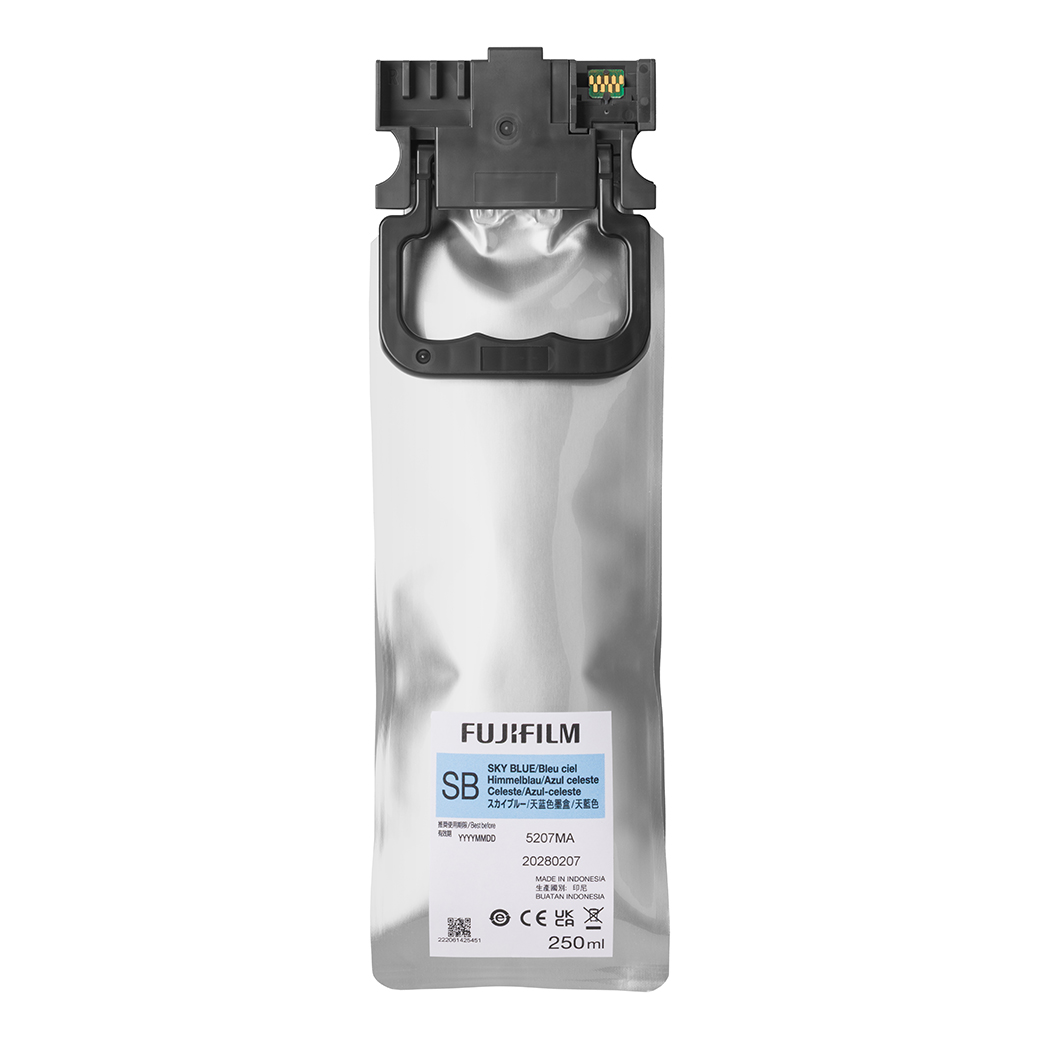
If your workflow favors scanning and digital output over wet printing, DX400W inks support kiosk/printer systems. This is not used for film development or RA‑4 wet printing; it’s for digital printers compatible with DX400W after you’ve digitized your negatives.
Compare: RA‑4 Color Paper Options
| Product | Finish | Size | Process | Best For |
|---|---|---|---|---|
| Fujifilm DIGITAL PRO 12x354 Glossy | Glossy | 12 in x 354 ft roll | RA‑4 (color paper) | High‑volume glossy prints; vibrant look |
| Fujifilm Paper Super Type Cn 4x610 NBP Matte | Matte (NBP) | 4 in x 610 ft roll | RA‑4 (color paper) | Smaller prints; lower glare, subtle texture |
Note: These are for printing on color paper, not for developing film. For film (C‑41 or B&W), choose the appropriate film chemistry kits; maintain separate tools for film and paper to avoid contamination.
Our Pick
Our Pick for Consistent, Space‑Saving Results: Fujifilm MCEX‑16 16mm Extension Tube
For many home developers, camera scanning offers the fastest, most repeatable way to evaluate negatives without a full enlarger setup. The MCEX‑16 lets many X‑mount primes focus closer for sharp, flat‑field captures—ideal for tight spaces and quick turnarounds.
Safety and Storage
- Wear gloves and eye protection; work in a ventilated area.
- Label all bottles clearly; never reuse food containers.
- Store chemistry per manufacturer guidelines; keep away from children and pets.
- Dispose of used chemistry responsibly, following local regulations.
Putting It All Together: A Simple, Repeatable Plan
- Start with B&W film to learn handling and agitation.
- Standardize time and temperature; keep a logbook.
- Digitize with a stable camera‑scanning setup (extension tube or macro lens), or print in the darkroom with RA‑4 paper and appropriate chemistry.
- Refine exposure and development based on your scans/prints; repeat.
Conclusion: Your First Rolls, Done Right
Begin with a reliable B&W workflow, then choose your output path: camera scanning for speed and flexibility, or RA‑4 wet printing for a traditional color darkroom experience. For a compact, repeatable setup, we recommend camera scanning with the Fujifilm MCEX‑16 extension tube. If you’re building toward color wet prints, consider Fujifilm’s RA‑4 papers like the Digital Pro Glossy roll and ensure you’re using proper RA‑4 chemistry (paper chemistry is not for film). Whatever path you take, Unique Photo has the gear, supplies, and friendly expertise to help you process confidently at home.