Developing Black and White Film at Home: Essential Tips
If you’re new to film, returning after a long break, or a digital shooter curious about analog, home-developing black and white film is one of the most rewarding (and affordable) ways to control your look from exposure to final print or scan. This guide walks you through the essentials—what you need, how to do it, pro tips, and a few smart accessories from Unique Photo to keep your workflow organized and your results consistent.
Your Starter Checklist
- Light-tight loading solution: changing bag or a completely dark room
- Developing tank and reels (plastic or stainless steel)
- Chemicals: developer, stop bath (or water), fixer, and optional hypo clear
- Thermometer (target 68°F / 20°C), timer, and measuring cylinders/syringes
- Stir stick, funnels, and clearly labeled storage bottles
- Film clips, clean drying space, and wetting agent for final rinse
- Soft, non-shedding cloths; nitrile gloves and eye protection
- Archival sleeves or pages for contact sheets/prints
Step-by-Step Process
- Prep & Plan: Check your film’s recommended development times and the developer’s datasheet. Mix chemistry accurately and bring to 68°F/20°C unless otherwise specified.
- Load the film: In complete darkness (or a changing bag), open the cassette, trim the leader if needed, and load the film onto a reel. Place the reel(s) into the tank and secure the lid.
- Develop: Pour in developer, start the timer, and agitate—typically 30 seconds of continuous agitation, then 5–10 seconds every 30–60 seconds. Maintain temperature. Tap the tank to dislodge bubbles.
- Stop: Pour out developer, then use a stop bath or multiple water rinses to halt development.
- Fix: Add fixer and agitate per instructions (usually 3–5 minutes for rapid fixers). Film should clear; if it doesn’t, extend fix time slightly and review your fixer strength.
- Wash: Use the Ilford method (fill, invert 5x; drain. Fill, invert 10x; drain. Fill, invert 20x; drain) or a running-water wash for the recommended time.
- Final Rinse: Use a wetting agent to reduce water spots. Hang to dry in a dust-free area. Avoid squeegees unless you’re experienced—emulsion can scratch.
- Cut & Store: Once fully dry, cut negatives into strips and store flat in archival pages or sleeves.
Pro Tips for Consistency
- Temperature is king: Keep your chemistry at 68°F/20°C unless your chosen process specifies otherwise.
- Agitation matters: Too little leads to unevenness; too much increases contrast and grain. Be consistent.
- Push/pull with intent: Extending time increases contrast (push); reducing time lowers it (pull). Log everything.
- Water quality: Hard water can leave spots—use distilled for final rinse if needed.
- Cleanliness & safety: Use separate graduates for developer and fixer. Wear gloves, ventilate, and label clearly.
- Reel loading practice: Practice with a scrap roll in daylight before your first real run.
Troubleshooting Quick Reference
- Thin/flat negatives: Underexposure or underdevelopment. Increase exposure or development time.
- Dense/blocked shadows: Overexposure or overdevelopment. Reduce exposure or development time.
- Streaks/bromide drag: Insufficient agitation or pour technique. Improve initial agitation and pour promptly.
- Milky film after wash: Incomplete fixing. Return to fixer and then re-wash.
- Reticulation (cracked look): Sudden temperature changes. Keep all solutions within 1–2°F of each other.
- Purple tint (common with modern films): Extend fix and wash times; it often fades with proper washing.
Archiving and Digitizing
After drying, protect your work. Store negatives in archival sleeves and keep contact sheets or small work prints organized so you can quickly locate frames to scan or print. If you scan and make quick proofs at home, keep your printing supplies on hand so your evaluation workflow stays streamlined.
Recommended Accessories from Unique Photo
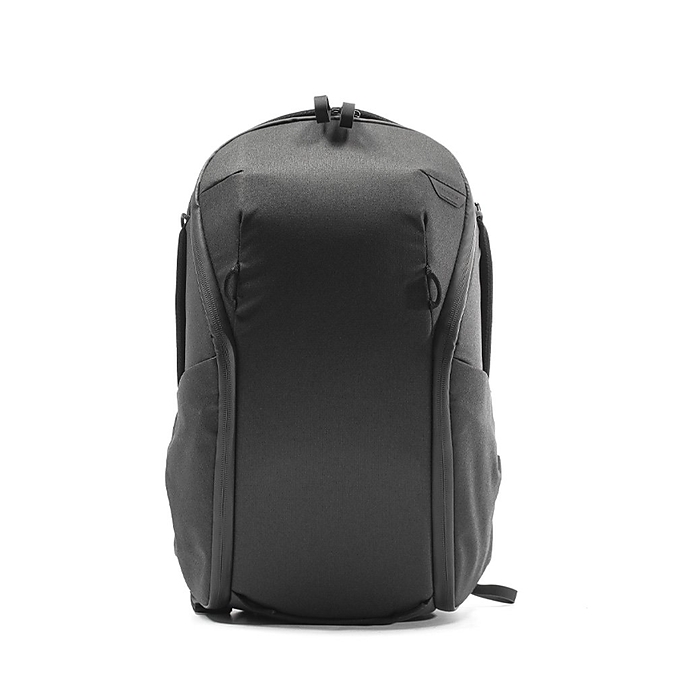
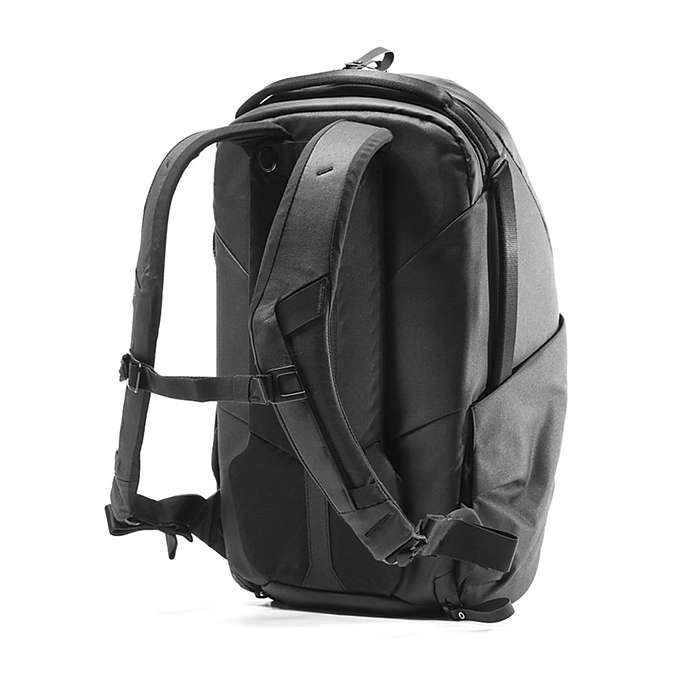
Peak Design Everyday Backpack 20L Zip - Black (PEAV212)
A durable, weather-resistant way to keep your developing and scanning accessories organized between your shooting space, kitchen, or bathroom darkroom. The 20L capacity and organized dividers make it easy to store a changing bag, thermometer, timers, sleeves, and notebooks in one tidy kit.
PGYTECH OneMo Sling 11L (PGY1042)
Prefer a compact carry? The OneMo Sling 11L is a streamlined option for moving a small tank, thermometer, and a changing bag from storage to your workspace without bulk—ideal for apartment setups.
DF White Refill Pages (8.5x11in, 10-Pack) (DFA1059)
Great for organizing contact sheets, process notes, or small work prints in a binder so your development data and edits stay with your images.
Pioneer TS-246 Oxford Brass Corner Photo Album (Black)
Holds up to 208 4×6 prints—perfect for keeping test prints and final selects from your scans or darkroom sessions together in a classic album you can share.
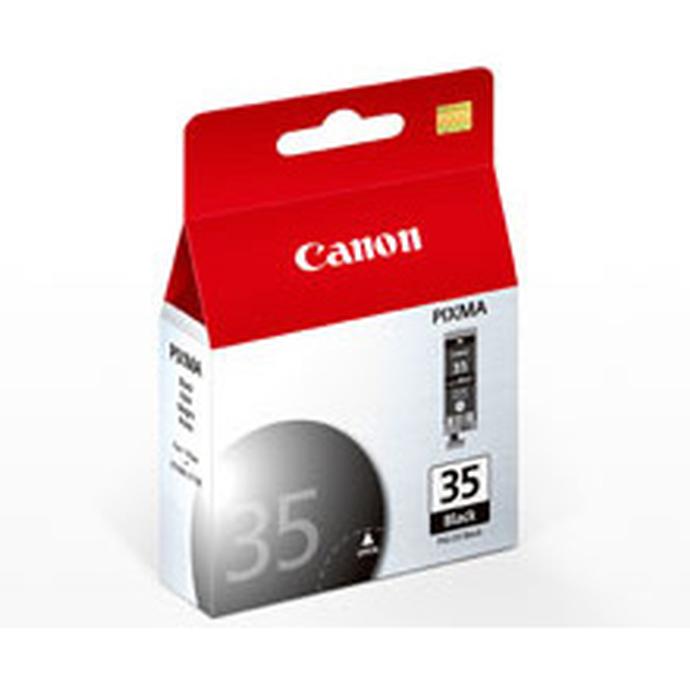
Canon PGI-35 Black Ink Cartridge (CND7053)
If you use a compatible Canon printer for quick proof prints after scanning, a spare PGI-35 keeps your workflow uninterrupted, letting you evaluate density and contrast on paper right away.
Carry Solutions: Which Is Right for Your Home-Dev Kit?
| Model | Type | Best For | Capacity | Access | Why Choose It |
|---|---|---|---|---|---|
| Peak Design Everyday Backpack 20L Zip | Backpack | Full home-develop kit and scanning tools | 20L | Full-length zipper; organized dividers | Most versatile, weather-resistant, and tidy for multi-room setups |
| PGYTECH OneMo Sling 11L | Sling | Compact carry with essentials | 11L | Top/side access | Lightweight and fast access for small-space workflows |
Conclusion
Black and white home development is straightforward once you control temperature, agitation, and timing—then keep meticulous notes. Start with a reliable core kit, practice your reel loading, and refine from there. To make the process smoother, pick up smart accessories for carrying and archiving your work. Unique Photo has the gear and guidance to help you get set up with confidence—shop tanks, chemistry, storage, and the accessories above to build your ideal home darkroom workflow.