Controlling the speed of your shutter when photographing can give dramatic effects to the final outcome of your image. You can pull off impressive, surreal looks with just a bit of practice. A little math may be involved in calculating the right speed, but don't let that intimidate you as it's easier than you think.
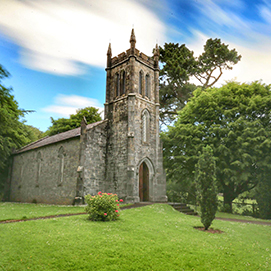
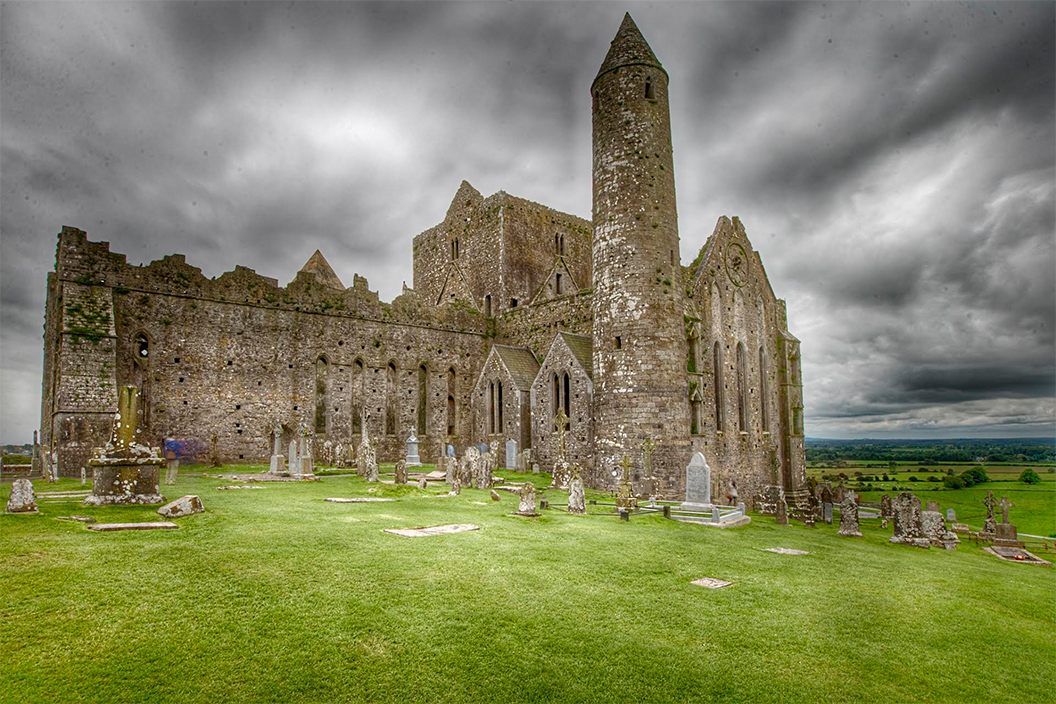
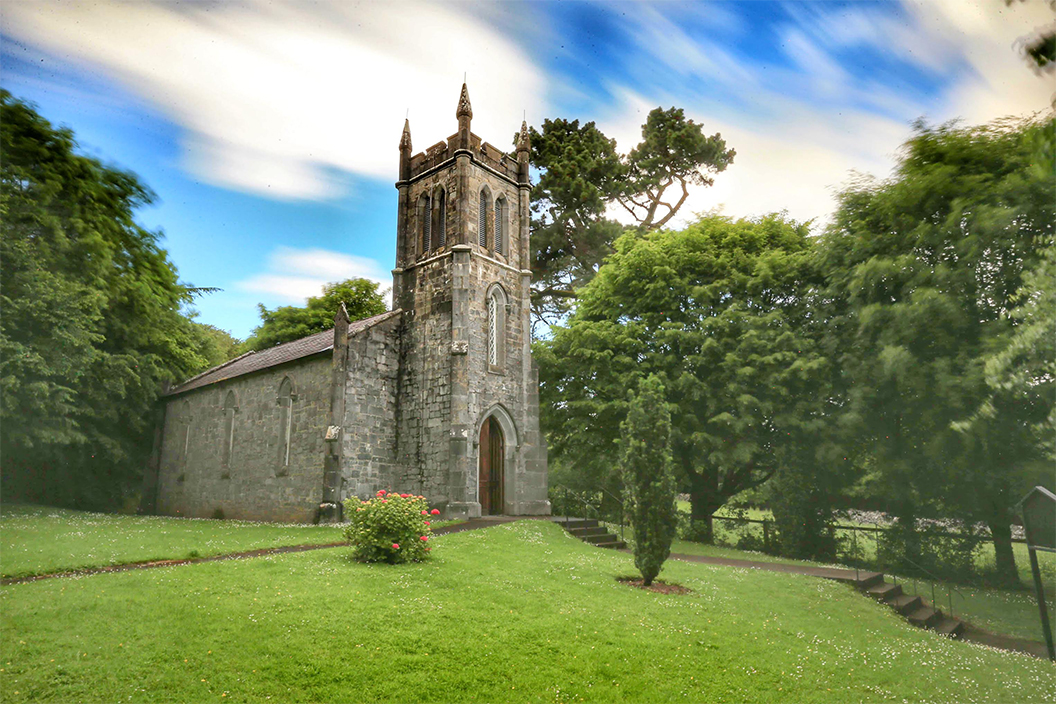
To achieve the best results using this technique, you'll want to look for a scene that has a lot of contrast between moving and stationary subjects. Some examples of this could be trees and rocks through a waterfall, a shot of the ocean with stationary trees in the foreground and ocean waves in the back, or even tall buildings with clouds floating by.
Keeping this idea of motion contrast in mind, you can incorporate various dramatic elements into your images by showing the flow of time.

Let's start off with the equipment you would need.
- A camera with a manual shooting mode.
- A tripod
- A remote shutter release.
- And neutral density filter or variable neutral density filter. (The density strength will determine how long of a shutter speed you can get away with.)
Because neutral density filters are so dark, you have to compose and focus the shot without it. Once you've set up your tripod, secure your camera on it and compose your image. Set the ISO, shutter speed, and aperture for the proper exposure, without the use of your filter. Choose a low ISO and a high f/stop. Remember, the idea is to have the image require a longer shutter speed. Make sure to set your focus, then have the lens hold that focus setting by switching into manual focus mode; you don't want the camera to hunt for a focus setting after you've put the filter on.
Once you have your ISO, shutter, and aperture set along with your focus setting held using manual focus mode, you can then add your filter.
Next, increase your shutter speed by the proper amount; this is where the math comes in. If you are using a 10 stop filter, increase your shutter speed by 10 stops. You may want to start off by increasing or decreasing your exposure by 1/3 of a stop until you are more comfortable with using your filter. They are often times slightly darker than 'as sold'.
Covering your viewfinder while taking your shot will also prevent light leaks from affecting your shots. Be sure to use your remote shutter release so you don't add any movement to the camera.
Not all neutral density filters are pure and truly neutral, some may cast a blue tone. Assign the proper color temperature based on the filter that you're using. You can always white balance bracket if this is your first time using a particular filter until you know how it impacts the light temperature. Take some pictures with an auto white balance then do others with a cloudy white balance and follow up with a shady white balance to compensate for the best tone of your filter.
You will be amazed by the types of images you can create using this technique, and it will be sure to “wow” those you show it to.

These settings are what was used for these images. Your settings should be established using the lighting conditions you find yourself photographing.