Great portrait lighting does not have to start with a studio full of expensive strobes. Many photographers build strong portrait skills with affordable flashes, simple modifiers, window light, and a few smart DIY solutions. If you are working on a tight budget, the goal is not to own everything at once—it is to understand light well enough to make modest gear look polished. The tips below focus on practical, economical ways to improve portrait quality while keeping your setup lean and effective.
Start with the Light You Already Have
1. Use window light before buying more gear
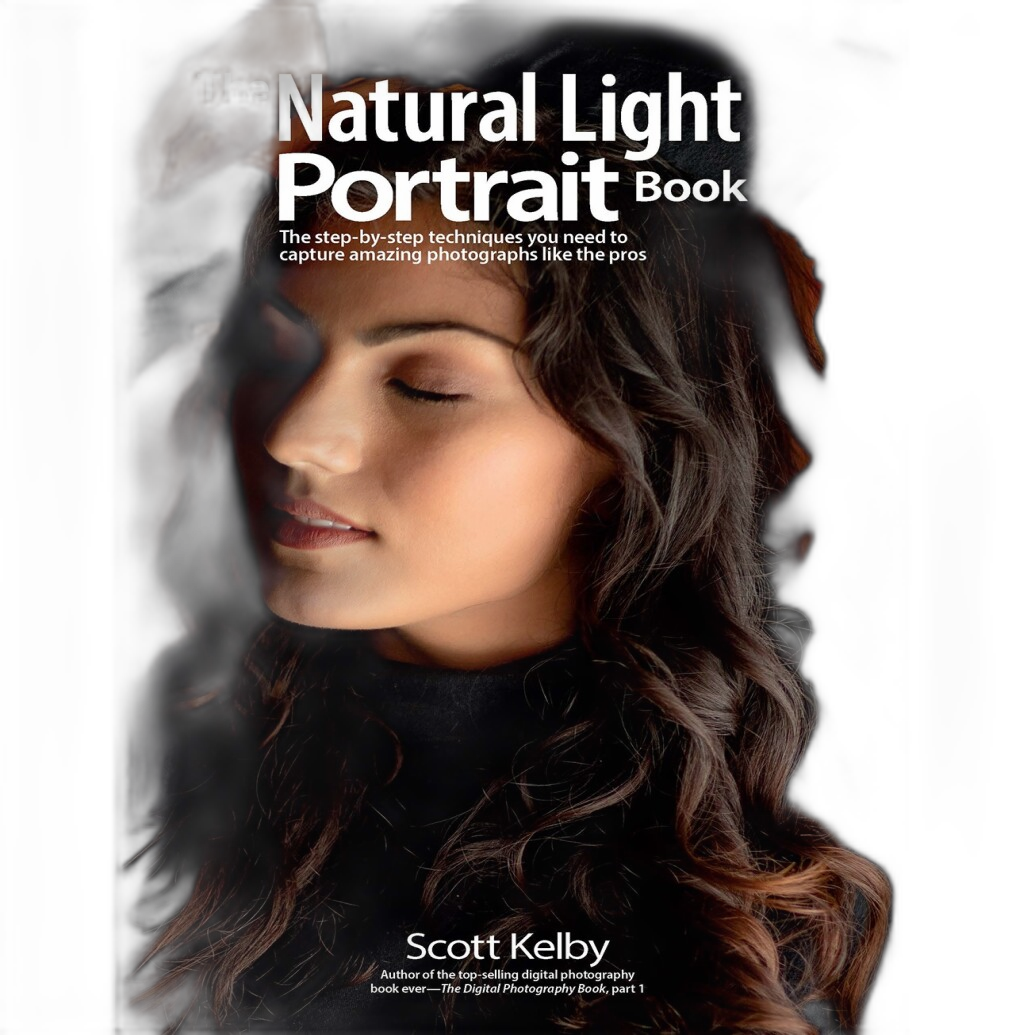
Natural light is still one of the most budget-friendly portrait tools available. A large window can act like a beautiful softbox, especially when you place your subject just off to the side for directional light. Sheer curtains, white bedsheets, or even a lightly frosted window can soften harsh sun and create flattering skin tones. If you want to sharpen your eye for this approach, Mastering the Natural Light Portrait by Scott Kelby is a smart resource for learning how to shape portraits with minimal equipment.
To stretch your budget further, pair window light with an inexpensive reflector or a DIY white foam board. That single addition can open shadows and make portraits look far more intentional.
Make Budget Flashes Work Harder
2. Prioritize light placement over flash price
User experience consistently shows that even lower-cost flashes can produce strong portraits when they are placed well. Moving a modest flash off-camera usually makes a bigger improvement than upgrading to a pricier unit used on-camera. Position your flash 45 degrees to your subject, raise it slightly above eye level, and test from there.
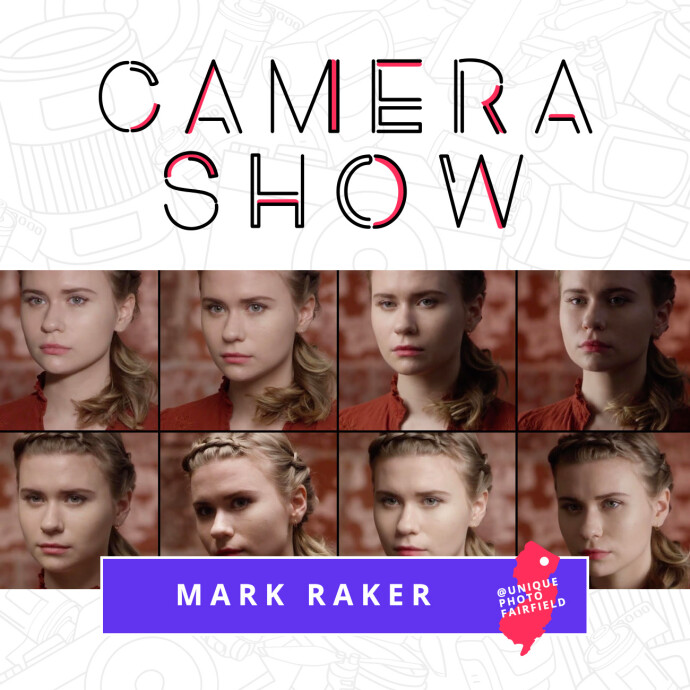
If you are still building confidence with the basics of key light position, feathering, and shadow control, educational sessions like CS: Key Lighting Methods with Mark Raker can help you understand how to get more from simple setups rather than chasing expensive equipment.
Choose Affordable Modifiers Wisely
3. One umbrella or small softbox can go a long way
On a tight budget, start with one modifier that gives you the most versatility. A basic shoot-through umbrella is inexpensive, forgiving, and great for portraits. A compact softbox offers a little more control if you are working in smaller rooms. Both can dramatically improve the look of a budget flash.
Many photographers also use DIY diffusion ideas, but the key is consistency and safety. If you can invest in one real modifier and combine it with thoughtful placement, you will usually get better and more repeatable results than with a complicated homemade solution.
4. Use DIY flags and reflectors to shape light
Not every improvement requires a purchase. Black foam board can act as a flag to deepen shadows and add mood, while white poster board can bounce fill light back into the face. Silver car sunshades, white walls, and inexpensive V-flats made from insulation board are common low-cost portrait tools. These small additions help budget flashes feel more refined and controlled.
Learn Classic Setups Before Buying More Equipment
5. Practice one-light portraits until they look consistent
A single light can produce clean headshots, dramatic editorial portraits, and soft beauty-inspired images when used well. Before adding extra lights, work on repeatable one-light setups like Rembrandt, loop, and clamshell variations. Once those are consistent, it becomes easier to decide what gear is actually worth adding.
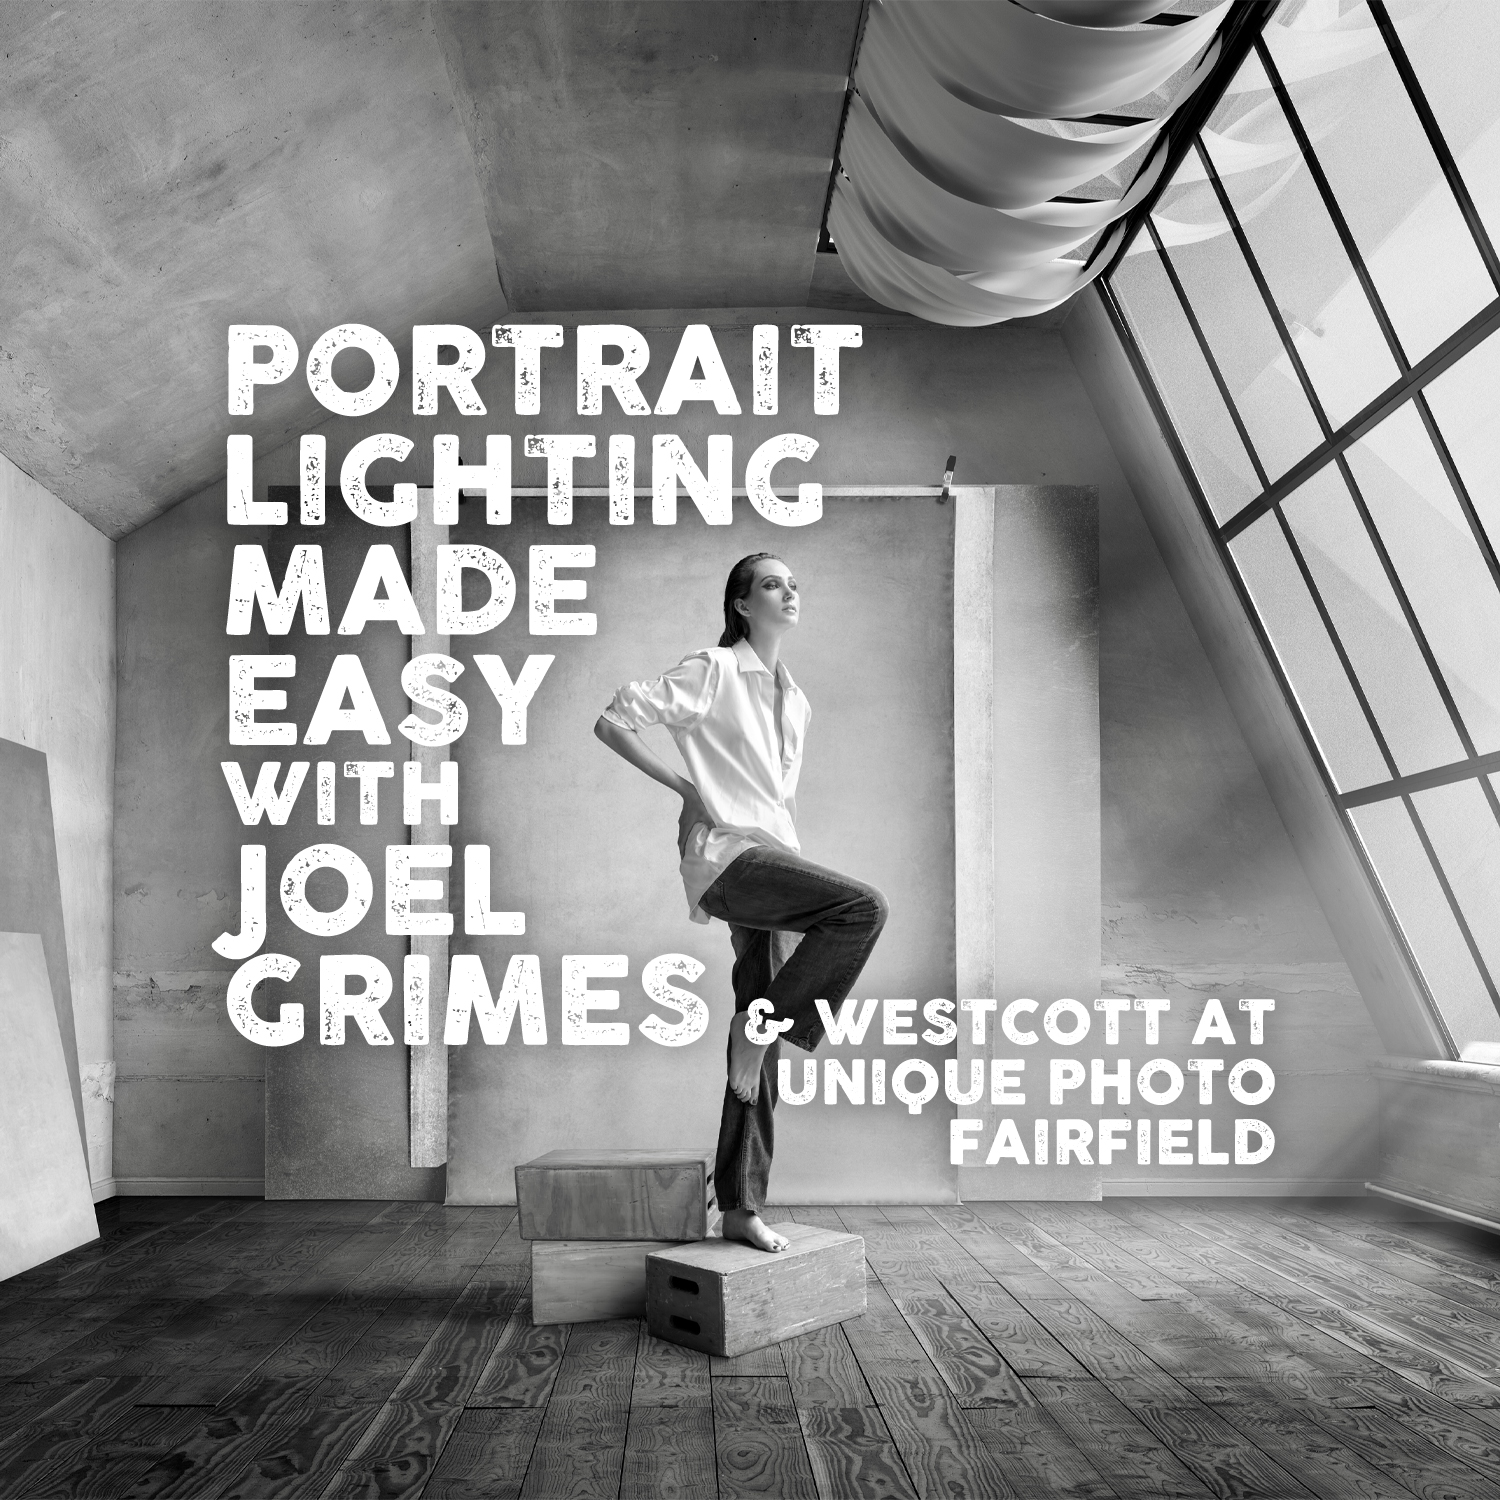
Workshops such as Portrait Lighting Made Easy with Joel Grimes are helpful here because they focus on the concepts that let photographers create stronger portraits with simpler tools.
Use Inexpensive Lighting Techniques for Better Portraits
6. Control ambient light instead of overpowering it
Budget flashes often struggle when trying to overpower bright daylight, but they do very well when you reduce ambient light first. Move into open shade, close curtains, turn off room lights, or shoot later in the day. By controlling the scene, your flash does not need to work as hard, recycle times improve, and batteries last longer.
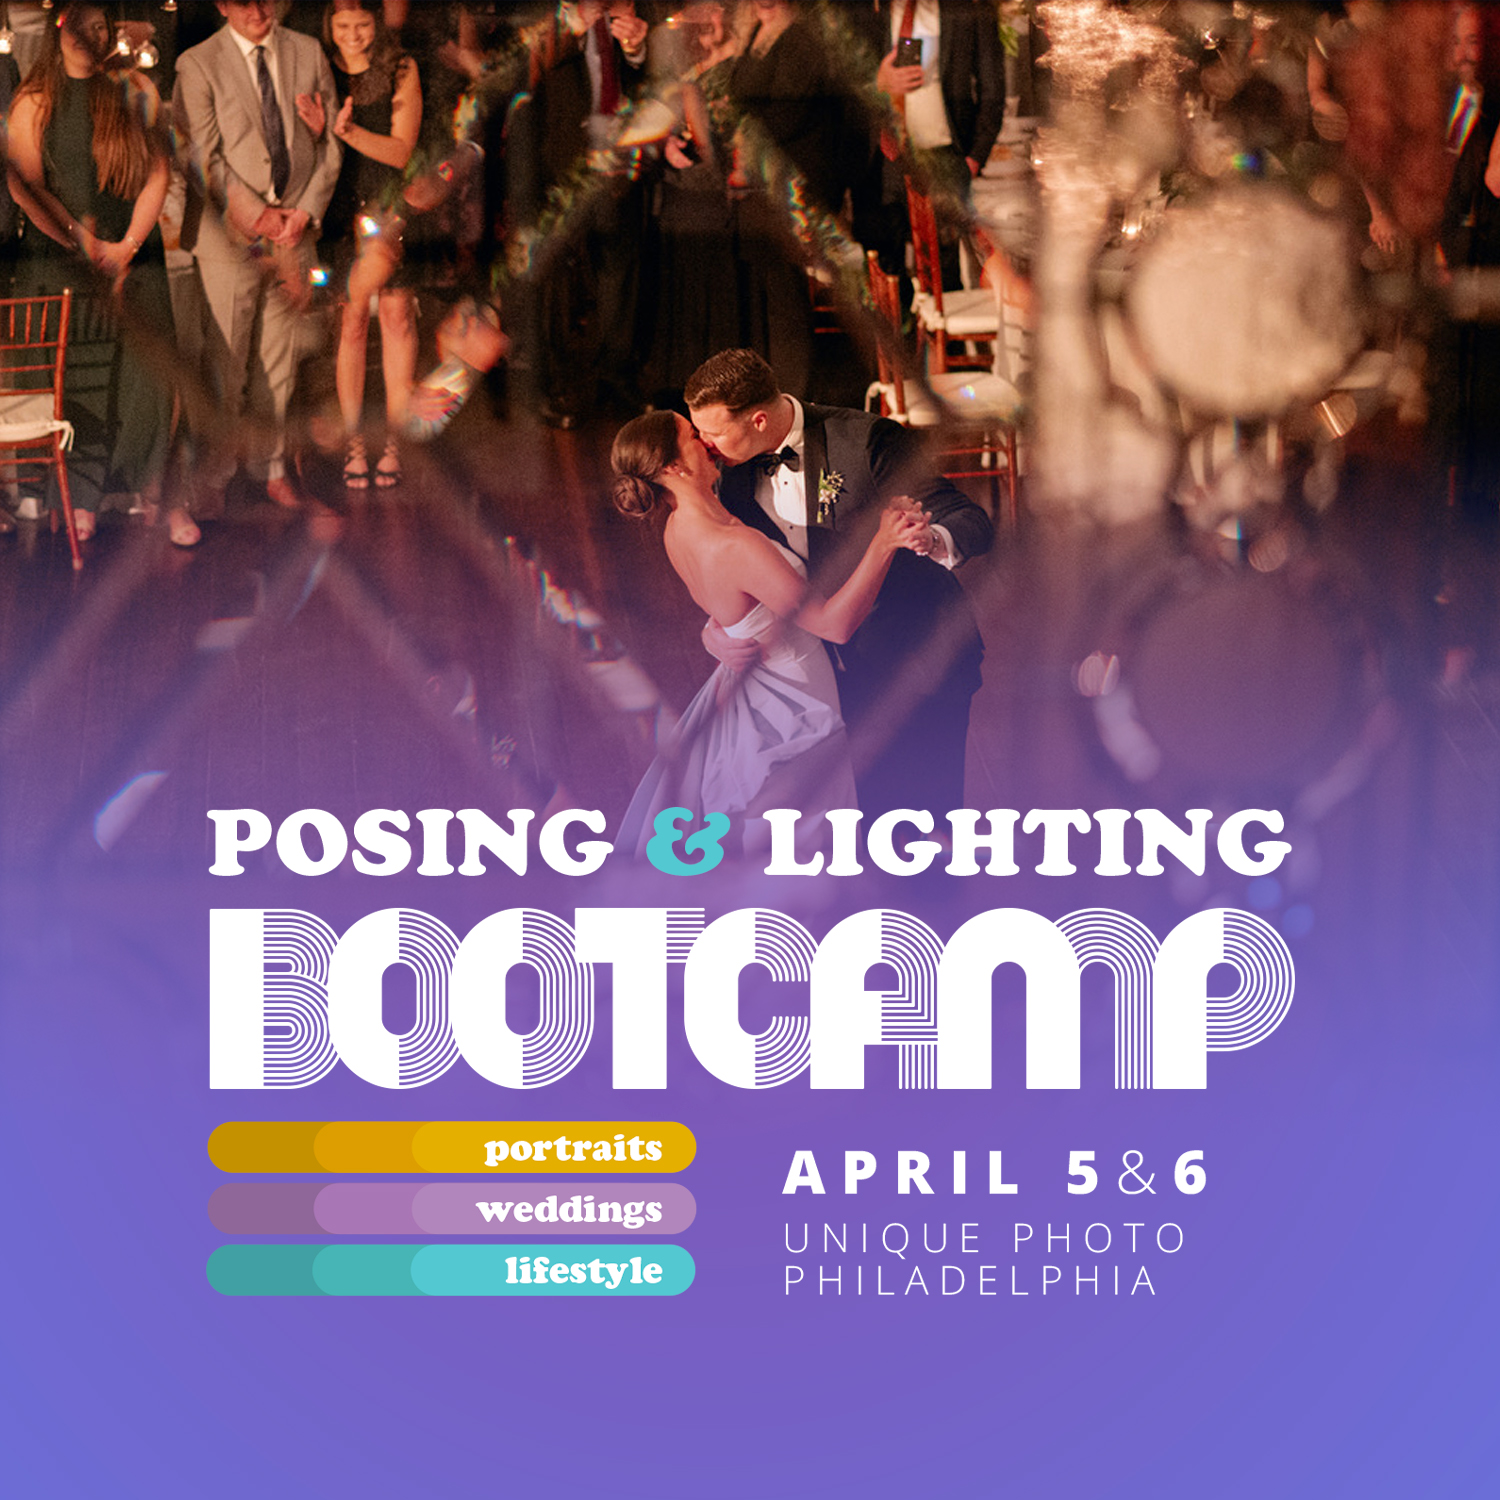
This strategy is especially useful for event-style portraits and reception environments, where practical lighting often has to work with limited gear. Posing and Lighting Bootcamp: Reception Lighting w. Magda and Simon can be useful inspiration for photographers trying to maximize modest lighting tools in real-world situations.
7. Match posing to your simple lighting setup
Better portraits are not just about brighter lights or larger modifiers. The way your subject turns toward or away from the light changes everything. With budget gear, good posing becomes even more important because it helps you emphasize facial structure, reduce distracting shadows, and create a more polished result without adding equipment.
For photographers who want to refine this part of the process, classes like NJCS: Part II - Compelling Portraiture Live Shoot with Jonny Edward and Stunning Portraits Workshop with David Maynard and ExpoImaging can help connect posing decisions with lighting choices.

Save Money by Improving Style and Intent
8. Simple gear looks better when the concept is stronger
One reason budget portrait setups sometimes feel underwhelming is that photographers focus only on hardware and not on styling, expression, or color. A coordinated wardrobe, clean background, and clear mood can make an inexpensive lighting setup feel much more professional. Stylized portrait education, such as EXPO: The Art of Stylized Portraiture with Lindsay Adler, can inspire more creative choices that elevate portraits without requiring a huge equipment upgrade.

Protect Your Budget Gear So It Lasts
9. Store and transport lights carefully
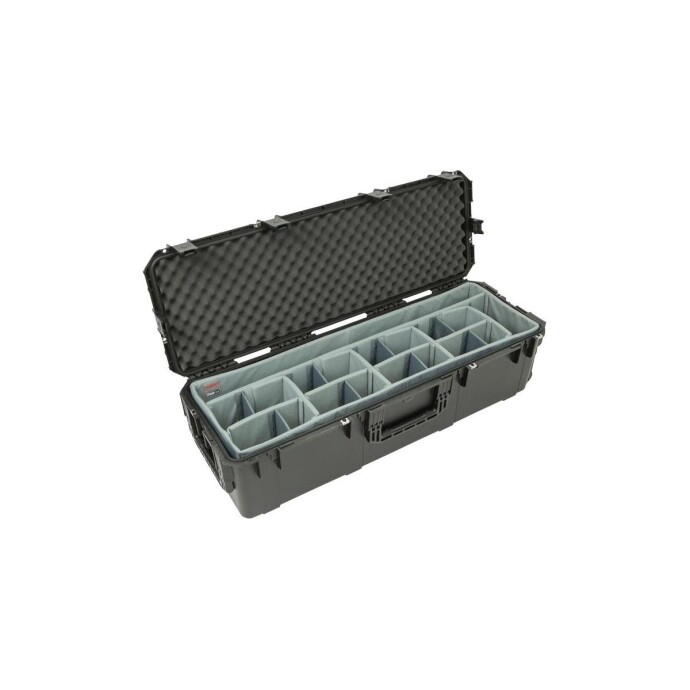
When you are building a portrait kit economically, replacing damaged gear can be a major setback. Even affordable flashes, stands, clamps, and modifiers deserve good protection. If you are taking lighting tools on location, a durable transport solution like the SKB iSeries 3i-4213-12 Case with Think Tank Designed Lighting/Stand Dividers can help keep your setup organized and protected for the long haul.
Build Skill First, Upgrade Later
10. Spend your next dollar on knowledge if your gear is still usable
One of the smartest budget recommendations from experienced photographers is to invest in education before making constant gear upgrades. If your current flash fires reliably and your modifier is doing the job, you may gain more by learning advanced placement, styling, or subject direction than by buying another light. Classes and guides often provide a bigger leap in portrait quality than a minor hardware upgrade.
That is why resources like CS: Key Lighting Methods with Mark Raker, Portrait Lighting Made Easy with Joel Grimes, and Mastering the Natural Light Portrait by Scott Kelby fit so well into a budget-conscious portrait journey.
Conclusion
Affordable portrait lighting is all about making smart choices: start with natural light, use budget flashes off-camera, shape light with simple modifiers, and practice classic setups until they become second nature. DIY tools can absolutely help, but strong technique is what really makes portraits stand out. If you are ready to improve your results without overspending, Unique Photo offers helpful educational resources and gear solutions to support every stage of your portrait lighting journey.