Great portrait lighting does not have to start with a huge studio budget. With a smart approach, a small space, and a few carefully chosen tools, you can build portrait setups that look polished, flattering, and creative without overspending. The key is learning how to shape, place, and control light before you keep adding more gear. Below are practical budget-minded portrait lighting tips, along with a few helpful learning resources and accessories that can make a real difference as you grow.
Start with One Light and One Modifier
1. Keep your first setup simple
If you are building a budget portrait kit, start with a single key light and focus on mastering placement before adding fill, rim, or background lights. A one-light setup can produce dramatic, classic, or soft portraits depending on distance, angle, and the surface the light is bouncing off. Pair your light with an affordable modifier like an umbrella or small softbox, then use a white wall or reflector for gentle fill.
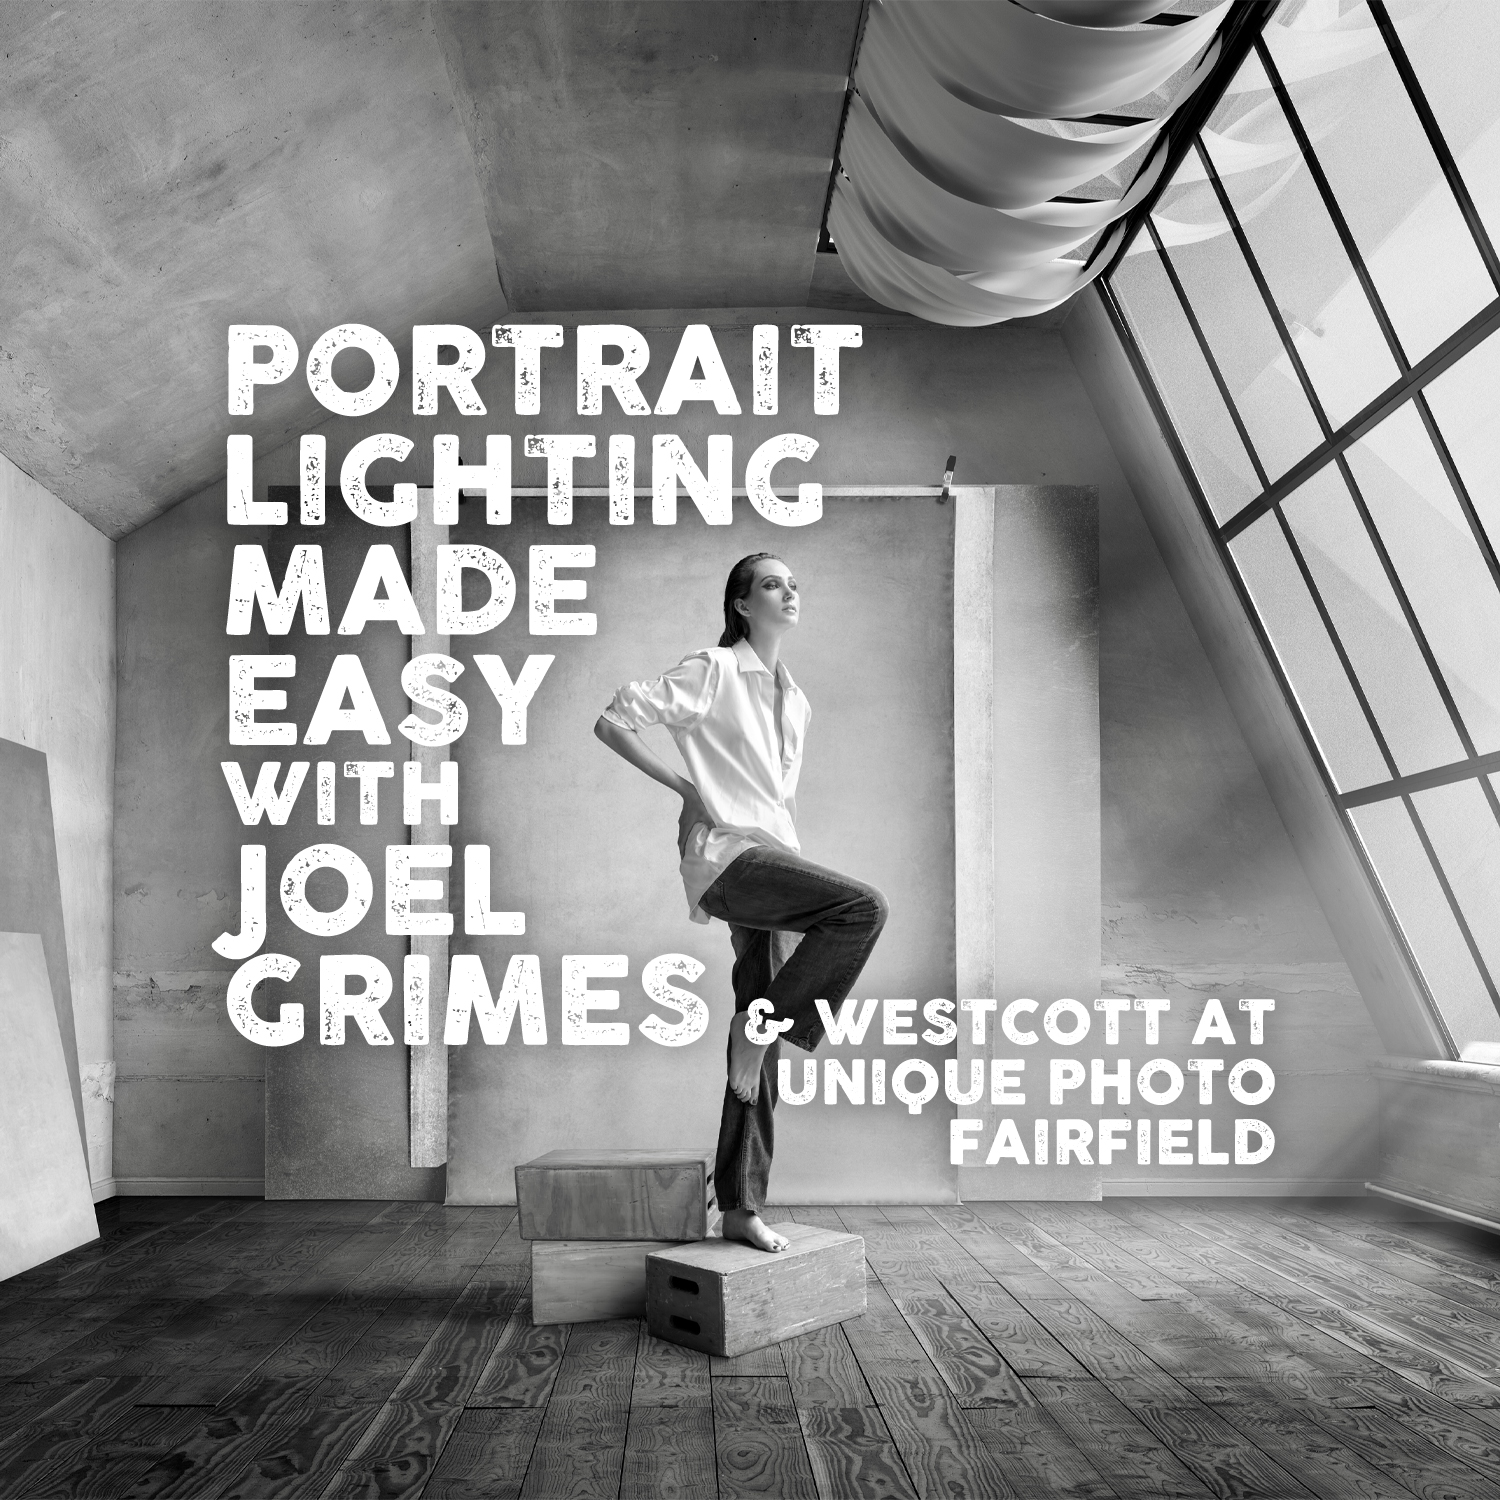
To sharpen your understanding of the basics, educational resources like Portrait Lighting Made Easy with Joel Grimes (Westcott) can be a smart budget purchase. Learning how to get more from one light often saves more money than buying extra gear too soon.
Use Natural Light as Your Free Second Light
2. Combine window light with a budget artificial source
One of the easiest low-cost portrait setups is to use a window as your main or fill light and add one inexpensive constant light or flash to balance shadows. This works especially well for home studios, apartments, and small offices. Place your subject near the window, then use your artificial light on the opposite side to subtly lift contrast.
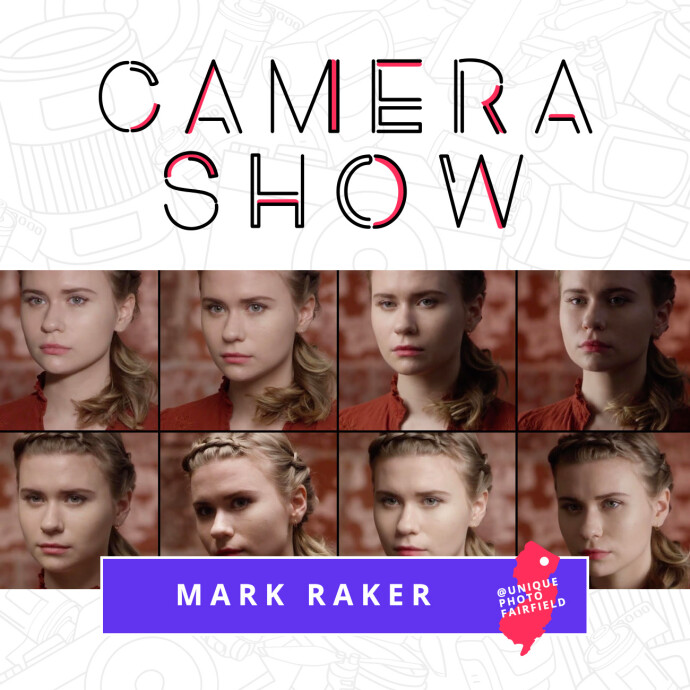
If you want to build stronger lighting instincts for this kind of setup, CS: Key Lighting Methods with Mark Raker (Nanlite) is a useful way to study how key light position changes the mood of a portrait. Understanding where to place a single light can help you get a lot more mileage out of a minimal kit.
Use Reflectors Before Buying More Lights
3. Fill shadows cheaply and effectively
Before you invest in a second or third light, try adding a reflector. A basic white or silver reflector can brighten shadows under the eyes, soften contrast on the face, and give your portraits a more finished look. Foam board from an art store can also work well when budgets are tight.
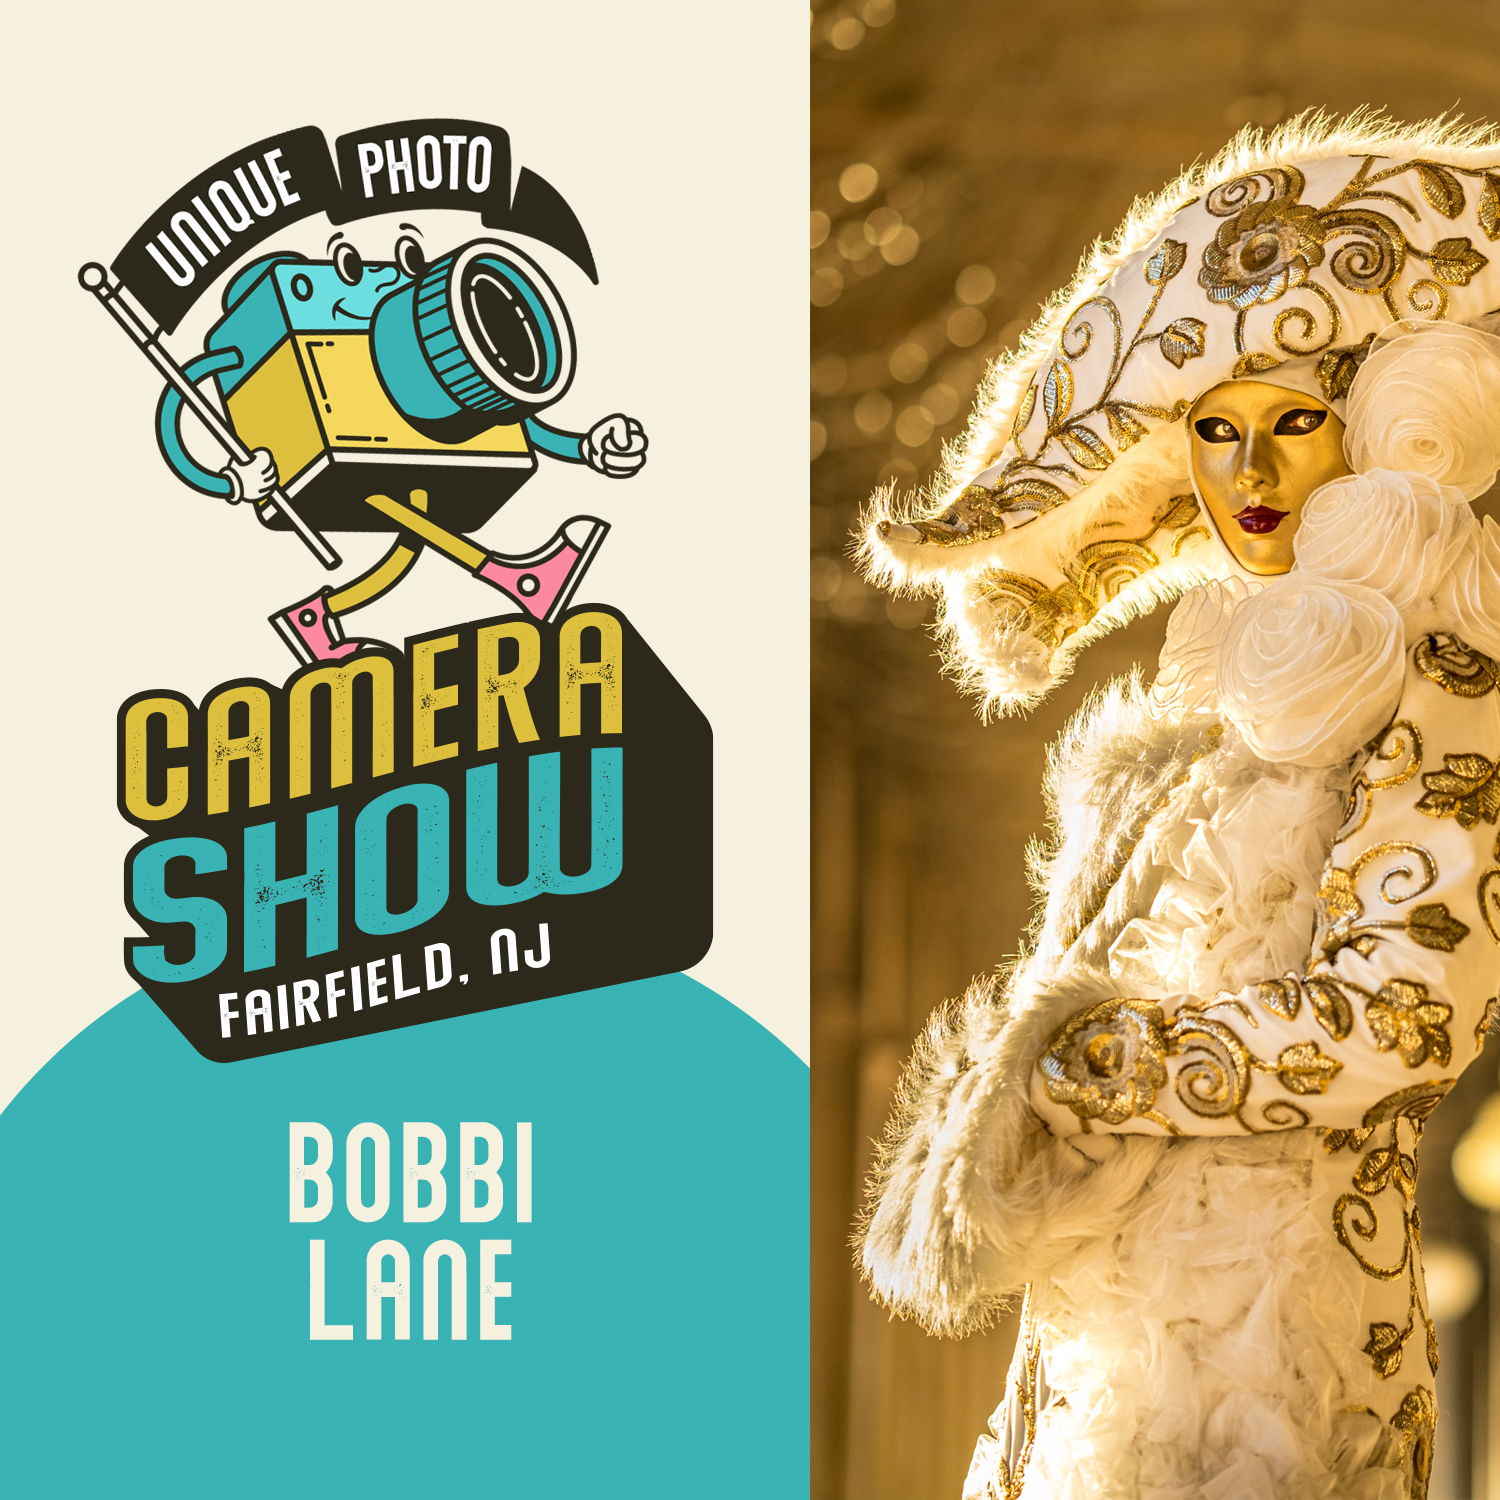
This approach is especially useful for headshots and beauty portraits where subtle fill matters more than power. If you are photographing in changing locations, the ideas covered in NJCS: Travel Portraits with Bobbi Lane (Fujifilm and Profoto) can be especially helpful for learning how to stay flexible with lightweight, economical tools.
Build Around Classic Key Lighting Patterns
4. Practice loop, Rembrandt, and butterfly lighting
You do not need expensive gear to create professional-looking portraits if you know the classic lighting patterns. Loop lighting is forgiving and flattering for many faces, Rembrandt lighting adds shape and drama, and butterfly lighting is a go-to for clean beauty portraits. Even with one affordable light, these patterns are fully achievable.
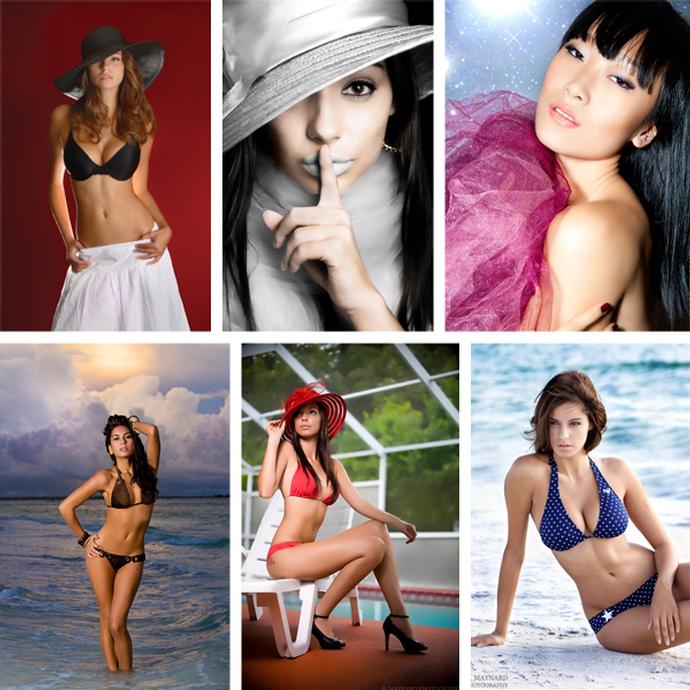
Studying setup strategy through classes like Stunning Portraits Workshop with David Maynard and ExpoImaging can help you recognize how tiny adjustments in height and angle dramatically change the result. That kind of knowledge stretches every dollar in your lighting budget.
Add Color with Inexpensive Gels
5. Create a more premium look without buying another fixture
One of the best budget upgrades for portrait lighting is a gel. Instead of purchasing another specialized light, add color to a background, hair light, or accent light with an affordable filter. A subtle color wash can instantly make a simple portrait feel more stylized and intentional.
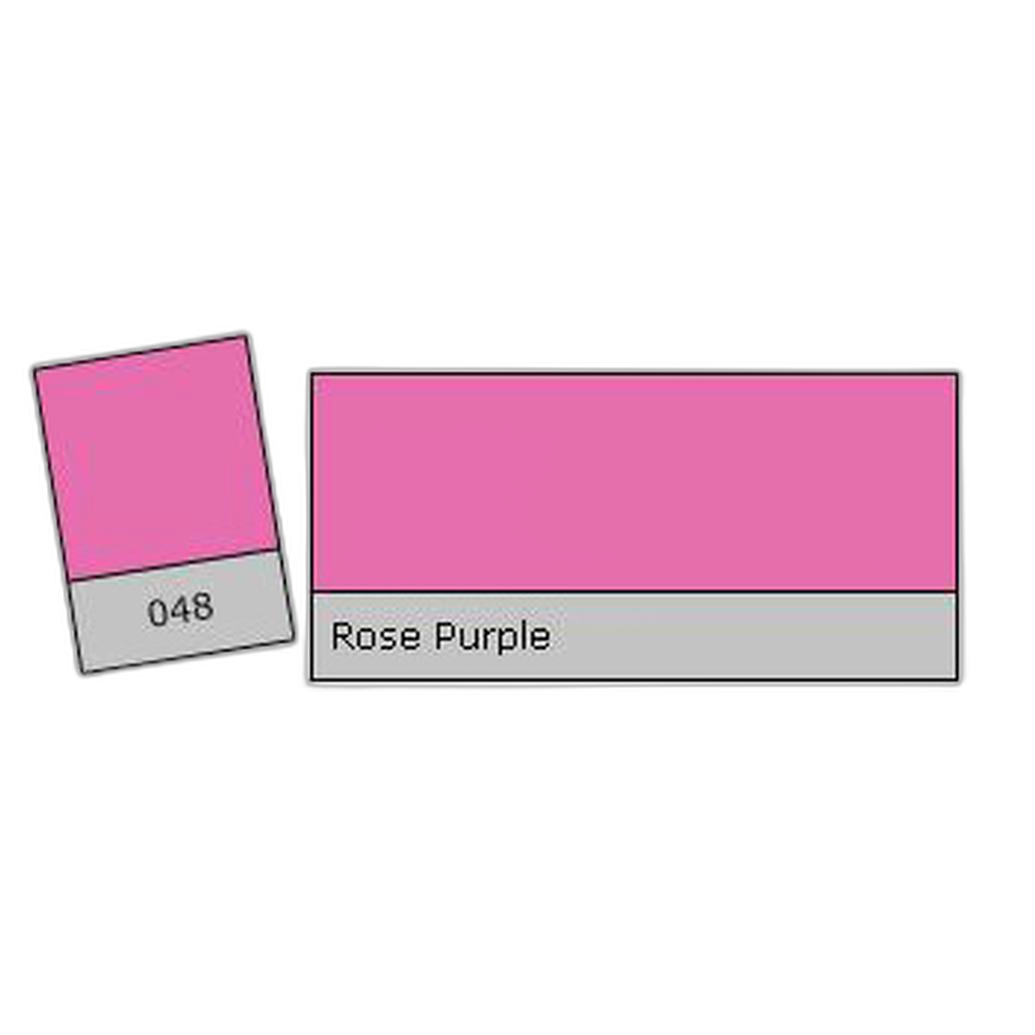
The LEE Filters Rose Purple Lighting Effect Gel Filter is a great example of a small accessory that can add creative flair for very little cost. Use it on a background light for a fashion-inspired look, or experiment with a gentle colored edge light to separate your subject from a dark background.
Use Event Lighting Techniques for Dynamic Portraits
6. Learn to work fast with compact gear
Portrait photographers on a budget often need lighting setups that are quick to build, easy to move, and adaptable to mixed lighting conditions. Event and reception techniques are surprisingly useful here because they teach you how to create flattering portraits in less-than-perfect spaces using minimal equipment.
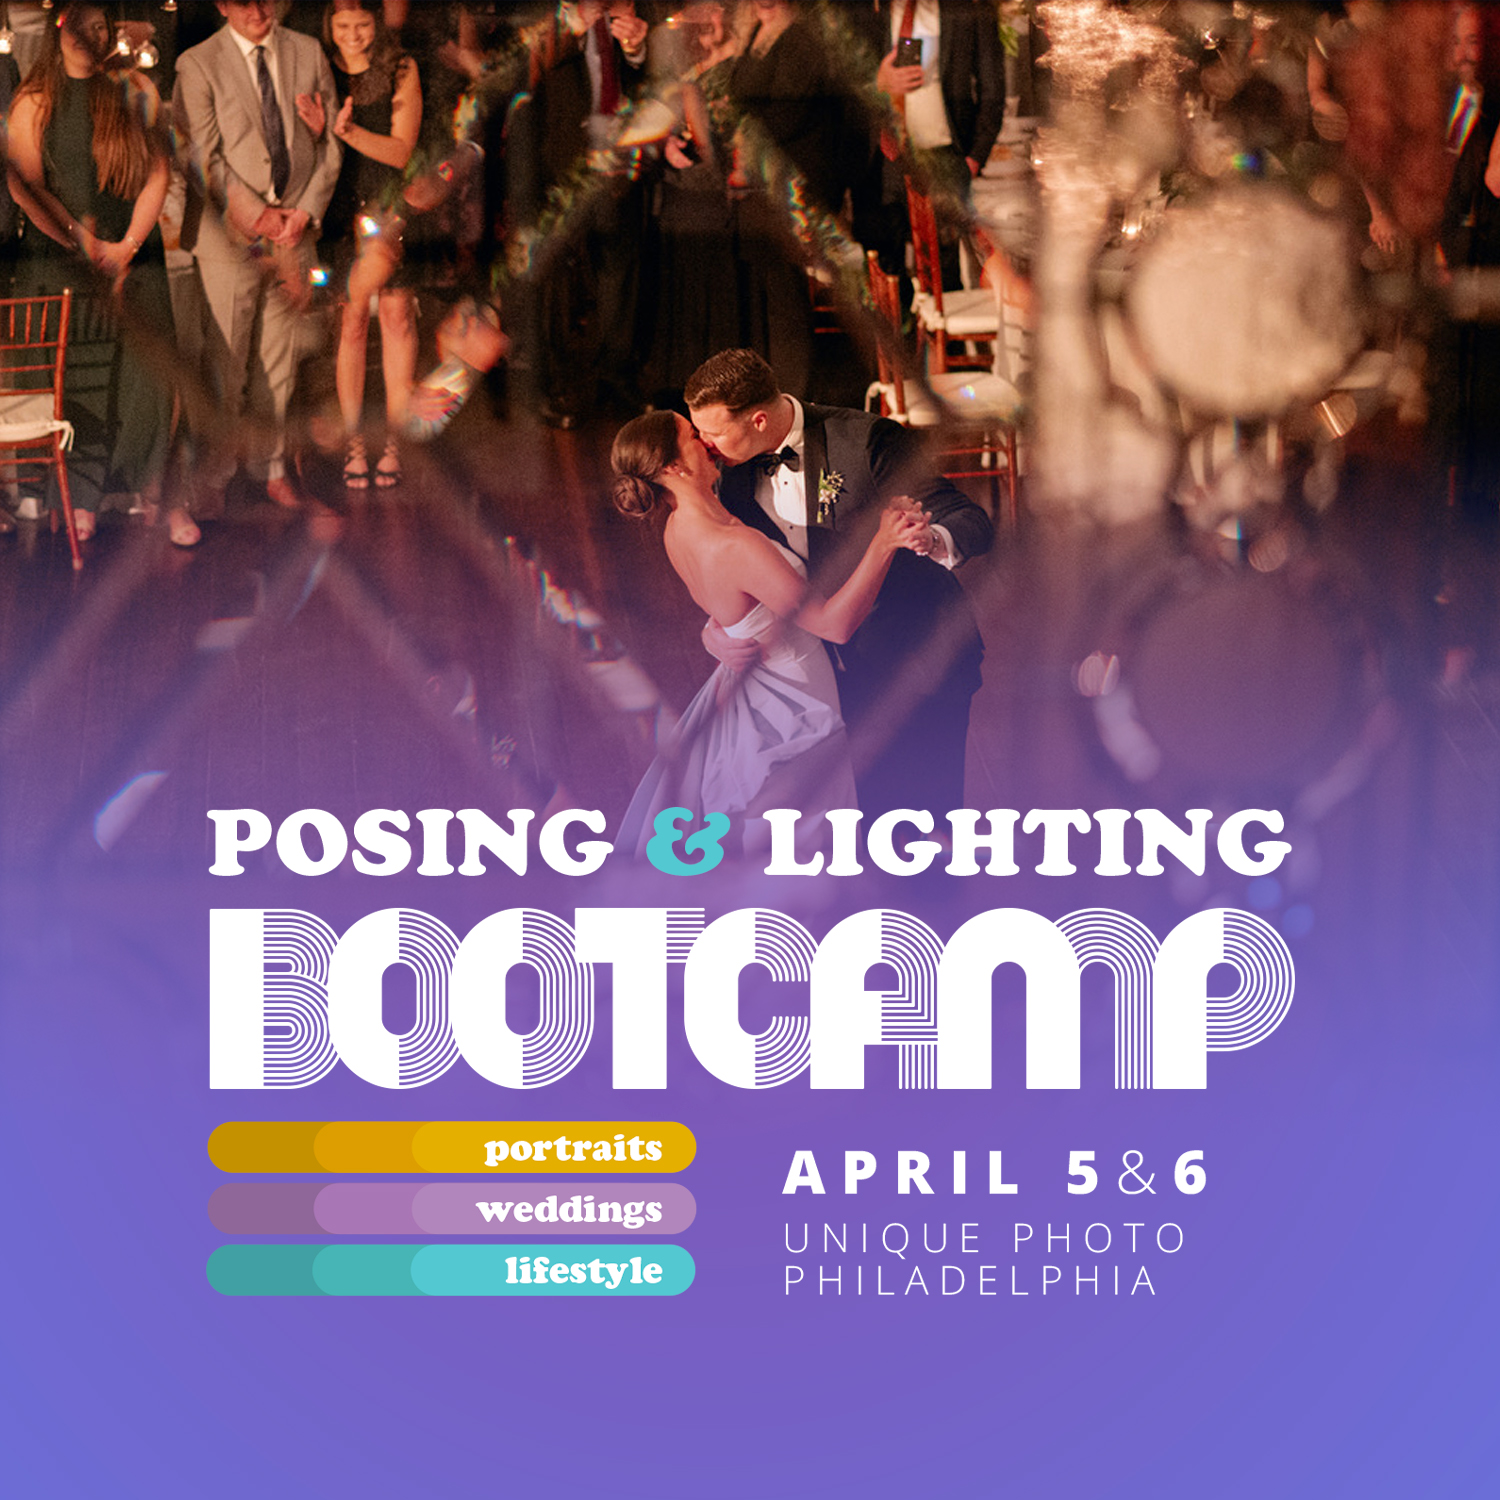
Posing and Lighting Bootcamp: Reception Lighting w. Magda and Simon (Philly) is a strong reference if you want to understand how to work efficiently with portable lighting. The same concepts translate nicely to portraits in homes, banquet halls, offices, or small rented studios.
Invest in Education Before Overbuying Gear
7. Technique saves money
It is easy to assume better portraits require more lights, bigger modifiers, and more expensive accessories. In reality, technique usually matters more. Spending part of your budget on lighting education can help you avoid wasted purchases and understand exactly what your next upgrade should be.
Workshops like NJCS: Advanced Creative Lighting with Robert Harrington and ExpoImaging are valuable because they help photographers move beyond basic illumination and start thinking about control, intention, and style. That kind of learning often prevents the trial-and-error spending that can make budget setups more expensive over time.

Protect Your Budget Gear So It Lasts Longer
8. Storage and transport matter more than you think
When you are building a portrait kit piece by piece, protecting each item is important. Damaged stands, dented modifiers, and broken accessories can erase any savings you made by shopping carefully in the first place. If you travel to clients or frequently work on location, organized storage becomes part of the budget plan.
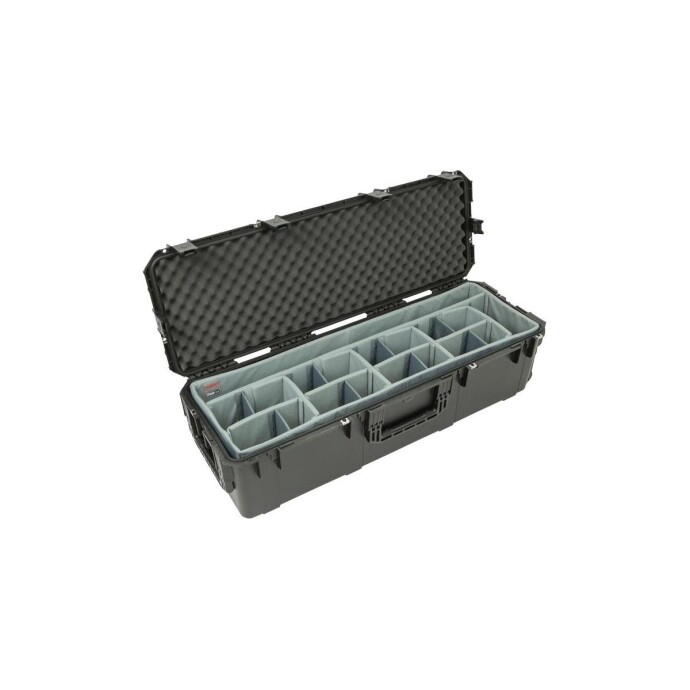
The SKB iSeries 3i-4213-12 Case with Think Tank Designed Lighting/Stand Dividers is a practical option for keeping stands and lighting tools protected and sorted. It is not the flashiest purchase, but it can help extend the life of the gear you already own.
Conclusion
Budget portrait lighting is really about making smart choices, not limiting your creativity. Start simple, learn how to control one light well, use reflectors and natural light whenever possible, and add low-cost creative tools like gels as your confidence grows. If you want to keep improving, Unique Photo offers useful classes, workshops, and accessories that can help you build stronger portraits without blowing your budget.