Budget-Friendly Portrait Lighting Kits: What Actually Works?
Building a portrait lighting kit does not have to start with a full studio investment. In most cases, photographers get the biggest improvement by choosing a simple, dependable setup they can learn quickly and use consistently.
Below, our team at Unique Photo answers common questions about affordable portrait lighting, including what to buy first, how many lights you really need, and how to get professional-looking portraits without overspending.
What is the best budget-friendly lighting setup for portrait photography?
For most photographers, the smartest entry point is a one-light setup with a modifier and a reflector. A single key light placed carefully can create flattering, dimensional portraits for headshots, family portraits, and creative personal work. Adding a reflector on the shadow side helps control contrast without requiring a second light, which keeps both cost and complexity down.
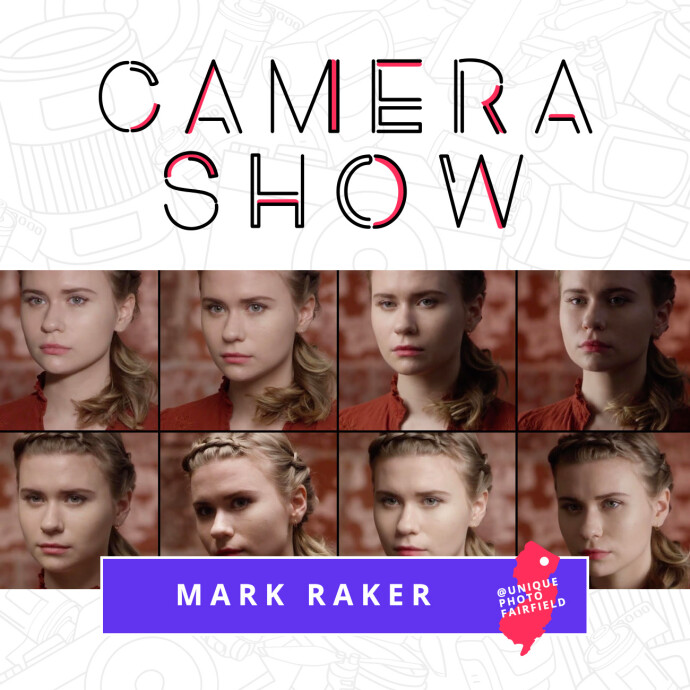
If you are still learning how to shape light, education can be just as valuable as gear. A class like CS: Key Lighting Methods with Mark Raker (Nanlite) can help you understand classic portrait setups and get more from a simple kit before you spend more money on additional lights.
How many lights do I really need for portraits?
You only need one light to make strong portraits. Two lights add flexibility, and three lights can create more polished studio control, but many excellent portraits are made with just one main light and thoughtful positioning.
A one-light kit is ideal if your budget is tight or if you shoot in smaller spaces. A two-light kit becomes useful when you want a dedicated fill, rim, hair, or background light. Before buying more fixtures, make sure you understand how to place your key light, how subject-to-background distance changes the look, and how modifier choice affects softness and contrast.
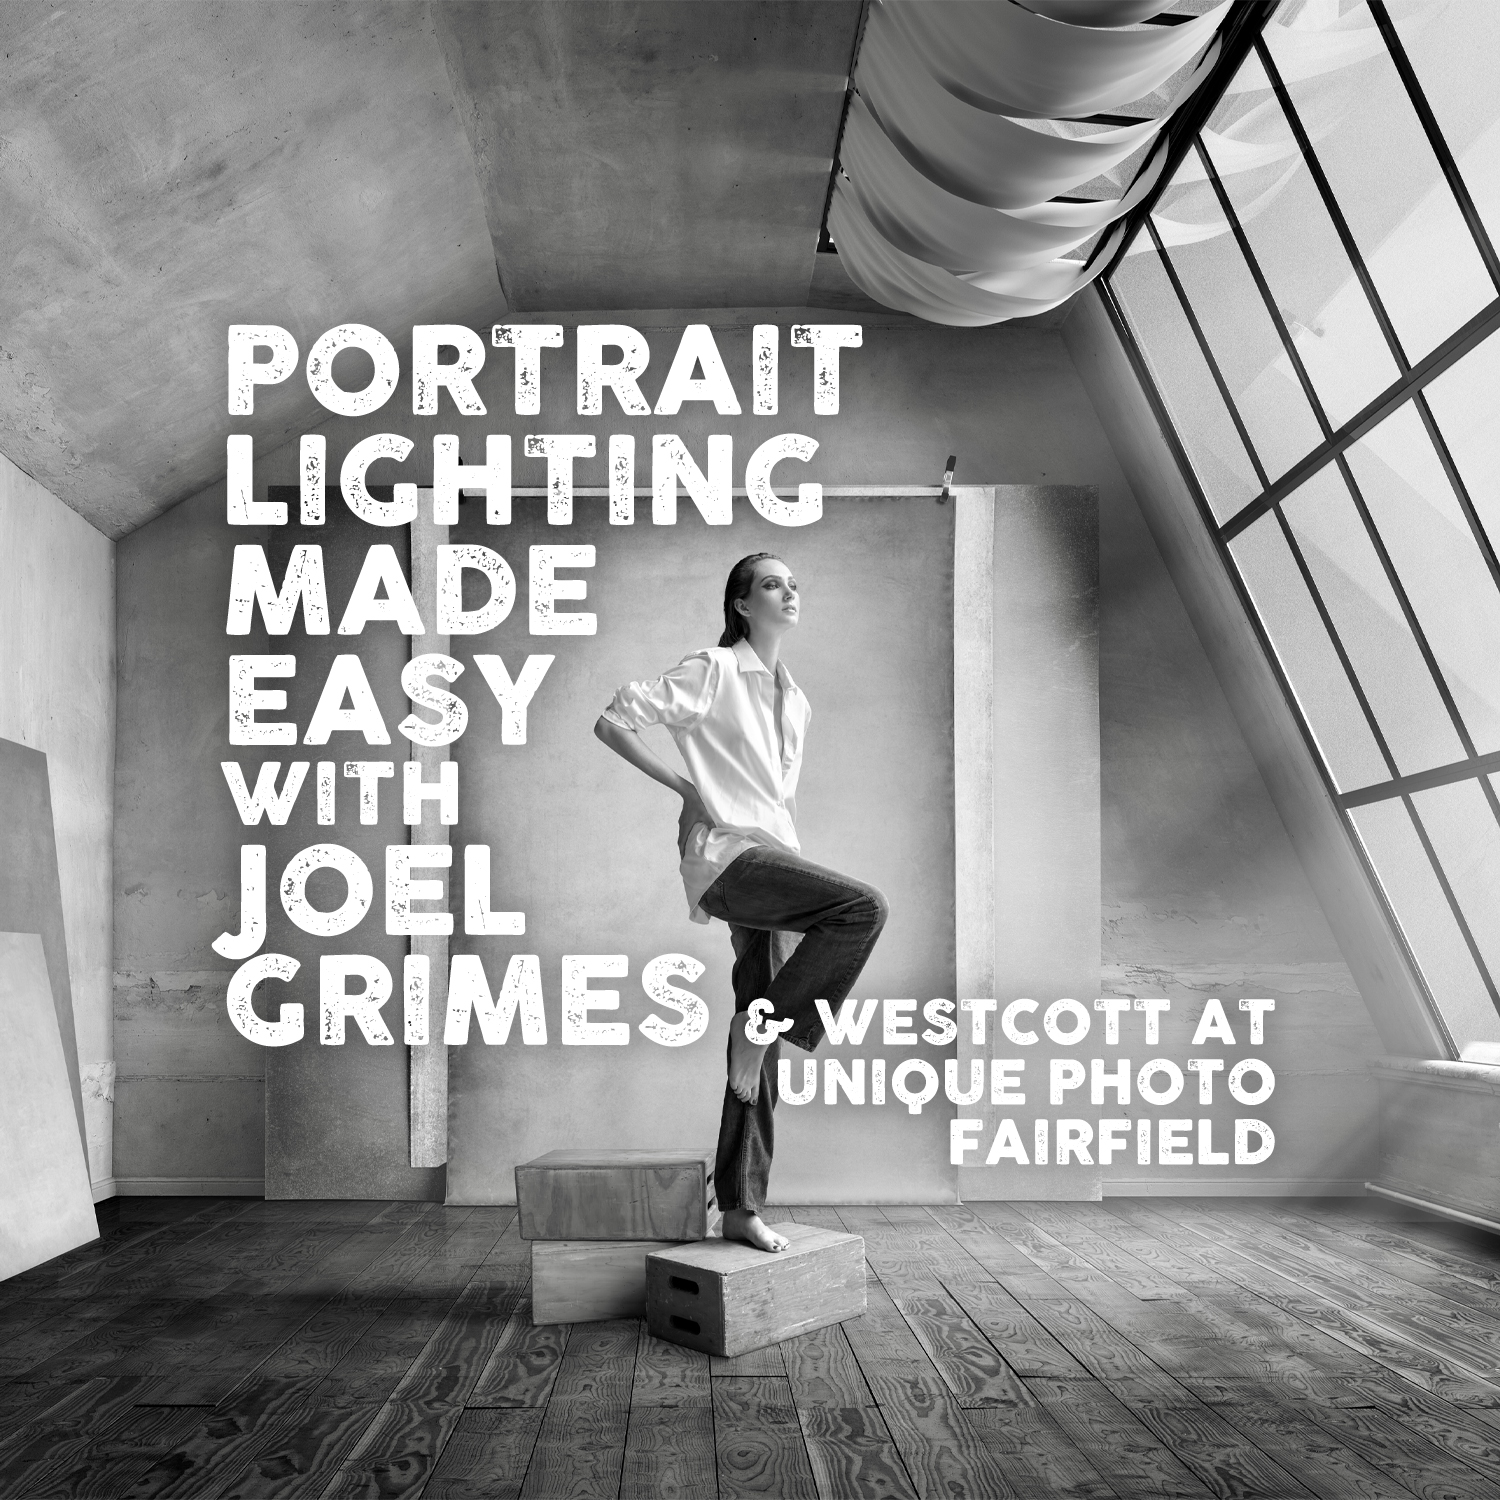
Photographers who want to improve these fundamentals may benefit from Portrait Lighting Made Easy with Joel Grimes (Westcott), which is a practical way to sharpen your technique before expanding your kit.
Should I choose continuous lighting or flash if I am on a budget?
That depends on how you shoot. Continuous lighting is easier for beginners because you can see the effect in real time. It is helpful for learning placement, shadow direction, and modifier behavior. It also works well if you create both stills and video.
Flash is often the better value for photographers focused strictly on portraits. It typically gives you more power, easier control over ambient light, and more flexibility when you want cleaner backgrounds or lower ISO settings. If you are unsure which direction makes sense, learning the fundamentals first can save money in the long run. Workshops and classes focused on lighting technique can help you avoid buying gear that does not match your workflow.
For photographers who want a deeper understanding of lighting control, NJCS: Advanced Creative Lighting with Robert Harrington and ExpoImaging is a strong next step.

What modifiers give the best value in an affordable portrait kit?
If you are building a budget-conscious kit, prioritize modifiers that are versatile and easy to use. A medium softbox or umbrella is usually the best first choice because it creates flattering light for many portrait styles. A shoot-through or reflective umbrella is often the least expensive option, while a softbox gives more directional control and better spill management.
After that, add a reflector. It is one of the most cost-effective tools in portrait photography because it helps you fill shadows, brighten eyes, and shape contrast without another light. Grid accessories, beauty dishes, and specialty modifiers can come later once you know the look you want most often.
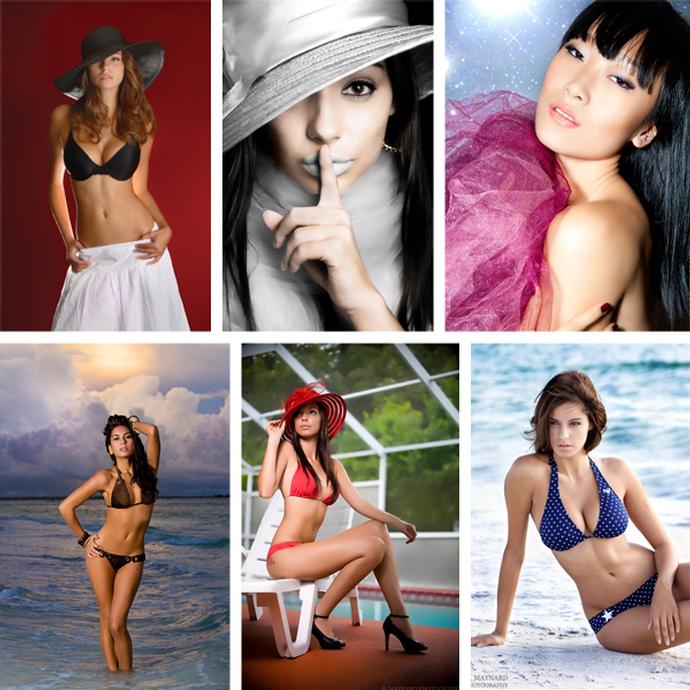
If your goal is cleaner, more intentional portraits, a course such as Stunning Portraits Workshop with David Maynard and ExpoImaging can help you understand when to use broad, soft light versus more focused, dramatic setups.
Can I make a small room work for portrait lighting?
Yes. Small spaces are common, and a compact portrait setup can still produce excellent results. The key is to control spill and keep your setup simple. In tighter rooms, a softbox often gives you more control than a large umbrella, and feathering the light away from the background can help prevent unwanted brightness behind your subject.
You should also pay attention to how close your subject is to the background. Even a little extra separation can improve depth and reduce harsh shadows on the wall. In compact spaces, one light and a reflector are often more effective than multiple lights competing for room.
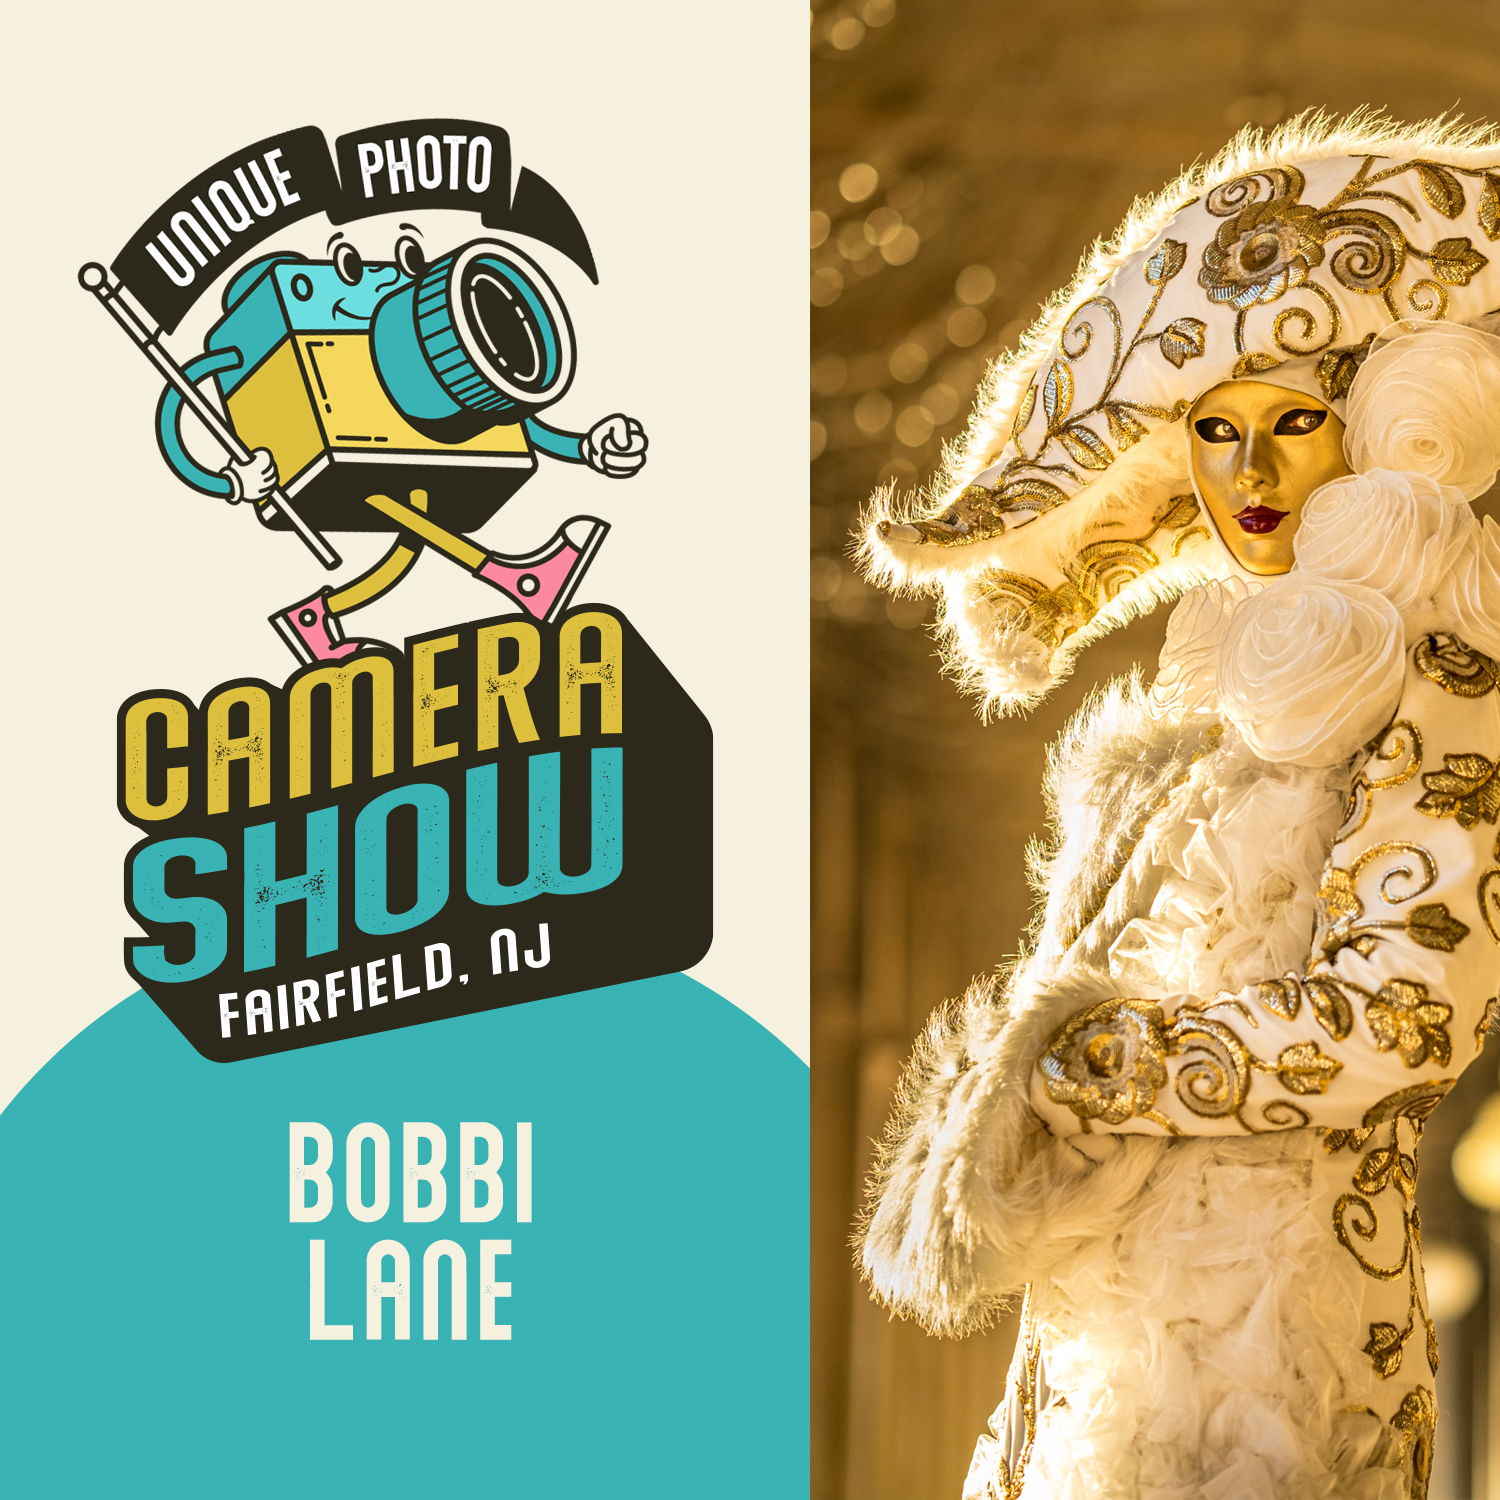
Photographers who travel or frequently shoot on location can also benefit from learning efficient setups in classes like NJCS: Travel Portraits with Bobbi Lane (Fujifilm and Profoto).
What is the most common mistake when buying a first portrait lighting kit?
The most common mistake is buying too much gear before learning the basics. A large kit with multiple lights, stands, and modifiers can sound like a bargain, but it often leads to confusion if you are still figuring out key light placement, exposure balance, and posing.
Another common mistake is ignoring education. Better technique almost always improves portraits faster than adding more equipment. Learning how to position a subject, shape light for facial features, and create separation from the background can make an inexpensive setup look far more professional.
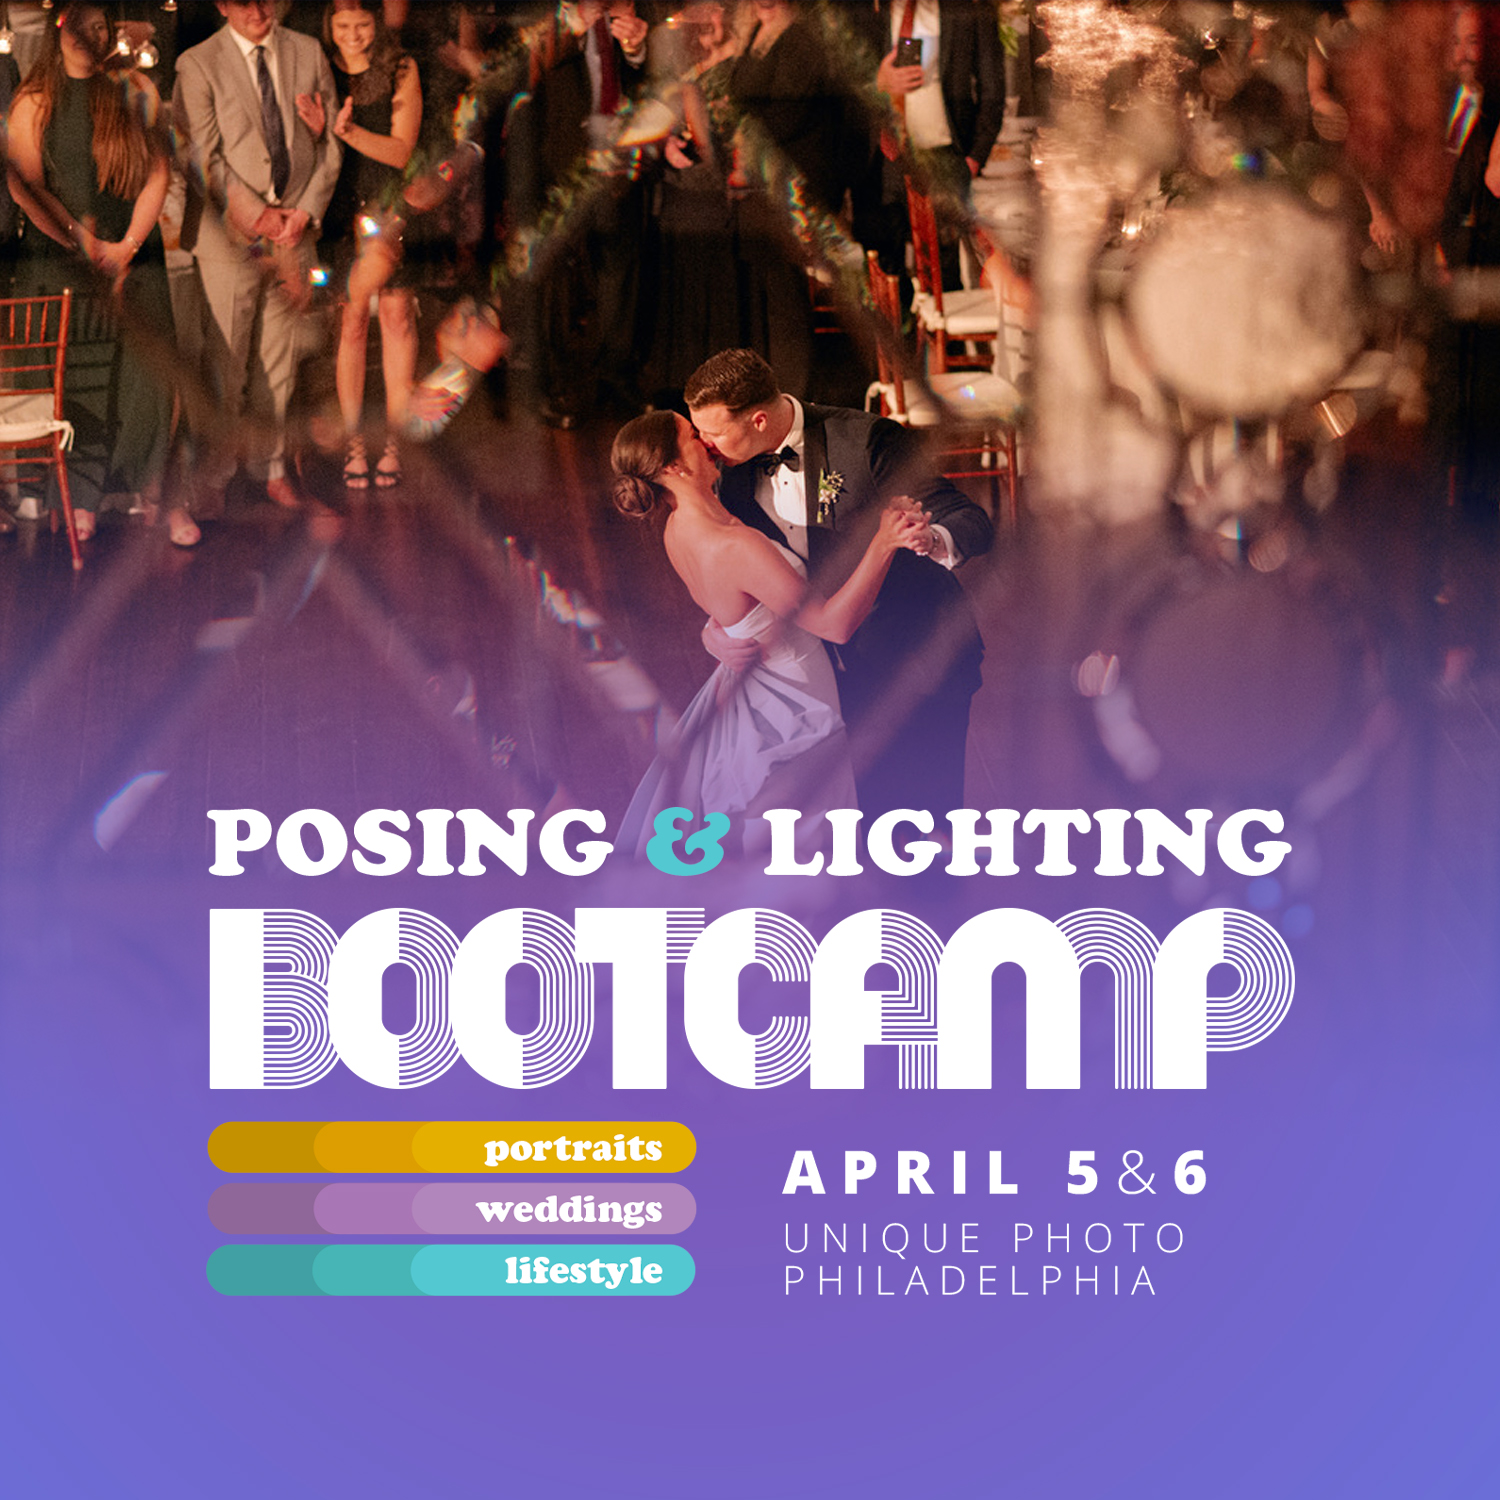
If portrait sessions include event or reception-style challenges, Posing and Lighting Bootcamp: Reception Lighting w. Magda and Simon is a useful resource for understanding fast, practical lighting decisions.
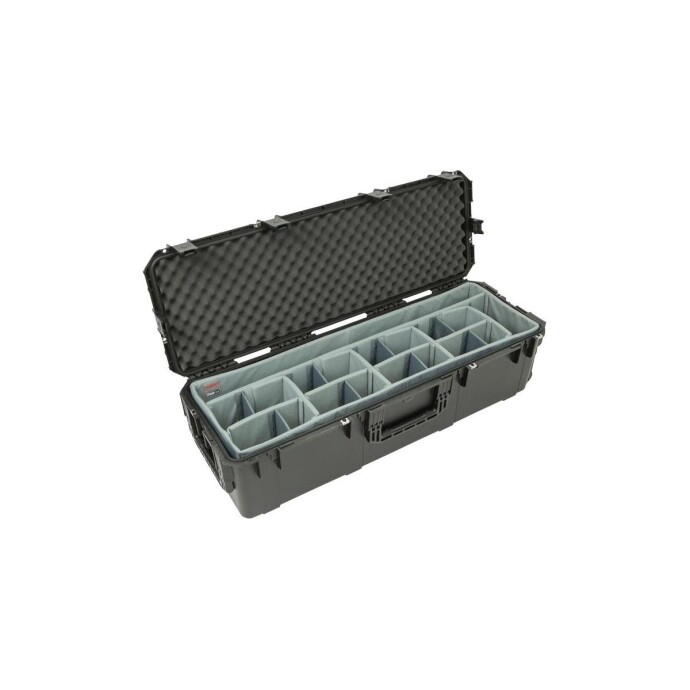
How do I transport a portrait lighting kit safely without spending too much?
Once you start building a lighting kit, protecting it matters. Damaged stands, bent brackets, and loose accessories can quickly turn a budget setup into an expensive replacement cycle. If you travel to sessions or keep your gear stored between shoots, a dedicated case is worth considering.
The SKB iSeries 3i-4213-12 Case with Think Tank Designed Lighting/Stand Dividers is a practical option for photographers who need organized transport for lighting accessories and support gear. A proper case helps protect your investment, keeps your kit easier to manage, and can speed up setup on location.
How can I improve my portraits without upgrading all my lighting gear?
Start by refining technique. Move your light closer for softer transitions, raise it slightly above eye level for flattering facial shaping, and experiment with turning your subject toward or away from the light. Background distance, posing, and lens choice all affect the final result as much as the light itself.
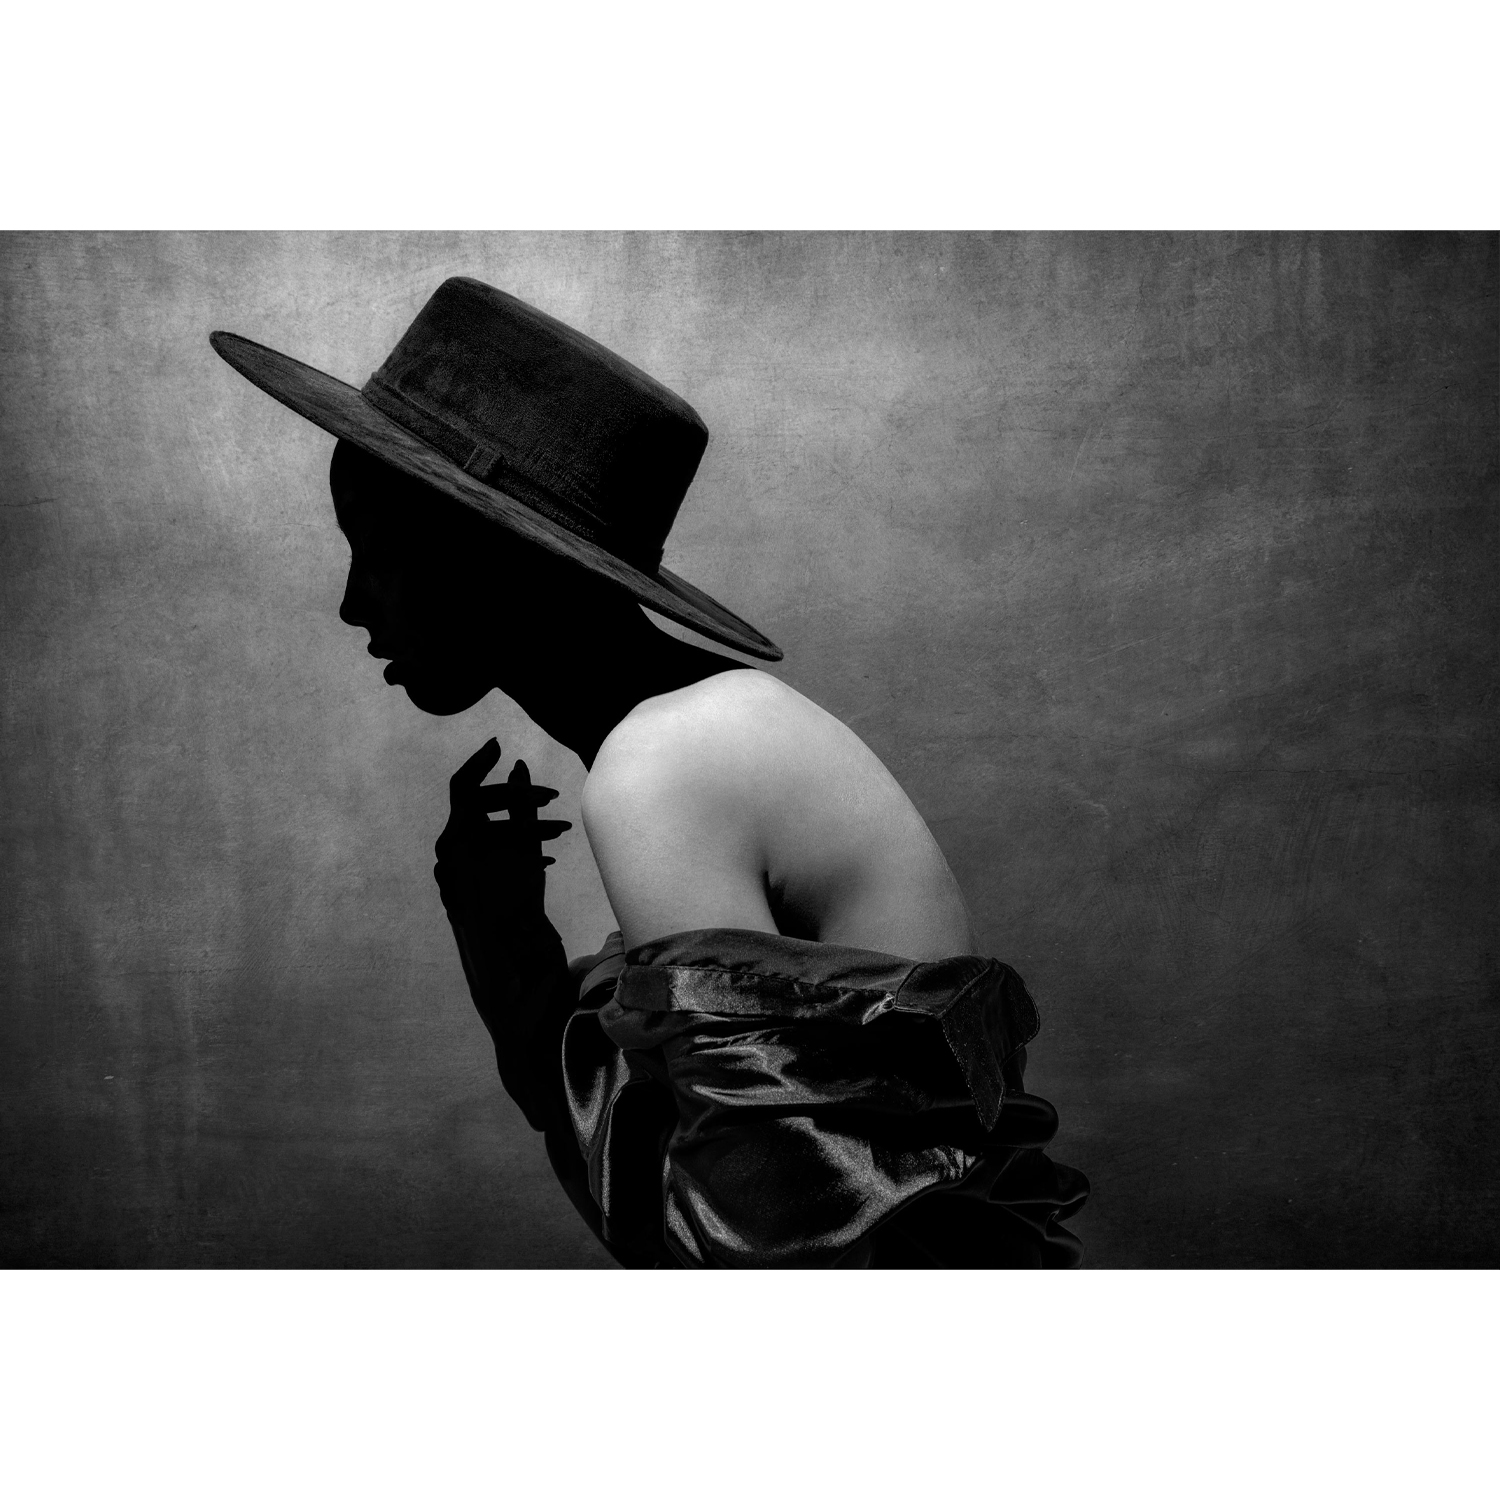
You can also improve consistency by studying proven lighting patterns and practicing them repeatedly. Broad lighting, short lighting, loop lighting, and Rembrandt lighting are all achievable with simple gear when you understand placement. Investing in education often delivers a better return than replacing lights that are already capable.
For photographers who want a stronger foundation, classes like Portrait Lighting Made Easy with Joel Grimes (Westcott) and CS: Key Lighting Methods with Mark Raker (Nanlite) are excellent ways to build confidence and make a modest setup perform at a much higher level.
A budget-friendly portrait lighting kit works best when it is simple, reliable, and matched to your shooting style. If you are ready to improve your portraits, Unique Photo can help you choose the right learning resources and accessories to build a lighting setup that grows with you.