Great lighting does more than make your videos look brighter—it shapes mood, adds depth, and helps your YouTube content or short film feel far more polished without demanding a huge budget. The good news is that affordable lighting setups are often less about buying more gear and more about learning how to place, control, and carry what you already have. Below are practical tips for building budget-friendly lighting setups that still look cinematic, along with a few smart learning tools and accessories that can make the process easier.
Start with One Strong Key Light
1. Build your setup around a single, reliable source
If your budget is tight, start with one light and learn to use it well. A single key light placed at about 45 degrees from your subject can create flattering contrast for talking-head YouTube videos, interviews, and simple dramatic scenes. Instead of rushing to buy multiple fixtures, invest time in understanding how distance, angle, and softness affect the look.
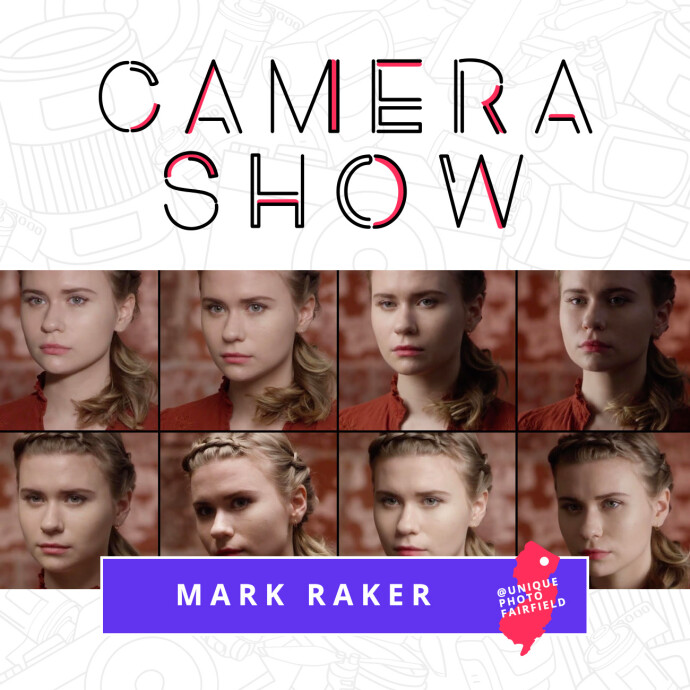
For creators who want to sharpen these fundamentals, CS: Key Lighting Methods with Mark Raker (Nanlite) is a helpful educational resource that breaks down the core concepts behind effective key lighting. Learning proven placement techniques can save you money because you’ll get better results from minimal gear.
Use Household Surfaces as Fill
2. Bounce light instead of buying extra fixtures
One of the easiest ways to stretch a lighting budget is to use white foam board, a light-colored wall, or even a clean white sheet as fill. Place your main light on one side of the subject, then bounce some of that light back into the shadow side. This can soften contrast for beauty content, tutorials, and product videos without adding another powered light.
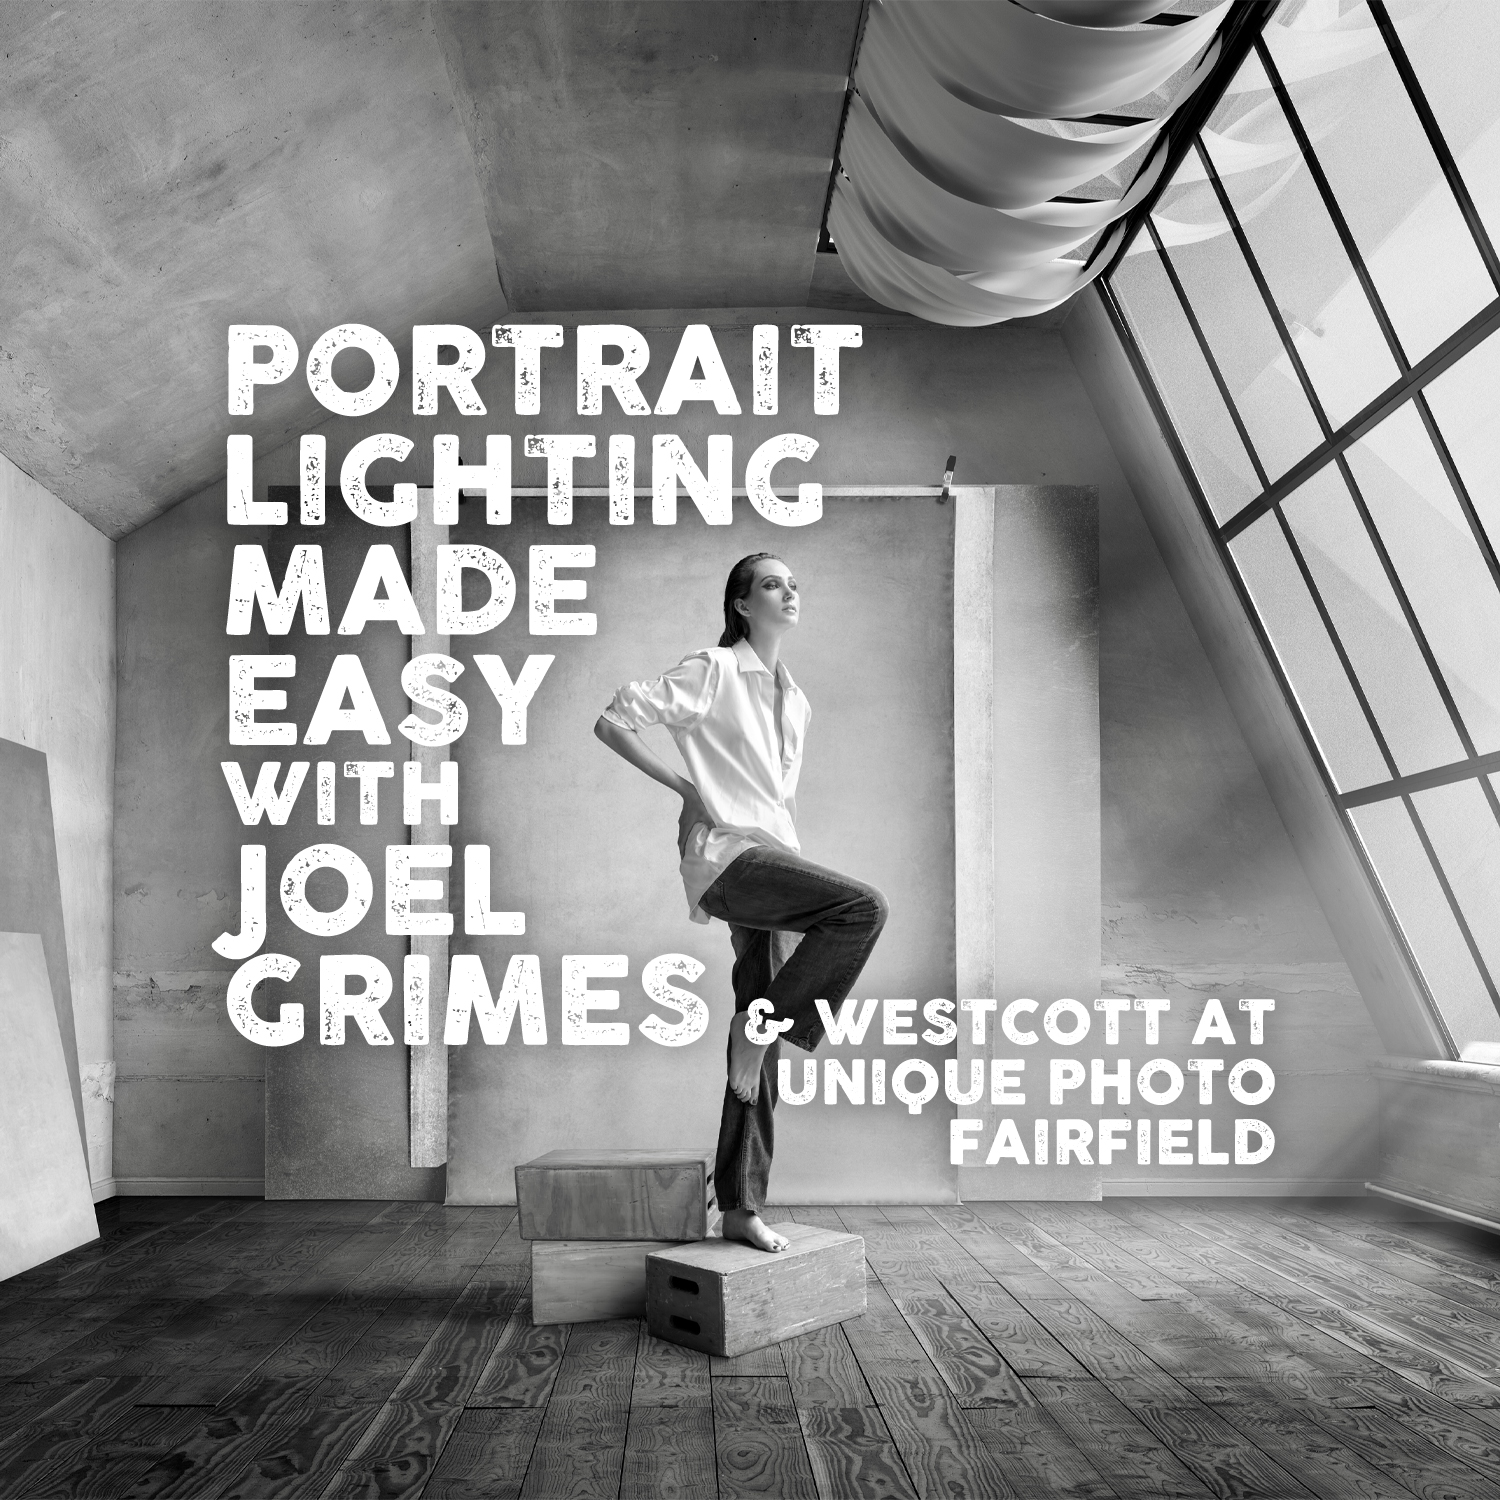
If you want to better understand how portrait-style lighting translates into simple, effective setups, Portrait Lighting Made Easy with Joel Grimes (Westcott) offers practical insights that can help creators create bigger-looking results from modest tools.
Control the Background for More Production Value
3. Separate your subject from the wall
A budget setup often looks cheap when the subject is pressed right against the background. Pull your talent a few feet away from the wall if possible. That little bit of distance helps create separation, allows shadows to fall more naturally, and gives you room to shape the background with spill or color.
For short films or stylized YouTube sets, a small accent of color can go a long way. The LEE Filters Rose Purple Lighting Effect Gel Filter is an easy way to add atmosphere to a background light, making a basic room feel more intentional and cinematic without major expense.
Make Soft Light Your Default
4. Diffusion usually looks more expensive than harsh light
For most YouTube creators, soft light is the most forgiving and versatile choice. It reduces unflattering shadows, smooths skin tones, and gives your scene a more polished look. Even if your fixture is small, you can soften it by bouncing it into a wall or shooting it through an affordable diffusion material.
Learning how soft light behaves in different environments can dramatically improve both studio and run-and-gun productions. Workshops like NJCS: Advanced Creative Lighting with Robert Harrington and ExpoImaging can help creators understand how to shape light creatively without simply throwing more money at equipment.
Use Practical Lights in the Scene
5. Let lamps, signs, and room lights do part of the work
Practical lights—like table lamps, LEDs on shelves, or visible bulbs in frame—can make a low-cost setup feel richer. They add depth and visual interest while reducing the pressure on your main lights to do everything. In short films, practicals can also support the story by motivating where the light seems to come from.
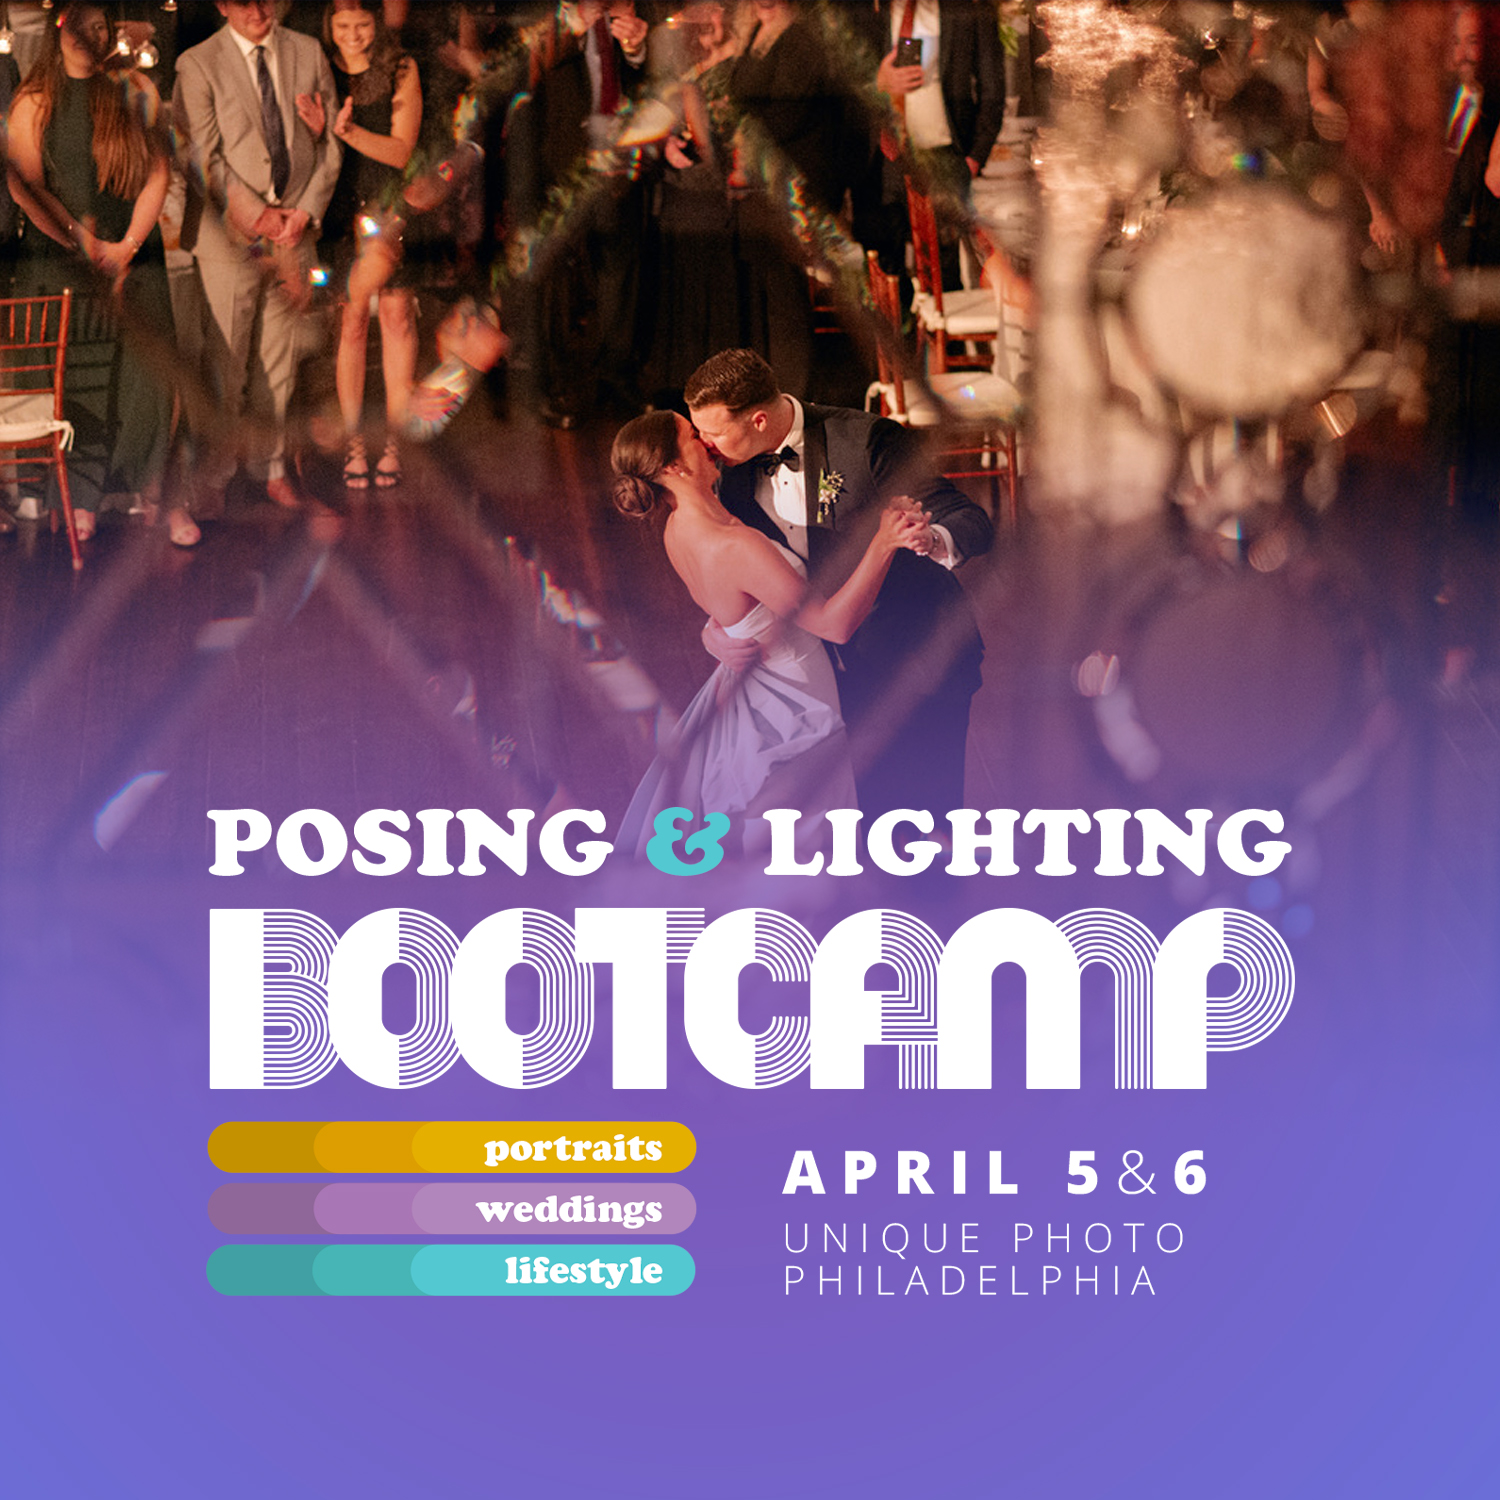
If you’re filming event-style scenes, documentary interviews, or creative reception-inspired setups, Posing and Lighting Bootcamp: Reception Lighting w. Magda and Simon (Philly) can offer useful ideas on handling mixed light sources and making dynamic environments look intentional.
Add Atmosphere In-Camera
6. Use filtration for a more polished look
Lighting is only part of the final image. If you want your YouTube videos or short films to feel less clinical and more cinematic, a diffusion-style filter can subtly bloom highlights and smooth the overall rendering. That can be especially useful when working with practical lights or LED sources in low-budget productions.
The Polar Pro 49mm Shortstache Everyday Filter - Black Mist + Polarizer is worth considering for creators who want to refine the look in-camera rather than trying to fake it later in post. It’s a simple way to elevate modest lighting setups.
Keep Mobile Setups Organized
7. Protect your lighting kit so budget gear lasts longer
When you’re filming in apartments, offices, client spaces, or on location, transportation matters. A disorganized lighting kit slows down setup time and increases the chance of damage. Even budget-friendly gear deserves good protection, especially if stands, modifiers, and cables are moving frequently.
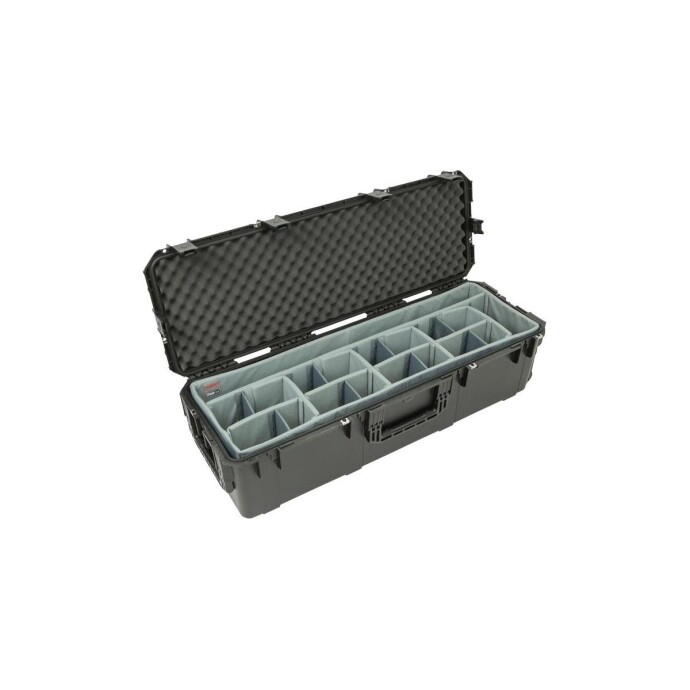
The SKB iSeries 3i-4213-12 Case with Think Tank Designed Lighting/Stand Dividers is a practical option for creators who want to keep a compact lighting package organized and ready to travel. Better organization also means faster setups, which is a real advantage on indie productions.
Stabilize Handheld Shooting Between Setups
8. Don’t overlook comfort when shooting with lightweight lighting plans
Many budget productions rely on fast handheld shooting, natural light, and compact fixtures. In those cases, camera comfort matters because smoother operation helps your work look more professional. A comfortable camera strap can make it easier to move quickly between lighting setups, especially for behind-the-scenes capture, vlog-style content, or documentary inserts.
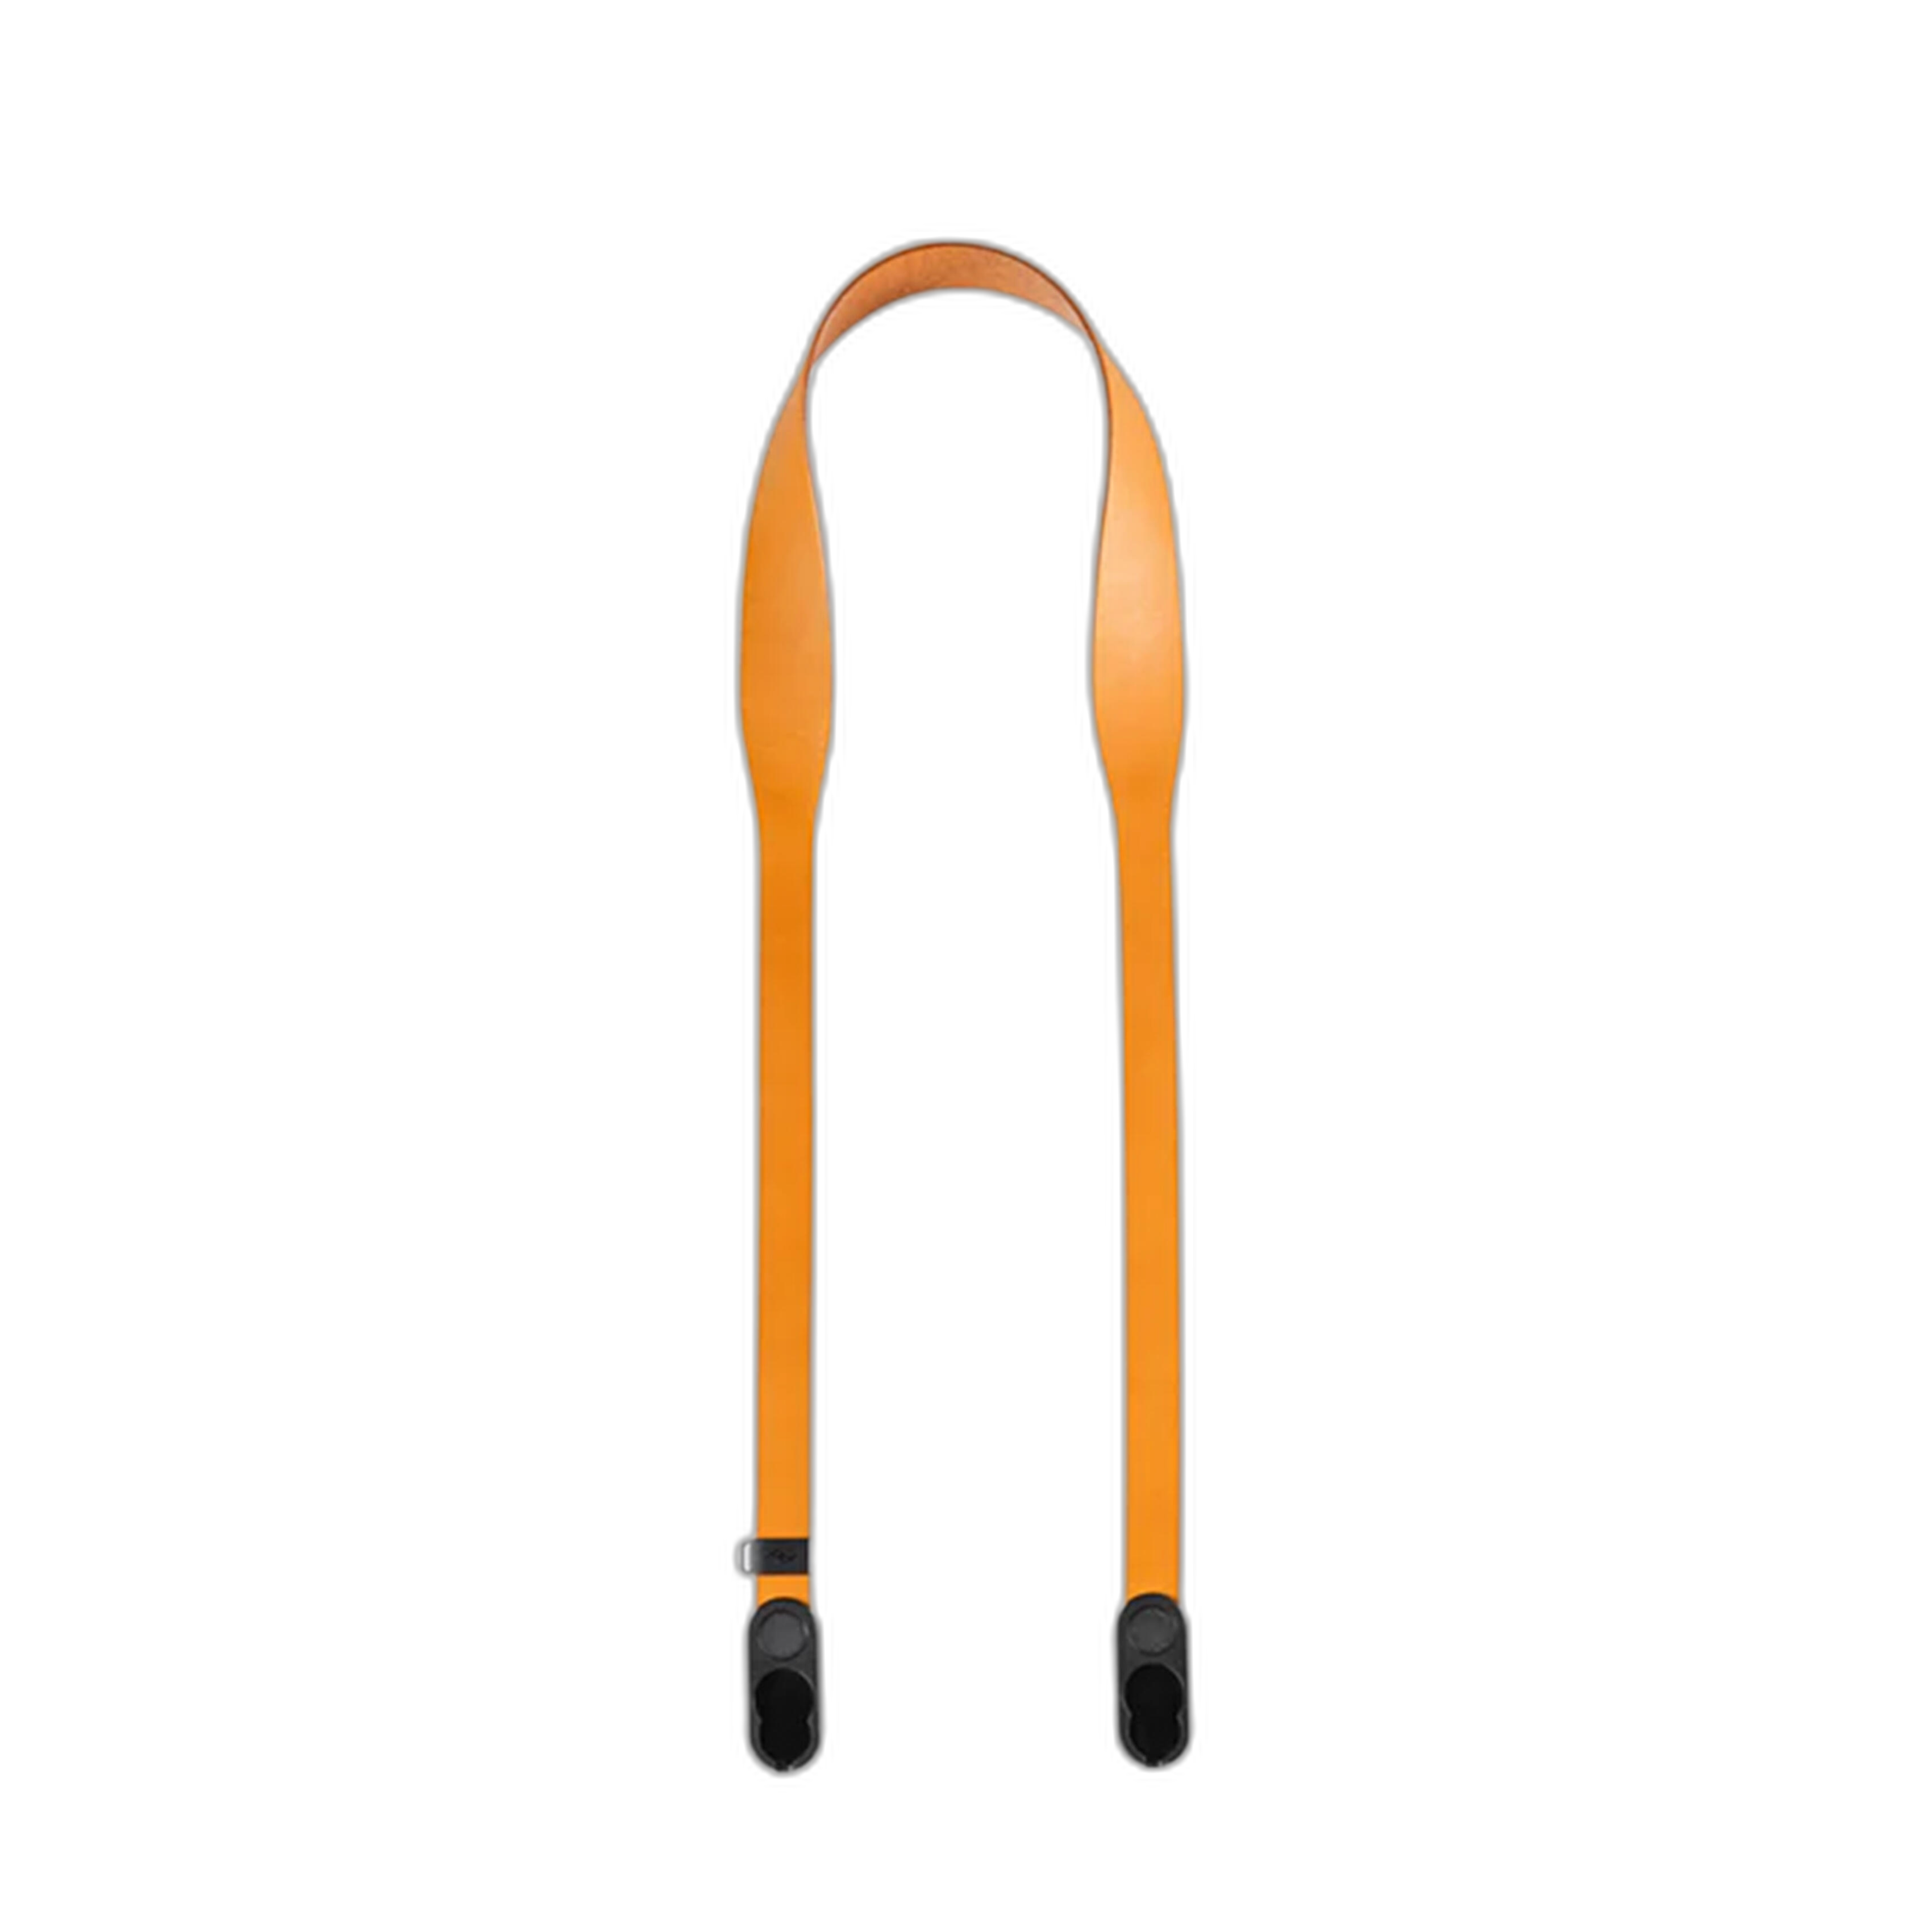
The Peak Design Form Leather Amber Short Strap 103cm 40inch is a simple accessory, but useful when you’re running a lightweight production and need to stay mobile throughout a long shoot day.
Practice Before You Spend More
9. Education can be more valuable than another light
One of the smartest budget moves is to improve your lighting knowledge before expanding your kit. Many creators can get significantly better results with one or two lights simply by practicing key-to-fill ratios, subject placement, negative fill, and background control. Before adding more fixtures, spend time recreating looks with the tools you already own.
Resources like CS: Key Lighting Methods with Mark Raker (Nanlite), Portrait Lighting Made Easy with Joel Grimes (Westcott), and NJCS: Advanced Creative Lighting with Robert Harrington and ExpoImaging can all help you level up your technique in a cost-effective way.
Conclusion
Budget-friendly lighting for YouTube and short films is all about using fewer tools more intentionally. Start with one good key light, shape it with bounce or diffusion, create separation from the background, and add small stylistic touches like gels or filtration when the scene calls for it. Most importantly, keep learning and experimenting—strong lighting often comes from technique, not just spending.
If you’re ready to refine your setup, explore educational resources and production accessories at Unique Photo to help you create more polished videos without overspending.