Black & White vs Color at Home: Which Film Process Should You Start With?
Curious about developing film at home? Enthusiasts often land on the same big question: start with black & white or jump right into color (C-41)? Below, we compare both processes head-to-head, outline the gear you’ll need, and share troubleshooting tactics from real-world experience—plus a few helpful tools from Unique Photo to make your workflow smoother.
| Spec | Black & White (B&W) | Color Negative (C‑41) |
|---|---|---|
| Typical development temperature | 20°C / 68°F | 38°C / 100°F |
| Temperature tolerance | Generally forgiving (about ±1°C) | Tight (about ±0.3°C) |
| Core steps (minimum) | Developer → Stop → Fix → Wash | Developer → Blix (or Bleach + Fix) → Stabilizer → Rinse |
| Total time per roll (approx.) | 15–25 minutes | 20–30 minutes |
| Chemistry cost per roll | Lower | Moderate |
| Reuse potential | Good (fixer reusable; dev varies) | Good (developer/blix reusable within limits) |
| Creative control while developing | High (contrast, push/pull, toning) | Moderate (push ~1–2 stops; color shifts if temps drift) |
| Learning curve | Gentle | Steeper |
| Consistency when done right | Very good | Excellent with tight temp control |
| Common pitfalls | Uneven development, drying marks, under/overfixing | Color shifts, retained silver from weak blix, streaking from temp issues |
What You Need: Core Gear vs. Nice-to-Haves
Both B&W and C‑41 share 90% of the same kit. You’ll want: a light-tight changing bag or darkroom, a daylight developing tank with reels, accurate thermometer, timer, graduated cylinders, funnels, storage bottles, clips, and a wetting agent for spotless drying. For color, add a reliable water bath (or sous-vide) to nail 38°C/100°F.
Keep your workspace tidy by corralling small parts, thermometers, and gloves between runs. Even simple storage helps reduce dust and contamination.

Learning exposure fundamentals pays off when you’re judging negative density and deciding when to push or pull.

Temperature, Timing, and Consistency: The Real Difference
The biggest separator is temperature. B&W is flexible—small drifts rarely ruin a roll. C‑41 expects precision: hold 38°C/100°F tightly throughout developer and blix to avoid color shifts and density inconsistencies. If you can maintain a stable water bath and pre‑warm your tank and chemistry, color becomes very repeatable.
Cost and Chemistry Lifespan
B&W chemistry is generally less expensive and robust; fixer and many developers are reusable across multiple rolls (track capacity and times). C‑41 kits are also reusable but have stricter capacity and shelf-life once mixed—label bottles, minimize air, and keep notes on roll counts to maintain quality.
Creative Control and Pushing/Pulling
B&W shines for darkroom experimentation: you can shape contrast with developer choice, dilution, and time, and push/pull widely. C‑41 can handle modest pushes (often 1–2 stops), but temperature accuracy becomes even more critical; expect color balance work during scanning.
Scanning and Printing at Home
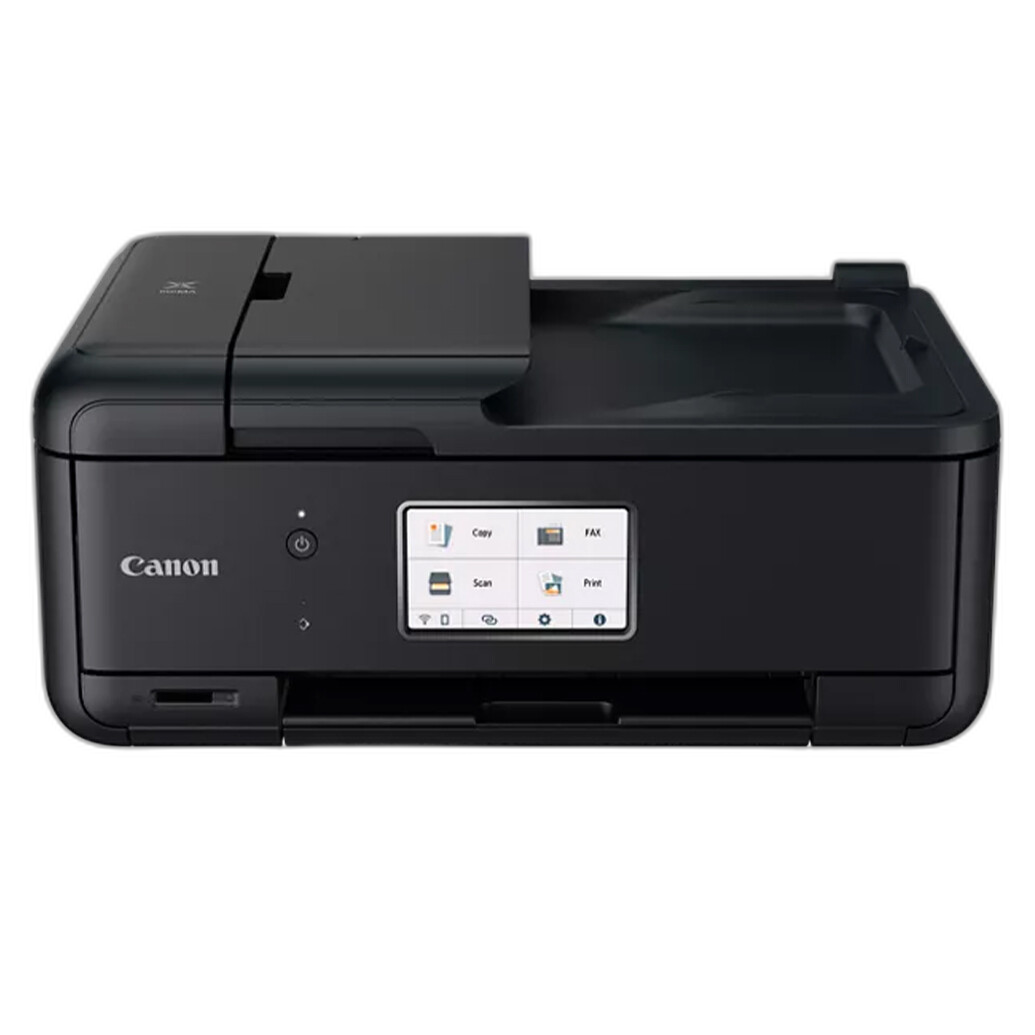
After drying, most home developers scan and then make proof prints. You don’t need a lab-grade photo printer to share results—an everyday, wireless all‑in‑one can be perfect for quick contact sheets and small color drafts.
Tip: Make a letter-size contact sheet from your scans to evaluate exposure and development before committing to larger prints elsewhere.
Troubleshooting: Fast Fixes for Common Problems
- Streaks or uneven development (both): Agitate gently but consistently; ensure reels are fully submerged; avoid air bells with a few firm taps after pouring.
- Thin or dense negatives (both): Revisit exposure; verify developer freshness and temperature; adjust time for next roll.
- Milky film after wash (both): Underfixing—return to fresh fixer, then wash again.
- Drying marks (both): Use wetting agent; mix with distilled water; hang in a dust-free space and avoid touching the emulsion.
- Color shifts (C‑41): Re-check your thermometer accuracy; keep developer and blix at process temperature; do not mix steps or contaminate solutions.
- Reticulation/cracking (both, especially B&W): Avoid sudden temperature changes between baths.
Recommended Learning Resources
For metering tricky scenes and understanding how exposure affects negative density, these reads can help:
Prefer hands-on help? Unique University’s Personal One‑On‑One Instruction @HOME or @WORK can walk you through your first rolls, chemistry handling, and scanner settings.
Our Pick
Conclusion
Both B&W and C‑41 are absolutely achievable at home. If you’re new, begin with B&W for confidence and control, then add color once your workflow is dialed in. For organizers, chemistry, books, classes, and a capable printer for proof sheets, visit Unique Photo—your one‑stop shop for building a smooth, reliable home-developing setup.